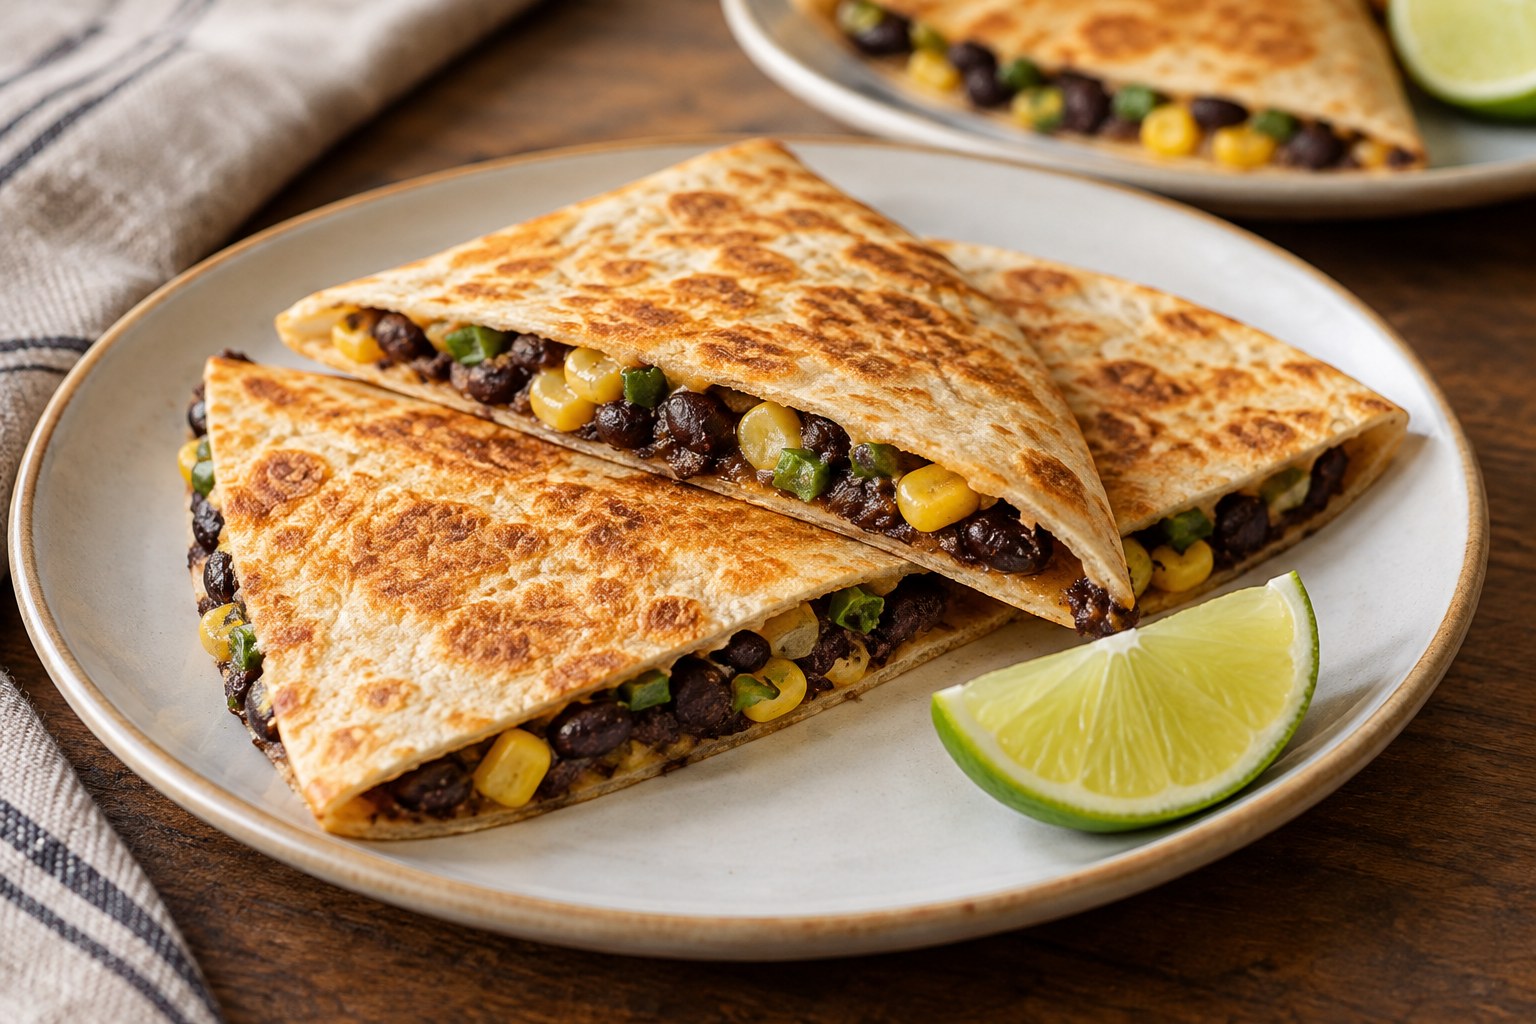
Ingredients
Equipment
Method
- Prepare the corn and beans Cook the frozen corn according to its package directions. Drain, let the initial steam escape and pat dry. Rinse and thoroughly drain the black beans while the corn cooks. Finely chop the scallion. The finished filling should not have to absorb leftover rinsing or cooking water.
- Mash and season Put half the beans in a mixing bowl. Mash firmly with the cumin, smoked paprika, lime juice and black pepper until thick and spreadable. Fold in the remaining beans, cooked corn and scallion. Taste and add a small pinch of salt if needed. Mash another spoonful of beans if the kernels are not held by the mixture.
- Divide into four portions Set out the tortillas and divide the filling roughly equally. Spread each portion over one half of a tortilla in an even layer about 1/4 inch thick, leaving a 1/2-inch bare border. Fold the empty half over and press lightly. Do not try to seal the edge by crushing it flat.
- Heat the first batch Warm the 12-inch skillet over medium heat and add 1 teaspoon olive oil, spreading it into a thin film. Place two folded quesadillas in the pan if they fit flat without overlapping. If your skillet's cooking surface is smaller, cook one at a time and divide the oil across the extra batches.
- Toast and turn gently Cook for about 2–3 minutes on the first side, until golden patches develop and the underside feels crisp against the spatula. Support each quesadilla fully with the spatula and turn gently. Toast the second side for another 2–3 minutes, until golden and the filling is hot throughout. Lower the heat if the tortilla colors too quickly.
- Repeat and cut Transfer the first batch to a board in a single layer. Add the remaining teaspoon oil and cook the other two quesadillas. Let each batch rest for about 1 minute before cutting; the first batch can rest while the second cooks. Cut each folded quesadilla into two wedges and serve two folded quesadillas, or four wedges, per person.
Notes
Yield and timing: Four folded quesadillas, cut into eight wedges; two folds or four wedges per person. About 35 minutes assumes two folded tortillas fit in the skillet at a time and includes cooking the corn. Extra batches or longer package instructions add time.
Binding and folding: Mash half the drained beans firmly, then fold in the rest. Keep the filling dry enough to spread, about 1/4 inch thick, with a 1/2-inch clear border. Use a wide spatula and avoid pressing filling out through the open rim.
Tortillas and corn: Start with ready-to-eat tortillas; raw tortillas need their own package cooking step first. Frozen corn must be cooked as directed, not merely thawed. Plain drained canned corn can replace the cooked frozen kernels. Check tortilla labels if avoiding animal ingredients or dairy.
Storage: Refrigerate in shallow covered containers within 2 hours, or 1 hour above 90°F/32°C. Keep at 40°F/4°C or below and use within 3–4 days. Reheat leftovers to 165°F/74°C. Leftover storage guidance.
Packing: Keep perishable filling chilled in an insulated lunch bag with at least two cold sources. Pack bread and filling separately when possible for better texture. USDA lunchbox guidance.