Ingredients
Equipment
Method
- Heat the oven and drain the fruit Set the oven to 350°F (175°C) with a rack in the middle. Drain the pears in a strainer while you gather the other ingredients. Measure 1 1/2 cups of drained fruit and cut any large pieces into smaller slices.
- Prepare the ramekins Lightly grease both ramekins with the softened butter. Set them apart on a rimmed baking sheet. The sheet makes the small hot dishes easier to move and catches drips.
- Mix the topping Stir together the oats, flour, brown sugar, 1/4 teaspoon cinnamon and salt. Work in the cold butter cubes with a fork or your fingertips until the mixture is crumbly, with some small clumps. Stop before it becomes a smooth dough.
- Coat the pears In a separate bowl or the emptied measuring jug, gently toss the drained pears with the lemon juice, cornstarch, vanilla and pinch of cinnamon. Distribute the cornstarch evenly so no white pockets remain.
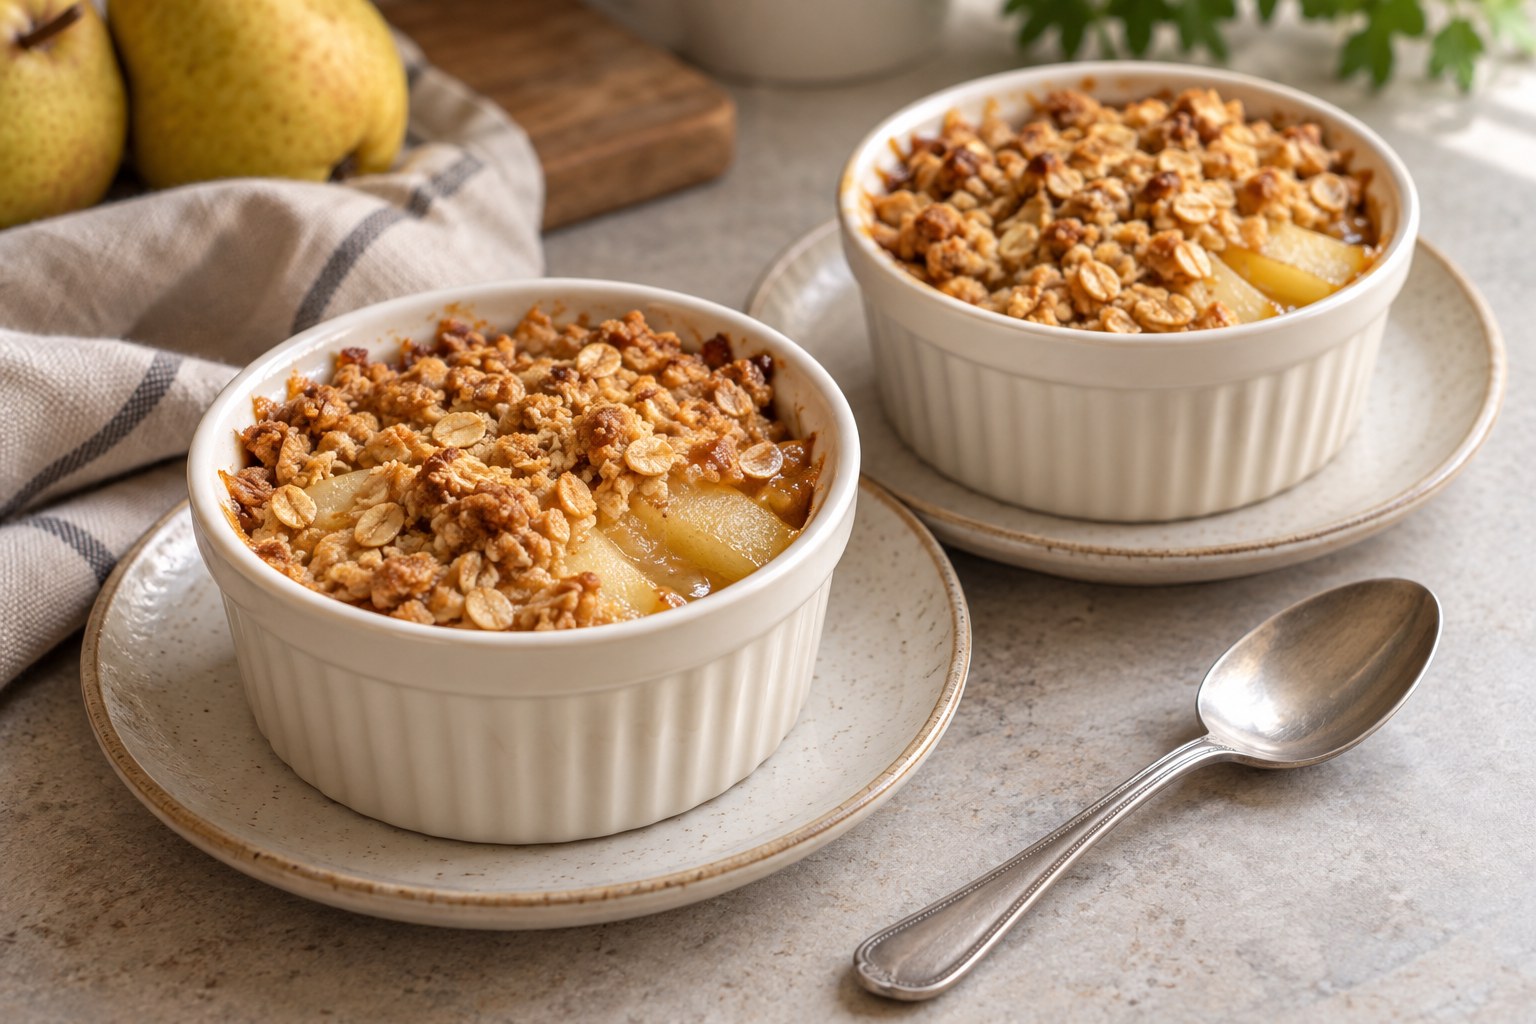
- Divide and top Share the fruit evenly between the ramekins. Scatter half the topping over each, keeping it loose rather than pressing it into a solid lid. Leave space below each rim for bubbling juices.
- Bake and check both layers Put the tray on the middle rack. Allow about 35 minutes, starting to check at 25 minutes. The topping should be golden, with no obvious dry flour patches, and the juices should bubble around part of the edge. Continue a few minutes if the topping is still pale or the filling has not begun bubbling.
- Rest before serving Move the tray to a heatproof surface and let the crisps stand for 10 minutes. The filling thickens slightly as it settles. Serve each ramekin on a small plate, with a spoon, and remember that the ceramic can remain hot after the fruit is ready to eat.
Notes
Time and oven: About 10 minutes prep, up to 35 minutes baking at 350°F/175°C, and a 10-minute rest: about 55 minutes total. Start checking at 25 minutes. The oven is assumed to preheat during preparation; cold fruit and dish depth can extend the bake.
Dishes and fruit: Use two oven-safe 10–12-fluid-ounce ramekins. Each gets about 3/4 cup drained pears plus half the crumbs, with headroom. A 15-ounce can includes packing liquid and may not supply the full measured fruit amount; use extra drained pears if needed.
Topping: Work the cold butter through the dry ingredients to make loose crumbs and small clumps. Scatter over the fruit without pressing into a lid. The topping should be golden and the filling visibly bubbling before the crisps leave the oven.
Flour and allergens: Do not taste the raw flour-containing topping. This recipe contains wheat and milk from flour and butter. FDA flour-handling guidance.
Storage: Refrigerate promptly in shallow containers within 2 hours, or 1 hour above 90°F/32°C. Keep at 40°F/4°C or below, use within 3–4 days, and reheat leftovers to 165°F/74°C. Leftover storage guidance.
Reheating and serving: Follow the bakeware maker’s instructions for temperature changes when reheating refrigerated ceramic. Add optional ice cream or yogurt only when serving; the topping softens in storage.