Ingredients
Equipment
Method
- Set up the appliance. Fit the approved blade or jar for nut butter and confirm the batch is within the manufacturer’s limits. Measure the roasted peanuts and prepare a clean, dry container.
- Pulse the peanuts. Add the peanuts and pulse until roughly chopped. For a crunchy finish, reserve a small spoonful of chopped nuts before continuing.
- Process through the stages. Process in permitted intervals until the peanuts move from crumbs to clumps, then a thick paste and glossy butter. Stop the motor before scraping, replace the lid before restarting, and allow all required cooling pauses.
- Season the smooth butter. If the peanuts were unsalted, add ¼ teaspoon fine salt, blend briefly, and taste with a clean spoon. Add more only in small pinches as needed.
- Adjust the texture if needed. If the butter remains too stiff after sufficient safe processing, add oil 1 teaspoon at a time, up to 1 tablespoon for this batch. Reassess after each addition. Do not add water or keep a struggling motor running.
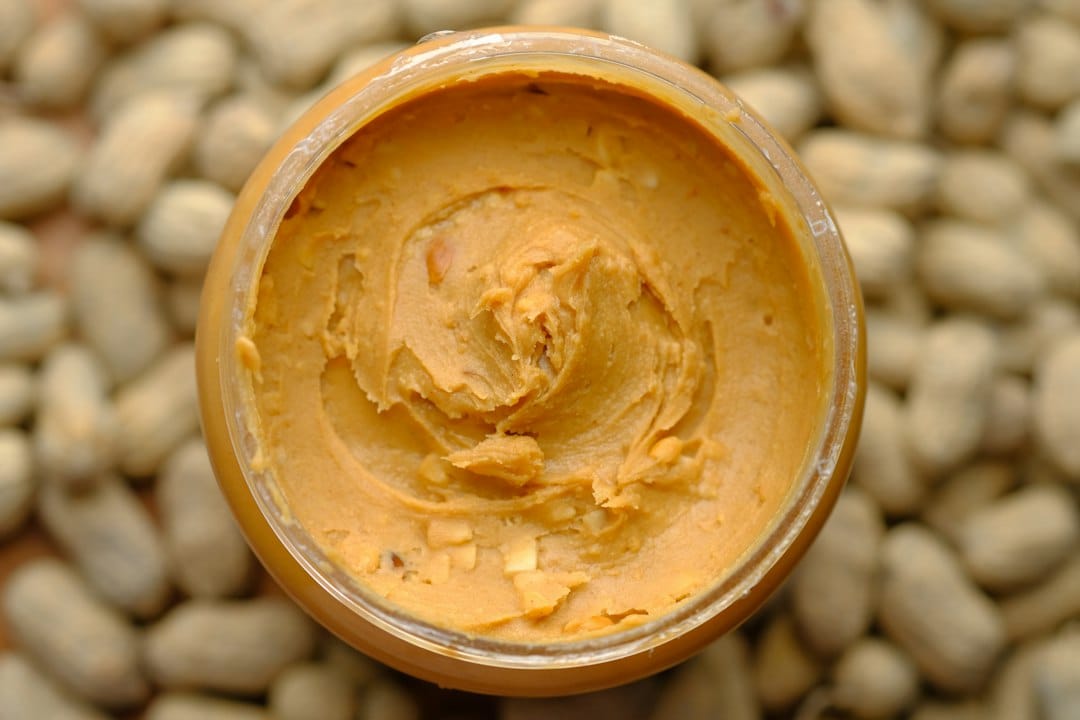
- Jar and chill. Stir in reserved chopped peanuts if desired. Transfer to the clean, dry container, cover, label, and refrigerate. Check a chilled sample before deciding a warm batch is too thin.
Notes
Timing: The 15-minute estimate includes measuring, processing, scraping, and transferring. Required motor-cooling pauses can extend the session. Follow texture and your appliance’s allowed operating intervals rather than a rigid time target.
Yield: About 1½ cups, or 24 tablespoons; peanut volume and final consistency affect yield. This is a yield measure, not a nutrition calculation.
Machine limits: Stop if the motor stalls, overheats, or smells strained. Let it cool as directed. Added oil is not a solution for an unsuitable machine or an overloaded bowl. Never insert utensils into moving blades.
Crunchy version: Reserve a spoonful of chopped peanuts after the initial pulses and stir them into the finished butter.
Storage: Refrigerate plain butter in a clean, dry airtight container and aim to use a modest batch within about 2 weeks for quality. This is not a tested shelf-life guarantee. Moist add-ins require their own shorter handling guidance. Use clean utensils and discard suspect butter without tasting it.
Allergen: Contains peanuts. Check the package and avoid cross-contact when preparing food for others.