From the pantry • Follow the texture
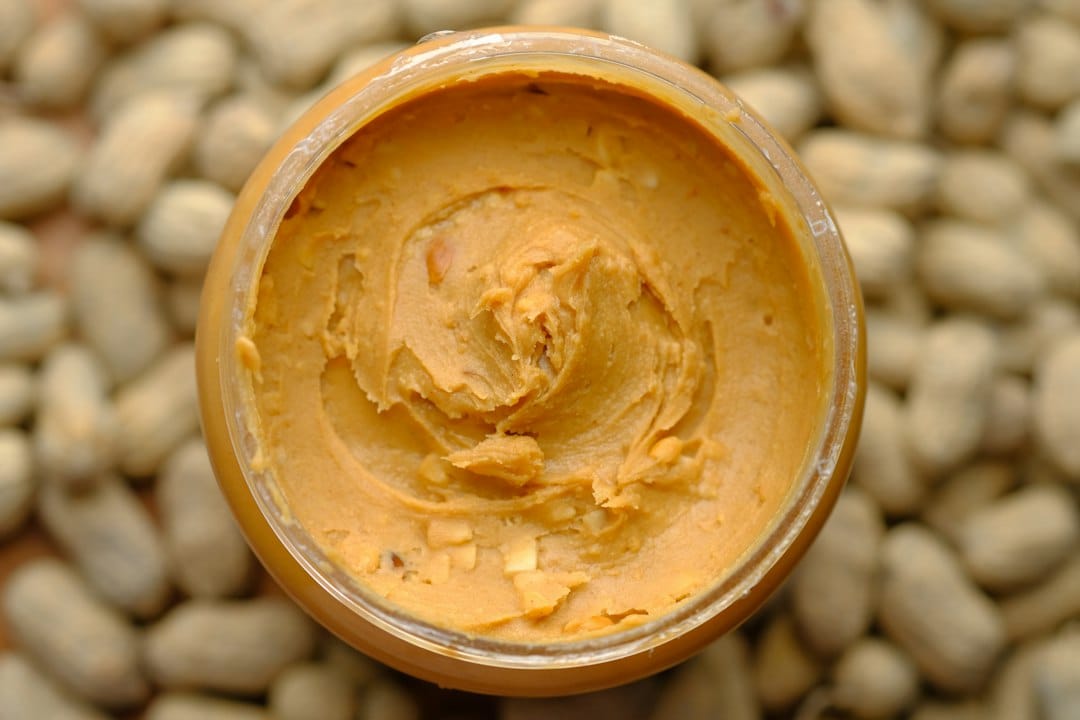
How to make homemade peanut butter comes down to processing roasted peanuts long enough to move from crumbs to clumps, then into a glossy spread. Begin with peanuts alone. Salt is optional, and added oil is a final adjustment if the mixture needs it.
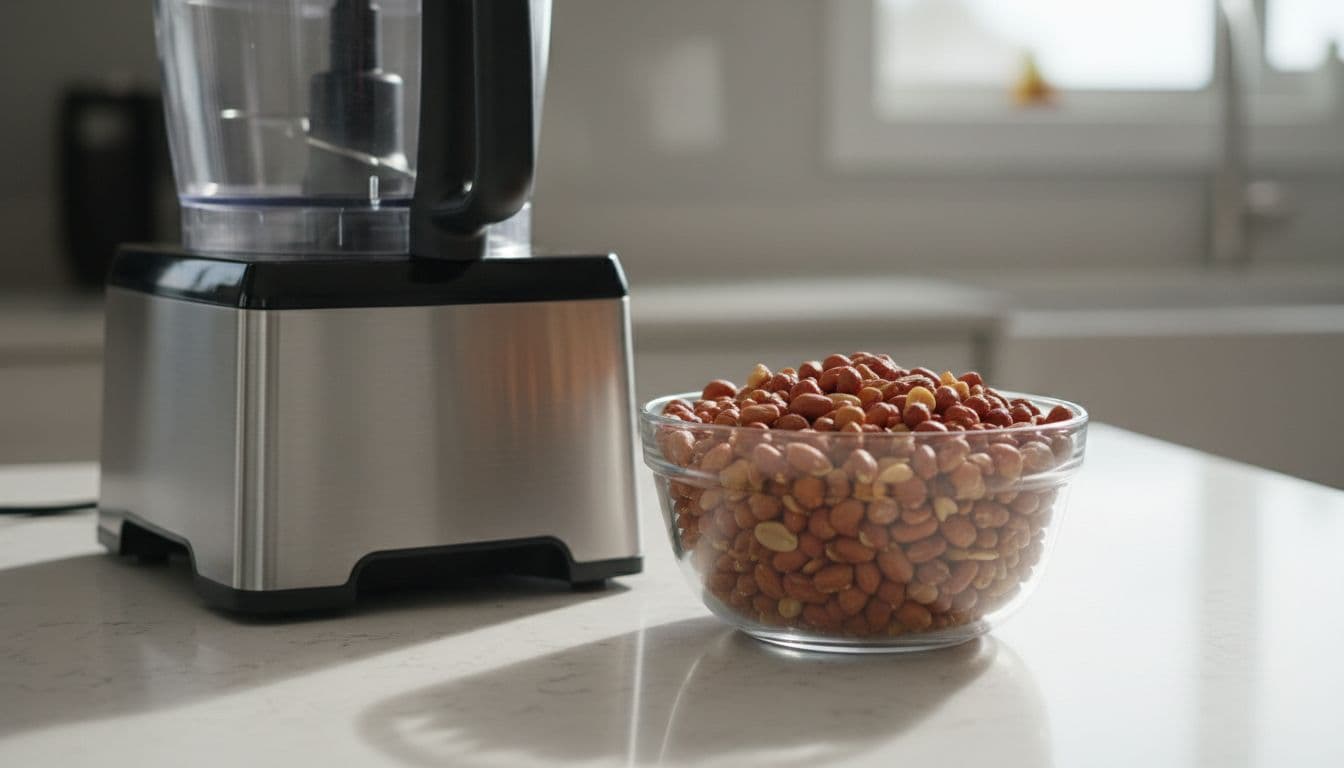
Use a food processor or blender approved for nut butter, following its batch-size and runtime limits. The hands-on work often fits into about 15 minutes, but required motor-cooling pauses can make the session longer. A smooth texture is the goal, not a race against the timer.
Choose the peanuts before choosing add-ins
Plain roasted peanuts keep this first batch easy to judge. Unsalted peanuts let you control the final salt level; if yours are already salted, wait until the butter is smooth before deciding whether it needs more. Check the package for flavorings, sugar, or added oil so you know what is going into the jar.
Use peanuts that smell fresh and have been stored properly. Do not try to improve stale, rancid, or moldy nuts by grinding them with sweetener. This recipe starts with ready-to-eat roasted peanuts, so no roasting step is included in the timing. Let any freshly roasted nuts cool to the temperature your appliance permits before processing.
The basic approach also appears in Cuisinart’s peanut-butter recipe: roasted peanuts are processed to the desired consistency, then refrigerated. Its instructions are for its own equipment; use your machine’s manual to choose an appropriate load and operating cycle.
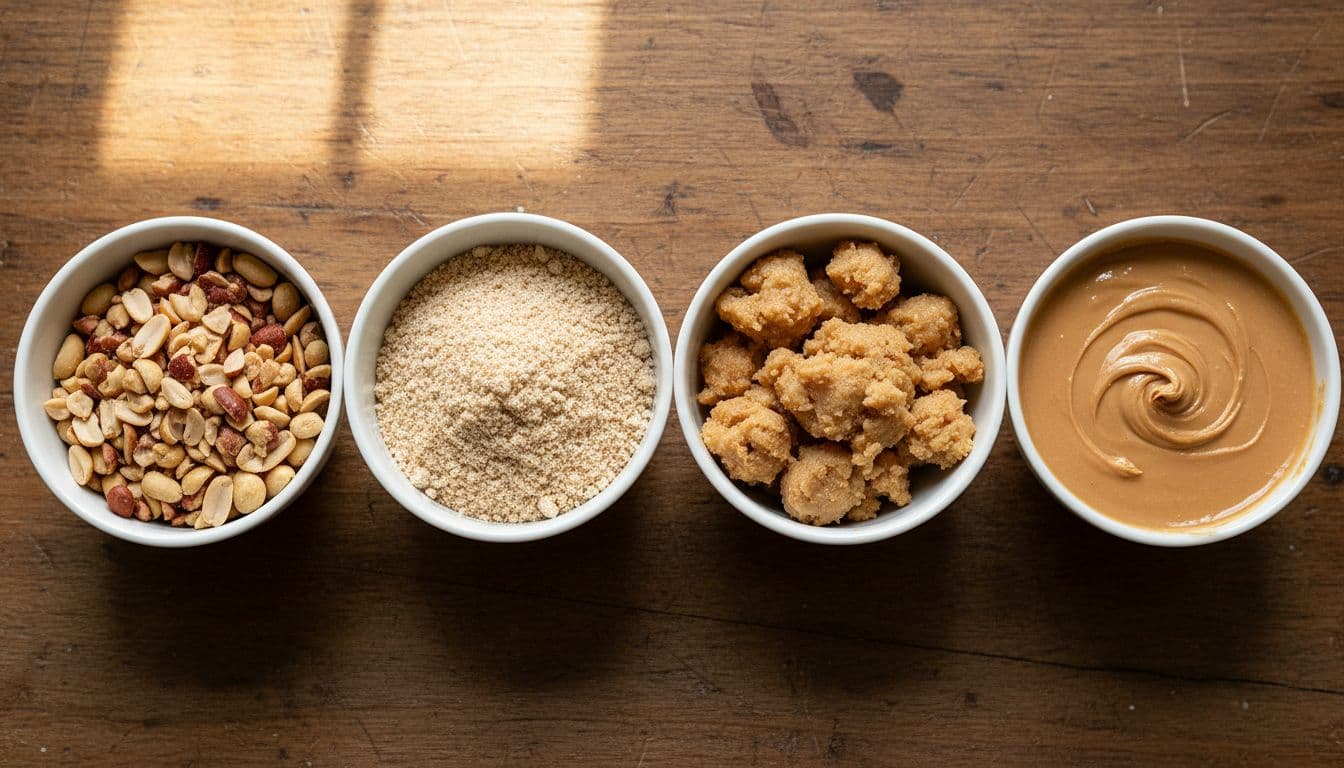
Four stages between peanuts and spread
The changing texture is useful information. Early crumbs are not a failed batch, and a thick paste does not automatically need a large pour of oil. Pause to inspect with the motor off and the blade stopped, then decide whether the mixture is progressing normally.
Coarse crumbs
The nuts break into irregular pieces and then a sandy meal. Scrape down material clinging to the bowl so it returns to the blade’s path.
Clumps
Small pieces begin sticking together. The mixture may look uneven and gather in lumps. Continue only within the machine’s allowed operating limits.
Thick paste
A heavy mass forms and may collect around the blade. Stop to scrape if circulation slows, and give the motor its required cooling breaks.
Glossy butter
The paste becomes smoother and spreads more easily from a spoon. Assess salt and texture now, rather than changing the formula during the crumb stage.
How to make homemade peanut butter in six steps
Set up clean, dry equipment
Fit the correct blade or jar for nut butter and confirm the lid is secure. Measure 3 cups of roasted, shelled peanuts. Have a flexible spatula and a clean, dry storage container ready. Keep the salt and optional oil beside the machine for later.
Break down the peanuts
Add the peanuts and pulse until roughly chopped, using the controls your appliance recommends. If you want a crunchy finish, remove a small spoonful of these chopped nuts and set it aside in a clean dish before continuing with the main batch.
Process through the thick stages
Process in the allowed intervals, stopping the motor before opening or scraping. Return material from the sides toward the blade, then replace the lid before restarting. Allow any required cooling pauses. Actual processing often takes several minutes; the texture stages matter more than a fixed duration.
Season the smooth butter
Once the mixture is glossy and spreadable, add ¼ teaspoon fine salt if using unsalted peanuts. Blend briefly, then taste with a clean spoon. Salted peanuts may need none. Add any further salt in small pinches so a mild batch does not become difficult to use in other recipes.
Adjust only if needed
If the butter remains too stiff after adequate safe processing, add peanut or neutral oil 1 teaspoon at a time, up to 1 tablespoon for this batch. Reassess after each addition. Do not add water, and do not use oil as a way to keep an overheating or stalled machine running.
Jar and refrigerate
Stir in the reserved chopped peanuts if making a crunchy version. Transfer to the clean, dry container, cover, label, and refrigerate. Warm freshly processed butter can look looser than it will after chilling, so test a cooled spoonful before adding extra peanuts to thicken the whole batch.
Troubleshoot the process before the formula
| What you notice | Best next step |
|---|---|
| Dry-looking crumbs | Check whether the batch is still in an early stage. Scrape and continue safely before deciding it needs oil. |
| Blade spins under a stationary mass | Stop the machine and scrape. Use a tamper only if designed for your blender, exactly as its manual directs. |
| Motor stalls, smells strained, or overheats | Stop immediately and follow the cooling instructions. Check that the batch and appliance are suitable. |
| Warm butter seems runny | Chill a small plain sample first. Avoid adding more nuts before seeing its cooled consistency. |
| Oil rises during storage | Stir the plain butter thoroughly with a clean utensil before measuring or serving. |
When learning how to make homemade peanut butter, keep a short note of the peanut brand, batch size, and texture you liked. That record is more useful for repeating your result than copying someone else’s processing time. Different machines and peanuts can reach a similar texture by different routes.
Flavor one portion, keep the main jar useful
Try a pinch of cinnamon or cocoa in a spoonful before seasoning the entire batch. Sweetener changes flavor and can change texture, so add it gradually to a small portion. Fresh fruit, milk, and other moist additions turn it into a different mixture with different storage needs.
Spread the plain butter in a toasted peanut butter and jelly sandwich, or stir a measured amount into a compatible soup using the nut-butter thickening method. Start small when adding it to savory food so the peanut flavor does not overwhelm the other ingredients.
For stovetop peanut butter fudge, use the type of commercial no-stir spread specified by that recipe. A homemade natural butter is not automatically interchangeable in candy or baking; oil separation and consistency can change the result.
Keep the plain jar clean and cold
Refrigerate in a clean, dry, airtight container. Make a modest batch and aim to use plain butter within about two weeks for quality; this is a conservative household plan, not a laboratory-tested shelf life. Follow shorter guidance for any ingredient you add, and keep moist add-ins out of the main jar.
Use a clean utensil each time. Avoid dipping a knife back into the jar after it has touched another food. Discard butter with mold or other signs of spoilage rather than tasting it to decide. If the jar has been mishandled, a normal appearance does not establish safety.
Peanuts are a major allergen. Check the actual package and clean shared equipment carefully when cooking for others. The FDA’s food-allergy guide explains why ingredient labels and avoiding the relevant allergen matter.
Questions before blending
Can I make it without added oil?
Often, yes. The recipe begins with peanuts alone. Wait for the mixture to reach its smooth stage before deciding whether a small amount of oil would improve the texture.
Can I use a small blender or chopper?
Only if its manufacturer permits nut butter and the batch fits its approved load. A machine meant for liquids or light chopping may not be suitable for a heavy nut paste.
Why is it firmer from the refrigerator?
Cooling changes how easily the butter spreads. Take out the portion you need and let that portion soften briefly rather than warming the whole jar repeatedly.
Can I double the recipe?
Only if the appliance allows that load. Separate batches are a better choice when doubling would exceed its capacity. Combine finished batches in a clean bowl if you want an even final seasoning.
Printable roasted-peanut butter
Keep the measured batch and texture checks together. In your review, share your appliance and whether you preferred a smooth or crunchy finish.
THE COMPLETE RECIPE
Homemade Roasted Peanut Butter
Yield: 24 tablespoons (about 1½ cups total)
Ingredients
- 3 cups roasted, shelled peanuts Preferably unsalted; use a batch size approved by your appliance.
- 1/4 teaspoon fine salt Optional. Start here only if using unsalted peanuts, then adjust to taste.
- 1 tablespoon peanut or neutral oil Optional maximum, only if needed. Add 1 teaspoon at a time after adequate processing.
Equipment
- 1 food processor or blender approved for nut butter Follow its batch-size, runtime, temperature, and cooling instructions.
- 1 Flexible spatula Use only with motor off and blade stopped.
- 1 Measuring cups and spoons
- 1 clean, dry airtight container For refrigerated storage.
Instructions
- Set up the appliance. Fit the approved blade or jar for nut butter and confirm the batch is within the manufacturer’s limits. Measure the roasted peanuts and prepare a clean, dry container.
- Pulse the peanuts. Add the peanuts and pulse until roughly chopped. For a crunchy finish, reserve a small spoonful of chopped nuts before continuing.
- Process through the stages. Process in permitted intervals until the peanuts move from crumbs to clumps, then a thick paste and glossy butter. Stop the motor before scraping, replace the lid before restarting, and allow all required cooling pauses.
- Season the smooth butter. If the peanuts were unsalted, add ¼ teaspoon fine salt, blend briefly, and taste with a clean spoon. Add more only in small pinches as needed.
- Adjust the texture if needed. If the butter remains too stiff after sufficient safe processing, add oil 1 teaspoon at a time, up to 1 tablespoon for this batch. Reassess after each addition. Do not add water or keep a struggling motor running.
- Jar and chill. Stir in reserved chopped peanuts if desired. Transfer to the clean, dry container, cover, label, and refrigerate. Check a chilled sample before deciding a warm batch is too thin.
Notes
Rate This Recipe
Made this recipe? Choose a star rating in the comment form and share how it turned out. Your cooking time and any ingredient changes can help the next reader.
Rate This Recipe