Dry chicken breast usually isn’t a “bad recipe” problem; it’s a heat and timing problem. The good news is that you can sear a chicken breast to a crisp, golden crust and still keep it juicy inside, even on a weeknight.
This stovetop technique, the best way to cook chicken breast, feels a bit like toasting bread. You want enough heat to brown the outside fast, but not so much time that the inside turns chalky. That balance comes from even thickness, smart salting, a hot pan, and pulling at the right temperature.
Set yourself up for a juicy sear (before the boneless skinless chicken breast hits the pan)

Start with the part most people skip: prep. A sear is fast, so any small mistake shows up right away.
1) Pound to even thickness (2 minutes).
Boneless skinless chicken breasts are usually thick on one end and thin on the other. That thin end overcooks while you wait on the thick end. Put the breast in a zip-top bag (or between plastic wrap) and use a meat mallet to pound the chicken to an even thickness. Aim for about 3/4-inch when you can.
2) Salt at the right time.
Kosher salt helps the meat retain moisture and be seasoned all the way through. For extra flavor, use a seasoning blend with black pepper, garlic powder, onion powder, and smoked paprika.
- If you have 30 to 60 minutes, salt both sides and leave it uncovered in the fridge. This is a quick dry brine.
- If you only have 5 minutes, salt right before cooking. It’s still worth doing.
Avoid salting, then letting it sit on the counter for 10 to 15 minutes. That’s the awkward middle where moisture beads up on the surface and fights browning.
3) Pat dry for better browning (30 seconds).
Right before cooking, pat dry with paper towels for better moisture control. Dry surface equals faster browning, which means less time in the pan.
4) Choose the right pan and fat.
A cast-iron skillet browns best. Stainless steel works too. Nonstick works, but the crust will be lighter.
Add enough cooking oil or olive oil to coat the pan in a thin layer. Save butter for basting later so it doesn’t burn early.
Gotcha: If the chicken looks wet in the pan, it will steam. Steam makes pale chicken and dry chicken.
Step-by-step: how to sear chicken breast in a skillet (with times)
This method for pan-seared chicken breast gives you a real sear, then finishes gently so the center stays tender. Plan on about 15 to 20 minutes total, depending on thickness.
Before the steps, here’s a quick guide for common breast thicknesses. Times vary by stove and pan, so use this as a starting point.
| Thickness (after pounding) | Sear minutes per side | Finish method | Pull temp, then rest |
|---|---|---|---|
| 1/2-inch | 2 to 3 min | Pan only | 158 to 160°F |
| 3/4-inch | 3 to 4 min | Pan or oven | 158 to 160°F |
| 1 inch | 4 to 5 min | Oven recommended | 158 to 160°F |
Pulling at 158 to 160°F gives room for carryover cooking to reach an internal temperature of 165°F after resting.
The core method (flip once, don’t fuss)
- Preheat the pan (2 to 3 minutes).
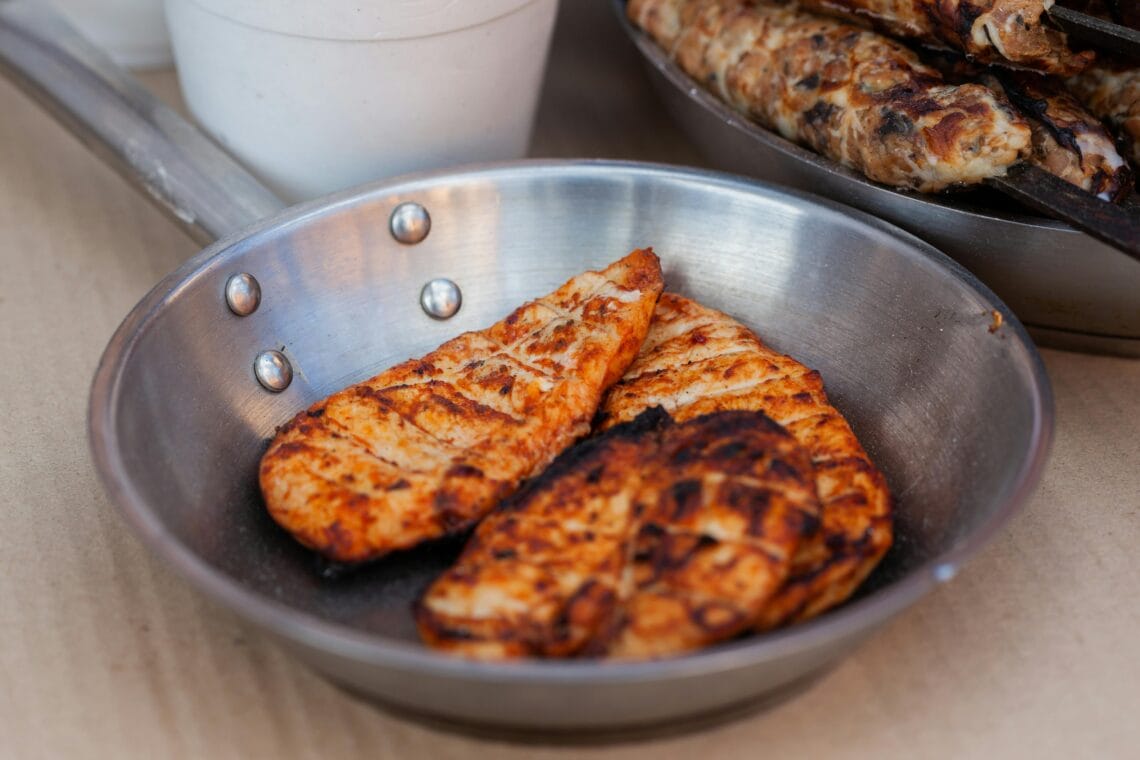
Heat the skillet over medium-high heat. Add oil, then let it heat until it shimmers. A drop of water should sizzle on contact. - Lay the chicken in, then don’t move it (3 to 5 minutes).
Place the chicken presentation-side down (the smoother side). Press lightly for 5 seconds so it makes full contact. Searing requires patience to achieve a golden brown crust, so leave it alone until it releases easily. If it sticks, it usually isn’t browned yet. - Flip once (2 to 4 minutes).
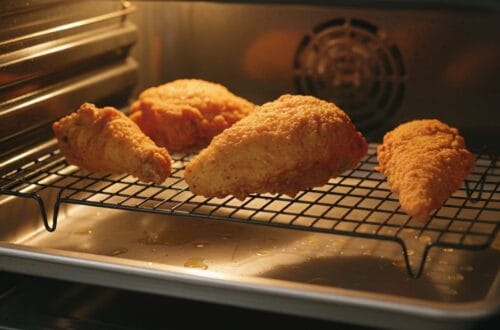
After flipping the chicken, lower the heat to medium. At this point, you’re building color on side two while protecting the center. - Optional oven finish for thicker breasts (5 to 8 minutes).
If the chicken is 1 inch thick (or your sear is deep golden already), move the skillet to a 375°F oven. This gentle finish helps prevent that dry outer ring. - Optional butter baste (30 to 60 seconds).
In the last minute, add 1 tablespoon unsalted butter and a smashed garlic clove or thyme sprig. Tilt the pan and spoon the foaming butter over the chicken. Keep it short so the butter doesn’t burn.
Two quick cues while cooking: you should hear a steady sizzle (not a weak hiss), and you should see browning along the edges before you flip.
Doneness: safe temperature, carryover cooking, and a meat thermometer that helps
Pan-fried chicken breast goes from juicy to dry in a narrow window, so the internal temperature of 165°F matters more than “cook until it looks done.”
For food safety, the USDA lists chicken as safe at an internal temperature of 165°F. Keep that bookmarked: USDA safe minimum internal temperature chart.
Here’s how to hit that number without overcooking, using a meat thermometer for accuracy:
- Pull early: Take the chicken off the heat at 158 to 160°F.
- Rest: The temperature will often rise 3 to 7°F as it rests (carryover cooking).
- Finish safely: Resting should bring you close to the internal temperature of 165°F, for perfectly cooked pan-fried chicken with a much juicier result.
A simple instant-read meat thermometer takes the stress out of guessing. Insert it into the thickest part from the side, not straight down from the top. That side entry is easier to aim and less likely to hit the pan.
For a deeper look at how chicken temps and carryover work in real kitchens, see ThermoWorks’ guide to chicken internal temps.
Let the chicken rest, slice, and quick pan sauces (so the chicken stays moist)
Let the chicken rest; it’s not optional. It’s the part that keeps juices from running out onto the cutting board.
Move the chicken to a plate and let it rest for 5 minutes for average breasts, or 8 minutes for thick ones. This method is ideal for meal prep because it maintains moisture even when reheated. Then slice against the grain on a slight bias. Those angled slices look nicer and feel more tender.
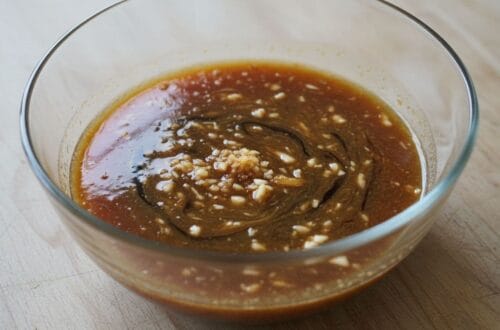
Want dinner to feel like a restaurant plate? Use the browned bits left in the pan from your pan-seared chicken breast. These sauces complement the initial seasoning.
Three fast pan sauce ideas (5 minutes)
Keep the heat at medium and work quickly:
- Lemon-Dijon: Splash in chicken broth, whisk in Dijon, finish with lemon juice.
- Garlic-herb: Deglaze with broth, add butter, then stir in parsley or thyme.
- Simple cream sauce: Add broth, reduce, then swirl in a spoon of cream cheese.
If you want a reliable base formula, follow this 5-minute chicken pan sauce and swap flavors to match your sides.
Conclusion
Juicy chicken breast isn’t luck, it’s a few repeatable moves: even thickness, smart salting, searing in a hot pan at medium-high heat with olive oil and black pepper, and a single confident flip. Cook to temperature, then let carryover cooking finish the job while the chicken rests.
Next time you sear a chicken breast for that perfect pan-seared chicken breast, keep your thermometer close and your tongs patient. The crust will come, and the juice will stay where it belongs, in the meat. This combination creates a restaurant-quality meal at home.