
Nothing beats that first bite: crackly batter that snaps, steamy fish that flakes apart, and salty chips that stay fluffy inside. The problem is that takeout can be a gamble. Soggy coating, limp fries, and oil that tastes tired.
This guide shows how to cook fish & chips with a method that works for beginners. You’ll get the classic pub-style deep-fried version, plus a lighter oven-baked path when you want less mess.
Great fish and chips isn’t mysterious. It’s mostly prep and temperature control: dry fish, hot oil, and small batches so the heat doesn’t crash.
Start with the right fish, potatoes, and oil so the texture turns out right
For classic fish and chips, pick a thick, flaky white fish. Thickness matters because thin fillets cook through before the coating has time to crisp. Good options include cod, haddock, pollock, hake, and halibut. In February 2026, haddock also stands out as a smart choice when you want a more sustainable swap (look for credible labeling like MSC when available, and check your local sourcing).
Next, choose potatoes that fry crisp and stay airy. Russet (Idaho) potatoes are the standard because their starch level helps them brown well. Cut them thicker, around 1/2-inch, for that chip-shop bite.
Oil choice matters too. Use a neutral, high smoke-point oil, such as canola (rapeseed), vegetable, peanut, sunflower, or avocado oil. Want a pro move? Fry chips and fish in separate pots so the fries don’t pick up a fishy aroma. It’s optional, but helpful.
Choose fish that stays juicy under the batter
Shop with your senses. Fresh fish should smell clean, not sharp. The flesh should look moist and firm, not dull or mushy.
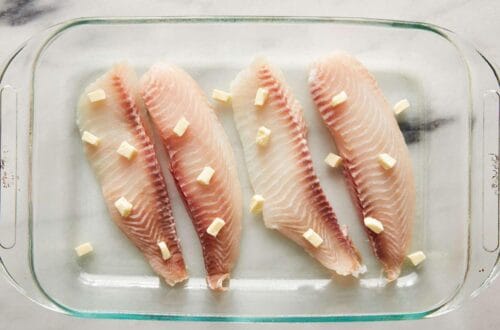
At home, portion the fish into even pieces, about 2 to 3 ounces each, so everything finishes at the same time. Then do the step people skip: pat the fish very dry with paper towels. Moisture is the enemy of crisp batter because steam loosens the coating as it fries.
Once dry, keep the fish chilled while you prep the chips and batter. Cold fish holds its shape better in hot oil.
Cut chips like a real chip shop, then soak and dry
Cut your russets into thick batons, then drop them into a bowl of cold water for about 30 minutes. This rinse removes surface starch, which helps the outside fry up cleaner and crispier.
After soaking, drain well, then dry thoroughly with towels. Don’t rush this. Wet potatoes, when fried in oil, spit out steam instead of crisping.
If you want to prep ahead, store cut potatoes submerged in water in the fridge for up to 24 hours. Skip salting the water because it can discolor the potatoes.
Cook the chips first, then finish them with a quick second fry
The most reliable path to crisp chips is the double-fry. The first fry cooks the inside until tender. The second fry builds the crisp shell.
Set up safely before you heat anything. Use a heavy pot with plenty of space, don’t fill it more than halfway with oil, and keep kids and pets out of the kitchen. A clip-on thermometer or an oil-safe probe makes this easier because temperature swings are the main cause of failures.
First fry for a tender center (then rest)
Heat oil to about 350°F. Fry the chips in batches, so they have room to move.
Cook until they turn pale gold, and the corners start to color, usually 6 to 8 minutes depending on thickness. They shouldn’t be deep brown yet.
Drain on paper towels or, better, on a rack over a sheet pan. Then let them rest while you cook the fish. That short rest lets trapped steam escape, which sets you up for crunch later.
Second fry for the shatter-crisp shell
Bring the oil back up to 375°F. The oil must recover its heat before the next batch goes in.
Re-fry the chips for about 2 minutes, or until they’re deep golden and crisp. Keep batches small; crowding drops the temperature fast.
Drain again, then salt immediately while the surface oil is still hot. Salt sticks best right then, not five minutes later.
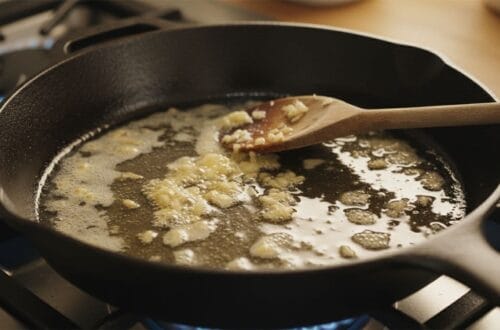
Make crisp, non-greasy battered fish by controlling moisture and heat
Great batter acts like a jacket. It keeps hot oil away from the fish so the flesh gently steams inside. When the batter is right, the coating stays tight and crunchy, and the fish stays moist.
A simple approach works well at home: seasoned flour for grip, then a cold beer batter for crunch. For extra crispness, many cooks add cornstarch and a little baking powder. A pinch of paprika adds color, and a small hit of cayenne adds warmth without turning it spicy.
The fastest route to greasy fish is oil that’s too cool, or fish that’s still wet.
Aim to fry fish at 375 to 385°F, then cook until the center reaches 145°F.
Mix a beer batter that clings without turning heavy
You’re looking for batter that’s thin but slightly tacky. It should fall from a whisk in a steady stream and leave a faint line on the surface for a second.
Start with flour, cornstarch, salt, pepper, and baking powder, plus optional paprika and cayenne. Pour in very cold beer slowly and stir just until combined. A few lumps are fine. Overmixing builds gluten and makes the coating chewy.
If you have time, let the batter sit briefly while staying cold. Even a short rest can help the coating fry up lighter.
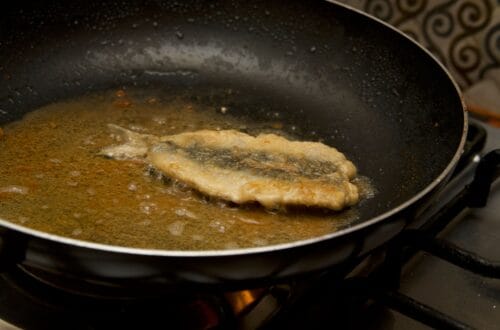
Dredge, dip, and fry in small batches at 375°F
Follow this order for clean results:
- Dry the fish again if needed, then dust lightly in seasoned flour.
- Dip into the cold batter, let the excess drip off.
- Lower the fish into the oil gently, laying it away from you.
Fry about 4 to 5 minutes, depending on thickness, until deep golden and crisp. Move pieces only when needed so the coating sets. Lift fish with a spider or slotted spoon, then drain on a wire rack so it stays crunchy. Paper towels trap steam and soften the crust.
Between batches, wait for the oil to return to temperature. That pause feels slow, but it protects the texture.
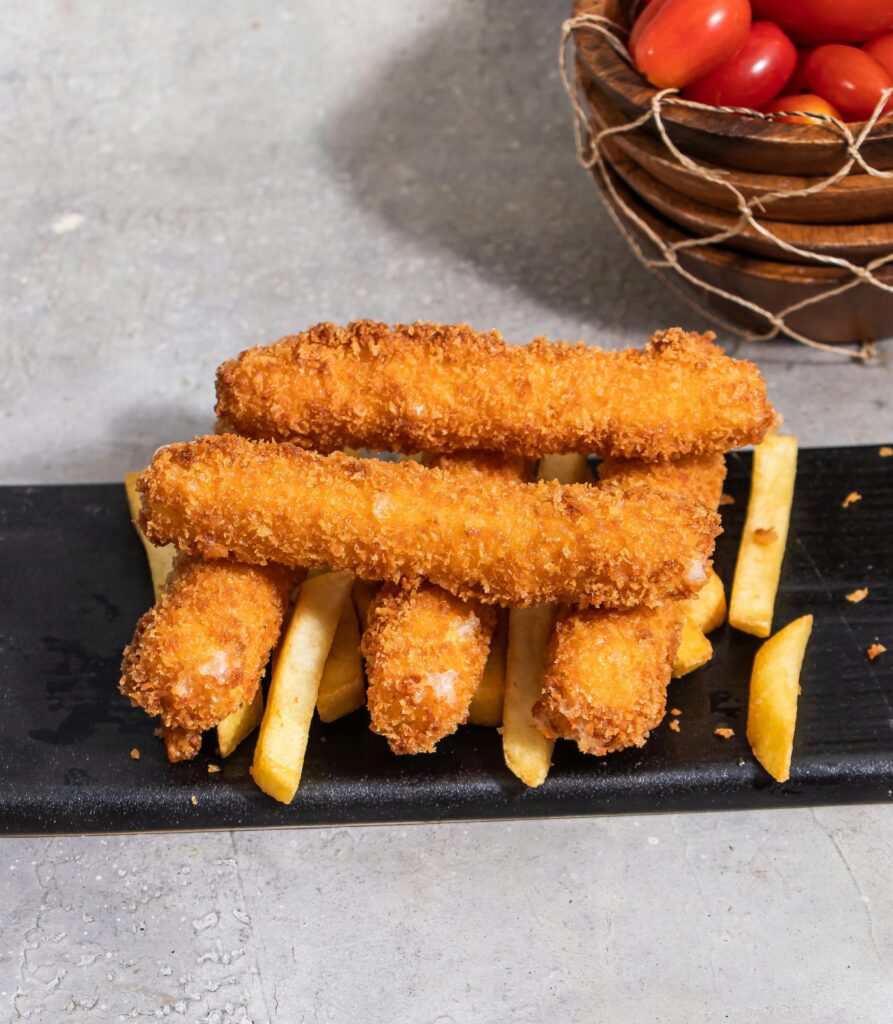
Serve fast, keep it crisp, and fix the common problems
Fish and chips have a short window where everything is perfect. Serve right away, while the coating still crackles and the chips feel airy.
Go classic with malt vinegar, lemon wedges, and tartar sauce. Add coleslaw or a simple green salad if you want something fresh on the plate.
For leftovers, store fish and chips in the fridge for about 3 days. The microwave warms fast, but it softens the coating. An oven or air fryer brings back more crunch. Also, if you prefer a lighter plan, you can bread fish (flour, egg, panko), freeze it well-wrapped for up to 3 months, then bake from frozen until crisp and 145°F inside.
Classic finish: malt vinegar, lemon, and quick tartar sauce
Salt the chips and fish right after frying, then bring vinegar to the table so everyone can choose their level of tang.
For a fast tartar sauce, stir together mayonnaise, finely chopped pickles (or gherkins), capers, a little red onion, chopped dill (or parsley), lemon juice, salt, and pepper. It takes about a minute, and it tastes bright against the rich batter.
Troubleshooting guide for crunch you can count on
- Soggy batter: Oil too cool, fish not dried, or the pot was crowded. Keep oil near 375°F and fry fewer pieces.
- Greasy fish: The temperature dropped, or the batter was too thick. Monitor heat with a thermometer and thin batter with a little cold beer.
- Burnt outside, raw inside: Oil too hot or pieces too thick. Lower the heat slightly, cut portions smaller.
- Chips not crisp: Potatoes weren’t dried well, or you skipped the second fry. Dry thoroughly and always double-fry.
- Keeping batches warm: Hold finished fish and chips on a rack in a 200°F oven for about 10 minutes. This keeps them crisp without cooking them to death.
Conclusion
Once you know the pattern, fish and chips become repeatable. Pick thick white fish (try haddock for a rich, classic bite), soak and dry the potatoes, fry chips twice, keep the batter cold, and hold the oil around 375°F. Most importantly, don’t crowd the pot.
Make it this weekend, set out malt vinegar and homemade tartar sauce, then see how loud that first crunch is.