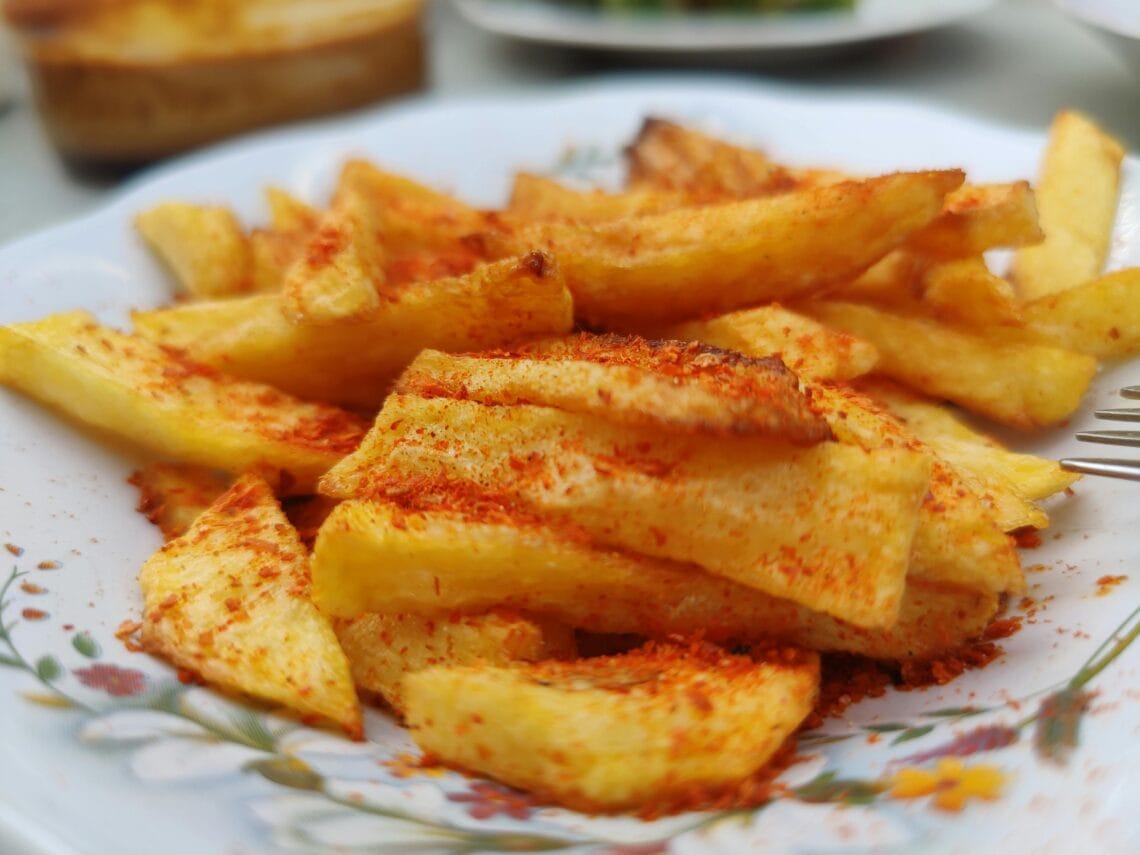
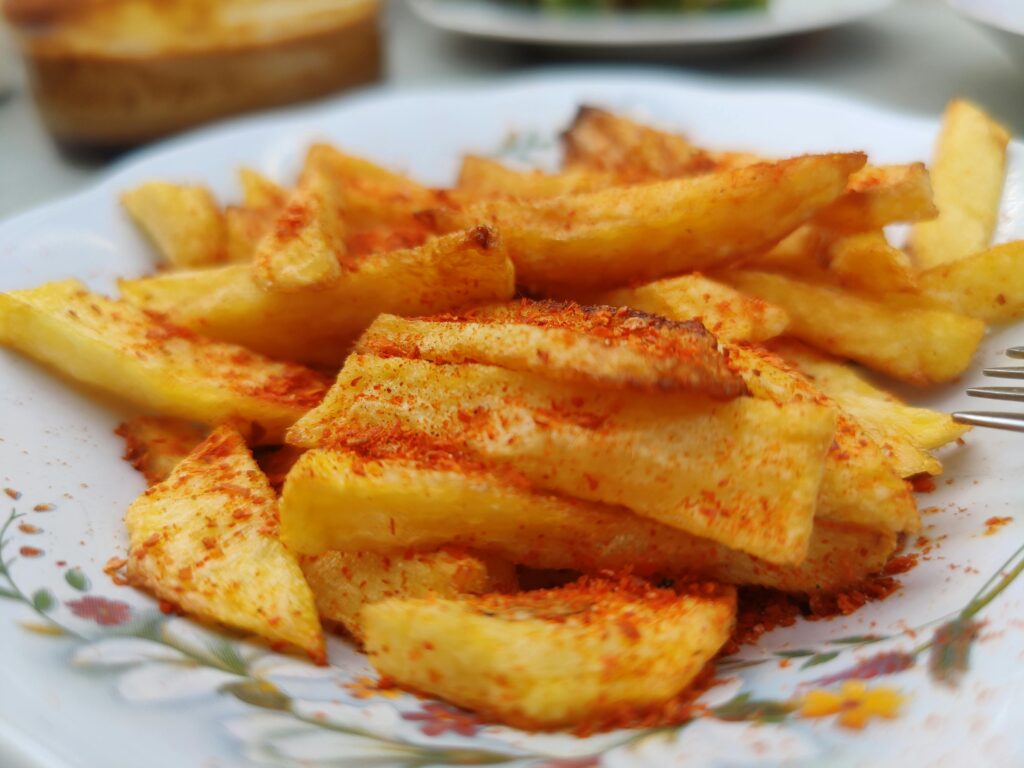
Homemade fries sound easy until you pull a tray of limp, pale sticks from the oven. The good news is you can get restaurant-style oven fries at home, with a crunchy shell and a soft center, and you don’t need a deep fryer.
The best homemade fries recipe oven method comes down to a few moves that work together: use a starchy potato (russet is the simplest win), cut evenly, parboil (or soak), dry well, then bake on a hot sheet pan with hot oil until deeply golden.
Below, you’ll get a clear walkthrough, plus fixes for the usual problems like soggy fries and sticking.
The best homemade fries recipe oven method (simple steps, big crunch)
This is the method that consistently produces the crispest fries in home ovens: a quick parboil in salted water with a splash of vinegar, steam-dry, then bake on a preheated oiled pan at high heat. Several popular recipe tests land on this same idea because it solves the two big issues of oven fries: a wet surface and a slow start.
Quick ingredient list (serves 3 to 4 people)
- 2 to 2 1/2 lb russet potatoes (Sebago also works well), peeled or scrubbed
- 2 1/2 tsp kosher salt, divided (plus more to finish)
- 1 to 2 tbsp cider vinegar (or white vinegar)
- 1/4 cup olive oil or avocado oil
- 1 to 2 tbsp all-purpose flour or cornstarch (optional, for extra crunch)
- Black pepper, garlic powder, paprika (optional)
If you only change one thing, preheat the sheet pan with oil. That sizzle when the fries hit the pan is where the crisp starts.
Step-by-step recipe walkthrough
- Heat the oven and the pan. Set the oven to 425°F. Put a large rimmed sheet pan inside to preheat. Add the oil to the pan once it’s hot, then return it to the oven for a few minutes.
- Cut evenly. Slice potatoes into sticks about 3/8 to 1/2 inch thick. Keep them as uniform as you can so they finish together.
- Parboil with salt and vinegar. Bring a large pot of water to a boil. Add 2 tsp salt and the vinegar. Boil the fries for 5 to 7 minutes, until the outsides are slightly softened, but the centers are not fully tender.
- Drain, then steam-dry. Tip into a colander, then let them sit 5 minutes. That short rest lets moisture evaporate, which helps browning later.
- Coat lightly (optional). Put fries in a large bowl. Sprinkle flour or cornstarch (or a mix) and toss gently. Add pepper or other spices if you want them to be baked on.
- Add to the hot pan carefully. Remove the pan from the oven. Add fries and toss to coat in the hot oil. You should hear a quiet sizzle.
- Spread into a single layer. Give the fries space. If they’re crowded, use two pans.
- Bake until deep golden. Bake 20 minutes, flip, then bake another 15 to 25 minutes. Timing depends on thickness and your oven, but don’t stop at “lightly tan.”
- Rest briefly, then salt. Let fries sit 1 to 2 minutes, then salt right away so it sticks without turning the surface wet.
A two-temperature bake also works (start around 375°F to cook through, then raise to 425°F to crisp). Still, the parboil-plus-hot-pan method is more reliable when you want that loud crunch.
Why parboil plus steam-dry beats soaking alone
Soaking removes surface starch, which helps, but parboiling does more in less time. First, it jump-starts cooking, so the inside turns fluffy before the outside dries out. Second, the boil knocks loose some surface starch, which creates a rougher exterior that crisps well. The steam-dry step matters just as much because surface water turns to steam in the oven, and steam is the enemy of crunch. A splash of vinegar in the water also helps the fries hold their shape and cook more evenly.
The non-negotiables for crispiness (single layer, hot pan, enough oil)
- Dry fries well after draining, because wet potatoes steam rather than roast.
- Don’t crowd the pan, or you’ll trap moisture and soften edges.
- Preheat the pan and oil, so the fries start browning on contact.
- Flip once, halfway through, for even color and texture.
- Bake until truly golden, not just “cooked,” because color equals crunch.
Using parchment paper in baking can help prevent sticking; however, it may also inhibit the browning of certain foods. This is because parchment acts as a barrier between the food and the pan’s heat, which can result in a softer texture on the underside.
On the other hand, if you have a high-quality, well-oiled pan, allowing direct contact between the food and the metal surface is often the best way to achieve optimal crispiness. The direct heat from the metal can create a beautifully browned, crispy exterior, enhancing the overall flavor and texture of your baked goods.
Pick your potatoes, cut them right, and season like a pro
For the best homemade fries recipe results in the oven, russet potatoes are the easiest choice. They’re starchier and drier than waxy potatoes, so they crisp without turning leathery. Yukon Golds can also work, and they taste richer inside, but they may brown a bit differently and can be slightly softer on the surface.
Cutting matters more than most people think. Aim for squared-off sticks, not wedges with sharp, thin corners. Those skinny edges burn before the centers finish. If you want faster cooking, cut thinner, but don’t go too skinny or they’ll dry out.
Seasoning has a timing trick. Salt draws moisture. If you salt too early, you can soften the surface. That’s why many home cooks get better crunch when they salt right after baking, while the fries are hot and a touch glossy with oil.
Chicken salt is a fun option if you want that classic takeout vibe. Sprinkle it at the end, or add a light dust before baking, and finish with more after.
Flavor ideas that stay crispy (what to add before vs after baking)
Add dry spices before baking so they toast onto the surface: garlic powder, paprika, onion powder, black pepper, and a small pinch of flour or cornstarch for texture. Keep sugary blends off the tray, because they can burn and stick.
Finish after baking for big flavor without losing crunch: flaky salt, grated Parmesan, lemon zest, chopped parsley, chicken salt, Cajun seasoning, or za’atar. Serve wet sauces on the side (ketchup, aioli, ranch), since pouring sauce over fries turns crisp edges soft fast.
Troubleshooting and make-ahead tips for oven fries
Most oven-fry issues arise from moisture, overcrowding, or uneven cuts. Here are some quick solutions you can implement immediately:
| Preheat the pan with oil, don’t rush the flip | Likely cause | Fast fix |
|---|---|---|
| Soggy fries | Too wet, crowded pan, oven not hot | Steam-dry longer, use two pans, bake at 425°F until darker |
| Uneven browning | Mixed sizes, hot spots, no flip | Cut evenly, flip once, rotate pan near the end |
| Sticking to the pan | Pan not hot, too little oil | Preheat pan with oil, don’t rush the flip |
| Fries break apart | Overboiled, rough tossing | Boil less, toss gently after parboil |
For make-ahead prep, cut the potatoes and store them submerged in cold water in the fridge up to 24 hours. When you’re ready, drain, parboil, steam-dry, then bake as usual.
Leftovers keep 1 to 2 days in the fridge, but skip the microwave if you care about crunch.
Quick reheat method that brings back the crunch
Reheat fries in a single layer on a sheet pan in a 425°F oven until hot and crisp, usually 6 to 10 minutes. An air fryer also works well at about 400°F, with a single shake. If the fries look dry, add a tiny drizzle of oil before reheating to wake up the crispy edges.
All in all
The best homemade fries recipe for the oven is simple once you nail the order: parboil with salt and a little vinegar, steam-dry, toss onto a hot pan with hot oil, spread into a single layer, then bake until deep golden. From there, the fun part is seasoning, try chicken salt, Parmesan, and lemon zest, or a smoky paprika mix. Above all, don’t overcrowd the pan, because space is what turns potatoes into proper fries. What dip are you serving first?