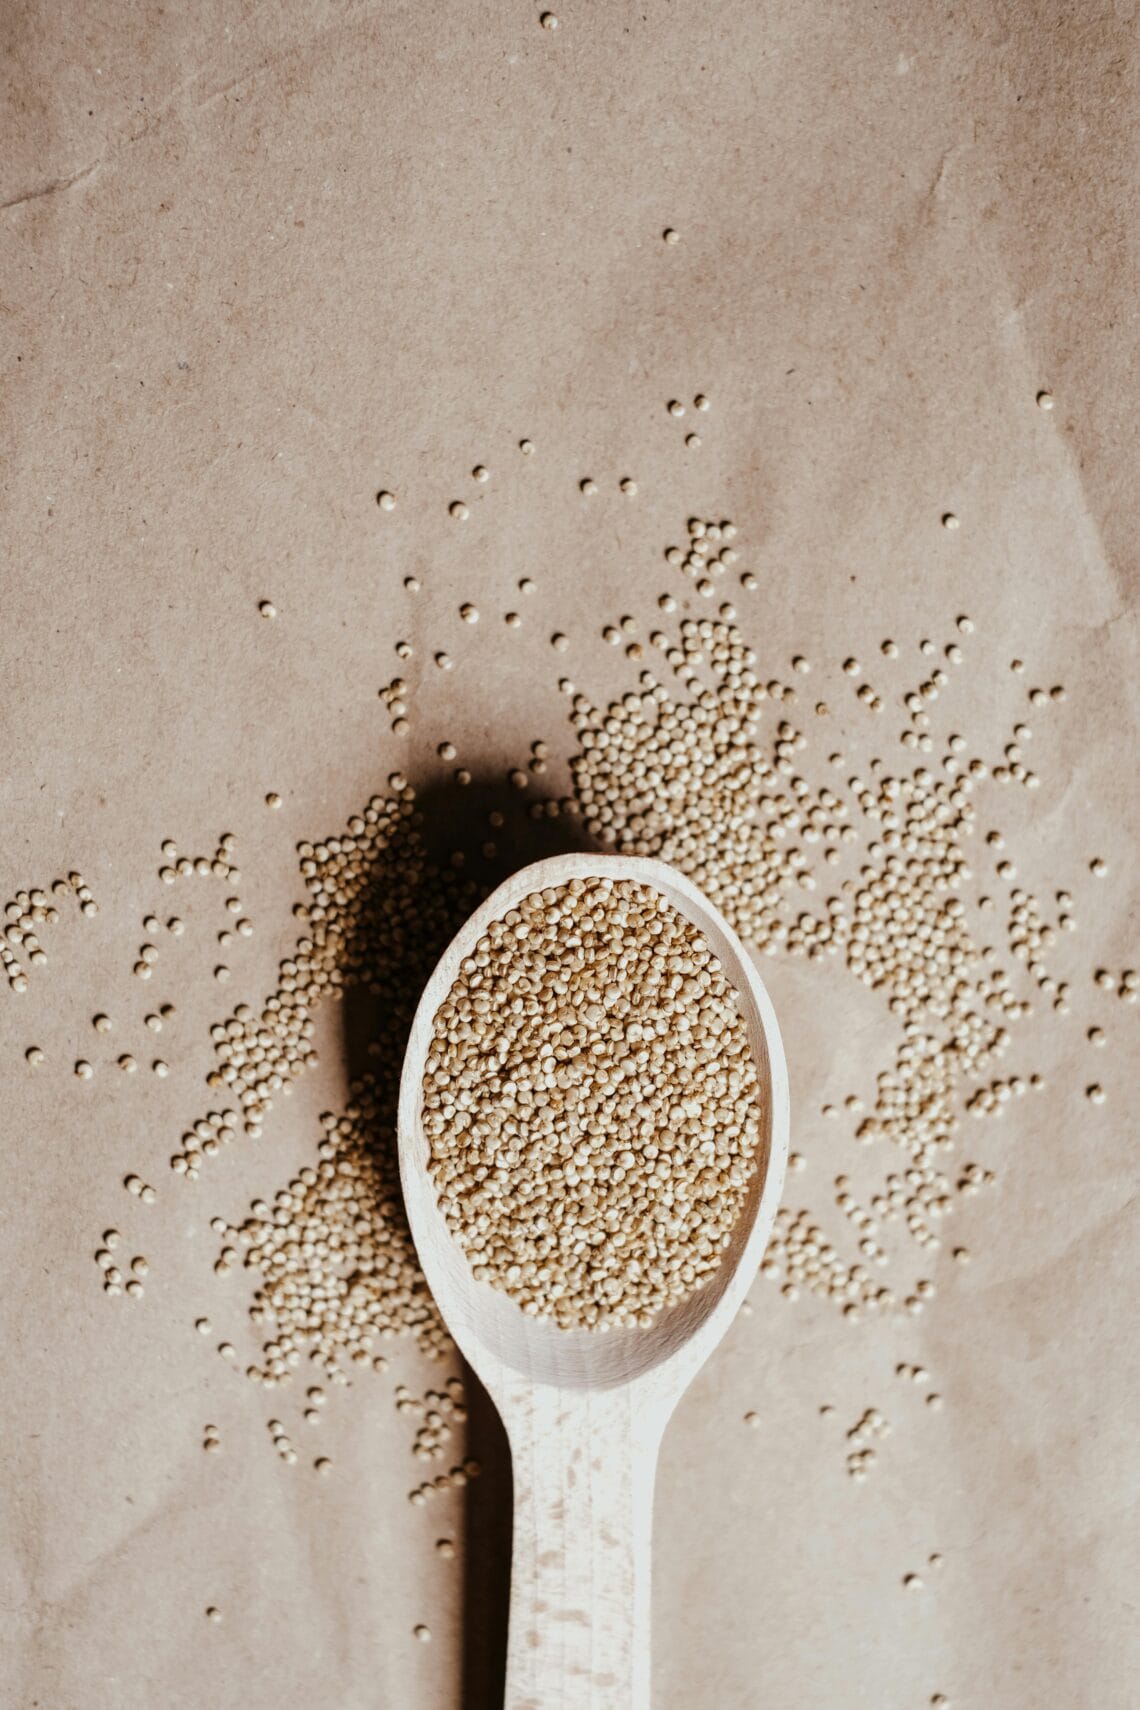
Quinoa is a seed (even though we cook it like a grain). It’s quick, filling, and easy to add to bowls, salads, and breakfast porridge. Yet many people try quinoa once and decide they “don’t like it” because it tastes bitter, earthy, or even a little soapy.
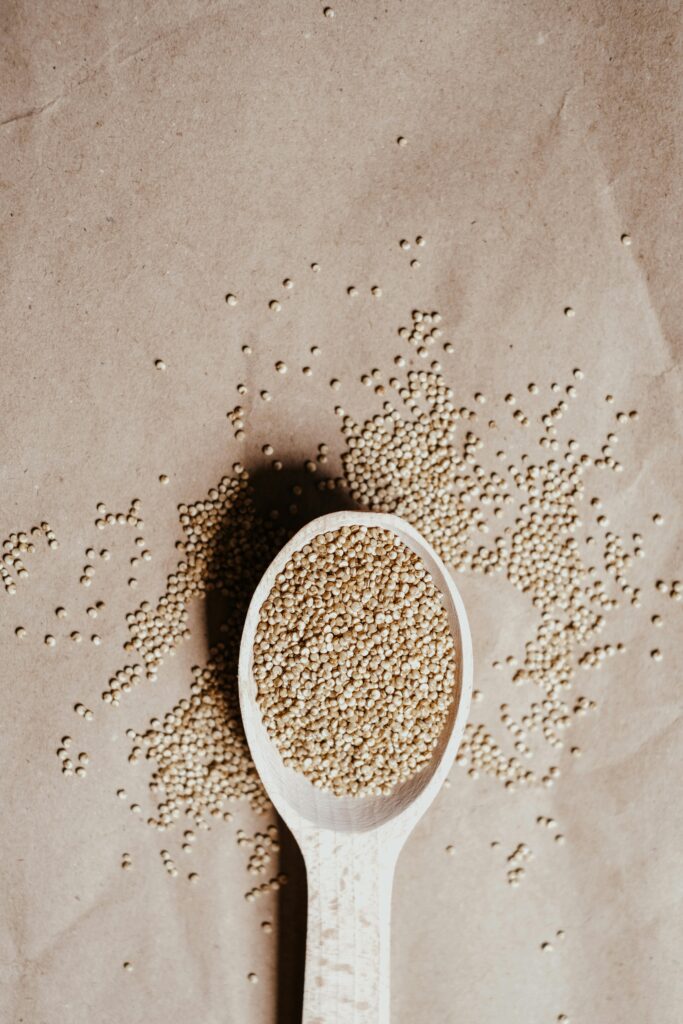
That off-flavor often comes from saponin, a natural coating that helps protect the seed. Many packaged quinoa products are labeled pre-rinsed, so rinsing may be optional. Still, a short rinse can help if you’re sensitive to bitterness, and it’s a smart habit when quinoa comes from a bulk bin or an unlabeled bag.
Below is a simple, reliable method for how to rinse quinoa without a strainer, plus several no-special-tools options you can use in any kitchen.
Before you start, decide if your quinoa needs rinsing
Rinsing quinoa is not always required, but it’s often worth the minute it takes. The main reason is saponin. This coating can create foam during rinsing and a bitter or soap-like taste after cooking. Some people also report mild stomach upset from poorly rinsed quinoa, especially if they eat a large portion. A rinse is a low-effort way to reduce both risks.
Use this decision rule:
- If the quinoa is from a bulk bin, is unlabeled, or tastes bitter, rinse it.
- If the package says pre-rinsed, rinsing is optional, but it can still improve flavor.
- If you’re cooking red or black quinoa, consider a slightly longer rinse. Their flavor can read stronger, so any leftover coating is easier to notice.
Rinsing also removes dust from processing and transport. That matters most for bulk quinoa, which may have more loose particles.
If you’re unsure, rinse. The best-case result is a cleaner, milder taste, and the cost is about a minute.
What you need for a clean rinse (and what not to use)
The easiest setup is simple: a fine-mesh strainer, cold water, and a bowl or sink. A fine-mesh strainer matters because quinoa grains are tiny and can slip through larger holes.
If you don’t have one, you still have solid options:
- A bowl method (stir, pour off, repeat)
- A coffee filter set in a strainer or coffee basket
- Cheesecloth or a clean cloth bag (a clean white T-shirt works in a pinch)
Avoid paper towels. They don’t hold quinoa well; they can tear, and they don’t let water circulate through the grains evenly. That leads to wasted quinoa and a weaker rinse.
How to rinse quinoa step by step (the basic method that works every time)
The goal is straightforward: run cold water through quinoa while gently moving the grains, then stop when the rinse water looks clear and no longer foams.
Follow these steps:
- Measure the quinoa first. Rinse only what you plan to cook. This keeps your process consistent.
- Choose a container that won’t lose grains. Use a fine-mesh strainer, or pick one of the no-strainer methods below.
- Use cold water. Cold water helps you rinse without starting the cooking process. Warm water can make the surface starch act sticky.
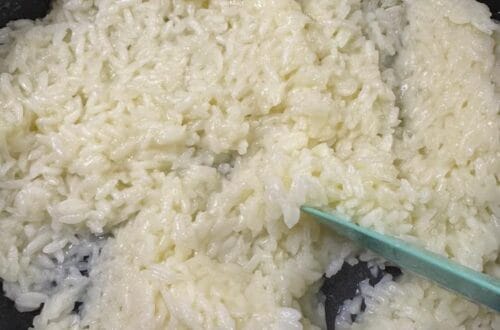
- Rinse while gently agitating. Swish the quinoa with your fingers, shake the strainer, or stir in a bowl. The movement matters because it helps water contact each grain.
- Watch the water, not the clock. Many rinses take about 30 to 60 seconds under running water, but the real stop sign is clarity. Keep going until the water runs mostly clear and you see no suds.
- Drain well. Shake the strainer several times, or let quinoa sit and drip for a minute. Excess rinse water can throw off your cooking ratio.
- Cook right away, or refrigerate briefly. If you pause, keep drained quinoa covered so it doesn’t dry out unevenly.
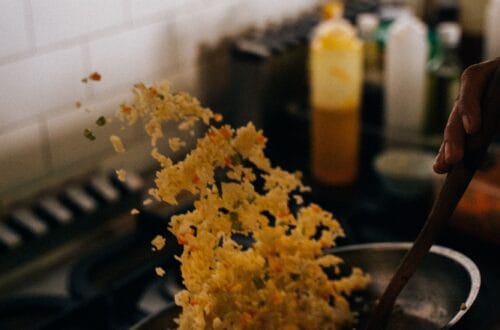
A quick flavor note: after rinsing, cook quinoa in broth for a richer taste, or use water with a pinch of salt for a clean baseline.
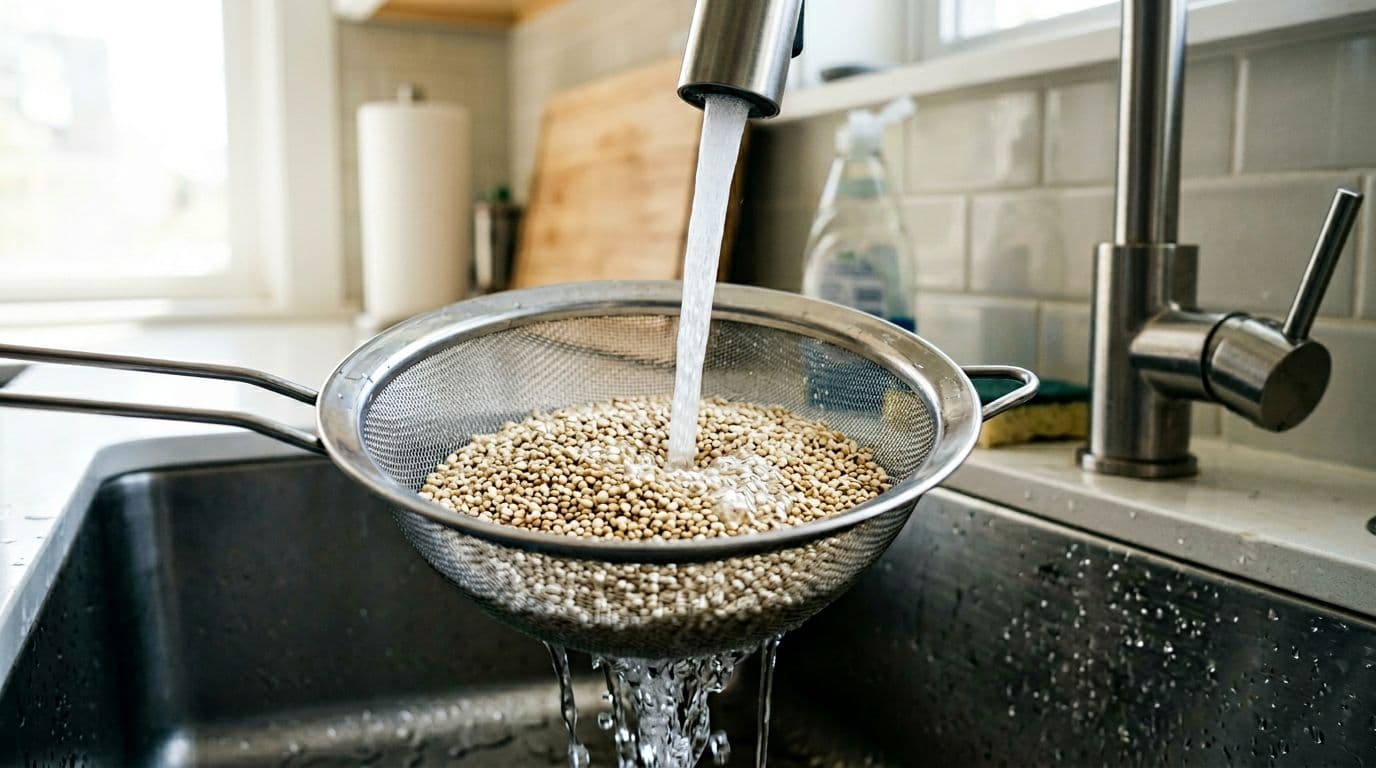
Method 1: Fine-mesh strainer under the faucet
This is the most direct method and the easiest to repeat.
- Pour measured quinoa into a fine-mesh strainer.
- Hold it under cold running water.
- Rinse for about 1 minute, while you stir with your fingers or shake the strainer gently.
- Keep rinsing until the water runs clear and the foam fades.
- Turn off the faucet, then shake the strainer a few times to remove extra water.
- Cook as usual.
Use gentle movement. Quinoa is sturdy, but aggressive rubbing can break some grains and increase mushiness later.
Method 2: Bowl rinse when you do not have a fine-mesh strainer
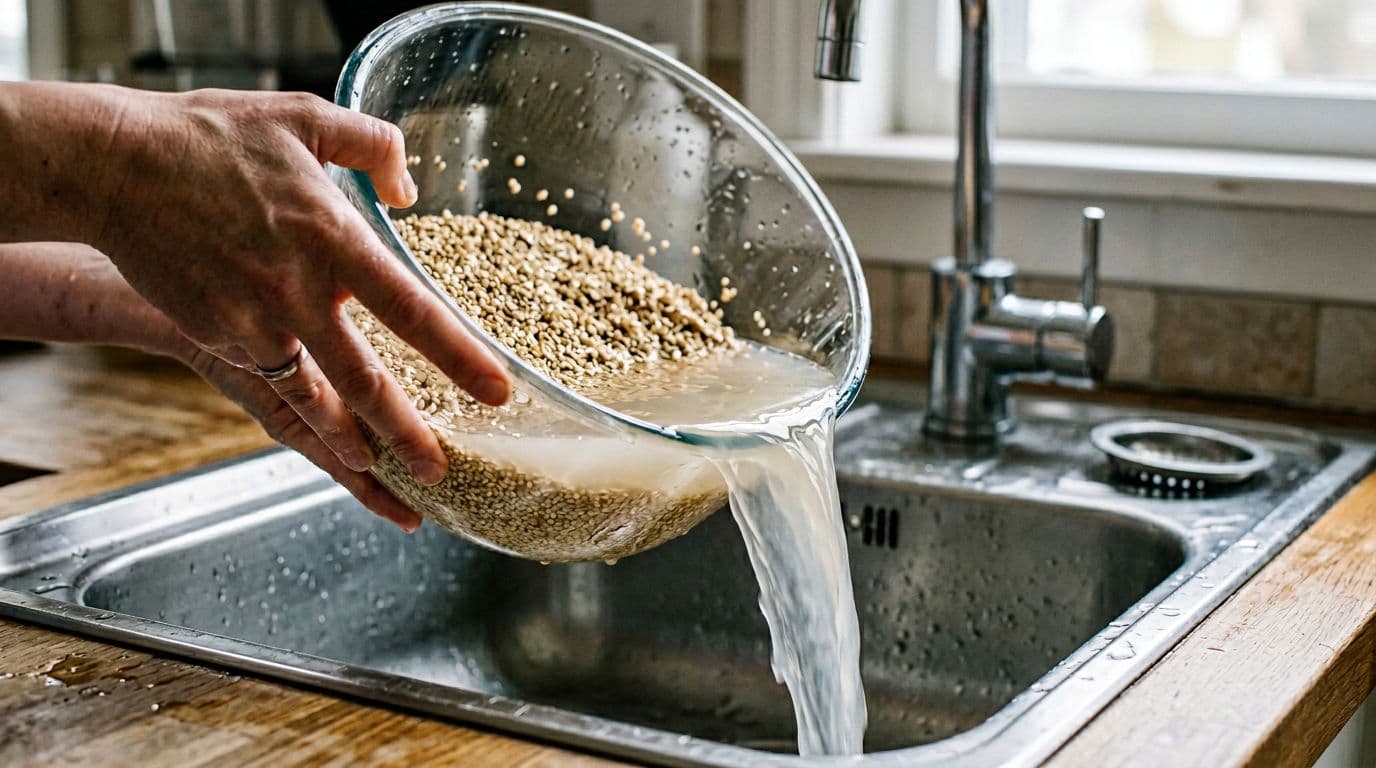
The bowl method trades speed for control. You’re less likely to lose grains, but you’ll use more water.
- Put quinoa in a large bowl.
- Add several inches of cold water.
- Stir briskly for 10 to 15 seconds.
- Tilt the bowl and pour off the cloudy water, using your hand or a pot lid to hold quinoa back.
- Repeat until the water looks clear and no noticeable foam forms.
- Drain well one last time.
If you see a lot of bubbles, don’t guess. Repeat one more rinse cycle.
Method 3: Coffee filter or clean cloth for tiny grains
These options help when quinoa slips through “normal” strainers.
For a coffee filter:
- Set a clean filter in a coffee basket or in a strainer over a bowl.
- Add quinoa, then rinse under cold water.
- Swirl gently with your fingers.
- Let it drain fully before cooking.
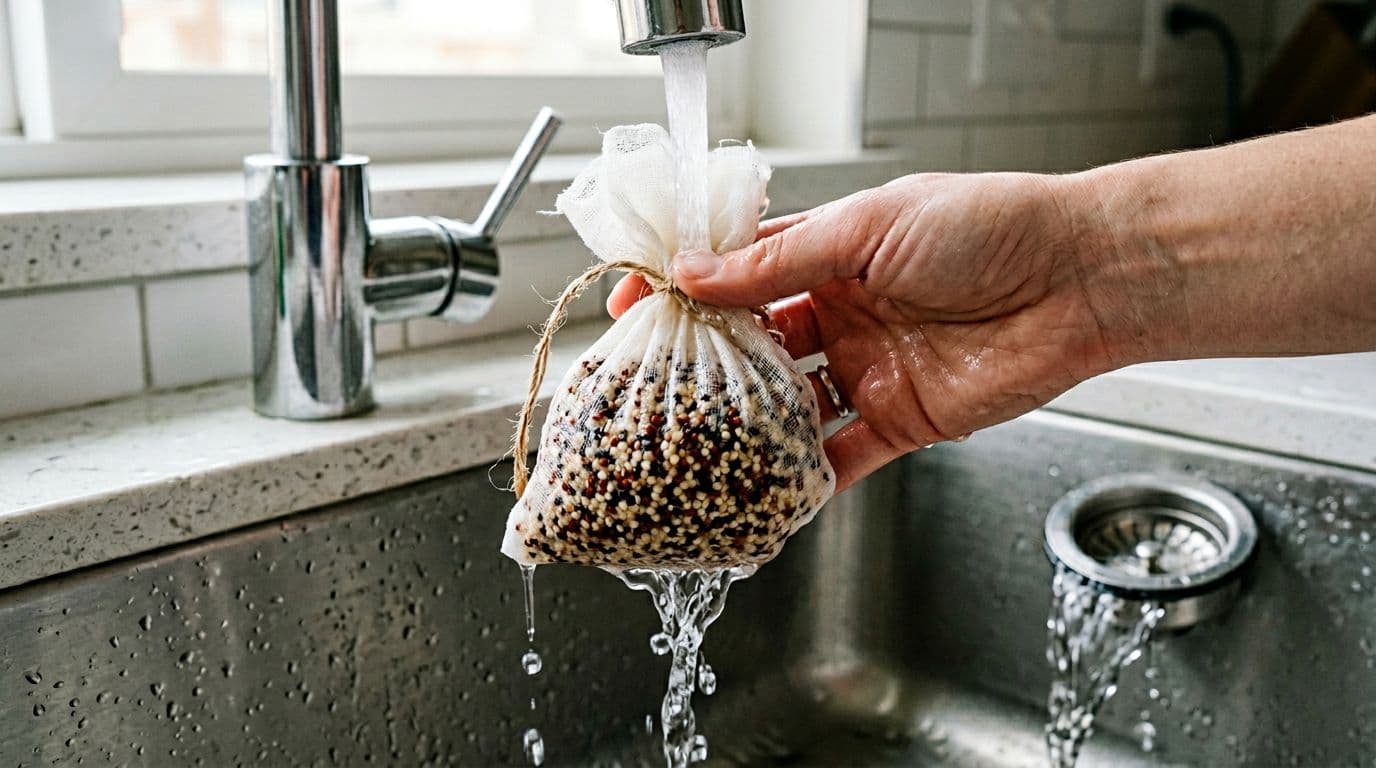
For a cloth option (cheesecloth, a clean white T-shirt, or a nut-milk bag):
- Put quinoa in the cloth and gather it into a pouch.
- Rinse under cold running water for about a minute.
- Massage lightly so water moves through the grains.
- Twist the pouch to squeeze out extra water.
Cloth rinsing is especially useful for small batches, where losing even a tablespoon feels annoying.
Troubleshooting, water-saving options, and what to do after rinsing
Most quinoa problems trace back to one issue: the rinse step was too short, too rough, or done with the wrong setup. Skipping the rinse can leave a bitter taste. Using warm water can make grains clump. A strainer with large holes can send quinoa straight into the drain. Stopping while the water is still cloudy often leaves enough saponin to taste.
If you want to save water, you can do a short salt-water soak instead of running the faucet. Stir 1 teaspoon of salt into a small bowl of water (about 30 minutes), then drain and do a quick fresh-water rinse. Some cooks also use a longer soak with a small splash of lemon juice or vinegar, then rinse again, when they prefer an extra-clean flavor. Either approach should end with a clear-water rinse.
After rinsing, drain well. If quinoa looks wet and heavy, let it sit in the strainer for 60 seconds. That small pause helps prevent a mushy pot later.
Common problems and quick fixes
- Bitter taste after cooking: Rinse longer next time, until foam disappears.
- Quinoa going down the drain: Switch to a coffee filter or cloth pouch.
- Soggy texture: Drain better, and stick to the correct liquid ratio.
- Lingering foam while rinsing: Keep rinsing and agitating gently until it stops.
Conclusion
Learning how to rinse quinoa comes down to a few repeatable habits: use cold water, move the grains gently, rinse until the water runs clear, then drain well. If your bag says pre-rinsed, you can skip it, but a quick rinse often tastes better. When quinoa is bulk or unlabeled, rinsing is the safer choice.
Next time you’re missing a fine-mesh strainer, use the bowl method, a coffee filter, or a clean cloth. Once rinsing stops feeling like a hurdle, quinoa becomes an easy weeknight staple.