How to know when chicken thighs are done starts with the thickest meat, measured away from bone.
Check each piece with a food thermometer. Golden skin, clear juices, and time in the oven can guide your cooking, but they do not establish a safe center temperature.
The FoodSafety.gov minimum-temperature chart lists 165°F for all poultry. After you confirm that minimum in every thigh, judge tenderness and skin texture separately. A juicy oven roast and a soft braise can both be safely cooked while feeling quite different.
How to know when chicken thighs are done: measure well
- Choose the thickest meat. Steady the thigh with clean tongs and find a thick section beside the bone. For boneless pieces, unfold a rolled edge enough to locate the center.
- Insert from the side. Position the thermometer’s sensing area in the meat, away from bone, fat pockets, and the hot pan. Follow the thermometer’s insertion-depth instructions.
- Let the reading settle. A fast-moving display is not the final reading. Check a second thick spot on a large or irregular thigh.
- Check the other pieces. One hot thigh does not establish the temperature of the tray. Continue cooking any piece below 165°F and recheck before serving.
- Use clean serving tools. Transfer finished pieces to a clean plate. Clean the thermometer according to its instructions after contact with undercooked poultry.
Readings that change dramatically when you move the probe usually mean you are measuring different parts of the food or touching bone. Reposition into the thick meat and check again. Do not average a low reading with a high one.
Separate three different cooking goals
Safe center
The thermometer confirms at least 165°F in the thickest meat. Keep cooking a cooler piece even if its skin looks finished.
Tender meat
Dark meat can soften with more cooking. The ideal finish depends on the cut and method; tenderness is a quality choice after the minimum is met.
Crisp skin
Skin needs surface drying and suitable heat. Moisture trapped under a tight cover can soften it even when the meat is fully cooked.
Pink near a bone can remain in safely cooked chicken, and meat can look pale before it is safely done. USDA’s chicken-handling guidance explains why color is not a safety test. Measure first instead of repeatedly cutting the meat open and losing juices.
Use time to decide when to start checking
| Thigh type | At 400°F | What changes the finish |
|---|---|---|
| Bone-in, skin-on, about 6–8 ounces each | Plan roughly 35–45 minutes; begin checking around 30. | Thickness, spacing, pan material, and oven performance. |
| Boneless, skinless, unfolded | Often roughly 20–30 minutes; begin checking around 18. | Thin edges finish quickly; folded or very large pieces need longer. |
| Frozen, stuffed, breaded, or sauced products | Follow their specific directions. | The plain, thawed-thigh estimates are not interchangeable. |
These are planning estimates, not verified finish times for every oven. The timer begins when the chicken goes into a fully preheated oven. Use the recipe below for plain, thawed bone-in thighs, and let the temperature reading decide when each is ready.
A simple oven recipe to put the check into practice
For four servings: use 4 bone-in, skin-on chicken thighs, about 6–8 ounces each; 1 tablespoon olive oil; ½ teaspoon fine salt; ½ teaspoon black pepper; 1 teaspoon garlic powder; and 1 teaspoon paprika.
Have ready: a rimmed metal baking sheet, paper towels, a small bowl, tongs, and a food thermometer. Allow 10 minutes to prepare, about 35–45 minutes to roast, and a 5-minute serving rest.
1Preheat and prepare the pan
Heat a conventional oven to 400°F, with a rack in the center. Use a rimmed metal baking sheet with room around all four thighs. Lightly oil the surface or line it with oven-safe material rated for this temperature. Keep the pan level so rendered fat stays contained.
2Dry the surface and mix the seasoning
Pat the thighs dry with paper towels; do not rinse raw poultry. Mix salt, pepper, garlic powder, and paprika in a small bowl. Reduce the added salt if the package says the chicken contains a salted solution. Dispose of the towels and clean hands and surfaces after raw-chicken contact.
3Coat and arrange skin-side up
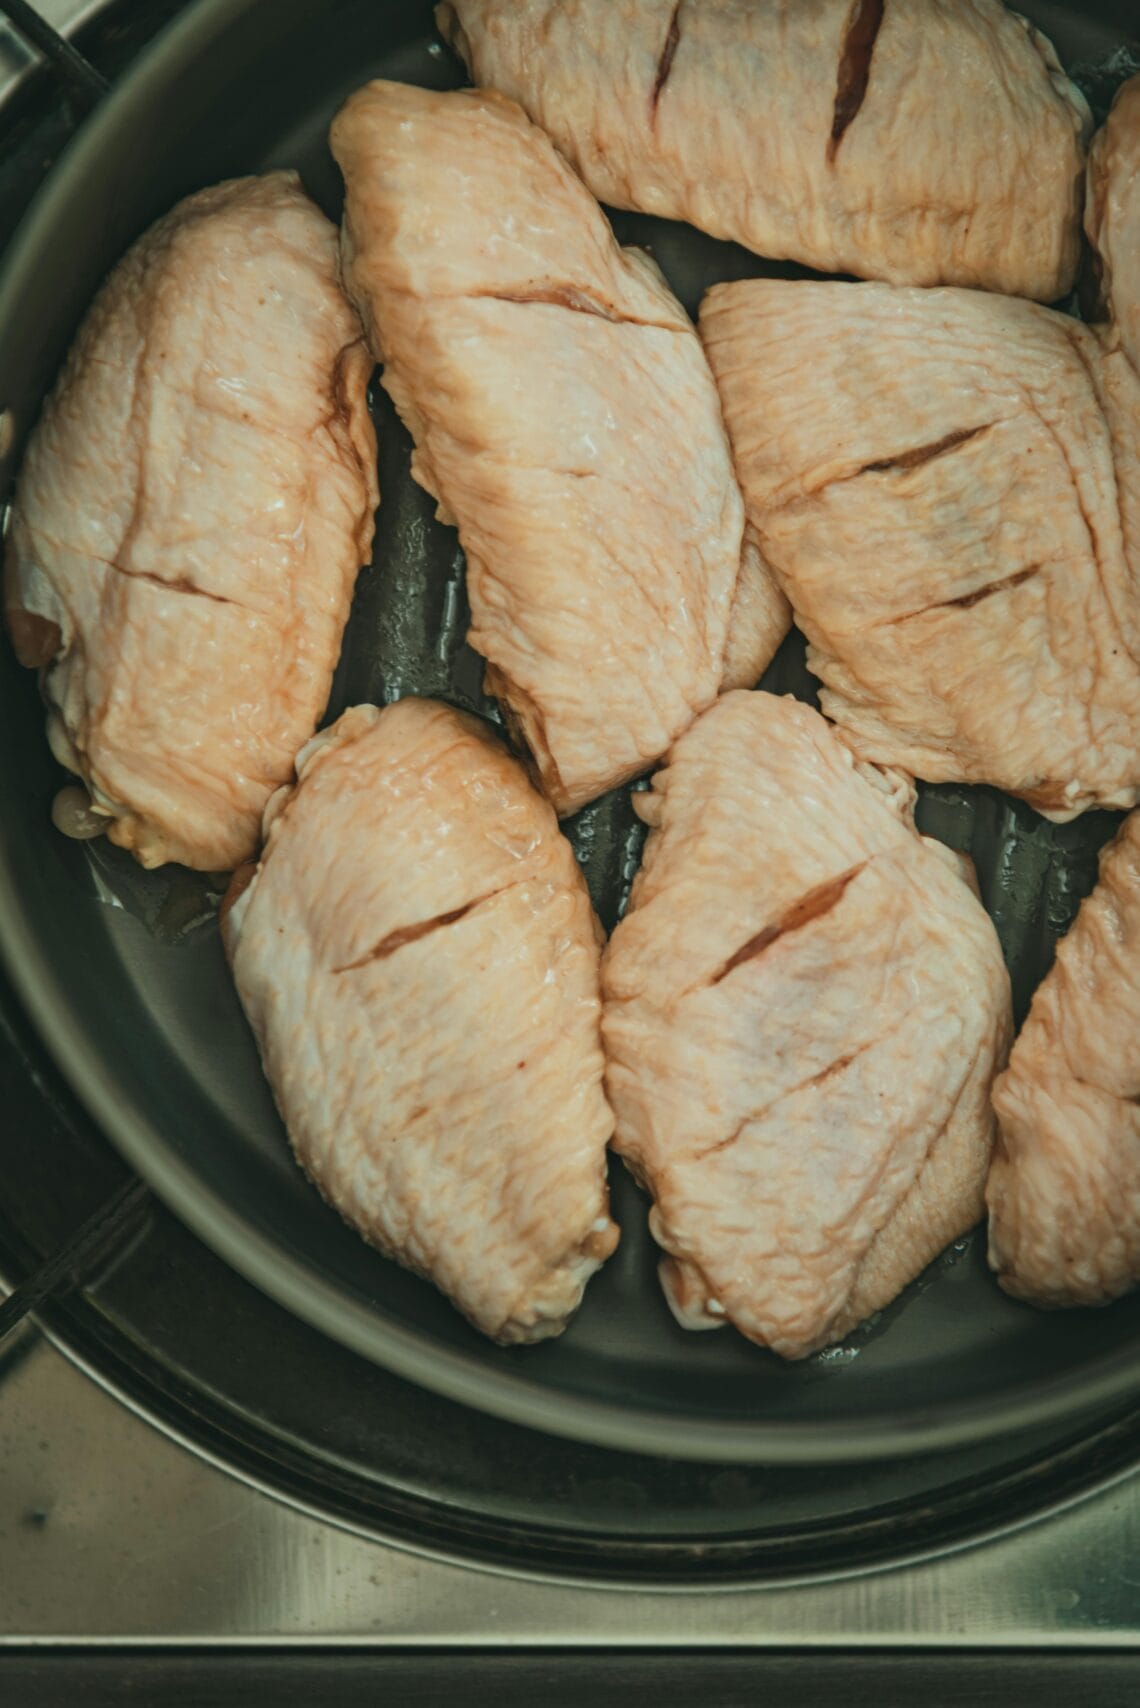
Rub the measured oil over the thighs and distribute the seasoning evenly. Arrange skin-side up, leaving space between pieces. Smooth bunched skin over the meat without stretching it tightly. Avoid overlapping thighs or covering them with vegetables, which changes how the surface browns.
4Roast, then check before the estimate ends
Roast uncovered and begin temperature checks around 30 minutes. Expect roughly 35–45 minutes overall, but large thighs may need longer. If the surface darkens too quickly, loosely shield the dark area with foil while the center finishes. Keep the rest of the pan as open as practical.
5Measure every thigh
Insert the probe into thick meat from the side, avoiding bone. Check another spot if the shape is uneven. Continue roasting any thigh below 165°F and recheck after a few minutes. Remove pieces individually when safely cooked and as tender as you prefer rather than waiting for the slowest one.
6Rest briefly and serve
Transfer to a clean plate and rest about 5 minutes. Keep the skin uncovered or very loosely tented so steam can escape. The rest is for serving quality; it does not replace reaching 165°F before removal. Serve with your preferred vegetables or rice and spoon pan juices around the meat rather than over crisp skin.
When the outside and center disagree
Dark skin, cool center: lower or moderate the direct heat, shield the browned surface, and keep cooking the interior. On a grill, move the thigh to a cooler zone. On a stovetop, follow a suitable covered-finishing method instead of continuing a hard sear.
Safe center, soft skin: dry heat may improve the surface, but watch closely and use a pan and rack position suitable for the appliance. Do not add a broiling step unless all lining materials are broiler-safe. The skin’s appearance is a preference, not a reason to ignore the measured center.
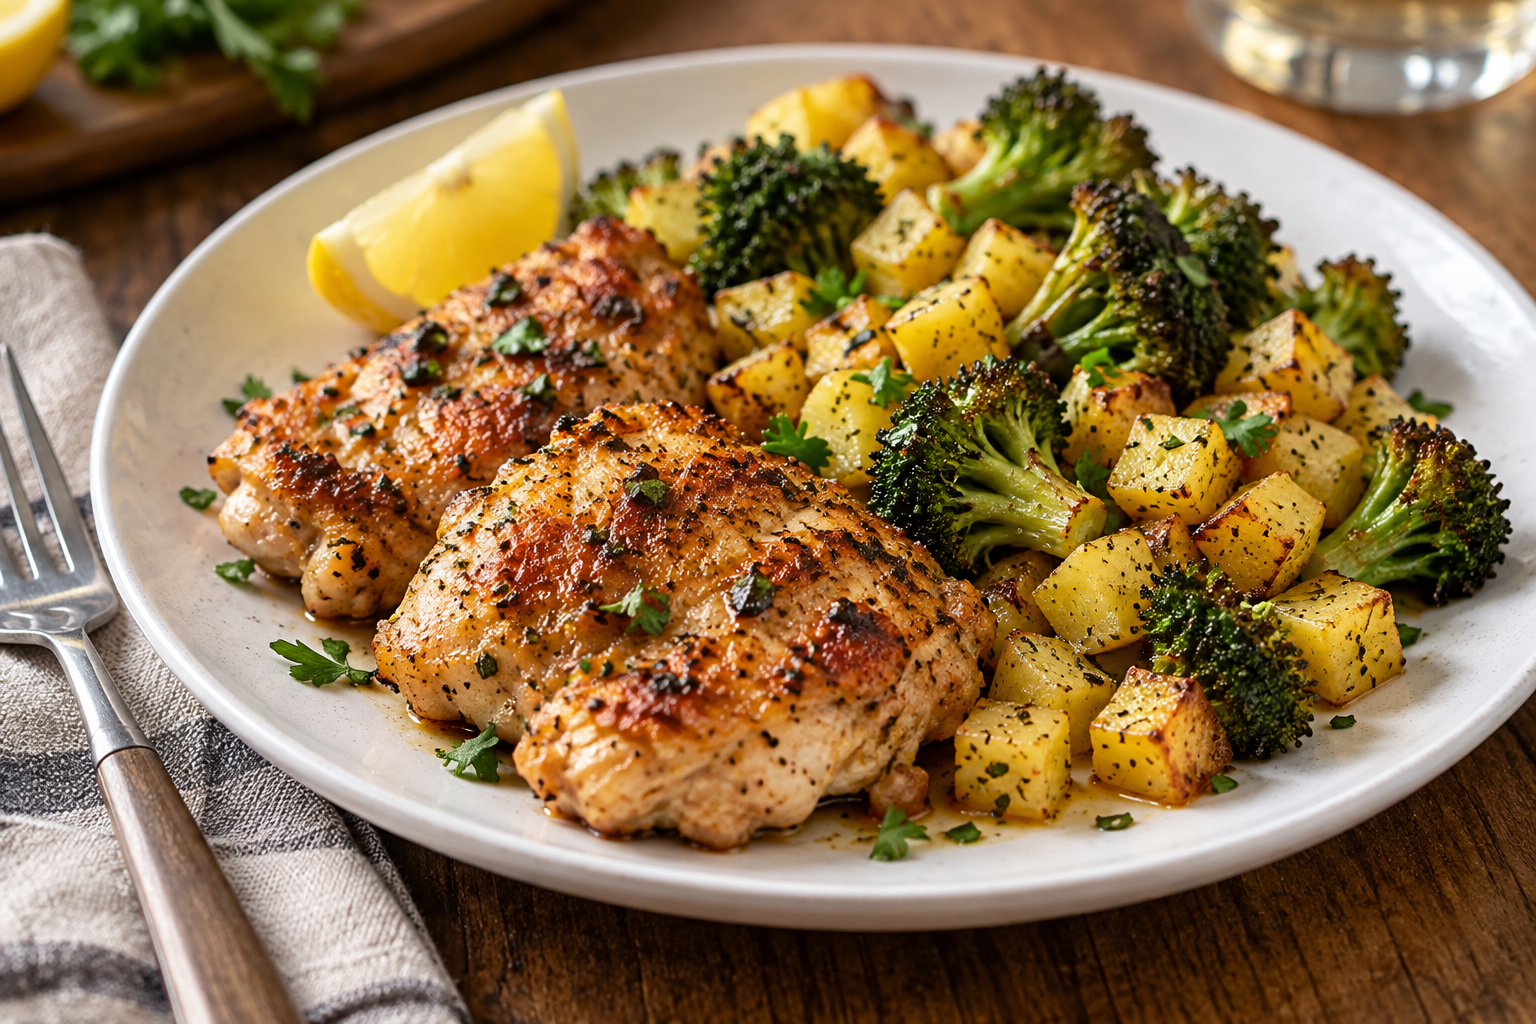
Keep useful leftovers
Refrigerate cooked thighs in shallow containers within 2 hours, or 1 hour when the surroundings exceed 90°F. Keep at 40°F or below, use within 3–4 days, and reheat leftovers to 165°F. Freeze portions you will not use during that window.
Store pan juices separately if you want to preserve some skin texture. Reheat only the portions needed; a little broth and a loose cover help the meat stay moist, though covered reheating will soften the skin. Check the thickest meat again rather than assuming a hot pan means a hot center.
Common doneness questions
Can I tell without a thermometer?
Color, juice clarity, and texture cannot reliably confirm safety. A food thermometer is the practical way to know when the thickest meat has reached the poultry minimum.
Does a thigh reading tell me a whole chicken is done?
No. A whole bird also needs checks in other thick areas. Use the whole-chicken doneness guide for the full checking sequence.
Should thighs and breasts finish at the same time?
They share the 165°F minimum, but their shape, size, and preferred texture differ. The chicken breast doneness guide explains that cut separately. Remove finished pieces as needed.
Can I use the oven method for a full meal?
Yes, with vegetables planned around their own cooking needs. For a separate complete tray meal, try maple Dijon chicken thighs with apples and Brussels sprouts. Still check every thigh.
Print the simple oven-thigh recipe
Keep the seasoning amounts and temperature checks beside you while cooking. If you are learning how to know when chicken thighs are done, use the timer as a reminder and the thermometer as the final check.
THE COMPLETE RECIPE
Simple Oven-Baked Chicken Thighs
Yield: 4 servings
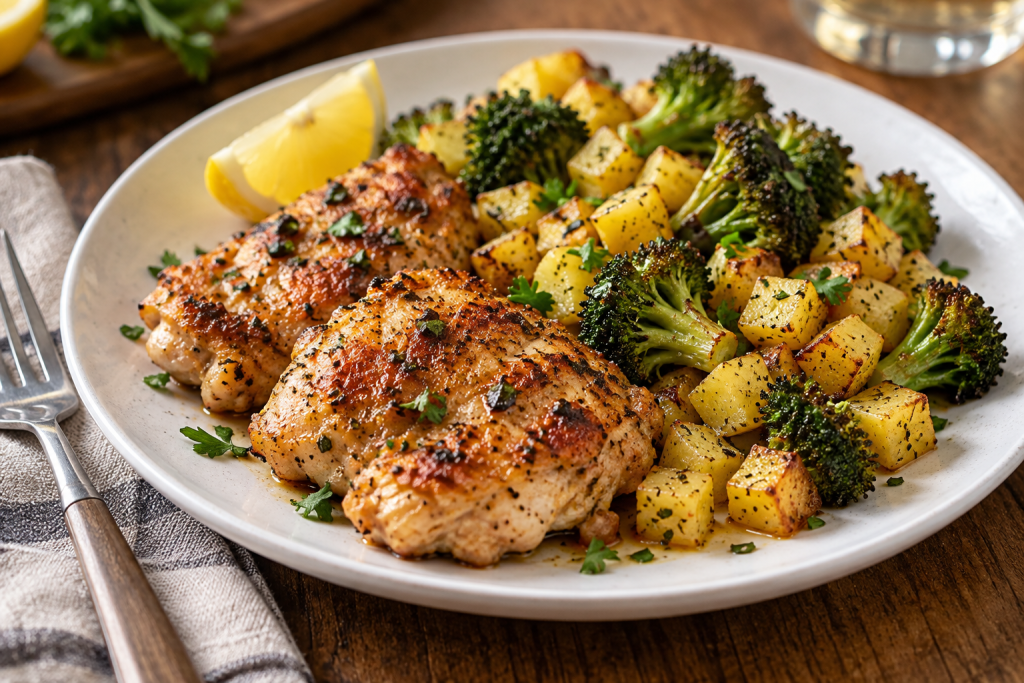
Ingredients
- 4 bone-in, skin-on chicken thighs Plain and thawed, about 6–8 ounces each.
- 1 tablespoon olive oil
- 1/2 teaspoon fine salt Reduce if the chicken contains an added salted solution.
- 1/2 teaspoon black pepper
- 1 teaspoon garlic powder Not garlic salt.
- 1 teaspoon paprika Sweet or smoked.
Equipment
- 1 rimmed metal baking sheet Large enough to leave space around four thighs.
- 1 Food thermometer
- 1 small bowl and measuring spoons
- 1 tongs Use clean tongs for serving.
Instructions
- Preheat and prepare. Heat a conventional oven to 400°F with a rack in the center. Prepare a rimmed metal baking sheet large enough to leave space around all four thighs. Lightly oil the surface or use an oven-safe lining rated for the temperature.
- Dry and season. Pat chicken dry with paper towels; do not rinse raw poultry. Mix salt, pepper, garlic powder, and paprika. Rub thighs with the measured oil and distribute seasoning evenly. Clean hands and surfaces after raw-chicken contact.
- Arrange skin-side up. Place thighs skin-side up with room between them. Smooth bunched skin over the meat. Do not overlap the pieces or cover them with vegetables.
- Roast and start checking. Roast uncovered, beginning temperature checks around 30 minutes. Plan on approximately 35–45 minutes overall; size and oven performance can change the timing. Loosely shield a darkening surface with foil if needed while the center finishes.
- Check every thigh. Insert a food thermometer into the thickest meat from the side, avoiding bone and the pan. Check another thick spot on irregular pieces. Continue cooking any thigh below 165°F and recheck after a few minutes. Remove each piece only when safely cooked and as tender as preferred.
- Rest and serve. Transfer to a clean plate and rest about 5 minutes, uncovered or very loosely tented. This serving rest does not replace reaching 165°F before removal. Serve with separately cooked sides and spoon pan juices around crisp skin.
Notes
Rate This Recipe
Made this recipe? Choose a star rating in the comment form and share how it turned out. Your cooking time and any ingredient changes can help the next reader.
Rate This RecipeMade the oven-thigh recipe? Share your rating, thigh size, and approximate cooking time.
Rate This Recipe & Leave a Review