Family Recipe HQ • Kitchen guide
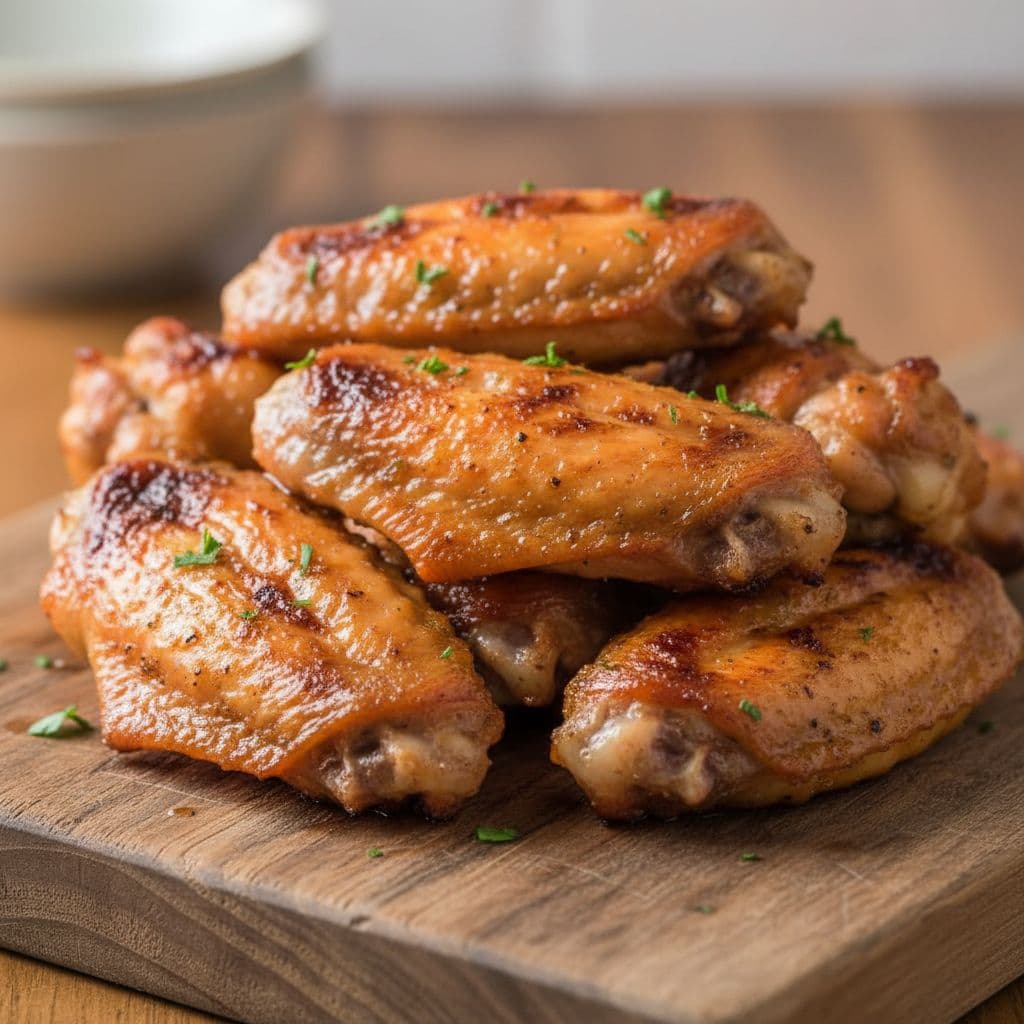
Crispy oven-baked chicken wings start with dry skin, an uncrowded rack, and a 425°F oven. Use the measured recipe below, start temperature checks around 30 minutes, and confirm at least 165°F (74°C) in the thickest meat before serving.
Crispy oven-baked chicken wings recipe
Yield and timing
- Yield: about 4 appetizer servings or 2 main-dish servings
- Prep time: 15 minutes
- Cook time: approximately 35 to 45 minutes
- Total time: approximately 50 to 60 minutes
- Optional make-ahead drying: 8 to 24 hours in the refrigerator
Wing size, starting temperature, pan material, and oven calibration can all change the cook time. Treat the range as a planning guide and verify the final temperature in several pieces.
Equipment
- One 18-by-13-inch rimmed half-sheet pan, or two smaller rimmed pans
- Oven-safe wire rack that fits inside the pan
- Large mixing bowl
- Paper towels
- Tongs
- Instant-read food thermometer with a narrow probe
Two pounds of separated wings should fit on a standard half-sheet pan without stacking. If the pieces touch tightly or cover the rack edge to edge, use a second pan. Crowding creates steam and extends browning time.
Ingredients
- 2 pounds chicken wing flats and drumettes, fully thawed
- 2 teaspoons Diamond Crystal kosher salt or 1 teaspoon Morton kosher salt
- 1 teaspoon sweet paprika
- 1 teaspoon garlic powder
- ½ teaspoon black pepper
- For the quick method: 1 tablespoon neutral oil, such as avocado, canola, or grapeseed oil
- For the make-ahead method: 2 teaspoons aluminum-free baking powder; omit the oil
Optional Buffalo-style sauce
- ¼ cup cayenne-pepper hot sauce
- 2 tablespoons unsalted butter, melted
- ½ teaspoon honey, optional for a milder edge
This amount lightly coats 2 pounds of wings. For heavier coating, make one and a half batches rather than adding sauce before baking. Sauce added early supplies moisture and can soften the skin; sweet sauces can also scorch.
Choose your preparation path
Wings need enough heat to render fat and dry the skin, but they also need space. A rack raises the pieces above the rendered fat and lets hot air reach more of the surface. A rimmed pan catches drips, while the single-layer arrangement prevents trapped steam from softening neighboring wings.
The recipe offers two preparation paths. The quick version uses a small amount of neutral oil and can go into the oven as soon as it is seasoned. The make-ahead version replaces the oil with aluminum-free baking powder and rests uncovered in the refrigerator for 8 to 24 hours. That rest dries the surface; the baking powder encourages browning and small blisters. Do not combine both options, and do not substitute baking soda, which is much more alkaline and can leave an unpleasant flavor.
Step-by-step oven method
- Prepare the pan and oven. Place a rack in the upper-middle position and heat the oven to 425°F. Set the wire rack inside the rimmed sheet pan. Lightly oil the rack if it is not nonstick; do not oil the wings themselves if you are using the make-ahead baking-powder option.
- Dry the wings. Blot every surface with paper towels, including the folds around the joints. Discard the towels immediately. Wash your hands and clean any bowl, counter, or utensil that contacted raw poultry. Do not rinse raw wings, because splashing water can spread germs around the sink.
- Choose one seasoning path. For same-day wings, toss the dry pieces with neutral oil, salt, paprika, garlic powder, and pepper. For the make-ahead path, toss them with salt, paprika, garlic powder, pepper, and aluminum-free baking powder—without oil.
- Dry uncovered if making ahead. Arrange the baking-powder wings on the rack and refrigerate them uncovered for 8 to 24 hours. Keep the tray below ready-to-eat foods so raw juices cannot drip onto other items. Move the tray directly from the refrigerator to the preheated oven.
- Arrange one layer. Set flats and drumettes on the rack with a little space between them. Do not stack pieces. Use a second pan when necessary rather than forcing the full batch onto one rack.
- Bake and turn. Bake for 20 minutes, then turn every piece with tongs. Rotate the pan front to back. Continue baking for about 15 to 25 minutes, beginning temperature checks around the 30-minute total mark.
- Verify doneness. Insert the thermometer from the side into the thickest meat of several large pieces. Keep the probe away from bone and the hot rack. Each wing served must reach at least 165°F. If one piece is cooler, return it to the oven and check again after 3 to 5 minutes. Browning, clear juices, and a loose joint can describe texture, but they cannot replace a temperature reading.
- Correct the texture before saucing. If the wings have reached 165°F but the skin needs more color, move the pan closer to the top element or broil briefly. Watch continuously and turn as needed; a broiler can change the surface from brown to burnt quickly.
- Sauce at the end. Whisk the hot sauce, melted butter, and optional honey. Transfer the hot wings to a clean bowl, add only enough sauce to coat, and toss. Serve immediately, with extra sauce on the side.
Troubleshooting baked chicken wings
The skin is pale or rubbery
The most common causes are wet skin, a crowded pan, or insufficient heat circulation. Finish safe, unsauced wings for a few minutes on an upper rack or under a closely watched broiler. For the next batch, dry the pieces more thoroughly and use two pans if necessary. Do not keep cooking solely for color without monitoring temperature, because smaller pieces can dry out.
The wings are dark before they reach 165°F
Move the pan down one rack position and reduce the oven to 400°F. Loosely shield particularly dark pieces with foil and continue checking at short intervals. Paprika, sweet rubs, and hot spots can all speed browning. Apply honey, maple, brown-sugar, or barbecue sauces only after the wings are cooked.
The seasoning tastes harsh or powdery
Use aluminum-free baking powder only in the measured make-ahead option, distribute it evenly, and omit the oil. Never replace it with baking soda. If you prefer not to use baking powder, choose the quick oil method; thoroughly dried skin and adequate spacing still produce good browning.
The bottom is soggy
Confirm that the rack sits above the rendered fat rather than touching it. Turn each wing at the midpoint. Without a rack, line the pan with parchment, drain excess fat carefully if it pools, and turn the wings more than once. A flat pan can work, but the underside will not receive the same airflow.
The wings stick to the rack
Lightly oil the clean rack before adding chicken. Wait until the browned skin releases with gentle pressure before forcing a piece loose. Pulling too early can leave crisp skin attached to the metal.
Ingredient substitutions and limits
- Whole wings: Separate them at the joints when possible so pieces cook more evenly. If left whole, allow extra space and rely on temperature rather than the separated-wing timing.
- Frozen wings: Thaw first for this recipe. Refrigerator thawing gives the surface time to drain and dry. If cooking directly from frozen, follow the package or appliance directions instead of applying this timing unchanged.
- Seasoning blends: Check the label for salt. Reduce or omit the measured salt when using a salty Cajun, barbecue, lemon-pepper, or seasoned-salt blend.
- Smoked paprika: It can replace sweet paprika in the same amount, but it changes the flavor from neutral to smoky.
- Oil: Use a neutral, higher-heat oil for the quick method. Butter is not a direct replacement on the raw wings because its milk solids can brown before the meat is ready; reserve butter for the finishing sauce.
- Baking powder: It is optional and belongs only in the make-ahead path. Baking soda is not an acceptable substitute.
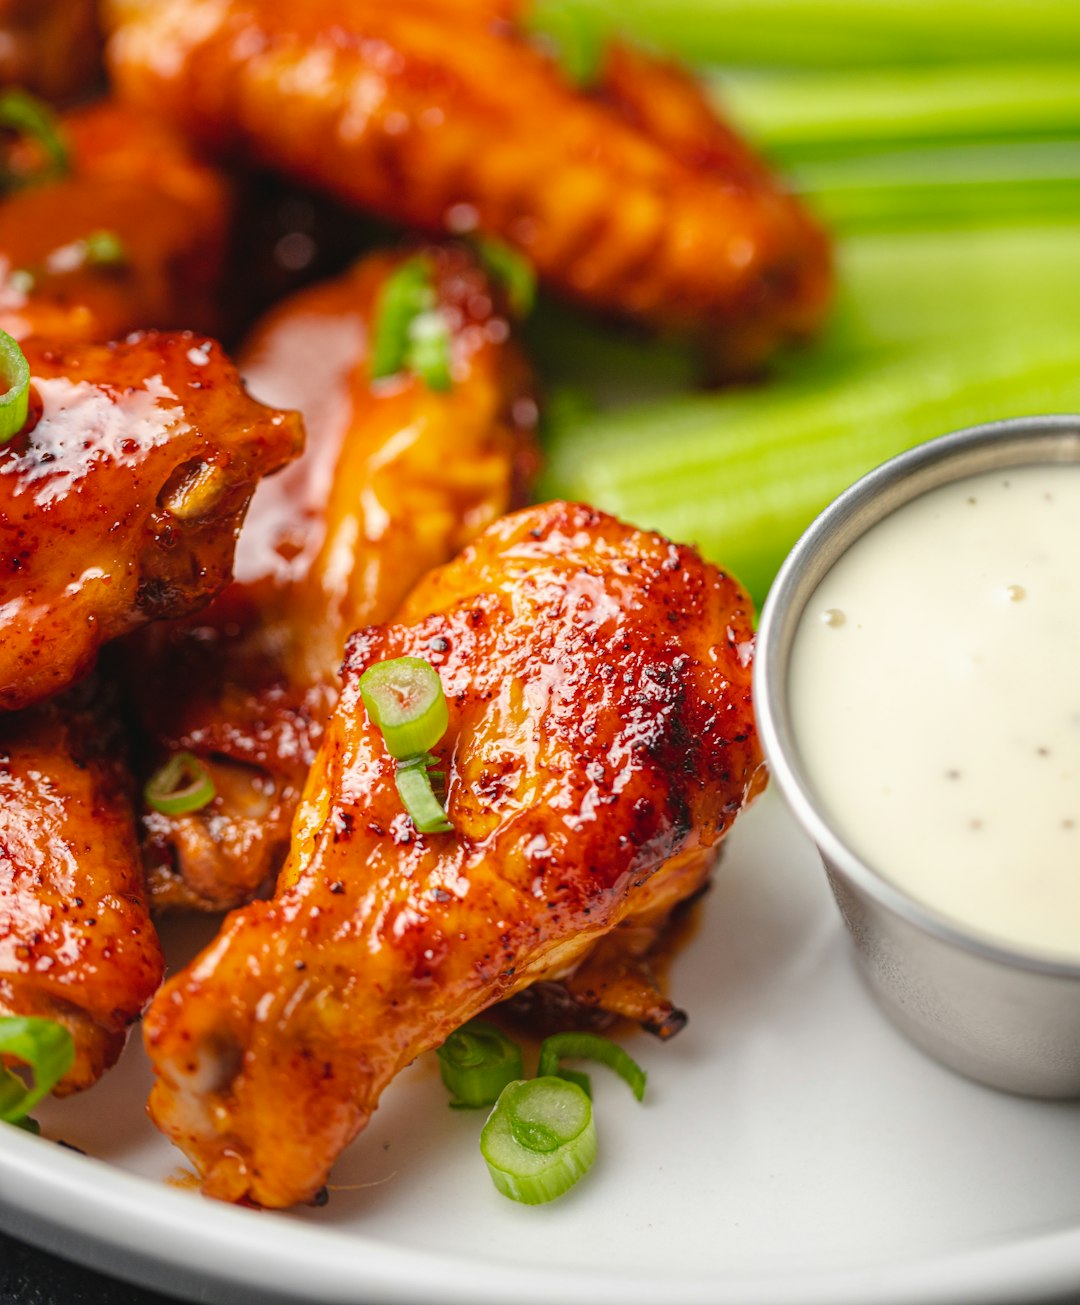
Air-fryer and grill adaptations
Air fryer: Preheat to 400°F if the manufacturer recommends preheating. Arrange a single layer and cook in batches, turning or shaking halfway. Begin checking around 18 minutes; many batches need about 18 to 25 minutes, but basket size, fan strength, and wing size vary. Verify 165°F in several pieces.
Grill: Set up two heat zones. Cook over indirect medium heat with the lid closed, turning occasionally, then move safe wings briefly over direct heat to brown the skin. Watch for flare-ups from rendered fat and check the thickest meat for 165°F before serving.
Serving, storage, and reheating
Serve the wings promptly after saucing. Celery, carrots, cucumber, coleslaw, or a simple salad provide a cool contrast. If the wings are a main dish, 2 pounds generally serves two adults; as part of a larger appetizer spread, it generally serves four. Appetite and wing size vary, so increase the batch rather than crowding one pan.
Refrigerate cooked wings in shallow containers within 2 hours, or within 1 hour when the surrounding temperature is above 90°F. Keep refrigerated cooked wings for 3 to 4 days. Reheat leftovers to 165°F. For better texture, arrange them in one layer in a 375°F oven or air fryer and begin checking after 5 minutes; exact reheating time depends on quantity and starting temperature.
The FoodSafety.gov temperature chart lists 165°F for all poultry and leftovers. Its cold-storage chart lists 3 to 4 refrigerated days for cooked meat or poultry. Discard wings left at room temperature beyond the two-hour limit—or one-hour limit in heat above 90°F—rather than trying to make them safe by reheating.