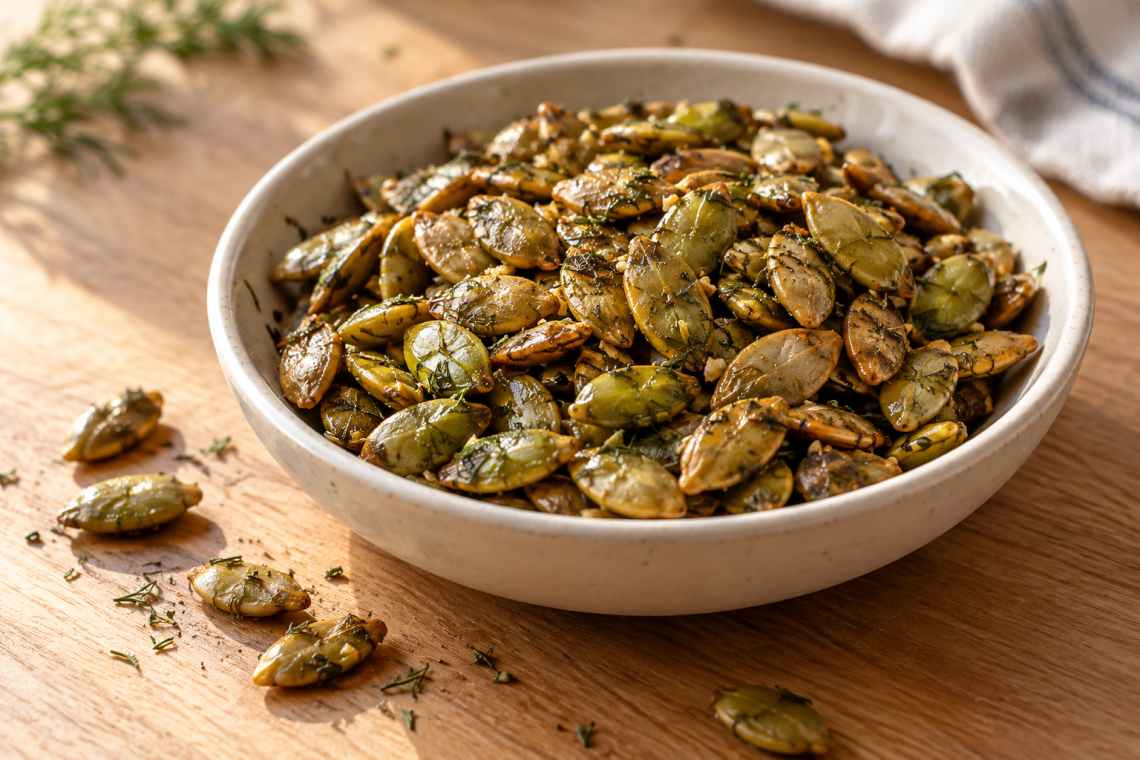
This dill pickle pepitas recipe combines the tang of a pickle jar with a little maple sweetness and the nutty flavor of shelled pumpkin seeds. The coating is thin, so the seeds stay the main event. Dried dill, garlic powder, and black pepper keep the result in savory snack territory.
Measured ingredients
- 3/4 cup raw unsalted shelled pumpkin seeds, pepitas, about 105 g
- 2 teaspoons dill pickle brine, 10 ml, strained, from a properly refrigerated commercial pickle jar
- 2 teaspoons pure maple syrup, 10 ml
- 1 teaspoon neutral cooking oil
- 1/2 teaspoon dried dill weed
- 1/8 teaspoon garlic powder
- 1/8 teaspoon ground black pepper
This is a small batch for a snack bowl or a few crunchy toppings. It uses raw green pepitas from a package, which makes preparation straightforward. There is no pumpkin pulp to remove and no tough white shell to roast through. That distinction affects the timing, so check the seed package before turning on the oven.
Start by identifying the seeds
Pepitas are the shelled green pumpkin seeds sold in bags or bulk bins. Choose raw, unsalted seeds for this recipe. Already roasted seeds can darken before the wet coating finishes drying, and salted seeds make the final seasoning harder to control. The measured amount is three-quarters cup, about 105 grams.
White shell-on pumpkin seeds need a different preparation and roasting schedule. Do not substitute them and assume that the same fifteen-to-twenty-minute bake will work. If you are using seeds scooped from a pumpkin, choose a recipe designed for those seeds, with instructions for cleaning, drying, and checking the shell texture.
The coating for maple dill pickle pepitas
The coating has three liquid ingredients in small amounts: pickle brine, maple syrup, and oil. The brine brings salt and acidity; maple softens that sharpness; oil helps the seasoning spread. Dried dill reinforces the pickle flavor without adding another wet ingredient. Garlic powder and black pepper stay in the background.
Strain the brine before measuring so mustard seeds, peppercorns, or garlic pieces do not end up concentrated on one part of the tray. Use a clean utensil and a commercial pickle jar that has been stored according to its label. Brine previously used as a raw-meat marinade is unsuitable.
Taste a clean spoonful of the brine first. Some jars are much saltier or sweeter than others. Sour dill brine fits the intended balance; sweet bread-and-butter pickle liquid pushes the snack in a different direction. Because the brine supplies salt, the recipe does not call for additional salt before baking.
A gentle oven gives you more control
Heat the oven to 300°F/150°C and line a small rimmed sheet with suitable parchment. The moderate temperature gives the coating time to dry without asking the maple syrup to tolerate an aggressive roast. A nine-by-thirteen-inch sheet provides ample room for this quantity of seeds.
Whisk the liquid seasonings together before adding the pepitas. Then stir until the seeds look evenly glossy. Scrape the mixture onto the sheet and spread it thinly, mostly in one layer. Move seeds into any small puddles of coating rather than leaving the liquid alone at an edge, where it can darken quickly.
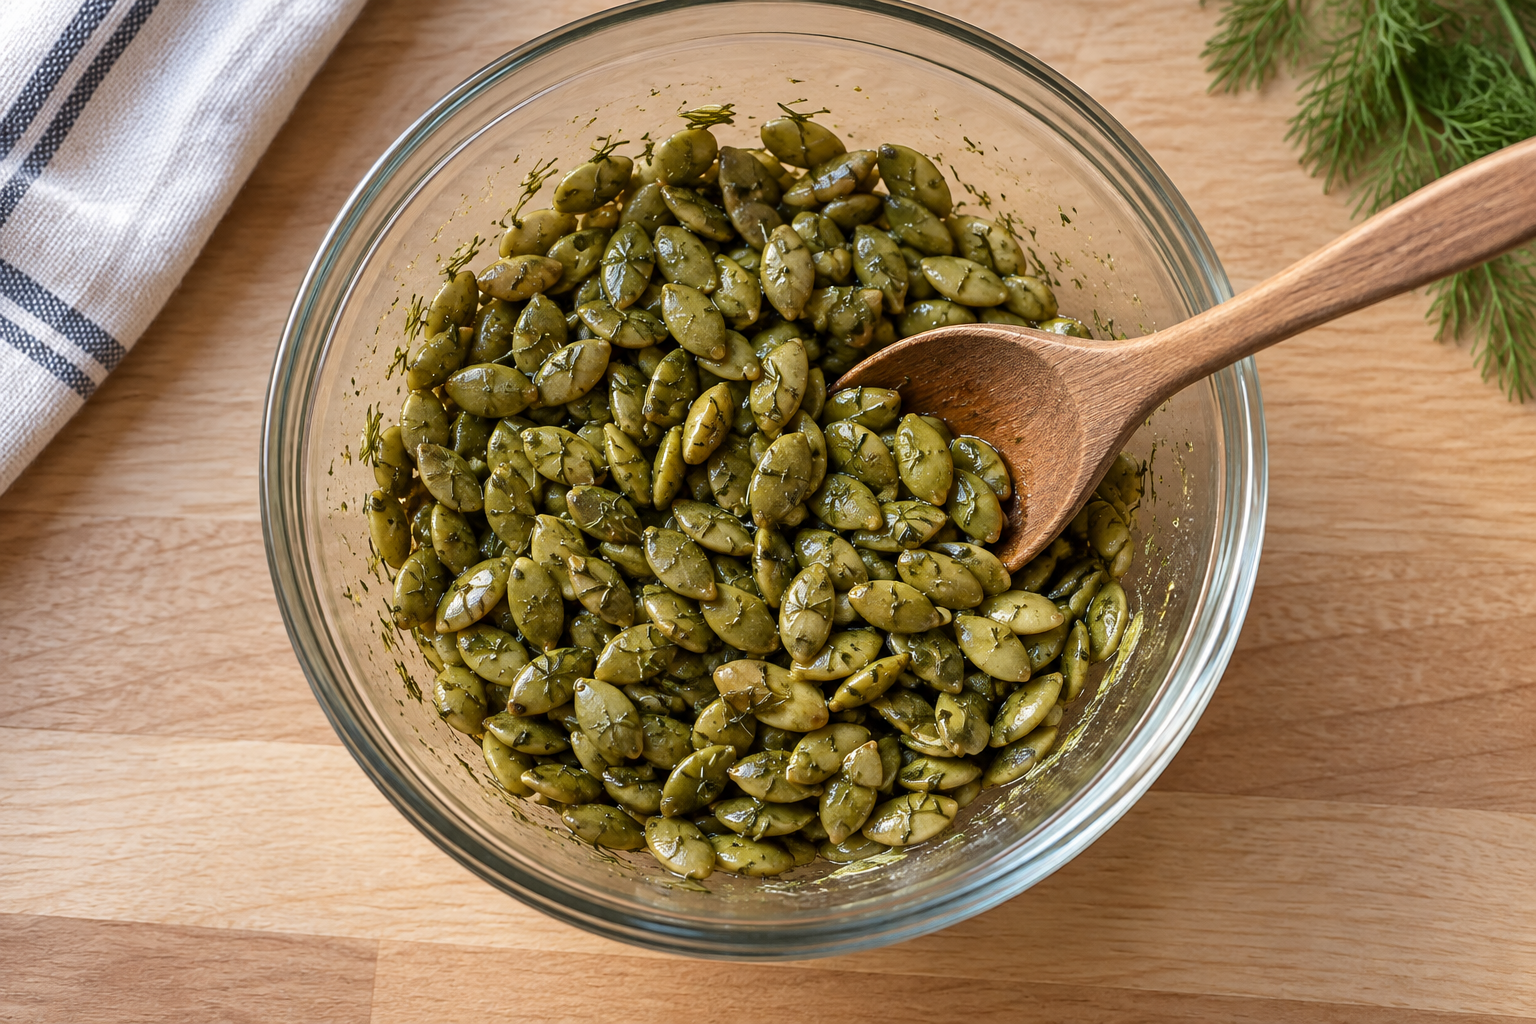
Stir by moving the outside seeds inward
After five minutes, lift and turn the seeds with a spatula. Bring the seeds from the edges toward the center, then spread everything out again. Repeat at ten minutes. This movement matters more than simply shaking the tray: the outer edges usually show color first, while a crowded center can remain wet.
Begin watching closely at fifteen minutes. Look for lightly toasted seeds and a coating that no longer appears wet. A few seeds may puff slightly. Do not wait for a uniformly dark brown color; a maple coating can go from toasted to bitter before that happens. Ovens vary, so the visual and aroma cues should guide the final minutes.
Cooling is part of the method
Leave the tray uncovered for ten minutes after baking. The seeds firm as they cool, and their hot texture can mislead you into adding unnecessary oven time. Once they are cool enough to handle, separate any small clumps with your fingers. This recipe is intended as loose coated seeds, not a hard sheet of brittle.
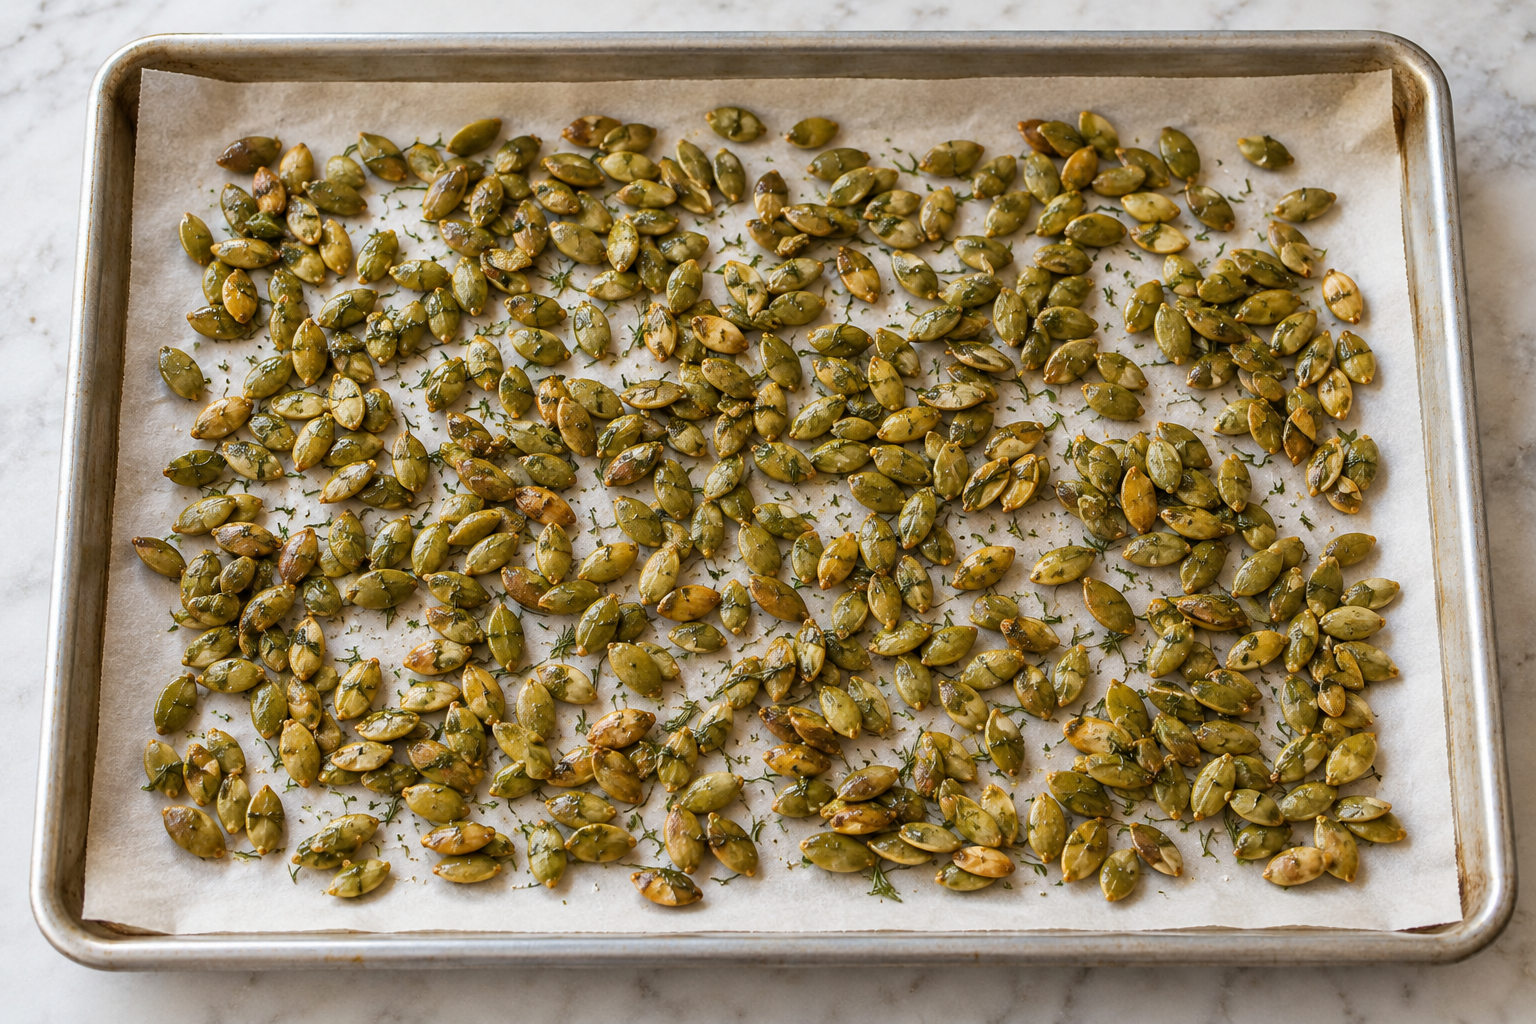
Use one cooled spoonful as your checkpoint
| Result | Likely explanation | Useful next move |
|---|---|---|
| Sharp and salty | The brine is strongly seasoned. | Mix with plain roasted pepitas if available; use a milder brine next time. |
| Sticky patches | Coating pooled or was not spread evenly. | Separate the patches after cooling. On the next batch, stir the edges into the center more thoroughly. |
| Bitter aftertaste | The seeds or maple coating browned too far. | Shorten the bake and check earlier; extra syrup will not remove scorching. |
| Dill flavor seems faint | The dried herb may be old or mild. | Add a tiny pinch of fresh dried dill after cooling and toss well. |
Serve a small amount where crunch matters
Put a portion in a small bowl for a snack, or scatter a spoonful over a soft food just before eating. They suit a plain baked potato, a bowl of vegetable soup, or a simple cabbage salad. Keep the amount modest at first because the pickle coating adds its own seasoning to the dish.
Do not stir the entire batch into a wet salad far ahead of serving. The coated seeds absorb moisture and lose the contrast you made them for. If taking lunch somewhere, pack a small separate container and sprinkle them on at the table.
Changes that preserve the basic method
Use plain dried dill weed rather than dill seed; the flavor and texture are different. Fresh dill is wetter and does not distribute through the coating in the same way. Pure maple syrup is also different from a flavored pancake syrup, which may have another sweetness level and consistency.
A mild spicy-pickle brine can be used if its heat suits you, but keep the measured amount unchanged. Increasing the brine to make the seeds taste more pickled adds liquid that must be dried off. Make flavor adjustments with tiny amounts after cooling instead of repeatedly changing the coating’s moisture.
Questions before making another batch
Can I double the recipe?
Yes. Double each ingredient and use a larger sheet so the seeds remain in a thin layer. A deeper pile on the same small tray dries unevenly. Watch the finish rather than doubling the bake time.
Do I need to soak the seeds?
No. This method starts with dry raw shelled pepitas and a measured coating. Soaking would introduce extra water and require a different drying schedule.
Can I leave out the maple?
You can make a tangier savory variation, but it will have a different coating and flavor balance. Begin with the stated version if you want the sweet-and-sour contrast described here.
How do I store extra seeds?
Cool them completely before covering. For this brine-coated household batch, refrigerate any extra airtight and use within three days. Expect the coating to soften somewhat, and keep wet toppings separate.
For the best texture in this dill pickle pepitas recipe, keep the coating light and stop roasting before the seeds turn dark. The final seasoning decision belongs to a cooled spoonful, when both flavor and texture are easier to judge.
Portion guide for this dill pickle pepitas recipe
This dill pickle pepitas recipe starts with three-quarters cup of seeds, so the same tray can serve different purposes. Treat the portion labels as a practical way to divide the batch, rather than assuming every bowl of soup needs a full snack serving. Choose the use after the seeds have cooled, when loose seeds and small clusters are easy to measure.
| How you will use them | Divide the batch into | Seeds before coating, per portion |
|---|---|---|
| Small snack | 4 equal portions | About 3 tablespoons; 26 g |
| Generous finishing sprinkle | 6 equal portions | About 2 tablespoons; 18 g |
| Light garnish | 12 equal portions | About 1 tablespoon; 9 g |
Those seed weights are calculated from the recipe’s approximately 105 g starting amount and rounded; they are not the finished coated weight. For the most even finished portions, weigh the cooled batch and divide that actual weight by four, six, or twelve. Baking removes some water, while syrup and oil add material, so raw and finished weights should not be treated as identical.
Match the portion to the food beneath it
For a smooth soup, start with the light garnish and taste a spoonful containing both soup and seeds. On a baked potato, the larger finishing sprinkle can spread across the surface. For a salad, divide the intended topping between individual plates at serving time. These choices let the texture show without committing an entire pot or salad bowl to the same level of pickle seasoning.
If you are feeding people with different preferences, set out a measured portion for each person and let them add it themselves. Keep the unused seeds in their own dry container. A spoon that has touched soup or dressing should not go back into the stored batch.
Read the brine label before adjusting seasoning
A pickle jar may list a serving of pickles, rather than a measured serving of its brine. Do not assume that number describes the sodium in the two teaspoons of liquid used here. The finished snack’s salt level depends on the particular brine, seeds, and any final salt; taste the cooled batch before adding more. A sweet pickle liquid also changes the intended balance even if the teaspoon measurement stays the same.
Pure maple syrup contributes only two teaspoons across the whole tray. Adding extra syrup to bind the seeds into large clusters creates a wetter, sweeter coating with a different drying requirement. If you want loose pepitas for scattering, keep the measured ratio and separate the small clusters after cooling.
Label the use as well as the date
Mark a container with the batch date and the number of portions you put inside. Follow the recipe’s conservative refrigerated storage guidance; dividing the tray into more portions does not extend its keeping time. Pack only the amount you intend to eat with a meal, and keep it separate until serving. Deliberate portions make this dill pickle pepitas recipe useful both as a snack and as a small, tangy finishing touch.
More recipes for your table
Choose a companion dish or another recipe for the ingredients you have. Each link opens its own instructions and printable recipe.
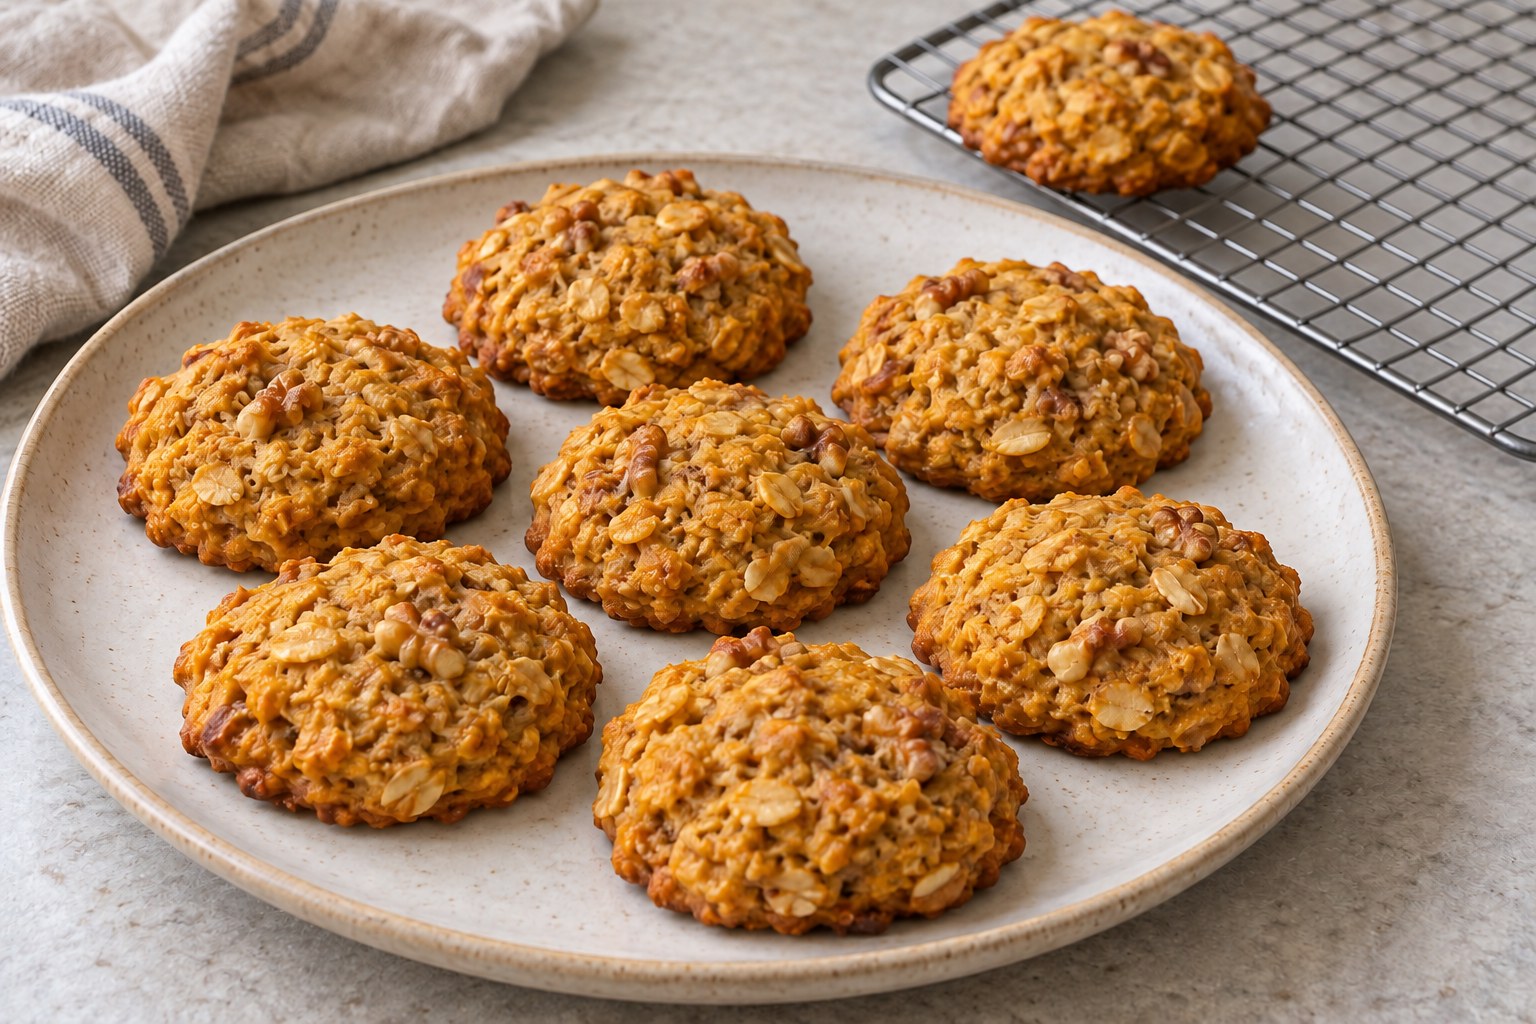
A small batch of soft pumpkin and walnut breakfast cookies.
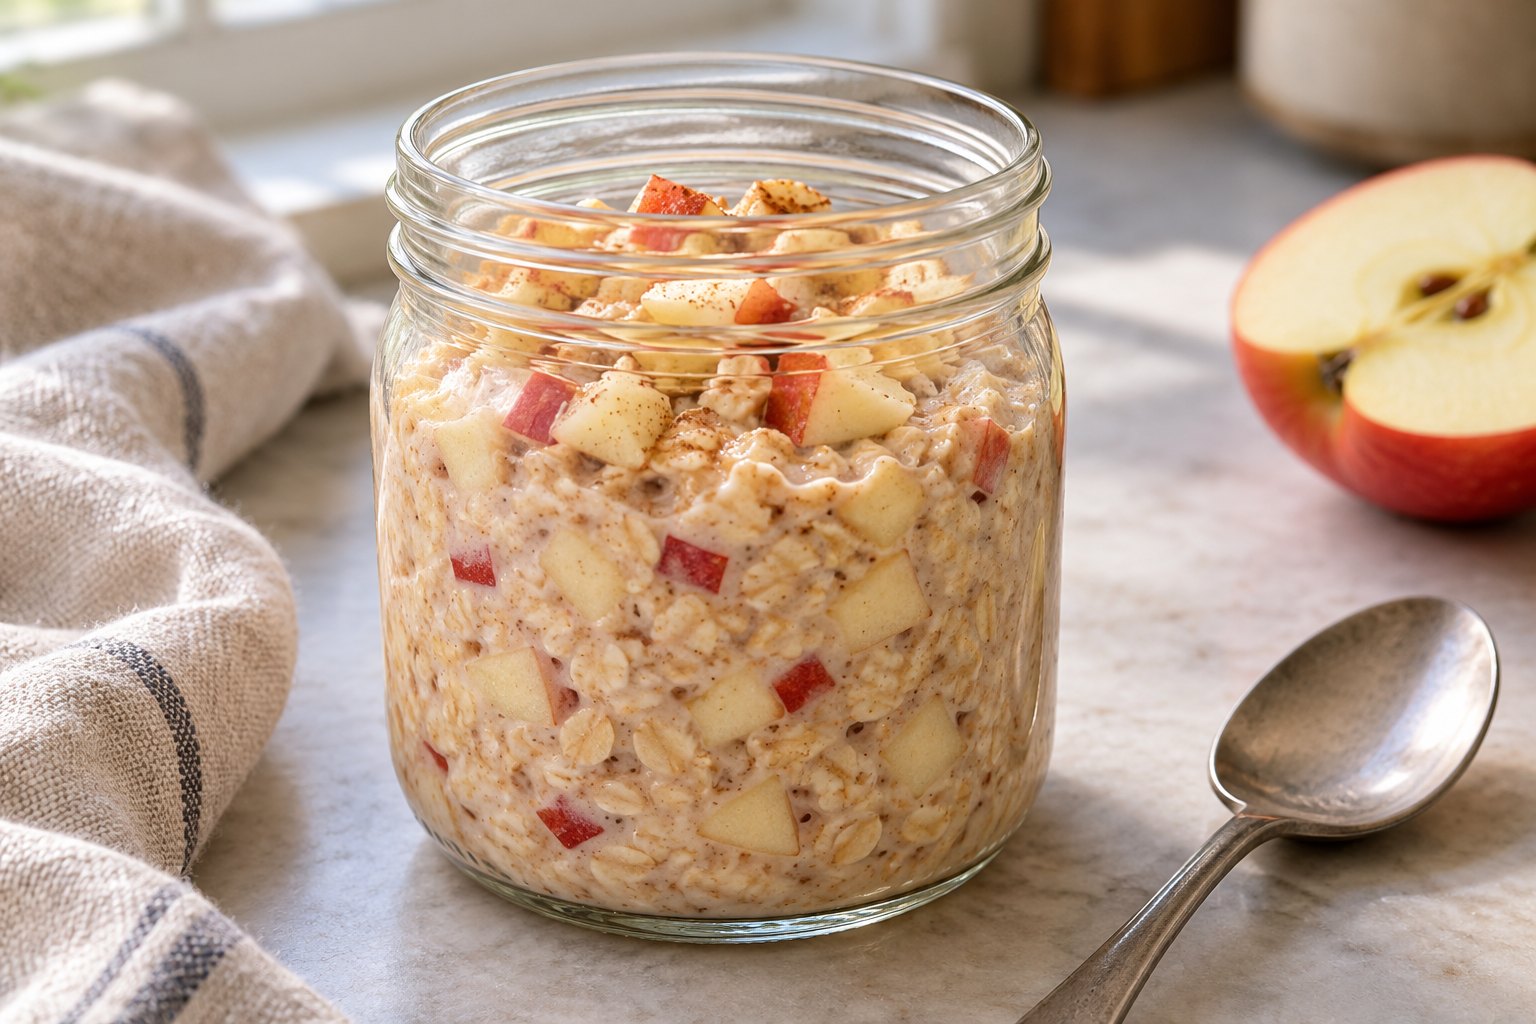
An overnight oat breakfast with a separate crunchy topping.
Equipment for this recipe
Affiliate disclosure: As an Amazon Associate I earn from qualifying purchases.
Use the tools you already have when they match the method. If you need an item, these links open matching Amazon search results.
- Rimmed baking sheet on Amazon — Choose a tray that fits your oven and leaves the food room to spread.
- Measuring spoons on Amazon — Keep the small spice and liquid measurements consistent.
Check the size, material, and manufacturer’s use instructions against the recipe before choosing.
Useful kitchen references
- FDA produce preparation guidance — Handling fresh ingredients before cooking.
Printable recipe
Use the recipe card’s Print control for a kitchen copy. Follow the ingredient quantities and cooking checks in the card when preparing the dish.
Maple Dill Pickle Pepitas
Ingredients
Equipment
Method
- Heat the oven to 300°F/150°C. Line a 9-by-13-inch rimmed baking sheet with parchment rated for the oven temperature.
- Whisk the pickle brine, maple syrup, oil, dill, garlic powder, and pepper in a bowl. Add the raw pepitas and stir until evenly coated.
- Spread the seeds in a thin, mostly single layer on the prepared sheet, scraping the coating from the bowl onto the seeds rather than leaving a separate puddle.
- Bake for about 15 to 20 minutes, stirring at 5 and 10 minutes and checking frequently after 15 minutes. Stop when the seeds look lightly toasted and the wet coating has dried; dark browning is not the goal.
- Let cool uncovered on the sheet for 10 minutes. The seeds become firmer as they cool. Break apart any small clusters with your fingers after they are cool enough to handle.
- Taste only after cooling. Add a tiny pinch of salt if necessary, depending on the brine. Divide into four snack portions or use as a crunchy topping.