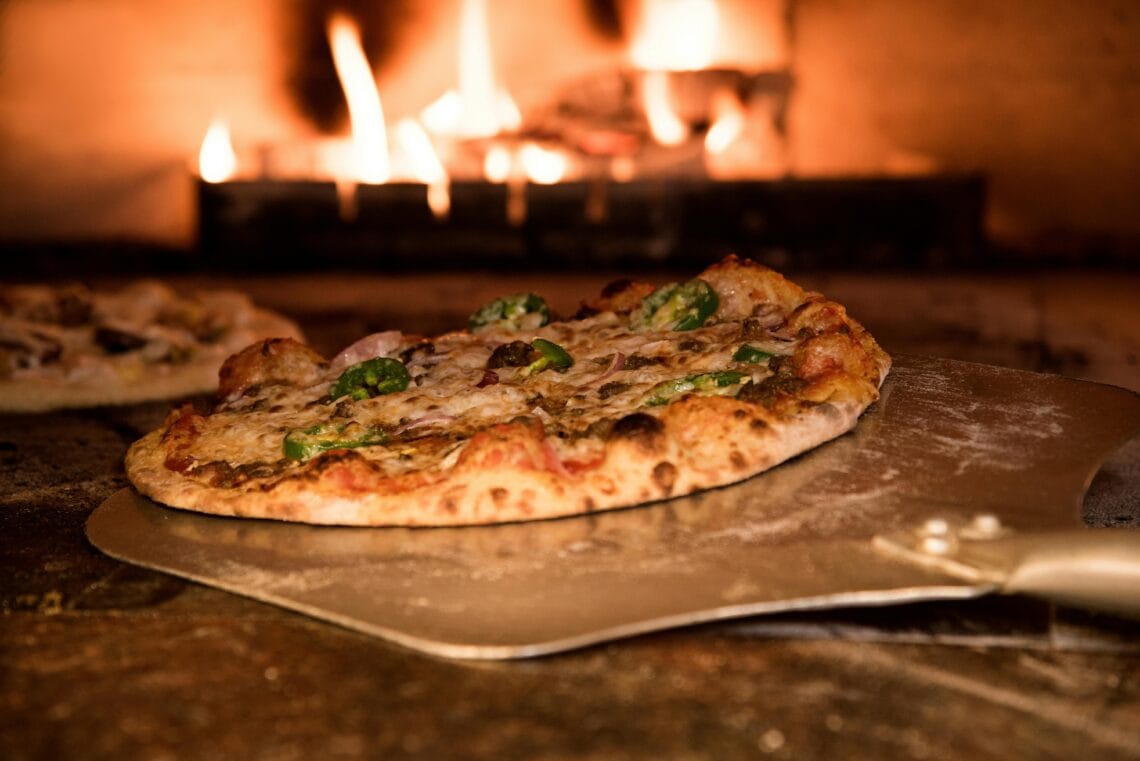
Learning how to prepare homemade pizza starts with dough you can handle, a light layer of toppings, and a thoroughly heated oven. For two 12-inch pizzas, use 500 g flour, 325 g water, 10 g salt, 1 to 3 g instant yeast, and an optional 10 g olive oil.
Choose the same-day schedule for tonight or refrigerate the dough for a later meal. The steps below include practical tips for making pizza at home, from recognizing a finished rise to fixing a crust that browns unevenly.
- Two 12-inch pizzas
- 65% hydration dough
- Same-day or cold ferment
- Pan, stone, or steel
Before you start: equipment and a simple plan
If you are learning how to prepare homemade pizza for the first time, make a plain cheese pizza first. It lets you judge the dough, sauce and oven without several toppings releasing moisture at once. Make one pizza, look at the underside, and use that result to adjust the second.
What you need
- A digital scale, a large mixing bowl and a spoon or dough scraper.
- A cover for the bowl and two covered containers with room for the dough to rise.
- A cheese grater, a spatula, dry oven mitts and a wire rack.
- A metal pizza pan or baking sheet rated for your oven temperature. A stone or steel and peel are useful alternatives, but optional.
Check the pan’s maximum temperature before heating the oven. Two pans make back-to-back pizzas easier; if you have one, let it cool enough to handle safely before shaping the second pizza on it.
A manageable first pizza
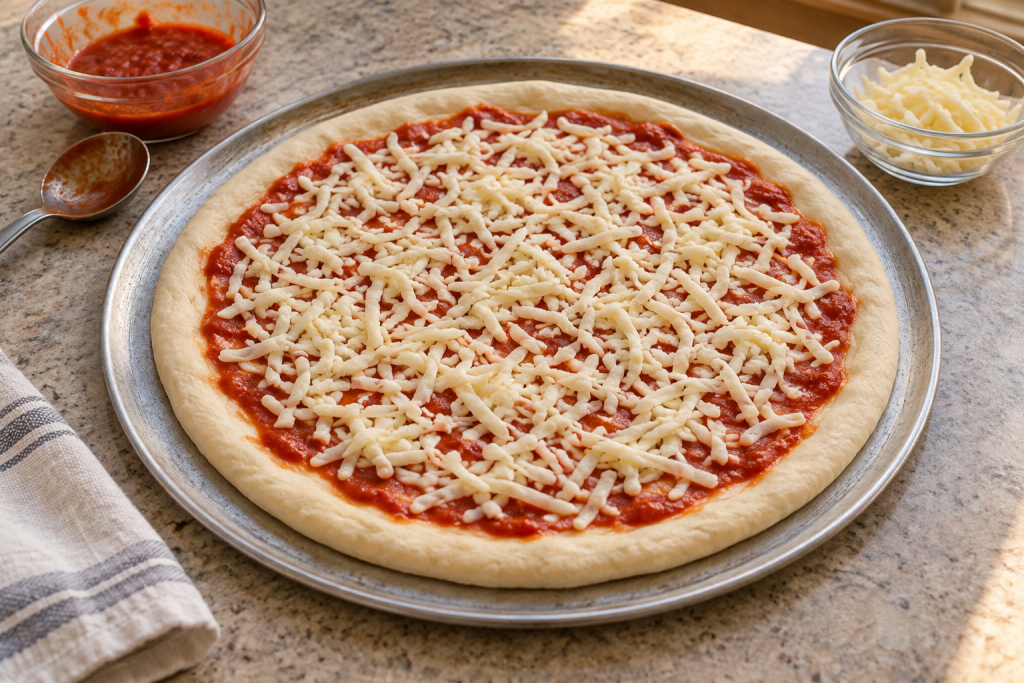
For each 12-inch pizza, use half the dough, 3 tablespoons of sauce and 100 g mozzarella. These are the amounts used in the printable recipe. Keep a bare rim and avoid a puddle of sauce in the center.
Set out the sauce, grated cheese, spatula and a heat-safe landing area before stretching. Keep the second dough ball covered while the first bakes. Do not leave a topped pizza waiting on a peel while you prepare other ingredients.
How to prepare homemade pizza: ingredients and dough formula
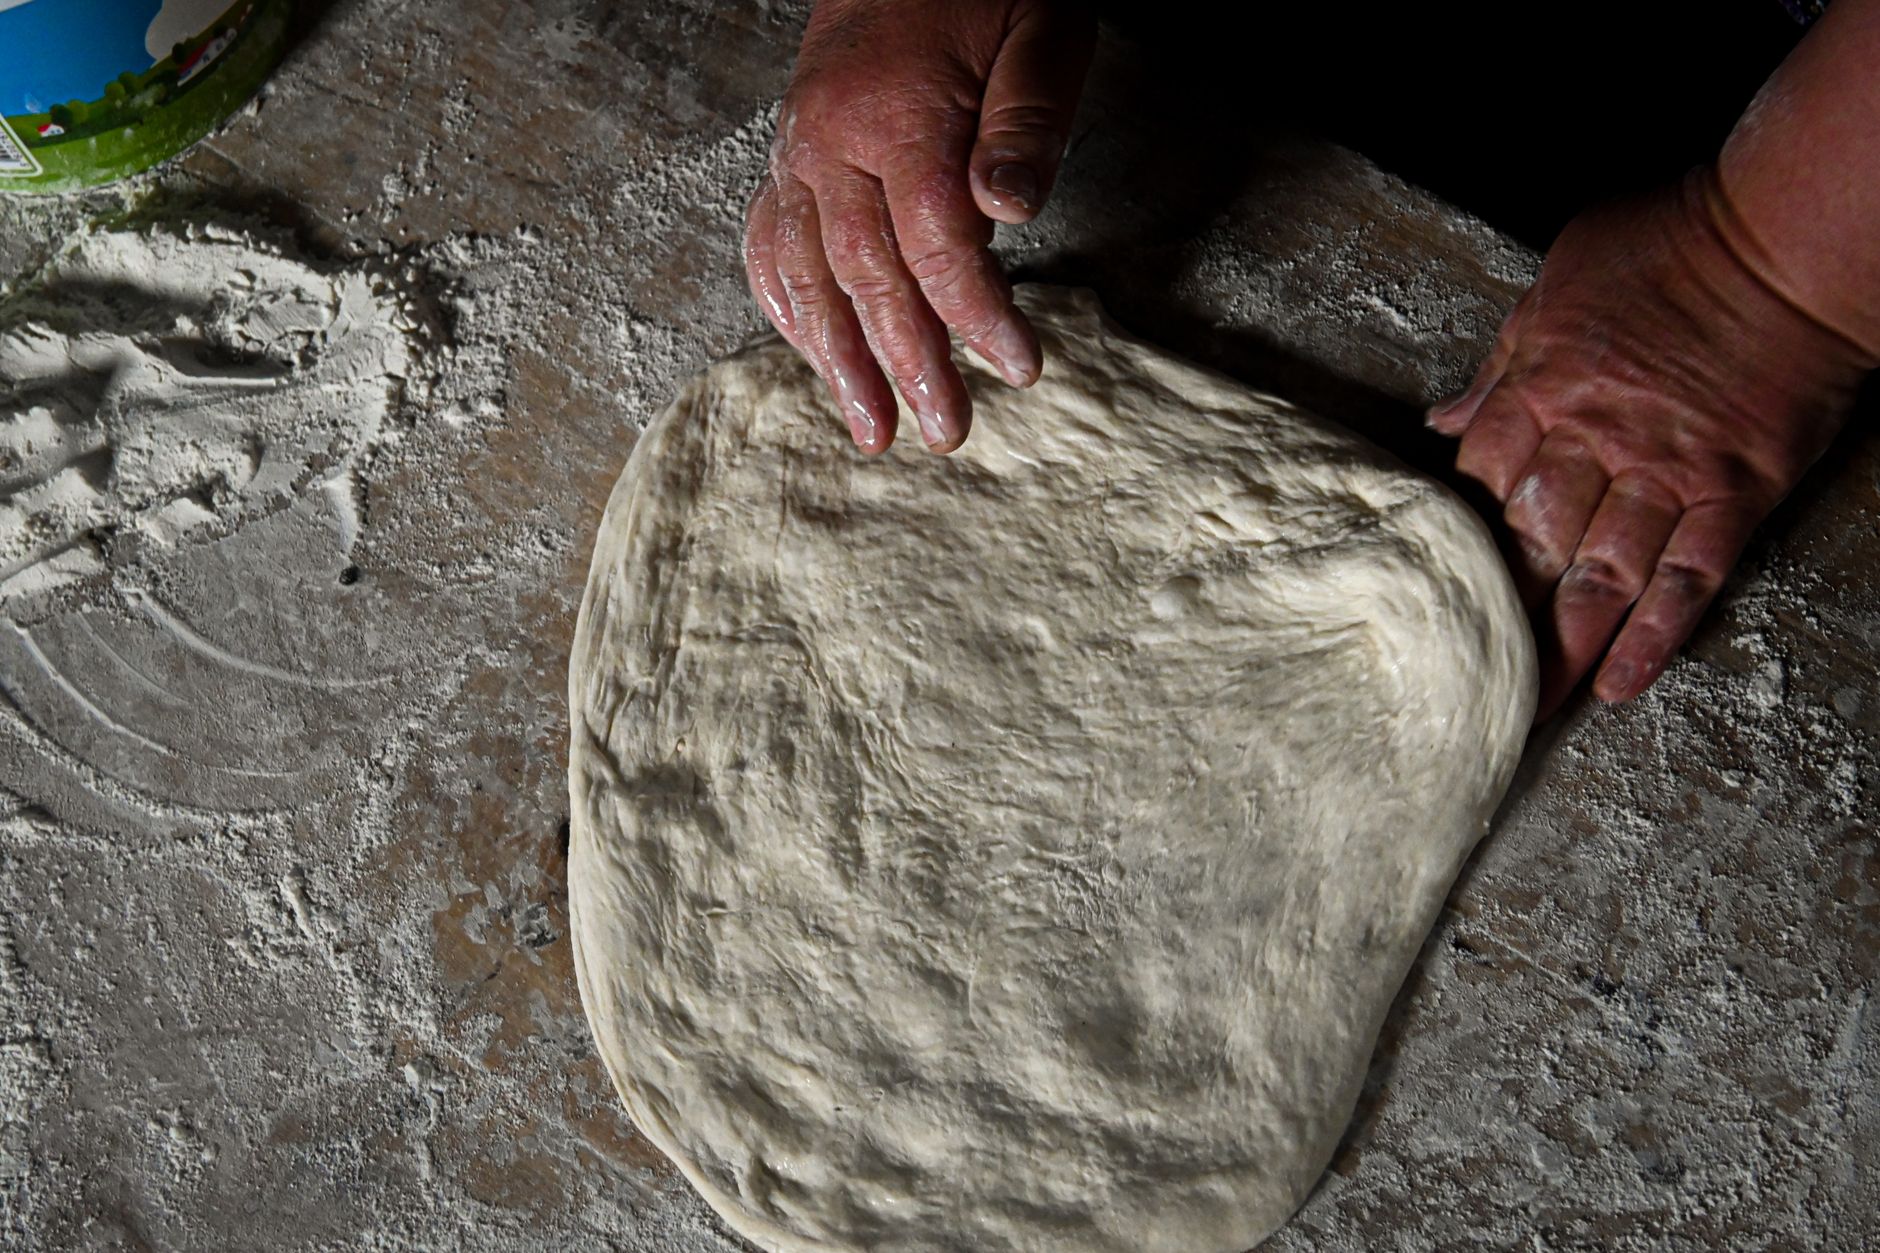
This formula makes two 12-inch pizzas with a substantial rim, or three smaller 10-inch pizzas. A digital kitchen scale is especially useful: scooping flour into a cup can pack in more flour than spooning it in.
| Ingredient | Baker’s percentage | Weight | Approximate US measure |
|---|---|---|---|
| Bread flour or all-purpose flour | 100% | 500 g | About 4 cups; weigh if possible |
| Water | 65% | 325 g | 1⅓ cups plus 2 teaspoons |
| Fine sea salt or table salt | 2% | 10 g | About 1⅔ teaspoons; crystal size varies |
| Instant yeast | 0.2% to 0.6% | 1 g for cold ferment; 3 g for same-day | About ⅓ teaspoon or 1 teaspoon, respectively |
| Olive oil, optional | 2% | 10 g | About 2¼ teaspoons |
What hydration means, and why it matters
Hydration compares water with flour by weight: 325 ÷ 500 × 100 = 65%. The optional oil does not count as water. This gives you a starting point you can repeat; different flours still absorb water differently. The dough should feel soft and slightly tacky after kneading, rather than dry or coated in loose flour.
If the mixture seems sticky at first, give it its covered rest before changing the formula. Flour continues to absorb water during that pause. Add bench flour in small pinches when handling it; working in handfuls can turn a manageable dough into a dense crust.
Choose flour and yeast with the schedule in mind
Bread flour generally produces a stronger, chewier crust. All-purpose flour is a practical alternative with a somewhat softer bite. Neither needs a different water amount automatically; start with the measured formula and observe the dough. King Arthur’s beginner pizza guide explains these flour choices and the value of weighing ingredients.
Mix instant yeast into the flour. For active dry yeast, use the same weight and follow the package’s mixing or dissolving directions, taking any activation water from the recipe’s 325 g total. Rise times may differ. Red Star’s yeast guidance supports a one-for-one substitution by weight. A scale that reads tenths of a gram is helpful for the 1 g portion.
Room-temperature water is a sensible starting point with instant yeast; use cooler water in a hot kitchen. Avoid guessing at very hot water to hurry the rise. Package instructions for activating active dry yeast are separate from the temperature you want for the finished dough.
To make one pizza: use 250 g flour, 162.5 g water, 5 g salt, 0.5 g yeast for cold fermentation or 1.5 g for same-day, and an optional 5 g oil. Scale every ingredient by the same factor.
How to prepare homemade pizza: two dough schedules
Use the same mixing and kneading steps for either schedule. The same-day version uses more yeast; the refrigerator version uses less yeast and more time. When planning how to prepare homemade pizza for dinner, allow for the final dough rest and oven preheat as well as the first rise.
Same-day homemade cheese pizza: quick overview
Yield: Two 12-inch pizzas. Plan: Roughly 3 to 4 hours, allowing more time if the dough rises slowly. Use the dough formula above with 3 g instant yeast. Prepare the sauce below, then use 4 to 6 tablespoons of sauce and 170 to 230 g mozzarella across both pizzas. The sauce batch makes extra; refrigerate or freeze the unused portion.
A same-day pizza-night timeline
Set aside about 4 hours for the full recipe, including both bakes. Hands-on preparation is roughly 30 minutes, spread across the afternoon. This example gives the rises room to fit into a normal evening:
- About 4 hours before dinner: Mix the dough, give it its 20-minute covered rest, then knead until smoother.
- During the first rise: Prepare the sauce, grate the cheese and cook any meat or moisture-heavy vegetable toppings. Refrigerate perishable toppings until assembly.
- About 1 hour before baking: Divide and cover the dough balls. Preheat the oven and, if using one, the stone or steel while the dough completes its final rest.
- When the dough is relaxed and the oven is ready: Shape, top and bake one pizza at a time. Check the base before taking it out, allow a brief rack rest, and leave time for the second pizza.
A cool kitchen can extend this schedule. If you need a more flexible dinner time, use the refrigerator method below and let the dough become pliable before shaping. Do not add extra yeast halfway through to catch up with the clock.
Start here: mix, rest, and knead
- Mix: Stir together the flour, salt, and your chosen amount of instant yeast. Add the water and optional oil. Mix until no dry flour remains, scraping the bottom of the bowl.
- Rest for 20 minutes: Cover the bowl so the dough can hydrate without developing a dry skin.
- Knead: Knead by hand for about 3 to 5 minutes, then assess the texture. Continue a little longer if needed until the dough looks smoother and stretches before tearing. If it becomes difficult to handle, cover it for another 5 minutes before adding flour or kneading again.
Option 1: same-day dough
Use 3 g instant yeast. Allow roughly 3 to 4 hours from mixing to eating in a moderate kitchen, with extra time if the dough is slow to rise.
- First rise: Put the kneaded dough in a lightly oiled bowl and cover. At about 72 to 78°F (22 to 26°C), begin checking after 1½ hours. It may need 2 hours or longer. Look for roughly 50% growth, a puffy appearance, and some visible bubbles. Marking the starting level on a straight-sided container makes the change easier to judge.
- Divide and shape: Cut into two equal portions. Each weighs about 424 g with oil or 419 g without oil. Tuck the edges underneath to make a smooth ball without squeezing out all the gas.
- Final rest: Cover the balls in lightly oiled containers for about 45 to 60 minutes, or until relaxed and a little puffy. A gentle indentation should recover slowly. If the dough springs back sharply during stretching, give it more covered rest. Begin preheating the oven during this stage.
Option 2: overnight or longer cold fermentation
Use 1 g instant yeast. Plan for 12 to 72 hours in the refrigerator, plus time to mix, knead, and let the dough become pliable before baking.
- Mix, rest, and knead using all three shared steps above.
- Start the rise: Cover and leave at room temperature for about 20 to 30 minutes. The dough does not need to double.
- Divide and refrigerate: Make two balls, about 423 g with oil or 418 g without oil. Place in lightly oiled, covered containers with room to expand. Refrigerate at 40°F (4°C) or below.
- Prepare for shaping: Take the dough out about 60 to 90 minutes before you hope to shape it. A cold room or a very cold dough ball may require longer. Keep it covered and wait until it feels pliable and shows some puffiness.
Fermentation develops flavor, but the longest rest is not automatically the best. Refrigerator temperature, yeast activity, and dough temperature change the timing. Dough that has expanded and then collapsed can be difficult to stretch. If it is already very puffy, plan to bake it sooner instead of waiting for the full 72 hours.
Can you use store-bought or gluten-free dough?
Yes, purchased dough can take the place of the dough above. Follow its package directions for thawing and resting, and compare its weight with the portions here. Keep it covered until pliable. Shrinking during shaping can mean the gluten needs to relax; it does not always mean the dough is still cold.
For gluten-free pizza, use a recipe developed for the particular flour blend. Do not replace the wheat flour here one for one and expect the same hydration or stretching method. Follow that recipe’s handling and any instructions to bake the crust before adding toppings.
Tips for making pizza at home: shape, top, and bake
Set out the sauce, cheese, and prepared toppings before shaping. Assemble one pizza at a time, keeping the second dough ball covered. This reduces the time a topped pizza sits on the peel and absorbs moisture.
Make a simple tomato sauce
Stir together 200 g crushed tomatoes (about ¾ cup), 1 teaspoon olive oil, a small grated garlic clove if you like, and a pinch of dried oregano. Add salt to taste, starting with ¼ teaspoon if the tomatoes are unsalted. Drain visibly watery tomatoes in a fine strainer first.
For each 12-inch pizza, start with 2 to 3 tablespoons of sauce spread into a thin layer, leaving the rim bare. This batch makes more sauce than you need for two lightly sauced pizzas. Transfer unused sauce to a covered container and refrigerate promptly, or freeze it in small portions. Avoid a pool in the center, where the crust is most likely to stay damp.
How much cheese and topping should you use?
A useful starting amount is 85 to 115 g (3 to 4 ounces) of low-moisture mozzarella per 12-inch pizza. Scatter it evenly so some sauce remains visible. If using fresh mozzarella, drain it, blot it, and tear it into small pieces; it releases more moisture.
- Pepperoni: Add a single loose layer over mozzarella, with a little thinly sliced onion if desired.
- Mushroom and sausage: Sauté the mushrooms until their released liquid cooks away. Cook the sausage fully, drain, and break into small pieces before topping.
- Margherita-inspired: Use tomato sauce and mozzarella, then finish the baked pizza with fresh basil and a little olive oil.
- BBQ chicken: Use fully cooked chicken, a light coating of barbecue sauce, red onion, and mozzarella.
Cook raw meat toppings before assembly; a short pizza bake is not a reliable way to cook thick pieces through. The FDA’s safe food handling guidance gives 160°F (71°C) for ground beef or pork and 165°F (74°C) for poultry. Let hot cooked toppings stop steaming before adding them.
Stretch the dough without flattening the rim
- Lightly flour the work surface and both sides of the dough ball. Press from the center outward, leaving about a ½-inch border for the rim.
- Rotate as you press. Lift the dough over your knuckles if comfortable, supporting its weight and allowing it to stretch gradually. Avoid pulling hard on one thin spot.
- If the circle shrinks back, cover it and pause for 10 to 15 minutes. King Arthur’s dough-stretching advice explains how resting relaxes tight gluten.
- Aim for an even center rather than a perfect circle. Pinch a small hole closed before adding sauce so liquid cannot leak underneath.
Choose the right oven setup for your equipment
Aim for 500 to 550°F (260 to 290°C) only if your oven and bakeware permit it. If your pan has a lower maximum temperature, use that limit and allow a longer bake. Check the manufacturer’s instructions, particularly for nonstick coatings, stones, and broiler use.
Stone or steel: Place the surface in the cold oven and preheat for about 45 to 60 minutes, following its instructions. The middle to upper third is a starting rack position; adjust after seeing how the top and bottom brown. King Arthur’s home pizza oven guide explains why the oven’s preheat signal does not mean a heavy baking surface is fully heated.
Build the pizza on a peel lightly dusted with flour or semolina. Give it a small shake before and after topping to check that the dough moves. If an edge sticks, lift that patch and add a little flour underneath before approaching the oven. King Arthur’s pizza-loading guide illustrates this transfer step.
Pizza pan or baking sheet: Lightly oil a room-temperature metal pan rated for your baking temperature. Shape and top the pizza directly on it, then place the pan in the preheated oven. Start on the middle rack. This avoids transferring loose dough onto a hot surface; you do not need to preheat the pan separately.
Parchment: Use it only within the package’s temperature limit and never under a broiler. For example, Reynolds parchment is rated to 425°F, below the high-heat method here. A lightly oiled, suitably rated metal pan is a straightforward alternative.
Judge the bake by the crust as well as the cheese
At 500 to 550°F, begin checking after about 6 minutes on steel or 8 minutes on stone. Many pizzas take roughly 6 to 12 minutes, but a thicker center, cooler oven, or pan can need longer. These are checking points, not guaranteed finishing times.
- The rim should be well browned and feel set.
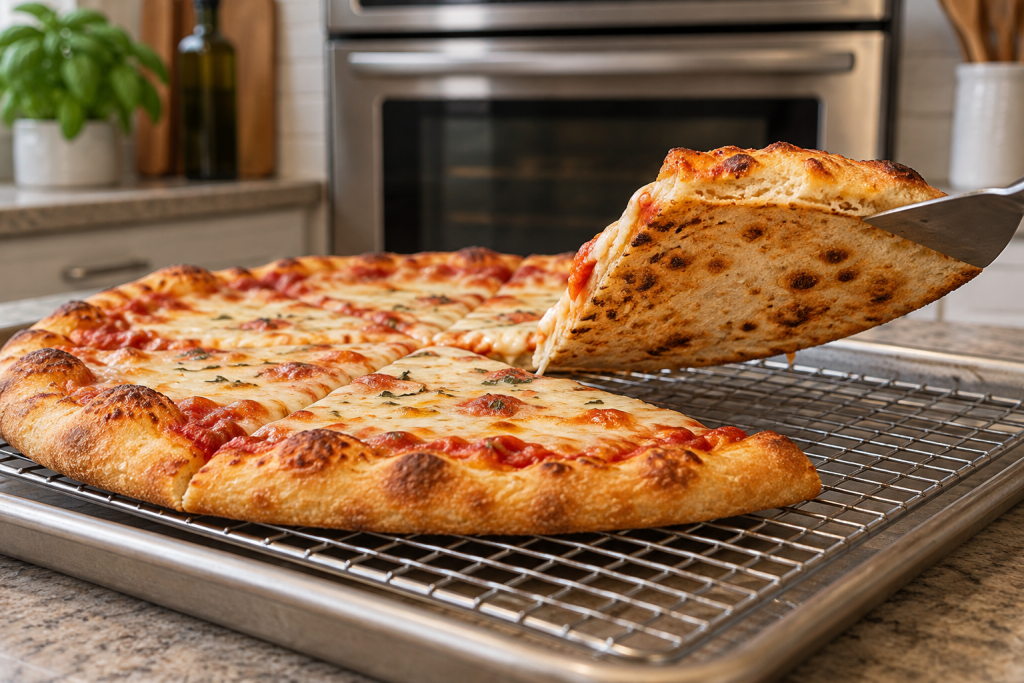
- Lift an edge carefully with a spatula or tongs: the underside should have brown patches rather than look uniformly pale.
- The center should be baked through, without a gummy layer beneath the sauce. Melted cheese alone does not establish that the dough is done.
- If one side colors faster, rotate the pizza once it is firm enough to move safely.
If the base is done but the top is pale, a brief broiler finish can help only when the bakeware is broiler-safe and no parchment is present. Watch continuously. If the top is already dark and the base pale, continue with ordinary oven heat and try a lower rack for the next pizza.
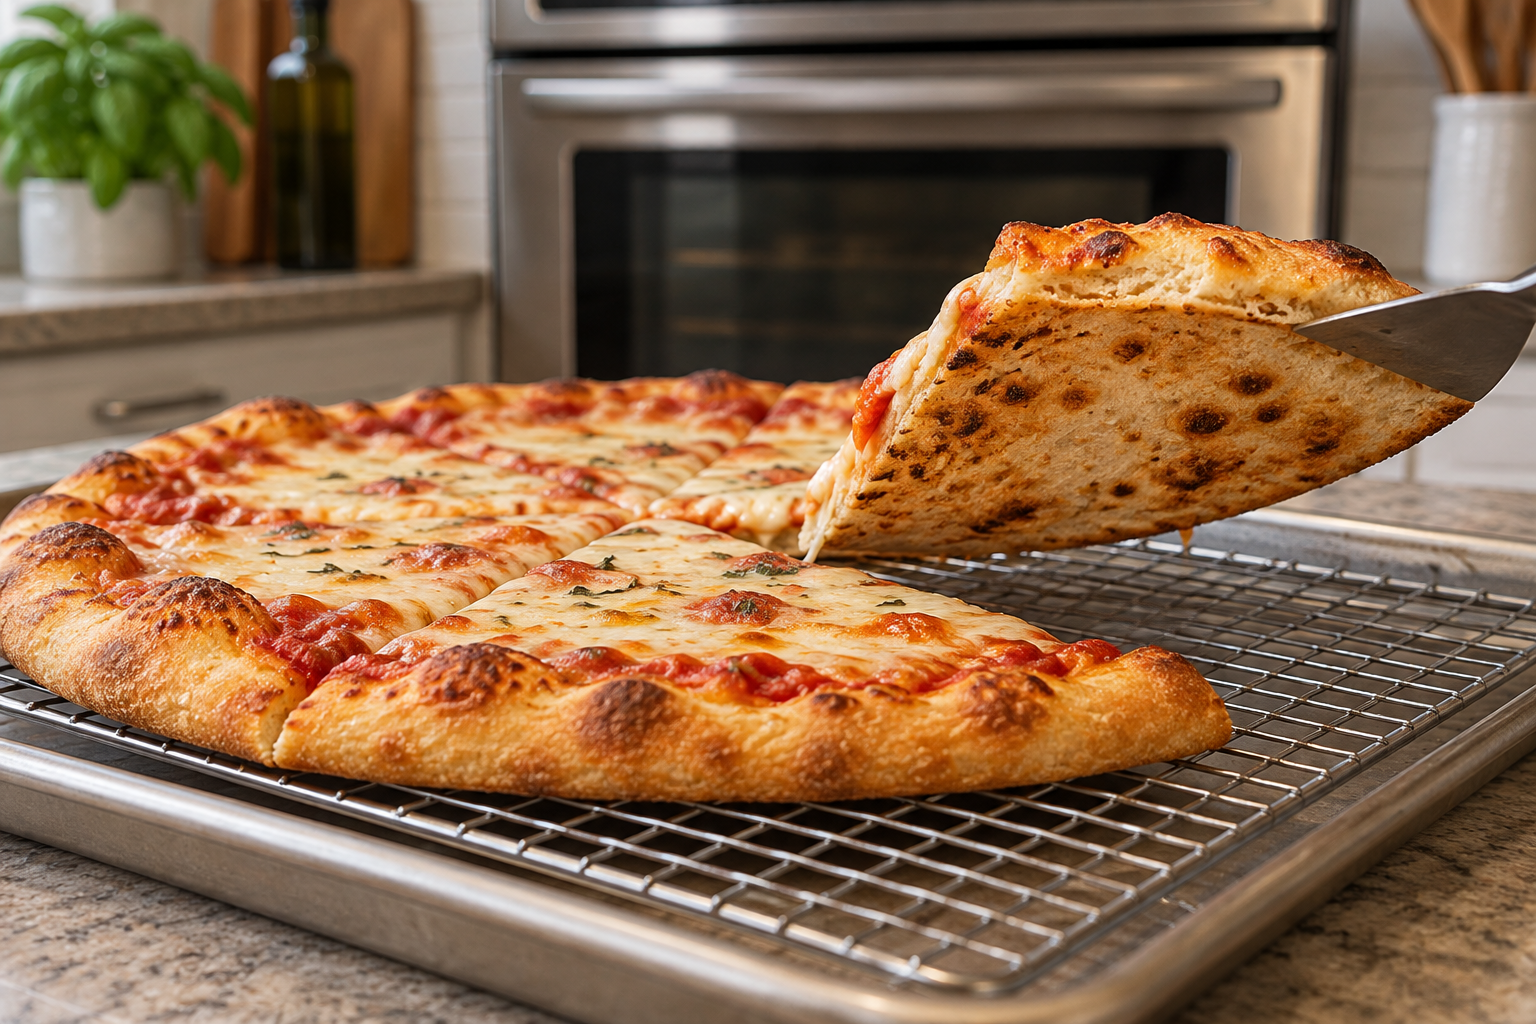
Let the pizza stand for a couple of minutes before slicing. A wire rack can help steam escape from underneath while it rests. These tips for making pizza at home are most useful when you check the underside of each bake and adjust to your own oven.
Troubleshooting homemade pizza dough and crust
| Problem | What to check | Practical fix |
|---|---|---|
| Dough keeps shrinking | Tight gluten or insufficient rest | Cover for 10 to 15 minutes, then press outward gently. Avoid repeated pulling. |
| Dough tears | A cold ball, an overly thin patch, or dough that was not kneaded enough | Let cold dough become pliable; support it evenly. Pinch small holes shut before topping. |
| Dough sticks to the peel | Too little dusting, a leak, or a long wait after topping | Free the stuck area and dust underneath before launch. Build one pizza at a time. |
| Dense or tough crust | Little visible rise or too much added flour | Allow the next batch to become puffy, weigh the flour, and use less flour on the counter. |
| Wet center | Heavy sauce, wet toppings, or a thick, underbaked center | Drain toppings, use less sauce, stretch more evenly, and check the underside before removing. |
| Dark cheese, pale bottom | Top heat is outrunning bottom heat | Preheat the stone or steel fully and try a lower rack. Skip the broiler. |
| Bottom burns before the top finishes | Strong heat from below, especially on steel | For the next bake, try a higher rack or a slightly lower oven temperature within the equipment’s limits. |
Store and reheat leftover pizza safely
Refrigerate cooked pizza within 2 hours, or within 1 hour when the surrounding temperature is above 90°F (32°C). Keep the refrigerator at 40°F (4°C) or below. Do not leave slices out overnight.
Use refrigerated pizza within 3 to 4 days. For longer storage, wrap slices and freeze; the FoodSafety.gov cold food storage chart lists 1 to 2 months for best frozen pizza quality.
Reheat the portion you need in a covered skillet over moderate heat or a 425°F (220°C) oven until the center reaches 165°F (74°C). Check thick toppings with a food thermometer. Uncover the skillet near the end if the crust needs to release steam and crisp again.
During preparation, keep raw flour and dough away from foods that will be served without further cooking, such as fresh basil or a finished side salad, and clean the work surface afterward. Flour is a raw food, so do not taste uncooked dough, even when it contains no eggs. Use dry oven mitts around hot pans, stones, and steels, and let the baking surface cool before moving it.
Make the next pizza better
Give a stone or steel time to recover between pizzas. King Arthur recommends at least five minutes between bakes. Keep the oven door closed during that pause.
Write down the flour used, rise time, rack position, and bake time, then note whether the center and underside were cooked evenly. Change one thing on the next attempt so you can tell what helped.
For pizza night, serve roasted asparagus with Parmesan on the side or a little garlic butter sauce for dipping the crust. If you are also making peach cobbler with self-rising flour, bake it separately at its own lower temperature.
Homemade pizza questions, answered
Learning how to prepare homemade pizza gets easier when you can identify the next small adjustment. Open the question that matches your dough or equipment.
Can I make this pizza without a stone or steel?
Yes. Shape and top the dough on a lightly oiled, room-temperature metal pizza pan or baking sheet rated for the oven temperature. Start on the middle rack. The pan method avoids a peel transfer, although it may need longer to brown underneath. Check the base rather than removing the pizza as soon as the cheese melts.
Why does my pizza dough shrink when I stretch it?
The gluten may still be tight, especially after you have just rounded the dough into a ball. Cover it and pause for 10 to 15 minutes, then press from the center outward again. Cold dough also needs time to become pliable. Repeated hard pulling can create thin spots and tears; an imperfect circle is fine.
Can I add a whole packet of yeast?
Use the measured amount for the schedule you chose: 3 g for same-day or 1 g for the refrigerator method. A typical 7 g packet contains considerably more yeast. Adding the whole packet changes the speed of fermentation, so it does not follow the timing in this guide. Check the packet weight and measure rather than assuming one packet equals one recipe.
What should I do if the cheese browns before the crust?
First check the underside. If it is pale, continue with regular oven heat and skip the broiler. For the next pizza, try a lower rack and make sure a stone or steel has had its full preheat. Keep sauce and cheese light enough that the center can bake through. If the underside burns first, adjust in the opposite direction: try a higher rack or a slightly lower temperature.
Can I make the dough the day before?
Yes. Use the 1 g yeast refrigerator schedule, including the mixing, rest and kneading steps. Store the divided balls covered with room to expand. Before shaping, allow them to become pliable and a little puffy; 60 to 90 minutes is a starting estimate, not a deadline. Keep toppings separate until you are ready to bake.
How do I make a smaller batch?
For one 12-inch pizza, use 250 g flour, 162.5 g water, 5 g salt, 1.5 g instant yeast for same-day and an optional 5 g olive oil. Top with 3 tablespoons sauce and 100 g mozzarella. A scale that reads tenths of a gram helps with the small yeast amount. The rise and bake times do not halve just because the ingredient amounts do.
Printable recipe: how to prepare homemade pizza
This complete recipe makes two 12-inch cheese pizzas. Print it for the kitchen, including the ingredient amounts, all nine steps, timing, equipment and overnight variation. The default method uses a 500°F oven; always follow your equipment’s temperature limit.
How to Prepare Homemade Pizza: Two 12-Inch Cheese Pizzas
Ingredients
Equipment
Method
- Stir the flour, salt and 3 g instant yeast together in a large bowl. Add the water and optional 10 g olive oil. Mix until no dry flour remains, scraping the bottom of the bowl. Cover and rest for 20 minutes.
- Knead by hand for about 3–5 minutes, continuing if needed until the dough looks smoother and stretches before tearing. It should feel soft and slightly tacky. If it sticks heavily, cover and pause for 5 minutes before adding more flour; use only small pinches for handling.
- Place in a lightly oiled bowl and cover. At about 72–78°F (22–26°C), begin checking after 1 1/2 hours; allow about 1 1/2–2 hours or longer as needed. Look for roughly 50% growth, a puffy surface and some bubbles. Use these signs rather than the clock alone.
- Divide into two equal balls: about 424 g each with the oil, or 419 g without. Tuck the edges underneath, place in lightly oiled containers and cover. Rest about 45–60 minutes, until relaxed and a little puffy. A gentle finger indentation should recover slowly.
- During the final rest, preheat to 500°F (260°C), only if the oven and bakeware permit it. For a stone or steel, place it in the cold oven and allow 45–60 minutes of preheating, following its instructions. For the simpler pan method, use the middle rack and lightly oil a room-temperature metal pizza pan or baking sheet rated for 500°F. Do not preheat that pan. Grate the cheese and measure the sauce before stretching.
- Keep the second ball covered. On a lightly floured surface, press the first ball from the center outward to a 12-inch round, leaving a roughly 1/2-inch rim. Support it evenly while stretching. If it shrinks back, cover and rest for 10–15 minutes. Pinch any holes closed before adding sauce.
- For a pan, place the dough on the prepared room-temperature pan. For a stone or steel, use a lightly floured peel and check that the dough slides freely. Spread with 3 tablespoons sauce and scatter with 100 g mozzarella, leaving the rim bare. Transfer promptly to the oven; do not try to force a stuck pizza off the peel over the hot surface.
- Bake one pizza at a time. Start checking at about 6 minutes on steel, 8 minutes on stone, or 10 minutes on a metal pan. Many stone or steel bakes take 6–12 minutes; a pan may take roughly 12–18 minutes or longer. These are checking ranges. Look for a browned, set rim, bubbling cheese and brown patches underneath. Lift an edge carefully with a spatula to check; the center should have no gummy dough beneath the sauce. Rotate if one side browns faster.
- Move the first pizza onto a wire rack for about 2 minutes, then slice. Let a stone or steel recover heat for at least 5 minutes with the oven door closed. Shape and top the second ball with the remaining 3 tablespoons sauce and 100 g cheese, then bake and rest in the same way. If reusing one metal pan, let it cool enough to handle safely before shaping dough on it.
Notes
Made this pizza? Leave a rating and tell us which pan or baking surface you used.