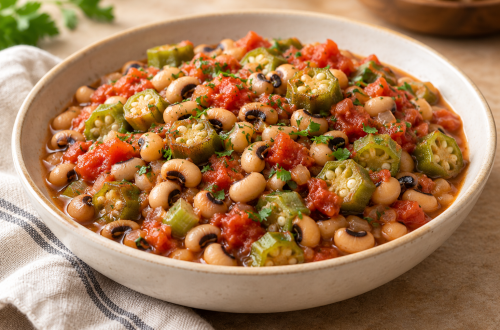
How to thicken soup without flour or cornstarch: begin with ingredients already in the pot. Purée part of a vegetable or bean soup, add a small measured amount of cooked starch, or reduce a diluted broth. Choose by flavor and texture before reaching for a thickener.
The amounts below are starting points for 4 cups of soup. Stir and taste a cooled spoonful first. Potatoes or lentils that are still firm need more cooking, and a soup that is already salty should not be reduced aggressively.
How to thicken soup without flour or cornstarch: method chooser
| Method | Starting point for 4 cups | Best fit / trade-off |
|---|---|---|
| Blend existing solids | 1–2 cups of the soup | Vegetable, bean, or lentil soup; preserves the existing flavor |
| Cooked potato | ¼ cup mashed to start; up to ½ cup | Mild body; can mute seasoning |
| Puréed beans | ¾ cup drained canned beans | Hearty tomato, taco, or vegetable soup; clouds broth |
| Cooked rice | ½ cup | Mild starchy body; keeps absorbing liquid |
| Plain bread | 1–2 ounces | Rustic tomato or vegetable soup; commonly contains wheat |
| Uncovered reduction | Check at 10 minutes, then reassess | Diluted broth; concentrates salt and all other flavors |
| Nut or seed butter | 1 tablespoon, then up to 3 if suitable | Squash, carrot, or peanut-style soup; adds distinctive flavor and allergens |

Seven methods, with amounts and limits
1. Blend part of the pot
Remove meat or other pieces you want to keep intact. Move the pot off the active burner, submerge an immersion-blender head fully, and pulse one section. For 4 cups, start with roughly 1 cup of cooked solids and broth; stir before blending another ½–1 cup.
Without a blender, mash soft solids with a fork or potato masher. If using a countertop blender, follow its hot-food instructions, batch-size limit, and venting directions. Never seal expanding steam inside a container not designed for hot food.
2. Add potato
Whisk ¼ cup plain cooked mashed potato with ½ cup broth taken from the soup. Stir back in and simmer gently 3–5 minutes. Add up to another ¼ cup mash if needed. Seasoned leftover mash brings its butter, garlic, or cheese with it.
For a raw-potato route, use one small potato, about 5 ounces, cut into ½-inch pieces. Simmer in the soup until completely tender, often 12–18 minutes, then mash. Do not serve with a firm raw center. Avoid prolonged high-speed blending, which can make potatoes gluey.
3. Purée cooked beans
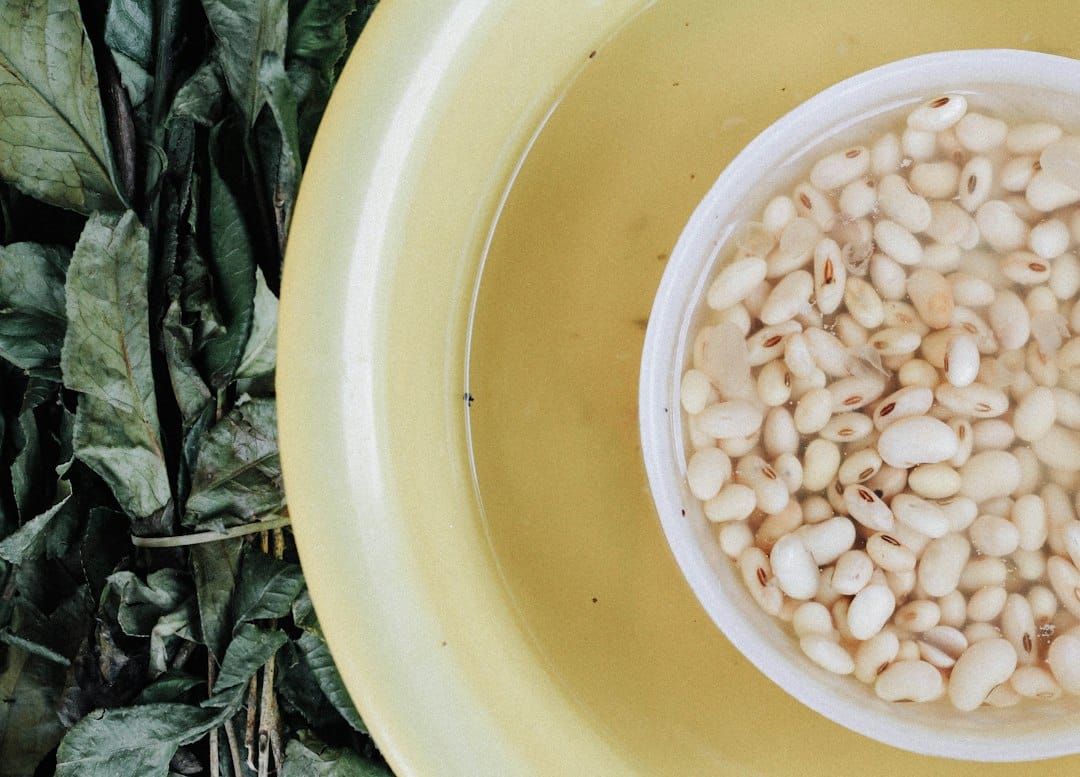
Drain and rinse ¾ cup canned beans, then mash or blend with ½ cup broth from the pot. Stir into the soup and simmer about 5 minutes. White beans fit a mild vegetable soup; black or pinto beans suit taco soup with ranch seasoning. Use fully cooked beans, not merely soaked dried beans.
4. Simmer in cooked rice
Add ½ cup cooked rice to 4 cups soup and simmer gently 10–15 minutes. Mash for a rustic finish or blend some of the pot. Dry rice needs its own cooking time and more liquid; ½ cup dry is not an equivalent substitute. The rice cooking guide explains differences among varieties.
5. Soften plain bread
Tear 1–2 ounces plain bread into small pieces and simmer in the soup 8–10 minutes, then mash or blend. This suits tomato, onion, and rustic vegetable soups. It avoids adding loose flour but is not inherently gluten-free. For a different use for the loaf, see homemade dry breadcrumbs.
6. Reduce uncovered
Simmer gently with the lid off, stirring every 2–3 minutes. Check after 10 minutes and continue only while the flavor and vegetables can tolerate more concentration. A wide pot evaporates faster. Stop if the soup becomes salty; further simmering will not remove salt.
7. Whisk in nut or seed butter
Mix 1 tablespoon peanut butter, tahini, or another compatible nut or seed butter with ¼ cup hot broth taken from the soup. Stir back in, simmer 2–3 minutes, and taste before adding more, up to 3 tablespoons for the 4-cup batch. Plain homemade peanut butter works when its flavor belongs in the soup. Disclose allergens and check labels.
Try one cup before changing the whole pot
For a trial, remove 1 cup containing a representative mix of solids and broth. Choose just one addition: 1 tablespoon mashed potato, 2 tablespoons cooked rice, or 3 tablespoons drained beans. Follow the same cooking and texture cues; cooking time does not shrink to a quarter. If the trial tastes right, calculate for the soup still in the main pot—removing 1 cup from 4 leaves 3.
Rescue a pot that went too far
- Too thick: stir in a compatible unsalted liquid ¼ cup at a time, reheating and reassessing between additions.
- Too salty after reducing: add unsalted liquid and compatible unsalted solids; do not keep reducing.
- Gummy: dilute gently and stop aggressive blending. More potato or rice will not solve it.
- Flat flavor: correct thickness first, then adjust seasoning in small increments.
- Curdled dairy: stop boiling. Gentle blending may improve appearance but cannot promise a smooth emulsion.
Cream adds richness but a small splash may not supply enough body to fix a watery pot. If a cooking recipe needs cream and you have only milk and butter, the milk-and-butter cream substitute explains its limits: it is for cooking and does not whip. It is not interchangeable with a starch thickener.
Store and reheat the finished soup
Refrigerate in shallow containers within 2 hours, or 1 hour above 90°F, at 40°F or below. Use within 3–4 days or freeze portions. Rice, bread, and potatoes can continue absorbing broth, so add a splash when reheating.
Reheat to 165°F and bring soups to a rolling boil while stirring, then allow to cool enough for serving. USDA leftover guidance covers cooling and reheating; FoodSafety.gov’s storage chart gives the refrigerated soup window. For dairy soups, stir carefully and expect texture changes during reheating.