Pantry recipe / The two-stage roasting recipe
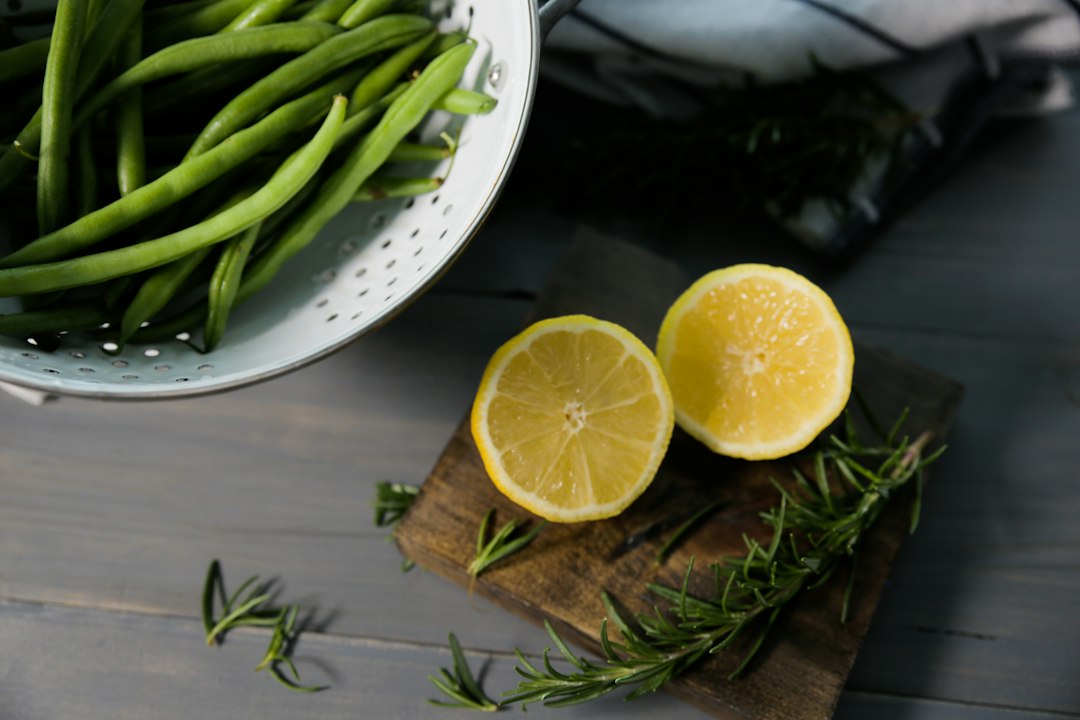
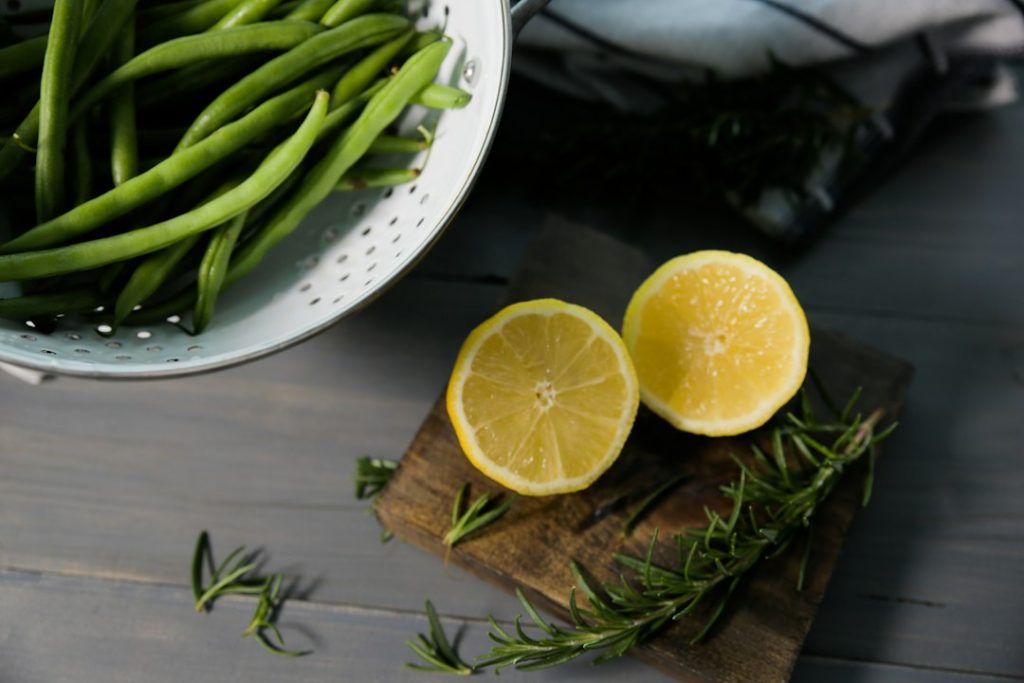
Featured photo: fresh green beans and lemon; the recipe uses frozen beans, shown as an ingredient reference rather than the prepared recipe. Photo by Tammy Gann on Unsplash.
Sheet pan gnocchi with frozen green beans turns a package of potato dumplings and a freezer staple into a warm, lemony dinner. The gnocchi develops golden patches and a pleasantly chewy exterior, the beans become tender, and garlic and oregano season the whole tray. A little Parmesan or parsley at the table finishes the dish without a heavy sauce.
The important detail is the cooking order. Roast the frozen beans briefly on their own so surface moisture can evaporate, then add the gnocchi. Garlic goes in near the end, while lemon goes on after roasting. That sequence gives each ingredient a job without asking everything to cook at the same speed.
At a glance: 2 generous dinner servings or 3 smaller portions · About 10 minutes prep · About 30–40 minutes cooking · 425°F / 220°C conventional oven. Allow approximately 40–50 minutes overall, plus extra preheating time if needed.Sheet pan gnocchi with frozen green beans: recipe
A no-boil oven dinner with tender beans, browned potato gnocchi, and a garlic-lemon finish.
Yield: 2 generous or 3 smaller servings
Prep: About 10 minutes
Cook: About 30–40 minutes
Total: About 40–50 minutes, allowing extra time if the oven is still preheating
Equipment: 13 × 18-inch rimmed metal baking sheet, mixing bowl, spatula, measuring spoons, and a fine grater.
Ingredients
- 1 pound (454 g) shelf-stable potato gnocchi
- 12 ounces (340 g) plain frozen cut green beans, loose ice shaken off
- 3 tablespoons olive oil, divided
- ½ teaspoon fine salt, divided, plus more to taste
- ¼ teaspoon black pepper
- ½ teaspoon dried oregano
- 2 garlic cloves, finely minced
- 1 teaspoon finely grated lemon zest
- 1 tablespoon fresh lemon juice, plus more to taste
- Optional: 2 tablespoons grated Parmesan or chopped parsley for serving
Oil breakdown: Use 1 tablespoon for the beans, 1½ tablespoons for the gnocchi, and the remaining ½ tablespoon for the garlic.
Instructions
- Preheat the oven. Set a rack in the middle and heat to 425°F (220°C). Use a rimmed metal sheet pan. Parchment is optional; check that yours is rated for this temperature. Do not use wax paper.
- Give the beans a head start. Toss frozen beans with 1 tablespoon oil and ¼ teaspoon salt. Spread over the tray and roast for 10–15 minutes. Break up clumps with a spatula. The beans should separate easily, with most surface moisture gone. If a noticeable puddle remains, roast a little longer before adding the gnocchi.
- Season the gnocchi. While the beans roast, toss the uncooked gnocchi with 1½ tablespoons oil, the remaining ¼ teaspoon salt, pepper, and oregano. Add to the tray and spread everything in a single layer. Use a second tray if needed.
- Roast until tender and browned. Cook for 18–25 minutes more in total, turning after about 12 minutes. Cut open a larger gnocchi piece: the middle should be hot and tender, with golden patches outside. Remove the beans to a serving bowl if they reach your preferred tenderness before the gnocchi is ready.
- Add garlic for the final 3–5 minutes. Mix minced garlic with the reserved ½ tablespoon oil and toss through the food on the tray. Return to the oven, watching for burning. These minutes are included in the 18–25-minute gnocchi roasting time, not added afterward.
- Finish off the heat. Return any reserved beans to the tray. Toss with lemon zest and 1 tablespoon lemon juice. Taste before adding more salt or lemon. Add optional Parmesan or parsley, divide between bowls, and serve promptly.
Timing note: Brand, pan material, oven performance, and the amount of ice on the beans affect cooking. The times are estimates; tenderness and surface moisture are the deciding checks.
The ingredients that matter most
Shelf-stable potato gnocchi: Use the sealed packages usually found near the pasta. Separate any stuck pieces before tossing with oil so their surfaces are coated evenly. This method is not written for homemade ricotta gnocchi or frozen cauliflower gnocchi; those products behave differently.
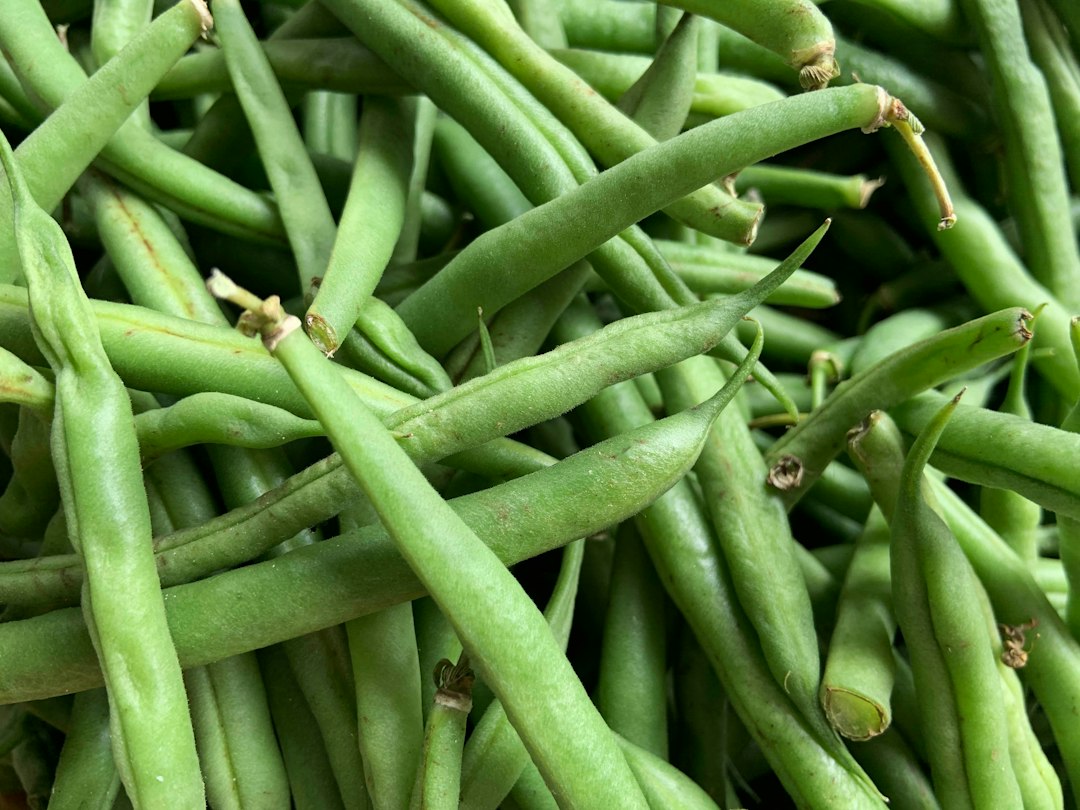
Plain frozen cut green beans: Choose beans without butter, cheese, or sauce. Shake off loose ice crystals before measuring and cooking. Do not microwave a steam-in-bag package first; the frozen beans go directly onto the roasting tray.
A roomy rimmed metal pan: A 13 × 18-inch sheet gives this quantity room to spread out. A deep casserole dish or a small tray holds the ingredients more closely together. If pieces are stacked rather than touching the pan, divide them between two trays.
Your two-stage roasting timeline
Start the cooking clock when the beans go into the hot oven, not when you first turn the oven on. Use the bean-roasting time to prepare the rest of the ingredients.
First 10–15 minutes: beans only.
While the beans lose surface moisture, separate and season the gnocchi. Mince the garlic, measure its reserved oil, and zest the lemon before juicing it.
Next 18–25 minutes: gnocchi and beans.
Turn once after roughly 12 minutes. Check a larger gnocchi piece and taste a bean carefully. Transfer ready beans to a bowl rather than letting them dry out while the gnocchi finishes.
Final 3–5 minutes of that same roast: garlic.
Keep the garlic coated with oil and mixed among the food. Small exposed pieces along the tray edge can darken first.
After roasting: lemon and toppings.
Finish, taste, and serve. Roasted gnocchi becomes firmer as it cools, so have bowls and the rest of dinner ready.
Why you do not need to boil the gnocchi
Packaged potato gnocchi can be roasted directly with oil, producing a different texture from boiling. Expect a tender center and a chewy, browned surface rather than a uniformly soft dumpling. The no-boil approach is also used in Love and Lemons’ sheet-pan gnocchi method; its vegetable combination and recipe are different from this one.
Check the preparation requirements on your package. Do not substitute another type of dumpling solely because it is labeled gnocchi. Gluten-free versions can also behave differently, so their package guidance takes priority over assuming this timing will fit.
Build the lemon finish gradually
Zest gives citrus aroma, while juice adds acidity. Adding both after roasting keeps extra liquid out of the pan during browning and lets you adjust the flavor before serving. Grate only the yellow outer skin; the white layer underneath can taste bitter.
Toss in the measured tablespoon of juice and taste a bite with both gnocchi and beans. Add more only in small squeezes. If using Parmesan, add it before the final salt adjustment because the cheese contributes salt of its own.
Read the tray: common problems and fixes
The gnocchi is pale and the pan looks wet
Check for crowding before increasing the oven temperature. Spread pieces apart or move half to another tray. A wet surface needs time to dry before it can brown. Keep lemon juice out until the end, and do not add wet canned beans to the tray as an unplanned extra.
The outside is browned but the middle is too firm
Cut a larger piece to distinguish a chewy crust from a hard center. Check that you used the specified product and follow any preparation requirements on the package. Give undercooked gnocchi additional time in short intervals while monitoring the beans. A heavily browned exterior is not a reason to keep roasting indefinitely.
The beans are ready first
Lift them into a bowl and return them when you add the lemon. Frozen beans generally produce a softer result than fresh ones; trying to achieve a fresh-bean snap by roasting longer can leave them dry rather than crisp.
The garlic is dark or bitter
Use lower exposure time, not extra garlic to cover the flavor. Add it only toward the end and watch carefully. Do not mix visibly burnt bits back into the food.
Make the meal fit your table
For a dairy-free version, leave off Parmesan and check the gnocchi ingredients. Parsley adds freshness without replacing the cheese’s saltiness, so taste again before serving. Offer chili flakes separately rather than making the entire tray spicy.
For extra substance, serve warmed, well-drained white beans alongside. A crisp salad or sliced cucumber gives contrast without needing another roasting tray. For another vegetable dish, try roasted asparagus with Parmesan. For a different complete tray dinner, see sheet-pan kielbasa with cabbage and potatoes.
Doubling the recipe: Double the ingredients but use two large trays from the start. Swap rack positions when you turn the food, and judge the trays separately. More food does not necessarily mean twice the cooking time, but crowded trays can take longer and brown less evenly.
Storage and reheating
For food safety, follow USDA guidance for leftovers: refrigerate in shallow containers within 2 hours, or within 1 hour above 90°F. Keep at 40°F or below, use within 3–4 days, and reheat leftovers to 165°F.
A skillet or oven can restore some surface texture, while a microwave produces a softer result. Reheat only the portion you need and check the temperature rather than relying on steam. Add a little fresh lemon after reheating, but taste before adding more salt or cheese.
For the best texture, make sheet pan gnocchi with frozen green beans close to serving time. You can measure the seasonings and prepare the lemon ahead, then keep the frozen beans frozen until the oven is ready. That is more dependable than leaving a fully assembled roasting tray waiting on the counter.
Recipe development note: this editorial revision does not constitute a documented kitchen test. Use the stated product type and the doneness checks rather than treating the time ranges as guaranteed.
Printable recipe
Print the measured ingredients and step-by-step instructions using the recipe card below.
THE COMPLETE RECIPE
Sheet Pan Gnocchi with Frozen Green Beans and Lemon
Yield: 2 generous dinner servings
Ingredients
- 1 pound shelf-stable potato gnocchi 454 g; uncooked. Use the specified product, not frozen cauliflower or homemade ricotta gnocchi.
- 12 ounces plain frozen cut green beans 340 g; shake off loose ice.
- 3 tablespoons olive oil Divided: 1 tablespoon for beans, 1 1/2 tablespoons for gnocchi, and 1/2 tablespoon for garlic.
- 1/2 teaspoon fine salt Divided, plus more to taste.
- 1/4 teaspoon black pepper
- 1/2 teaspoon dried oregano
- 2 cloves garlic Finely minced.
- 1 teaspoon finely grated lemon zest Yellow skin only.
- 1 tablespoon fresh lemon juice Plus more to taste.
- 2 tablespoons grated Parmesan or chopped parsley Optional, for serving.
Equipment
- 1 13 × 18-inch rimmed metal baking sheet; a second tray if needed
- 1 Mixing bowl
- 1 Spatula
- 1 Measuring cups and spoons
- 1 Fine grater
Instructions
- Preheat the oven. Place a rack in the middle and heat the oven to 425°F (220°C). Use a rimmed metal sheet pan. If using parchment, check that it is rated for this temperature; do not use wax paper.
- Start the frozen beans. Toss the frozen beans with 1 tablespoon olive oil and 1/4 teaspoon salt. Spread on the tray and roast for 10–15 minutes, breaking up clumps with a spatula. Most surface moisture should evaporate. If a noticeable puddle remains, roast a little longer before adding gnocchi.
- Season and add the gnocchi. While the beans roast, toss the uncooked gnocchi with 1 1/2 tablespoons oil, the remaining 1/4 teaspoon salt, black pepper, and oregano. Add to the tray in a single layer. Use a second tray if the ingredients are crowded.
- Roast until tender. Roast for 18–25 minutes more in total, turning after about 12 minutes. The centers of larger gnocchi pieces should be hot and tender, with golden patches outside. If the beans are ready first, transfer them to a serving bowl. Reserve the final 3–5 minutes of this roasting time for the garlic in the next step.
- Add the garlic near the end. Mix minced garlic with the remaining 1/2 tablespoon olive oil. Toss through the food and roast for the final 3–5 minutes, watching for burning. This garlic time is included in the 18–25-minute gnocchi roast, not added afterward.
- Finish with lemon. Return any reserved beans to the tray. Off the heat, toss with lemon zest and 1 tablespoon lemon juice. Taste before adding more salt or lemon. Add optional Parmesan or parsley and serve promptly.
Notes
Rate This Recipe
Made this recipe? Choose a star rating in the comment form and share how it turned out. Your cooking time and any ingredient changes can help the next reader.
Rate This Recipe