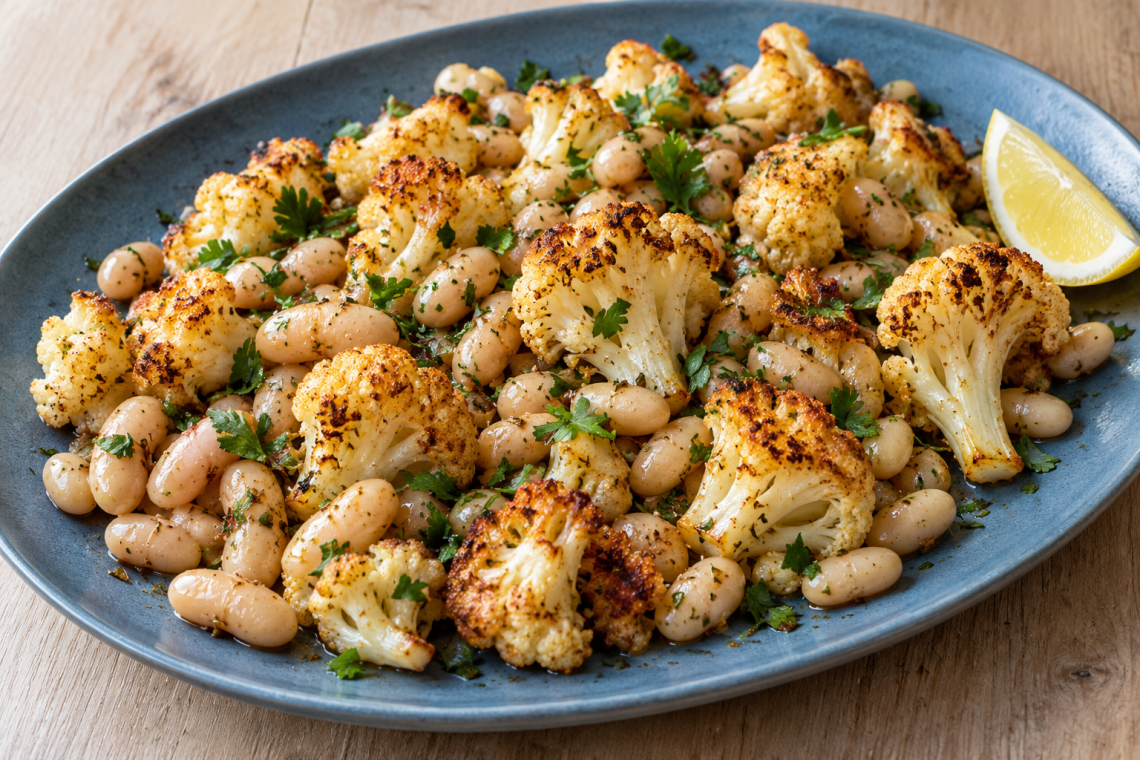
These sheet pan frozen cauliflower and white beans turn a freezer staple and a can of cannellini beans into a warm vegetable dish with lemon and cumin. Roast the frozen florets first, then add the beans once the cauliflower has begun to soften and brown. The short second stage warms the creamy beans without giving them the cauliflower’s full cooking time.
Expect tender cauliflower with a few golden contact spots and warm, intact beans. This is a spoonable vegetable-and-bean dish, not a tray of crunchy snack beans. Cumin supplies the main warm spice, smoked paprika adds a little depth, and parsley and lemon go on after cooking so their flavor stays distinct.
Why cauliflower needs a head start
Evaporate first
Frozen cauliflower releases water before it can brown. Spread it widely, roast it alone at first, and avoid piling pieces at the center.
Add beans later
Well-drained white beans need less oven time. Adding them after moisture has escaped prevents split skins and dry centers.
Toss the frozen florets with the measured oil, cumin and paprika before roasting; save lemon for the finish. Adding the lemon after roasting distributes it across the finished vegetables without introducing extra liquid during the browning stage. The tray is ready when the cauliflower has dark edges, the stems are tender, and the beans feel hot and creamy inside.
Plan the pan before opening the freezer
Yield: approximately 2–3 light main portions with a separately cooked grain, or 3–4 small side portions. Prep: 10–15 minutes. Roast: allow about 25–40 minutes, depending on the florets and oven. Total: approximately 35–55 minutes. Oven: 425°F / 220°C.
Use an 18-by-13-inch rimmed metal sheet pan, a mixing bowl, a colander, a clean towel, a broad spatula and oven mitts. A shallow metal pan leaves room for the cauliflower and later addition of beans. Keep a second tray available if the pieces will not fit without piling. Avoid pouring frozen vegetables onto a hot glass baking dish.
Ingredients
The first roast: cauliflower and spices
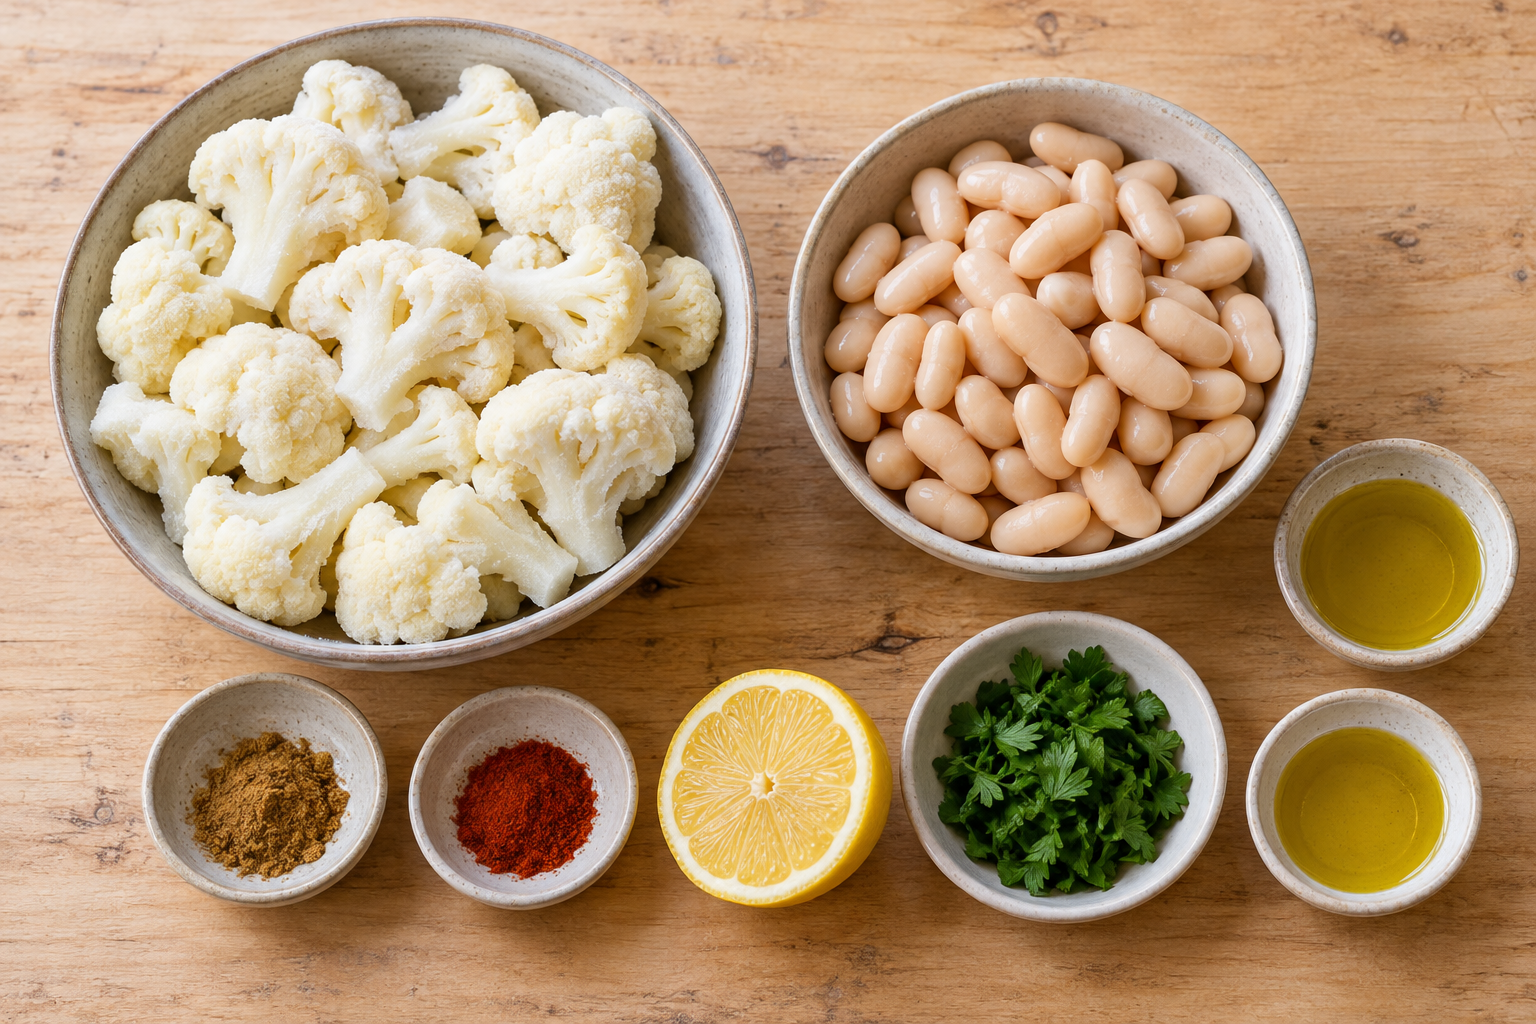
- 12 ounces plain frozen cauliflower florets, kept frozen
- 1 tablespoon olive oil
- 1/2 teaspoon ground cumin
- 1/4 teaspoon smoked paprika
The second roast: white beans
- 1 can (15 ounces) cannellini beans, drained, rinsed and gently patted dry
- 1 tablespoon olive oil
The fresh finish
- 1 tablespoon lemon juice
- 1 tablespoon chopped parsley
- 1/4 teaspoon fine salt, adjusted to taste
- Black pepper, to taste
The two roasting stages use 2 tablespoons olive oil in total. Keep the lemon juice and parsley aside until the pan leaves the oven.
What each part contributes
Plain, unseasoned frozen cauliflower keeps the seasoning under your control. A bag with sauce, cheese or an added coating is a different product and needs its own directions. Keep the florets frozen until the tray and bowl are ready; thawing and then blotting them is not part of this method.
Drain and rinse the cannellini beans gently, then spread them on a towel and blot the tops. They should look damp rather than sit in a puddle, but do not rub them until their skins split. One tablespoon of oil belongs to the cauliflower and the second to the beans. The lemon juice is the final dressing, so reserve it instead of adding it to the first roasting mixture.
Two stages, two different checks
| Stage | What is on the pan | Decision before continuing |
|---|---|---|
| First roast, about 17–20 minutes | Frozen cauliflower, one tablespoon oil, cumin and paprika. | Look for evaporation and initial browning; a very thick stem may need more time. |
| Second roast, about 8–10 minutes | Turned cauliflower plus the drained, oiled beans. | Finish when cauliflower stems are tender and the beans are thoroughly hot. |
The intervals are starting points. If the cauliflower is still very firm when the first timer sounds, give it a little longer before adding the beans. That small decision protects the beans from drying while the slowest vegetable catches up. Follow any additional cooking requirements on the frozen cauliflower package; University of Maine Extension explains why frozen vegetable package instructions matter.
How to make sheet pan frozen cauliflower and white beans
- Heat the oven and metal tray. Set a rack near the middle and heat the oven to 425°F. Put the empty rimmed sheet pan in the oven for about 5 minutes. Clear a heatproof landing space on the counter so you can remove and load the pan without balancing it on an unstable surface.
- Prepare the beans and finish. Drain, rinse and blot the beans. Measure the lemon juice and chop the parsley. Put these finishing ingredients aside. This leaves the frozen cauliflower as the last ingredient to come out while everything else is ready.
- Coat the frozen florets. Place the 12 ounces of frozen cauliflower in the mixing bowl with 1 tablespoon olive oil, cumin and smoked paprika. Toss until seasoning is distributed over the florets. Shake off loose surface ice before measuring if necessary; do not add water or rinse the frozen pieces.
- Spread on the hot tray. Use oven mitts to set the pan on the heatproof surface. Tip the florets onto it carefully and use the spatula to spread them into one layer. Place broad sides against the metal where possible, leaving gaps rather than a mound in the center.
- Give the cauliflower its head start. Roast for about 17–20 minutes. Check a thick stem with a fork and lift one piece to inspect its underside. If the largest pieces are still very firm, continue a few minutes before adding beans. The cauliflower need not be fully tender yet, because it has a second stage ahead.
- Add the oiled beans. Toss the dry beans with the remaining tablespoon of oil. Turn the cauliflower gently and distribute beans in the spaces around it. Avoid crushing them under a floret or scraping their skins repeatedly with the spatula.
- Finish the roast. Return the pan for another 8–10 minutes, checking near the earlier end. The thick cauliflower stems should yield to a fork, the florets should have some browned edges, and the beans should be thoroughly hot. Meet the frozen vegetable package’s cooking endpoint as well. Remove any small finished florets if a few larger pieces need longer.
- Dress and serve. Remove the tray, drizzle over the tablespoon of lemon juice, and add parsley, the stated salt and black pepper to taste. Fold together with broad, gentle movements. Taste a bean and a cauliflower piece together before making any final salt adjustment, then transfer to a shallow serving bowl.
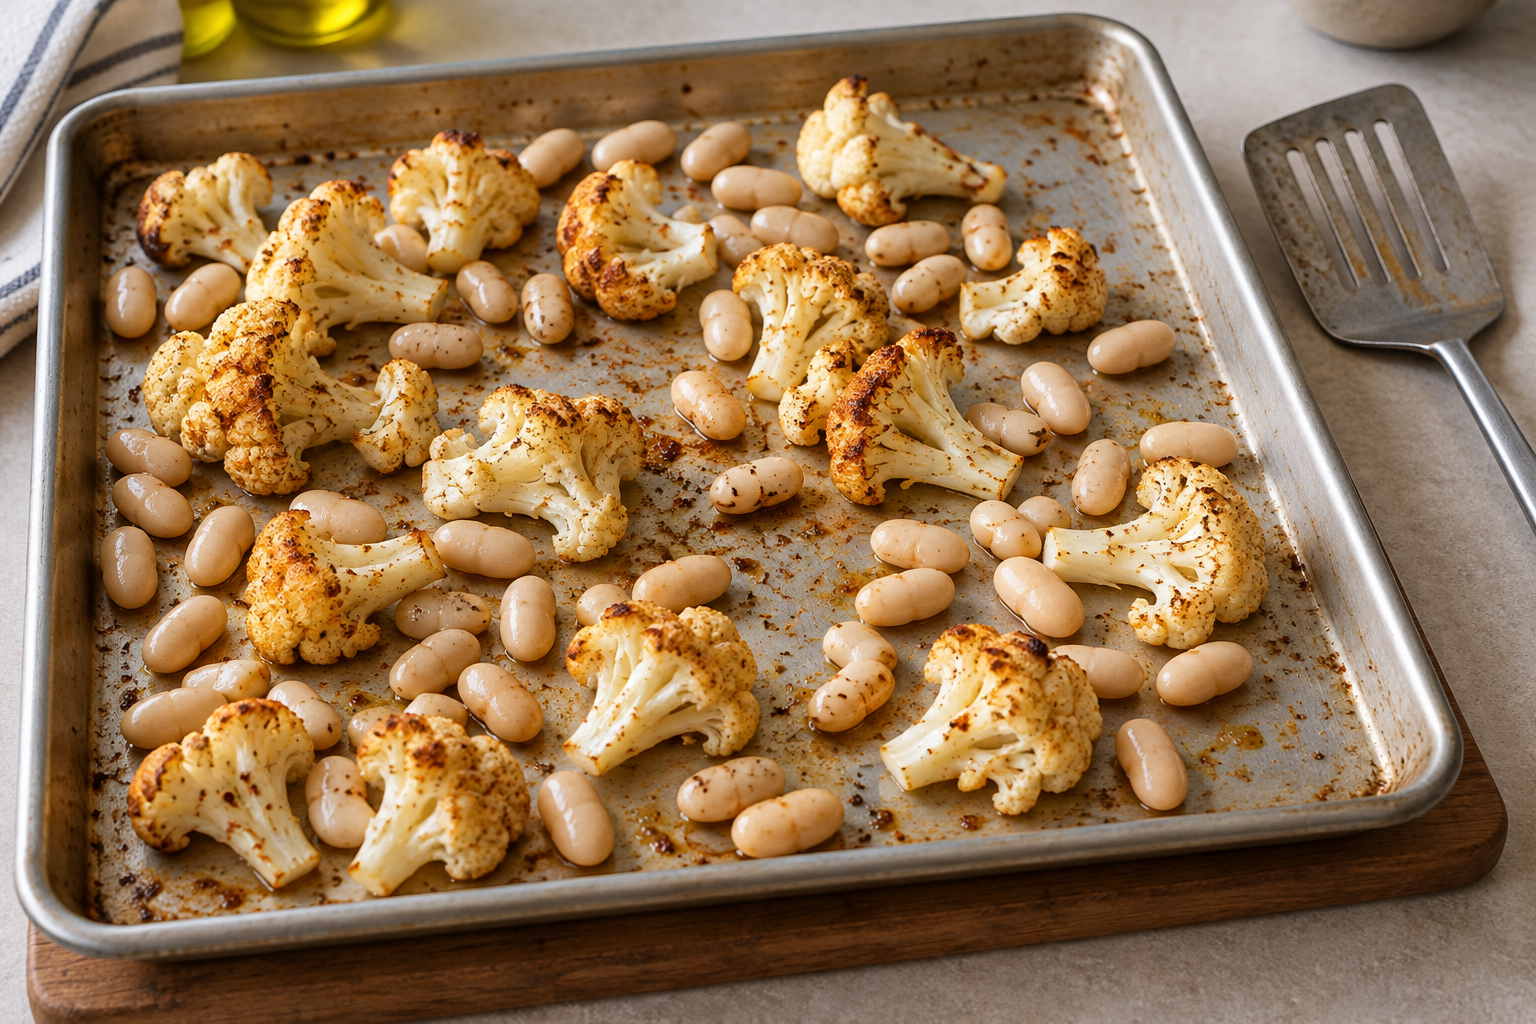
Read the tray, then make a small correction
Pale cauliflower with liquid around it
Check the spacing first. If the food touches on every side, divide it between two trays and continue cooking, checking both. Do not add the beans to a wet, crowded tray just because the first interval has ended. Let the cauliflower cook with enough surface exposed for moisture to escape.
Brown tops but a firm stem
Test the thickest stem, not only the delicate floret tips. Give large pieces more time and move any small finished pieces to a clean plate. Next time, choose a bag with more uniform florets if available; the number of pieces in twelve ounces can vary substantially.
Wrinkled or broken beans
Beans need a short warming roast. Use a gentle spatula motion and stop once they are hot. Some split skins are harmless to the appearance of a family supper, but an extended roast will not make an already dry bean creamy again. Add the finishing lemon and serve rather than chasing more color.
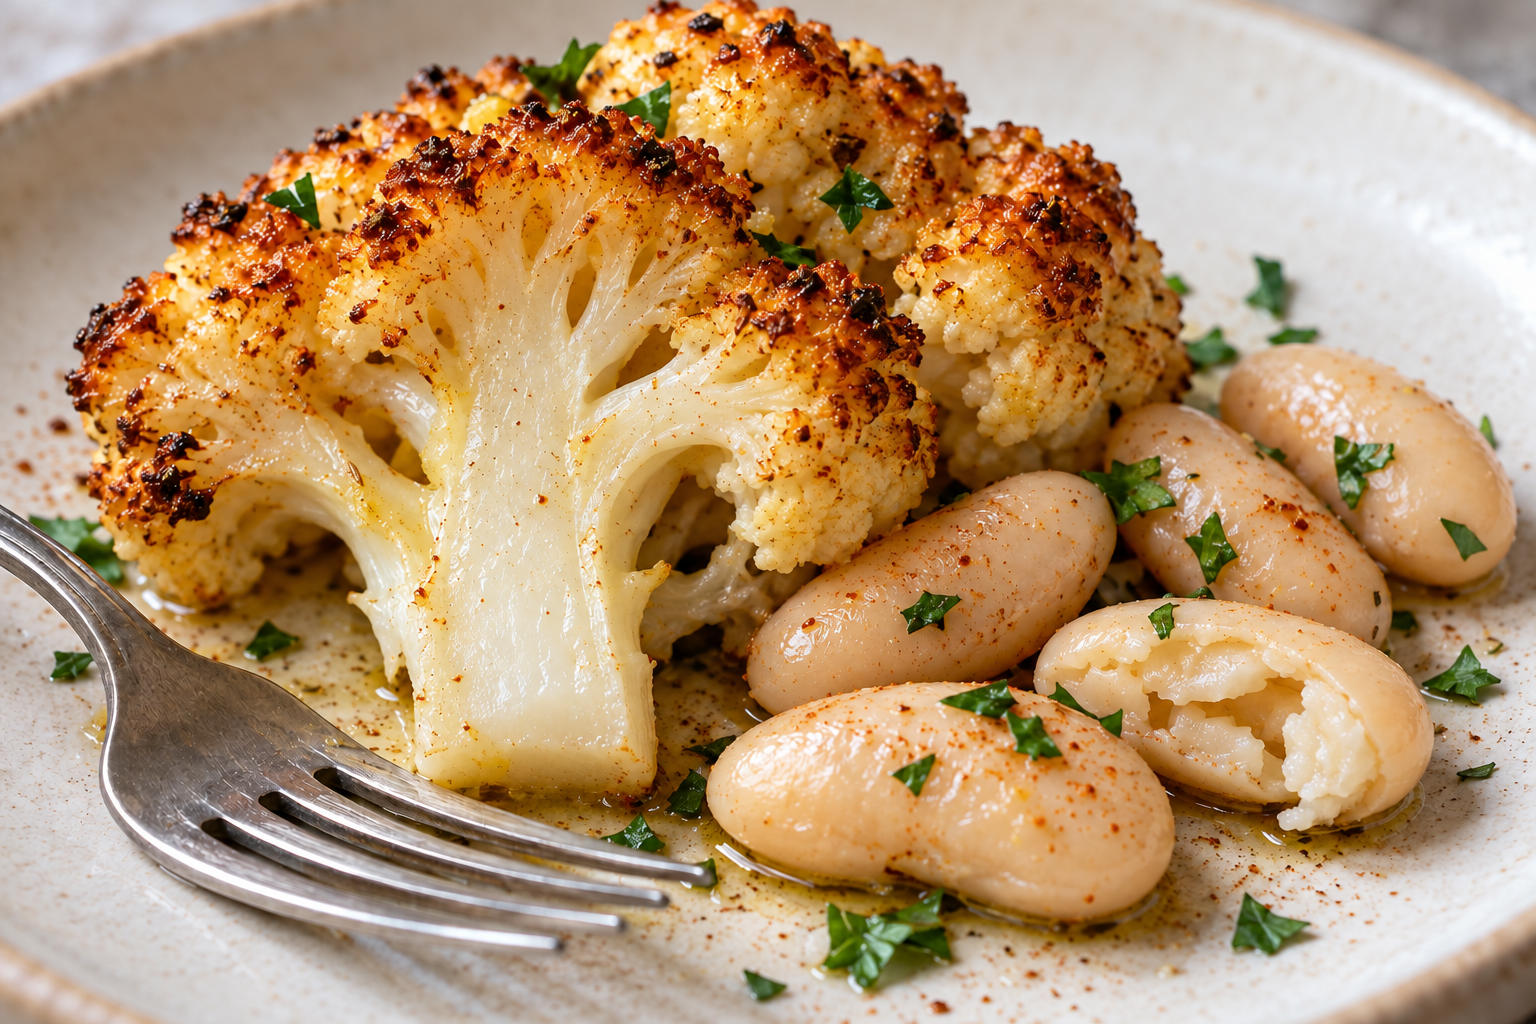
Choose a supper or side-dish format
For a light supper, spoon the cauliflower and beans over cooked quinoa, rice or another grain prepared separately. Keep the grain on the plate rather than mixing it onto the roasting pan, where it would use space needed for the vegetables. A little lemon-tahini sauce can be offered alongside, with its own seasoning adjusted separately.
As a side, divide the tray into three or four smaller portions beside safely cooked chicken, fish or another main. Use a broad bowl that lets the cauliflower remain visible above the beans. A deep covered serving dish traps steam and makes the roasted surfaces softer while the food waits.
Ingredient changes that keep the method recognizable
Great northern beans can replace cannellini beans with the same draining and short final-roast approach. Their size and firmness may differ, so judge when they are hot rather than waiting for exactly the same appearance. Dried beans must be fully cooked separately before replacing the canned beans; dry beans cannot hydrate on this tray.
Fresh cauliflower is a separate timing variation. It brings less surface ice and can brown on a different schedule. Check it earlier during the first stage and keep the beans for the end. A mixed frozen vegetable bag also needs individual attention because small carrots, peas and broccoli do not follow a large cauliflower stem’s timing.
Frequently asked questions
Do I need to thaw the cauliflower?
No. The stated method starts with plain frozen florets and a hot metal tray. Keep them frozen while the beans and finishing ingredients are prepared, and follow any specific cooking requirements on the package. Thawed florets need a different moisture and timing check.
Can I roast the beans from the beginning?
The beans are already cooked and only need to heat through. Giving them the cauliflower’s entire head start can leave them wrinkled or dry. Keep the two stages separate and add beans after the cauliflower has begun to soften and brown.
What if the bag contains one very large floret?
Inspect it during the first check. Once it has softened enough to handle safely with utensils, separate an oversized floret with a knife and fork on a stable board if needed, then return it to the tray. Do not try to force a knife through a hard frozen cluster.
Can I leave out the smoked paprika?
Yes, for a simpler cumin-and-lemon flavor. The paprika contributes seasoning rather than structure. Keep the same oil and vegetable amounts, and taste the finished food before adding another spice that may overwhelm the modest batch.
Can this be prepared ahead?
Drain the beans and measure the dry seasonings ahead, keeping drained beans covered in the refrigerator. Leave the cauliflower frozen until cooking. Chop parsley and measure lemon near preparation time, or refrigerate them separately until needed.
Will the leftovers stay crisp?
Expect softer cauliflower after refrigeration. Reheating in an uncrowded skillet or oven can dry some surface moisture, but it will not recreate every fresh roasted edge. Warm only the portion needed and verify the reheating temperature before serving.
Store and reheat the finished tray
Transfer leftovers to shallow containers and refrigerate within 2 hours, or within 1 hour when the surrounding temperature is above 90°F. Keep at 40°F or below and use within 3–4 days, following USDA leftovers guidance. Reheat to 165°F, checking the center of the portion with a food thermometer.
A skillet or oven gives the vegetables more room to lose surface moisture than a tightly covered microwave container. Keep the beans from drying by checking frequently, and add any extra serving sauce after reheating. Freezing may leave the cauliflower softer and the beans more fragile; do not expect the original roasted texture.
Separate browning from drying out the beans
The cauliflower and beans do different jobs on the tray. Cauliflower needs time to lose surface moisture and develop browned edges. Canned beans are already tender and only need the shorter final roast. Keeping that staggered sequence protects the beans while letting the vegetable cook properly.
Before the first roast, look for a few very large florets among the smaller ones. Keep them in an easy-to-find part of the tray so you can check their stems later. If your bag contains a wide size range, remove finished small pieces while larger ones continue. Do not judge the whole batch from the darkest tiny floret.
Dry the beans without crushing them. Drain and rinse in a colander, spread them on a clean towel, and blot gently. Roll the towel lightly if needed, but avoid squeezing. A few split skins are normal; extensively mashed beans stick to the pan and are difficult to turn without leaving a coating behind.
For a more substantial plate, serve this tray beside cooked grains or bread. Add a separate sauce at the table if desired, keeping it off the entire tray so leftovers retain their own seasoning. Lemon and parsley are already part of the finish, so taste before adding another acidic dressing.
Use a metal tray with a rim and a heatproof landing place. When adding the beans, move the pan to that stable surface instead of balancing it on the open oven door. Spread the beans with a utensil and return the tray promptly. Good access to the food makes the staged method easier to follow.
More recipes for your table
Choose a companion dish or another recipe for the ingredients you have. Each link opens its own instructions and printable recipe.
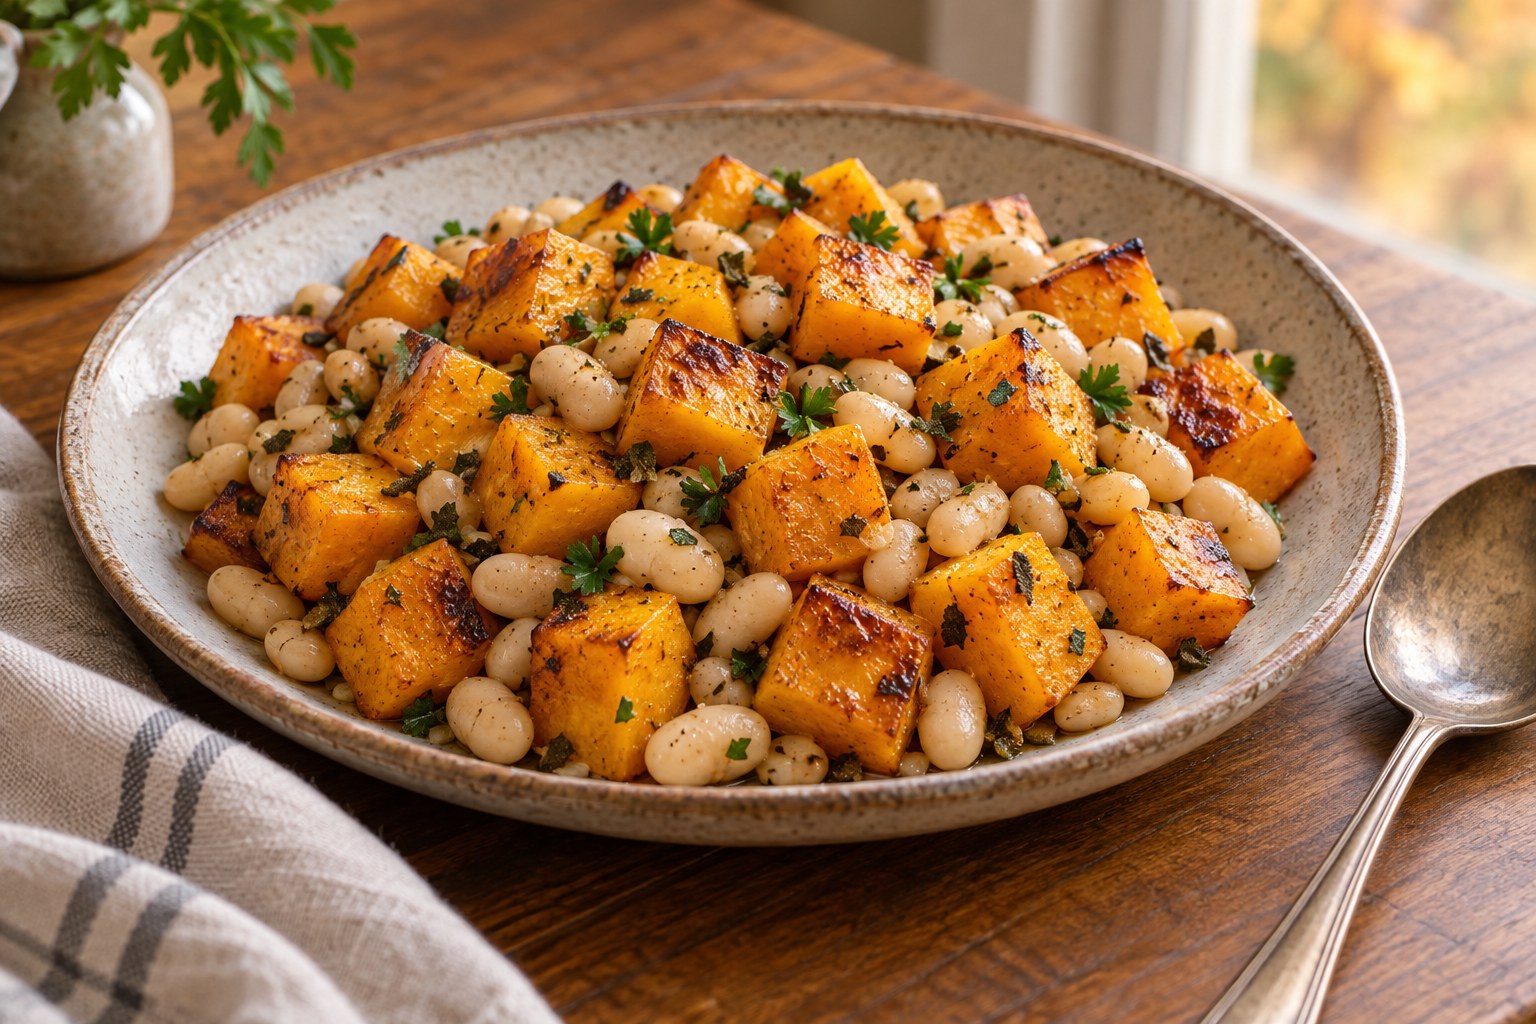
A second sheet-pan meal using tender white beans.
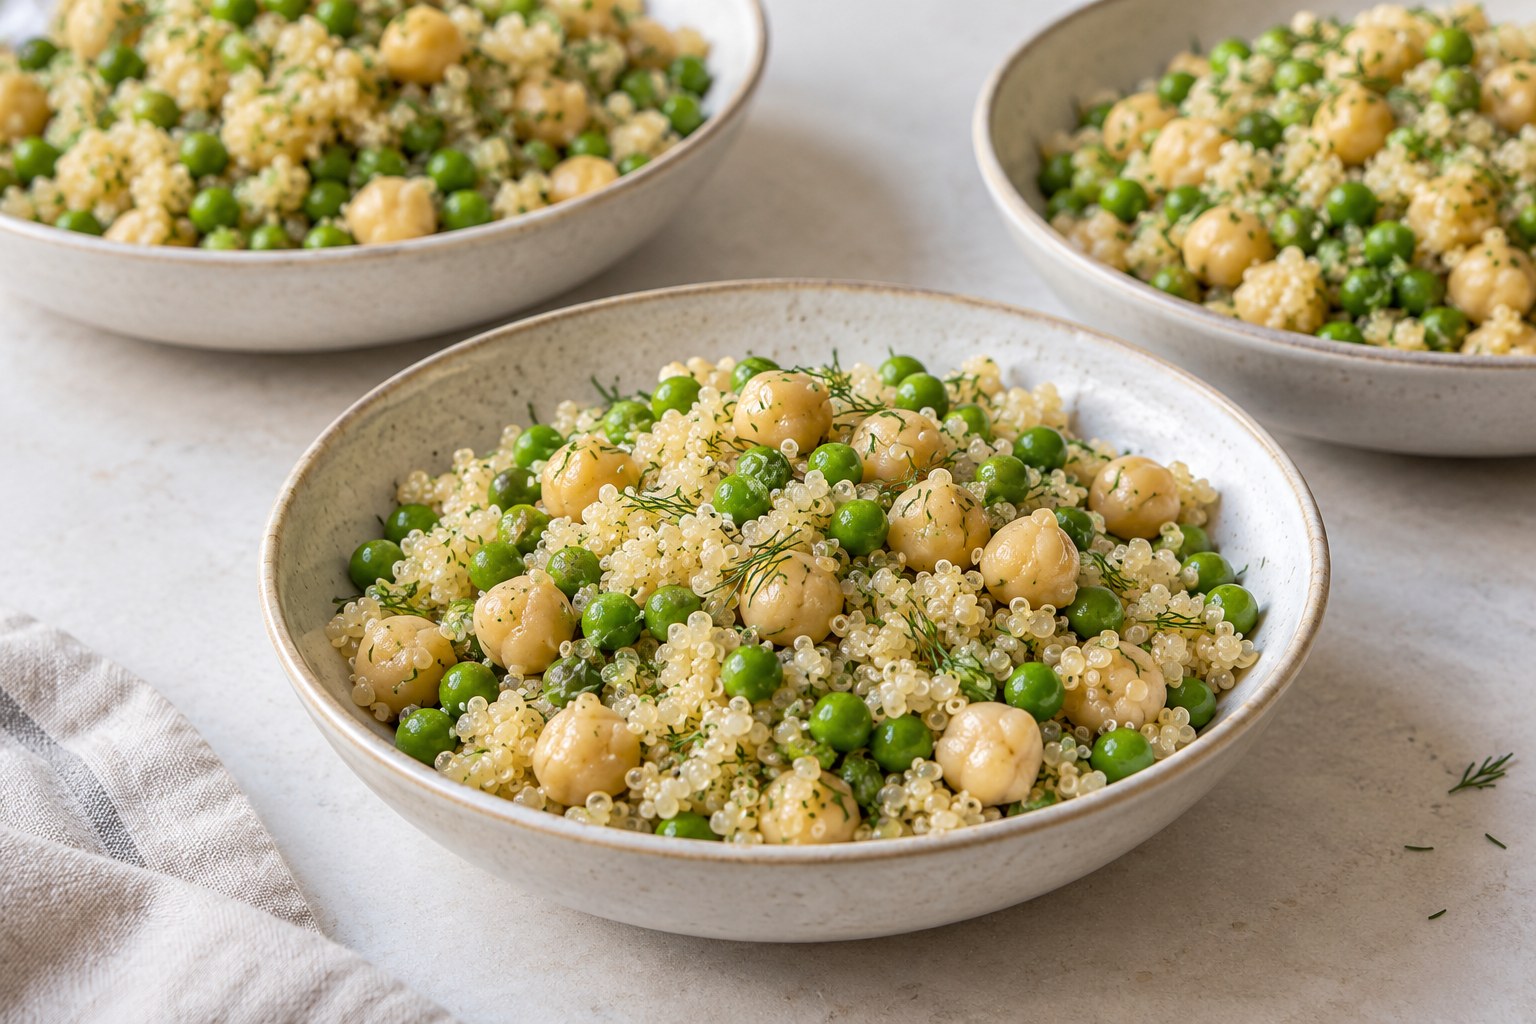
A quinoa bowl using peas, chickpeas and lemon.
Equipment for this recipe
Affiliate disclosure: As an Amazon Associate I earn from qualifying purchases.
Use the tools you already have when they match the method. If you need an item, these links open matching Amazon search results.
- Rimmed baking sheet on Amazon — Choose a tray that fits your oven and leaves the food room to spread.
- Fine-mesh kitchen strainer on Amazon — Drain or strain ingredients without losing small pieces.
Check the size, material, and manufacturer’s use instructions against the recipe before choosing.
Useful kitchen references
- USDA frozen-food preparation guidance — Use alongside the directions on your product.
- FoodSafety.gov leftover guidance — A practical reference for chilling and reheating.
A tender tray with a bright finish
These sheet pan frozen cauliflower and white beans work best when the cauliflower gets time to roast before the beans join it. Finish only after the stems are tender and the beans are hot, then fold through the measured lemon and parsley. Serve in a shallow bowl so the vegetables are easy to portion.
Printable recipe
Use the recipe card’s Print control for a kitchen copy. Follow the ingredient quantities and cooking checks in the card when preparing the dish.
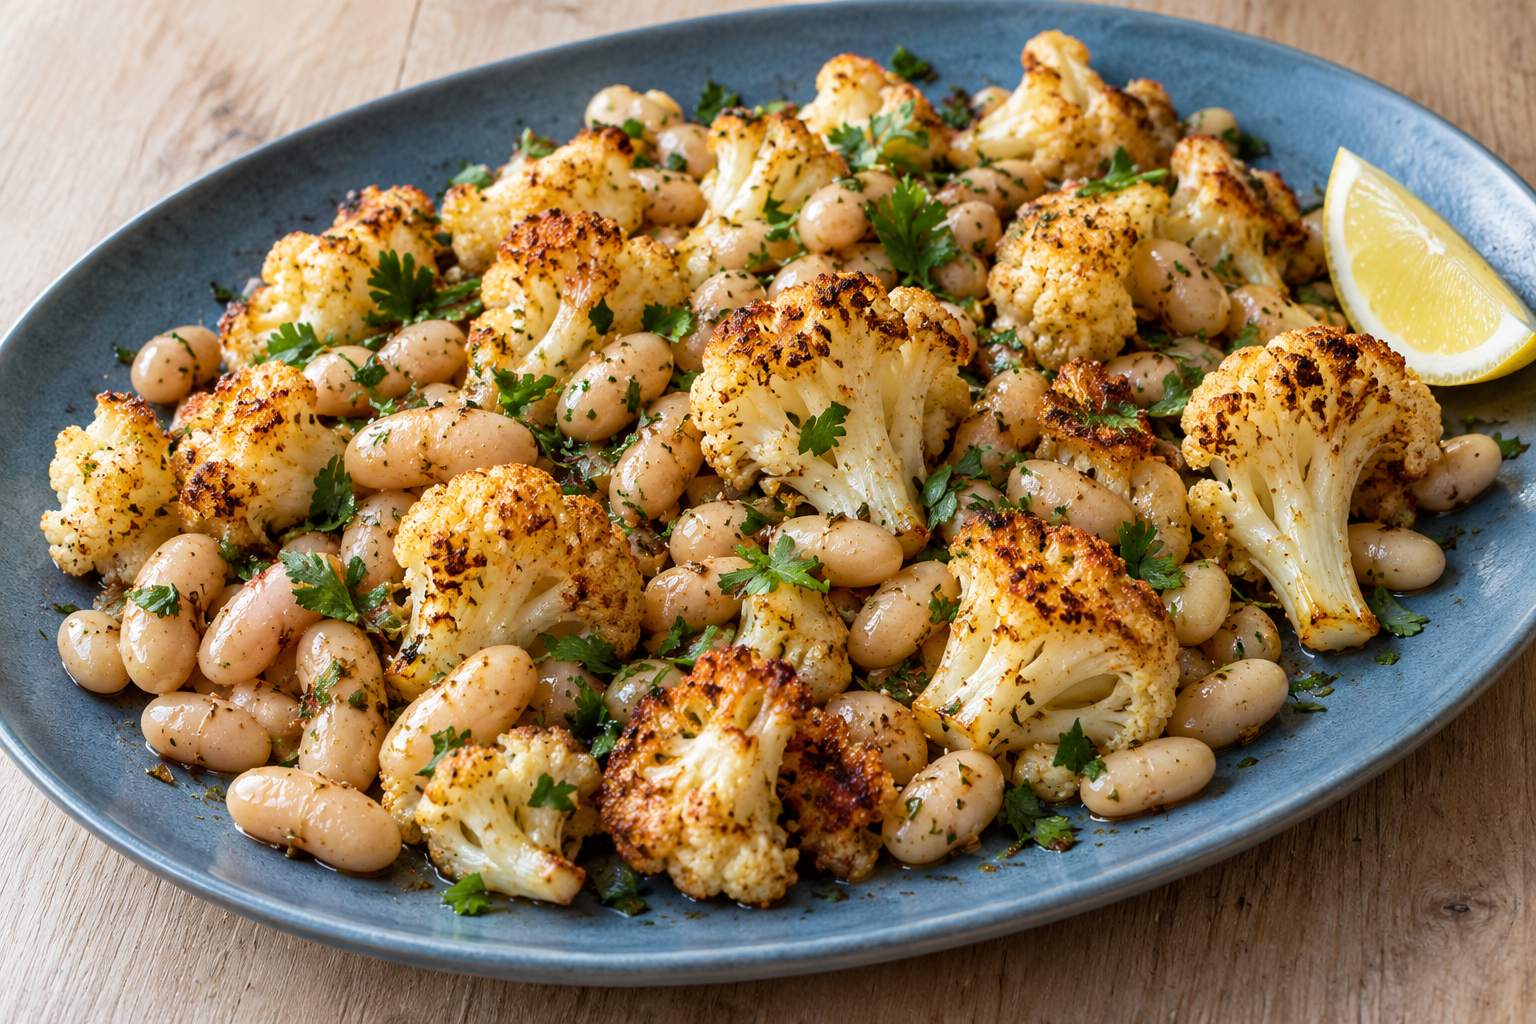
Sheet Pan Frozen Cauliflower and White Beans with Lemon and Cumin
Ingredients
Equipment
Method
- Heat the oven and metal tray. Set a rack near the middle and heat the oven to 425°F. Put the empty rimmed sheet pan in the oven for about 5 minutes. Clear a heatproof landing space on the counter so you can remove and load the pan without balancing it on an unstable surface.
- Prepare the beans and finish. Drain, rinse and blot the beans. Measure the lemon juice and chop the parsley. Put these finishing ingredients aside. This leaves the frozen cauliflower as the last ingredient to come out while everything else is ready.
- Coat the frozen florets. Place the 12 ounces of frozen cauliflower in the mixing bowl with 1 tablespoon olive oil, cumin and smoked paprika. Toss until seasoning is distributed over the florets. Shake off loose surface ice before measuring if necessary; do not add water or rinse the frozen pieces.
- Spread on the hot tray. Use oven mitts to set the pan on the heatproof surface. Tip the florets onto it carefully and use the spatula to spread them into one layer. Place broad sides against the metal where possible, leaving gaps rather than a mound in the center.
- Give the cauliflower its head start. Roast for about 17–20 minutes. Check a thick stem with a fork and lift one piece to inspect its underside. If the largest pieces are still very firm, continue a few minutes before adding beans. The cauliflower need not be fully tender yet, because it has a second stage ahead.
- Add the oiled beans. Toss the dry beans with the remaining tablespoon of oil. Turn the cauliflower gently and distribute beans in the spaces around it. Avoid crushing them under a floret or scraping their skins repeatedly with the spatula.
- Finish the roast. Return the pan for another 8–10 minutes, checking near the earlier end. The thick cauliflower stems should yield to a fork, the florets should have some browned edges, and the beans should be thoroughly hot. Meet the frozen vegetable package's cooking endpoint as well. Remove any small finished florets if a few larger pieces need longer.
- Dress and serve. Remove the tray, drizzle over the tablespoon of lemon juice, and add parsley, the stated salt and black pepper to taste. Fold together with broad, gentle movements. Taste a bean and a cauliflower piece together before making any final salt adjustment, then transfer to a shallow serving bowl.