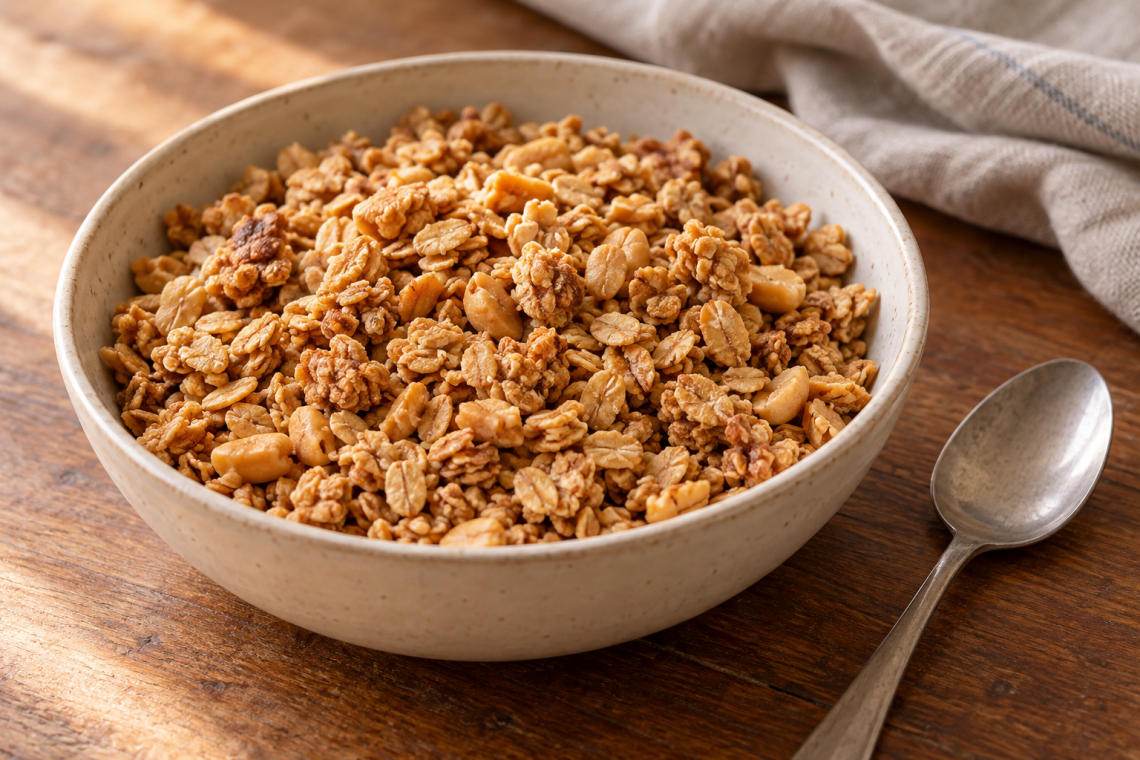
Cider vinegar peanut butter granola adds a small tangy accent to a familiar oat-and-peanut mixture. The vinegar goes into the warm coating with peanut butter and maple syrup, giving the finished granola a different balance from a very sweet breakfast cereal. The intended flavor is still mostly toasted oats and peanuts.
This recipe makes about two and a half cups, enough for ten small topping or snack portions. A quarter cup is useful over yogurt or alongside fruit; it is not presented as a complete breakfast by itself.
Understand what the vinegar is doing
The tablespoon of apple cider vinegar is a seasoning choice. It brings acidity to a rich peanut-butter coating, while maple syrup supplies enough sweetness to balance the edge. Some of the sharp aroma changes during baking, so the raw mixture and the cooled granola will not smell identical.
Use ordinary food-grade apple cider vinegar labeled five percent acidity. It is not interchangeable with apple cider, which is a sweet drink, or with concentrated vinegar intended for cleaning. Keep the measured amount fixed for the first batch. Adding much more liquid changes the drying time as well as the flavor.
There is no need to add baking soda to react with the vinegar. This granola does not depend on a rising batter. The useful structure comes from coated oat flakes, careful spreading, and cooling after baking.
Choose ingredients for an even coating
Old-fashioned rolled oats hold their shape through mixing and baking. Instant oats break into smaller particles and absorb the coating differently, while steel-cut oats do not suit this quick dry-baking method. Weighing 135 grams helps keep a small batch consistent, especially if your measuring cup tends to be heaped.
Choose smooth, unsweetened peanut butter. If the jar has separated, stir it thoroughly before measuring so the quarter cup contains a representative mixture of peanut solids and oil. A dry scoop from the bottom makes the coating stiff; a very oily scoop from the top can make the tray look greasy.
The chopped peanuts give a second texture alongside the oats. Use unsalted roasted peanuts and chop them into small pieces that are easy to distribute. Large halves tend to fall away from clusters and can toast unevenly beside the thinner flakes. If your peanut butter is salted, reduce or omit the added eighth teaspoon of salt.
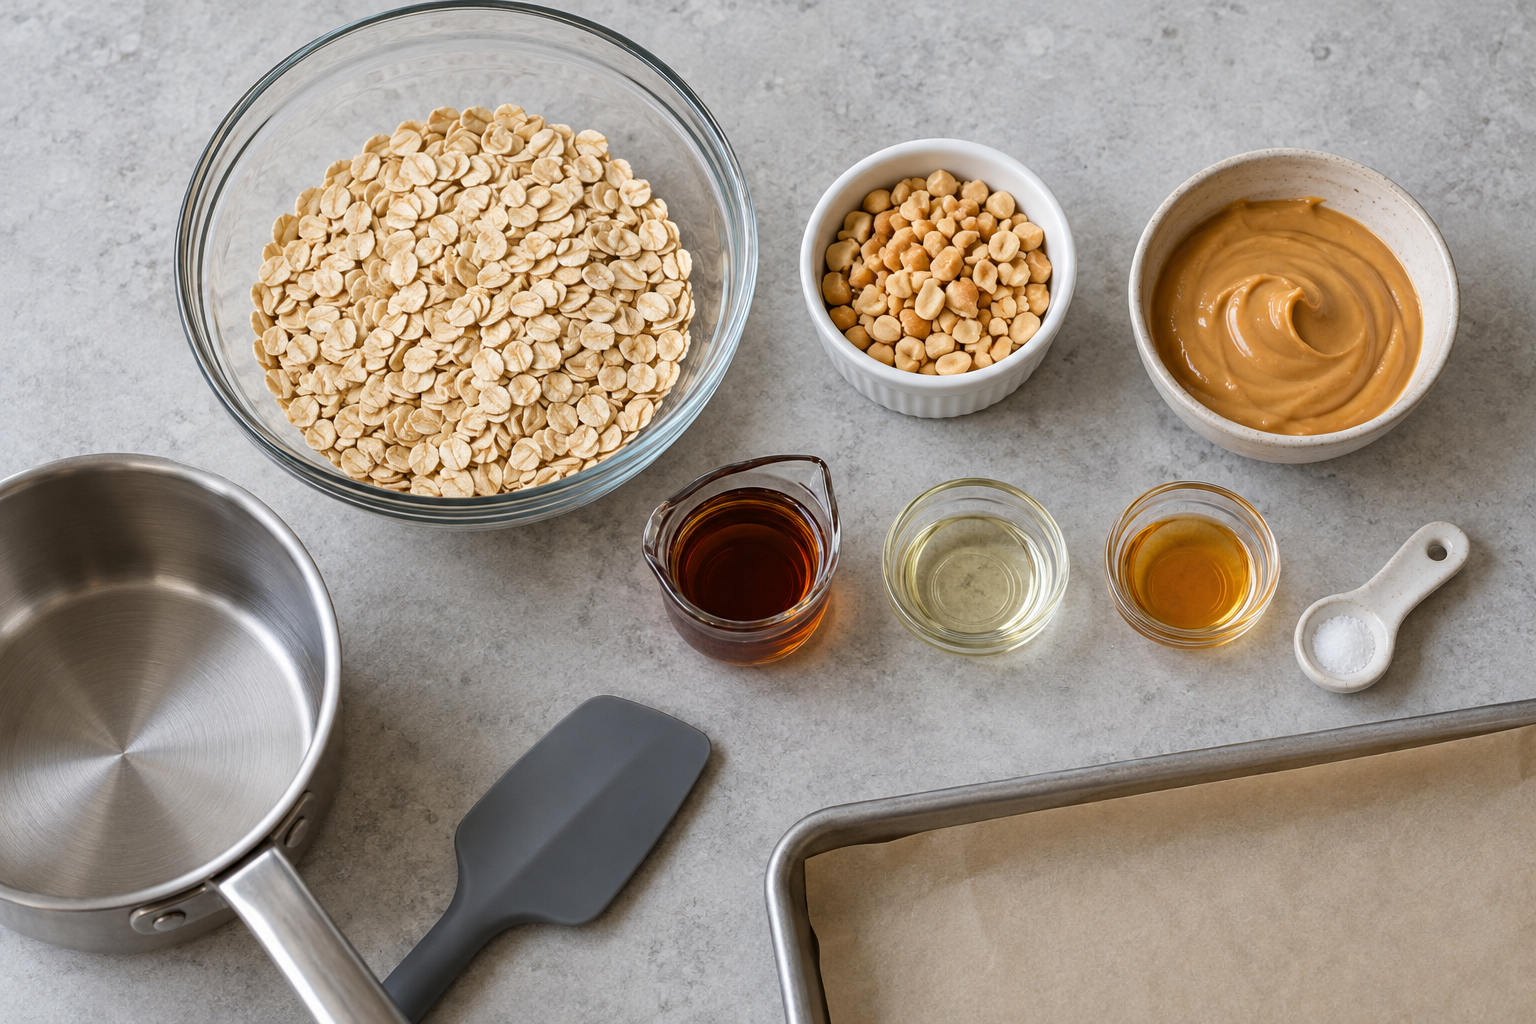
How to make cider vinegar peanut butter granola
Warm just enough to combine
Put peanut butter, maple syrup, and oil in a small saucepan over low heat. Stir until the mixture becomes fluid enough to fold into oats. Remove from the heat before adding the vinegar, then stir until the mixture looks uniform.
A warm coating spreads more readily than a cold lump of peanut butter. Scrape the saucepan thoroughly into the bowl so the measured amounts actually reach the oats. Leaving much of the coating behind gives a drier result than the recipe describes.
Lift the dry oats from the bottom
Fold with a flexible spatula, repeatedly lifting from the bottom of the bowl. Look for dry pockets hiding under the coated surface. The mixture will be textured rather than smooth, but the flakes should look evenly dressed. Avoid adding extra syrup just because it does not resemble a wet batter.
Spread loosely, then bake gently
Line a nine-by-thirteen-inch rimmed sheet with parchment suitable for the oven temperature. Spread the mixture in an even layer no more than half an inch thick. A light press with the spatula encourages a few clusters; packing it tightly creates a dense layer that dries less evenly.
Bake at 300°F/150°C. At twelve minutes, gently bring the outside mixture toward the center, turn it over, and spread it again. This helps the edges and middle finish at a similar time. Avoid constant stirring if you want some small clusters, but do not leave a darkening edge untouched.
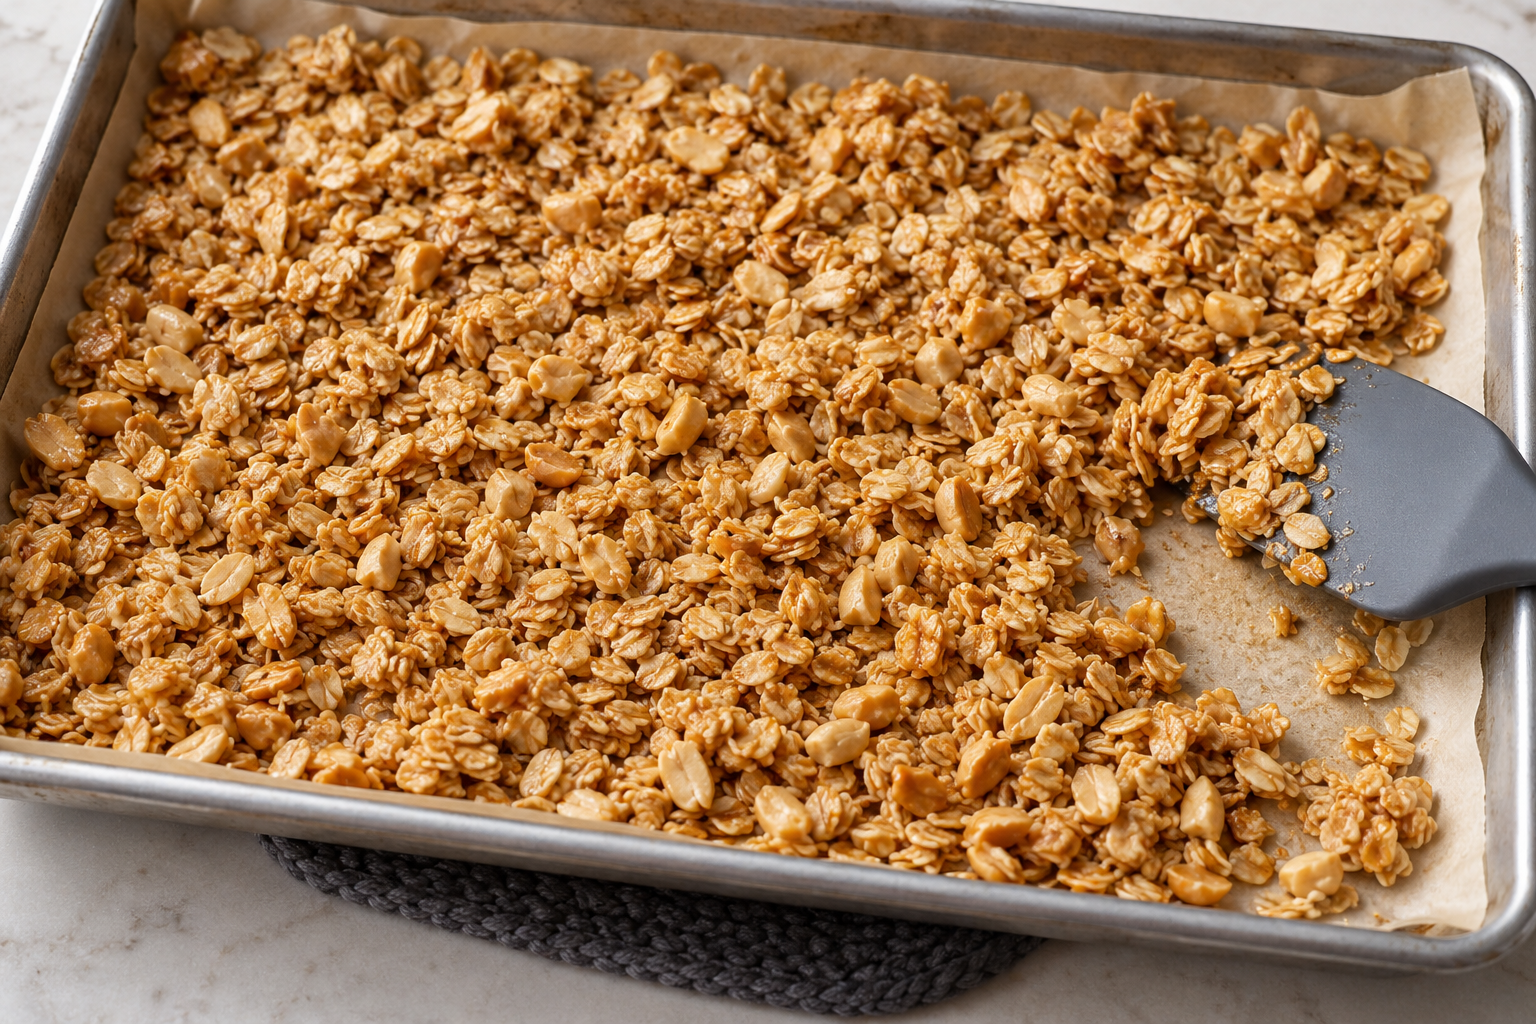
Watch the final minutes
Begin checking closely around twenty-two minutes, with a typical finish between twenty-five and thirty. The oats should look golden and smell toasted. Peanut butter makes the coating darker than plain oat granola, so do not wait for every flake to turn deeply brown. If the outer area is ready first, remove it rather than burning it while the middle catches up.
The cooling check is more useful than a hot bite
Leave the sheet uncovered for at least twenty minutes, until the granola is completely cool. A warm piece can feel softer than the finished result, and judging it immediately can lead to unnecessary extra baking. Once cool, break it into small clusters or loose pieces with clean hands.
Expect a mixture of textures rather than oversized candy-like chunks. There is a modest amount of maple syrup in this formula, and frequent stirring breaks clusters into smaller pieces. If your priority is a loose topping that sprinkles easily over yogurt, that is a useful result.
Read the tray before changing the formula
| What you see | Check first | Practical response |
|---|---|---|
| Dry, pale oat patches | Was coating left in the saucepan or at the top of the bowl? | Scrape and fold thoroughly on the next batch. |
| Dark edges and a damp center | Was the layer thick or uneven? | Use the full sheet area and move edges inward at the midpoint. |
| Soft granola after cooling | Was it covered while warm? | Let steam escape completely before storage; check the original bake for an underdried center. |
| Harsh vinegar flavor | Was the correct food vinegar and amount used? | Use the measured spoonful; do not substitute a concentrated product. |
Serve it where the tang is useful
Plain yogurt is a straightforward partner because it lets you taste the nutty coating without adding another sweet flavor. Banana, apple, or pear can supply fresh fruit alongside it. Add the granola at the last moment so it does not soften before you eat.
If serving with milk, start with a modest amount and expect the flakes to soften. This is baked oat granola, not a waterproof cereal coating.
Four planning questions
Can I use crunchy peanut butter?
It changes the coating and adds peanut pieces. If trying it, chop the separate peanuts finely and judge the mixture carefully. Smooth peanut butter is the more predictable starting point.
Can honey replace maple syrup?
Honey has a different sweetness and consistency and may brown differently. It is a separate variation rather than an automatically equivalent timing change.
Can I double the batch?
Yes. Double all the ingredients and use two small sheets or one sufficiently large sheet. Keep the layer thin, rotate sheets if needed, and judge each tray individually.
How should I store it?
Cool completely before putting it in an airtight container. For a conservative household plan, refrigerate and use within three days, or freeze in small portions for up to one month. Keep fresh fruit, milk, and yogurt separate until serving.
The key to cider vinegar peanut butter granola is an even coating followed by patient cooling. Keep the vinegar measured, let the oats toast gently, and judge the finished texture only after the tray has cooled.
The coating, the tray and the cooling rack
Small-batch granola is easier to judge when you look at the coating before baking, the edges during baking, and the texture after cooling. Each stage answers a different question. Adding extra syrup to fix a dry pocket in the mixing bowl can change sweetness without addressing the real problem: the coating may simply not have reached those oats.
At the mixing bowl
Stir the peanut butter jar from the bottom before measuring. The quarter cup should contain a uniform mixture of solids and oil. If stirring the jar is difficult, follow its storage and handling instructions rather than microwaving a container that may not be heat-safe.
Warm the measured peanut butter, syrup, and oil gently in the small saucepan. Stop once they can be stirred together readily. The goal is a spreadable coating, not browned peanut butter. Take the pan off the heat to add the vinegar, then scrape the complete mixture into the oats.
Fold from underneath and turn the bowl as you work. Check the bottom for a stripe of dry oats and the spatula for a thick deposit of peanut butter. The mixture should look evenly coated without becoming a pourable batter. A few small clusters can form naturally during this mixing stage.
At the baking sheet
Use the full surface of the lined nine-by-thirteen-inch sheet. Spread the mixture out toward the corners without building thin, isolated edges that burn first. Keep the center no deeper than half an inch. A pan with deep sides holds moisture differently from the shallow rimmed sheet specified here.
At the midpoint turn, lift sections with the spatula and bring darker outer areas toward the middle. Break only the largest thick patches, then spread everything evenly again. Constant aggressive stirring makes loose flakes; leaving the tray untouched risks overbrowning the perimeter.
Use both color and aroma near the end. Peanut butter is already tan, so a uniformly dark tray is not the goal. If you smell burning or see blackened pieces, remove the pan and assess it rather than extending the bake to meet a printed time.
Test a cooled sample, not a hot handful
Place a small spoonful on a cool plate while the tray finishes, and let it cool enough to assess. Warm syrup and peanut butter can feel soft even when the mixture is close to ready. The final whole-tray cooling step still matters, so this small sample is a checkpoint rather than permission to pack warm granola away.
After baking, leave the granola uncovered on the sheet until completely cool. The stated twenty minutes is a minimum planning estimate, not a guarantee for every room or pan. Warm metal beneath the oats and residual steam mean the process is not finished. Break the cooled layer into small clusters only after you can judge its actual texture.
Decide what you want from the finished batch
This formulation is suited to a sprinkling of small clusters and loose toasted flakes. If you want huge, hard cereal-bar pieces, packing it tighter or adding extra syrup creates a different recipe. Serve the granola in a way that suits its texture: over yogurt, beside sliced fruit, or as a measured dry topping.
Measure the actual cooled yield before dividing it. A cup full of loosely piled clusters contains a different amount from a cup packed with broken flakes. The stated two-and-a-half-cup yield is approximate. For equal snack portions, dividing the entire batch by weight is more consistent than filling cups with different-sized pieces.
Keep moisture out of packed portions
Use a clean, dry, airtight container and the conservative refrigerated storage plan given above. For a packed yogurt breakfast, put the granola in its own small container and keep the yogurt chilled separately. Combine them just before eating. Fresh fruit juice and condensation can soften a careful bake surprisingly quickly.
For freezing, divide the cooled granola into the amounts you expect to use. Keep portions sealed while they thaw so moisture does not collect directly on cold flakes. The one-month freezer suggestion is a practical quality target; storage can still change the texture. Do not label the recipe shelf-stable based solely on the presence of vinegar.
More FAQs about cider vinegar peanut butter granola
Will the vinegar preserve the granola?
The measured vinegar is included for flavor. This recipe has not established preservation, water-activity, or shelf-life testing. Follow the stated storage plan and keep additions such as milk and fresh fruit separate. A tangy taste is not evidence of a preserved food.
Can I bake it on foil instead of parchment?
The written method uses suitable parchment to reduce sticking. Foil behaves differently against a sticky nut-butter coating, and heavily stuck clusters can break apart when removed. Use the specified liner when possible and follow its temperature instructions.
Can I add raisins or chocolate chips?
For an individual serving, add them after the granola has baked and cooled. Raisins can scorch in the long dry bake, while chocolate melts. Keep additions separate when assessing the original batch so you can taste the peanut-and-vinegar balance clearly.
Cider vinegar peanut butter granola is at its best when the coating is even and the tray has cooled completely. Keep the recipe’s modest vinegar measure, then use the printable card to repeat the quantities consistently.
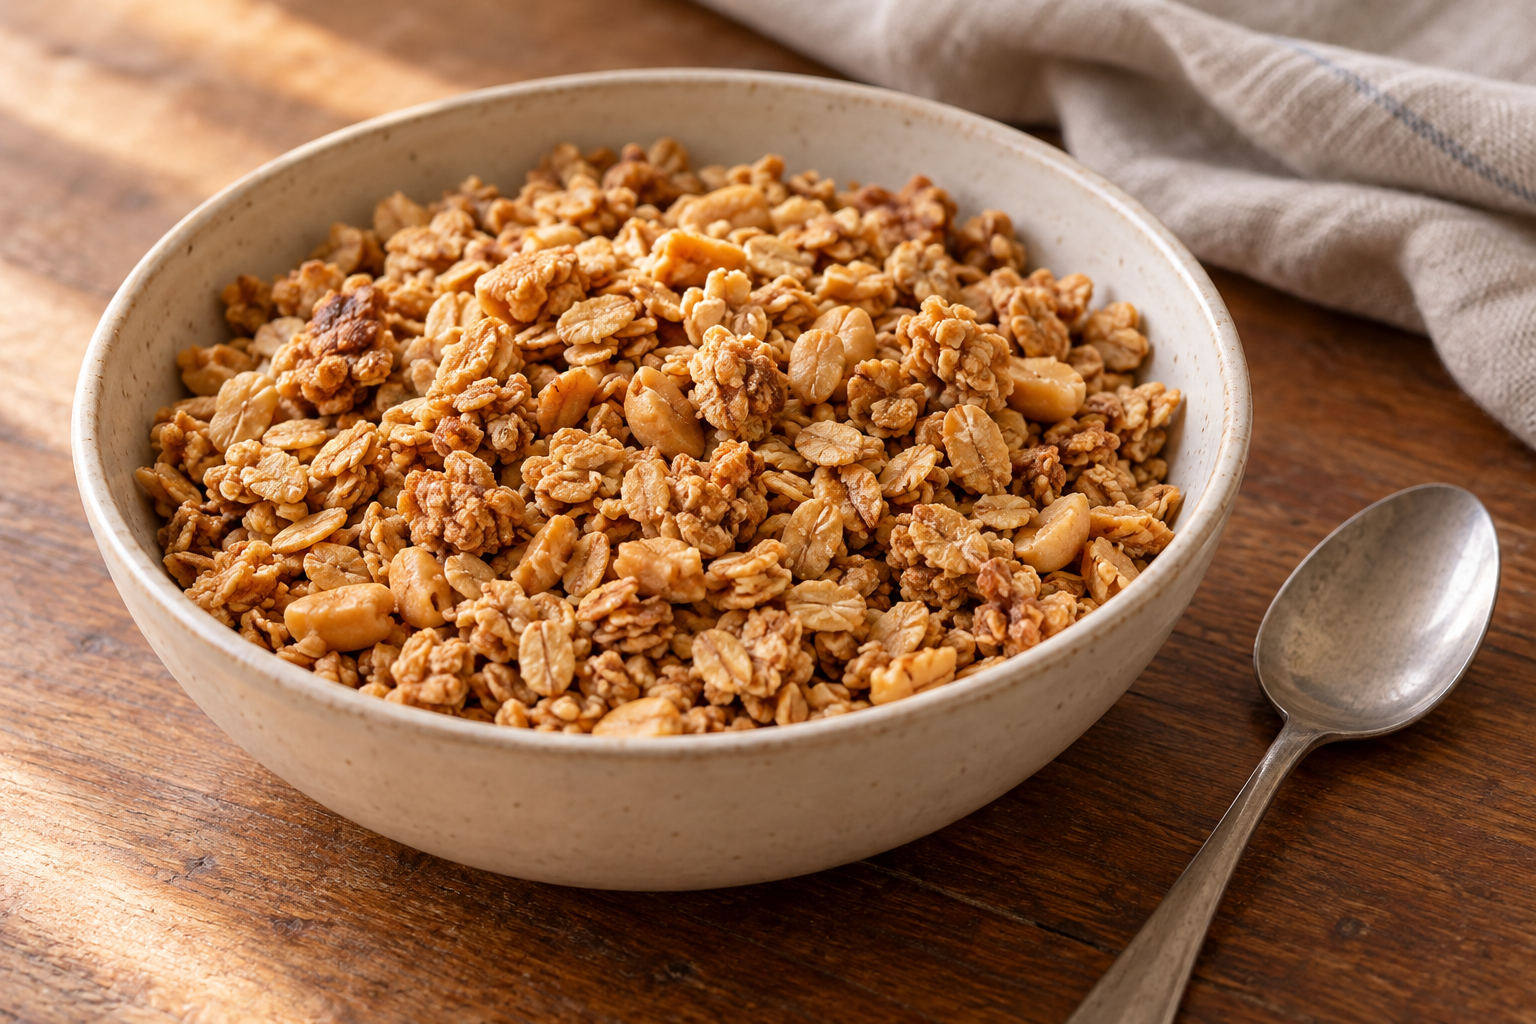
Cider Vinegar Peanut Butter Granola
Ingredients
Equipment
Method
- Heat the oven to 300°F/150°C. Line a 9-by-13-inch rimmed baking sheet with suitable parchment. Mix the oats, chopped peanuts, and salt in a bowl.
- Warm the peanut butter, maple syrup, and oil together in a small saucepan over low heat, stirring just until fluid enough to combine. Remove from the heat and stir in the measured cider vinegar.
- Scrape the warm coating over the oats and peanuts. Fold thoroughly, lifting from the bottom, until the oats are evenly coated and no large dry pockets remain.
- Spread on the prepared sheet in a loose, even layer no thicker than 1/2 inch. Press lightly with the spatula without packing it tightly.
- Bake for about 25 to 30 minutes. At 12 minutes, gently turn the outer mixture toward the center and spread evenly again. Begin checking closely at 22 minutes. Stop when the oats look golden and smell toasted; peanut butter can darken quickly near the end.
- Cool uncovered on the sheet for at least 20 minutes, until completely cool. Break into small clusters or loose pieces. Makes approximately 2 1/2 cups; measure 1/4 cup for each of 10 topping or snack portions.
- Transfer only fully cooled granola to an airtight container. Serve dry or add to yogurt or milk just before eating.