Family Recipe HQ • Kitchen guide
Sheet pan maple Dijon chicken thighs with apples and Brussels sprouts use a staggered roast: start the chicken, sprouts, and onion; add apples and the first glaze after 20 minutes; add the second clean glaze portion 12 minutes later. Check every thigh for at least 165°F before serving.
Maple Dijon chicken thighs: ingredients and timing
For the best balance of browning and tenderness, choose chicken thighs that are similar in size and firm apples that hold their shape. The sheet pan maple Dijon chicken thighs with apples and Brussels sprouts should look well browned at the edges, but color alone cannot confirm that poultry is safe. Use a food thermometer for every batch.
Yield and timing
- Yield: 4 servings, one chicken thigh plus vegetables and apple per serving
- Prep time: 20 minutes
- Cook time: 40 to 45 minutes
- Rest time: 5 minutes
- Total time: 65 to 70 minutes
- Oven temperature: 425°F (218°C)
Equipment
- 13-by-18-inch rimmed metal half-sheet pan
- Instant-read food thermometer
- Small mixing bowl
- Large mixing bowl
- Whisk
- Silicone pastry brush
- Tongs or thin metal spatula
- Sharp chef’s knife and cutting board
- Measuring spoons
- Paper towels
Ingredients
Chicken, vegetables, and apples
- 4 bone-in, skin-on chicken thighs, 6 to 9 ounces each, about 1 1/2 to 2 1/4 pounds total
- 1 pound Brussels sprouts, trimmed and halved from stem to tip
- 1 medium red onion, about 8 ounces, cut into 1-inch wedges with the root end holding the layers together
- 2 medium firm apples, about 12 ounces total, cored and cut into 1/2-inch wedges
- 1 1/2 tablespoons olive oil, for the Brussels sprouts and onion
- 1 teaspoon olive oil, for the apples
- 1 1/4 teaspoons Diamond Crystal kosher salt, divided; use less if substituting a denser brand
- 1/2 teaspoon black pepper, divided
Maple-Dijon glaze
- 2 tablespoons Dijon mustard
- 2 tablespoons pure maple syrup
- 1 tablespoon apple cider vinegar
- 2 teaspoons olive oil
- 2 garlic cloves, finely grated or minced
- 1/2 teaspoon dried thyme
- 1/4 teaspoon smoked paprika
Numbered method
Heat the oven and pan. Place a rack in the upper-middle position and heat the oven to 425°F. Set out a clean, unlined metal half-sheet pan. Direct contact with the pan encourages the cut sides of the Brussels sprouts to brown. If sticking is a concern, brush the pan very lightly with oil rather than covering it with parchment.
Make the glaze. In a small bowl, whisk the Dijon mustard, maple syrup, apple cider vinegar, 2 teaspoons olive oil, garlic, thyme, and smoked paprika until smooth. Set the bowl and a clean pastry brush away from the raw chicken. The glaze will not touch the chicken until it has roasted for 20 minutes.
Season the chicken. Pat the chicken thighs dry with paper towels; do not rinse them. Trim only large flaps of loose skin or excess fat. Season both sides with 1/2 teaspoon kosher salt and 1/4 teaspoon black pepper. Keep the skin facing up so rendered fat can baste the meat and the surface can brown.
Prepare the first vegetables. In a large bowl, toss the Brussels sprouts and red onion with 1 1/2 tablespoons olive oil, 1/2 teaspoon kosher salt, and the remaining 1/4 teaspoon black pepper. Spread them in a single layer on the pan, turning most sprouts cut-side down. Nestle the thighs among the vegetables without placing vegetables on top of the chicken.
Begin roasting. Roast for 20 minutes without opening the oven. The chicken skin should begin to render and the sprouts touching the pan should show early browning, but neither component needs to be fully cooked at this stage.
Add the apples and first glaze coat. While the pan roasts, toss the apple wedges with 1 teaspoon olive oil and the remaining 1/4 teaspoon kosher salt. After 20 minutes, remove the pan and place it on a heat-safe surface. Turn any very dark sprouts, loosen the onion wedges, and add the apples in the open spaces. Before brushing, divide the glaze equally between two bowls. Use the first portion for this coat, then set its bowl and brush aside for washing. Reserve the untouched second portion for the final coat and use a separate clean brush, because the chicken is not yet confirmed safe.
Continue roasting. Return the pan to the oven for 12 minutes. Remove it again and use a clean brush to coat the chicken with the untouched reserved glaze. Roast for another 8 to 13 minutes, until the thickest part of every thigh registers at least 165°F without the probe touching bone. The sprouts should be tender when pierced, the onion edges browned, and the apples tender but still able to hold their shape.
Rest and serve. Transfer the chicken to a clean plate and rest it for 5 minutes. Stir the apples and vegetables through the pan juices, taste, and add a small pinch of salt only if needed. Divide the vegetables among four plates and place one thigh on each portion. Discard any glaze that came into contact with undercooked chicken or an unclean brush.
The glaze and timing plan
Make the full measured glaze once, then divide it equally between two small bowls before either portion touches chicken. Set one clean brush beside each bowl, or arrange to wash the first brush thoroughly before the second coat. A quick rinse is not the same as cleaning a utensil that has touched undercooked poultry.
| Roasting stage | What to do | What stays clean |
|---|---|---|
| First 20 minutes | Roast chicken, sprouts, and onion without glaze. | Both glaze portions and the brushes |
| At about 20 minutes | Add apples and brush on the first portion. | The reserved second bowl and its brush |
| After 12 more minutes | Use the untouched second portion for the next coat. | The serving plate and finishing utensils |
| Final 8–13 minutes, as needed | Continue roasting and check every thigh for at least 165°F. | Use clean utensils for food that is ready to serve. |
These intervals explain the sequence; they do not replace the thermometer checks. A smaller thigh can finish before a larger one, and a crowded or differently sized pan can change the timing.
Do not turn the brushing bowl into a serving sauce
Once a brush has touched chicken that is not yet confirmed cooked, treat the bowl it returns to as contaminated. Do not pour its remainder over finished vegetables or set it on the table as a dip. Discard the used glaze and wash the bowl and brush.
The recipe’s two portions are for roasting. Any additional sauce intended for serving would need to be kept entirely separate from the raw-poultry work area from the start. The finished pan juices can be used as directed only after the shared-pan food has completed its cooking and safety checks.
Choosing chicken thighs, apples, and Brussels sprouts
Bone-in, skin-on thighs are forgiving in the oven because the skin and fat help protect the meat from drying. Choose four pieces within a similar weight range so they reach a safe temperature at roughly the same time. A package with one 5-ounce thigh and one 11-ounce thigh will require individual removal times; the smaller piece can be ready well before the largest.
For apples, use a firm variety with enough acidity to balance the maple glaze. Honeycrisp, Pink Lady, Braeburn, Granny Smith, or Fuji are practical choices. Very soft apples can turn into sauce under high heat. Cut all wedges close to 1/2 inch thick so the centers soften at the same rate.
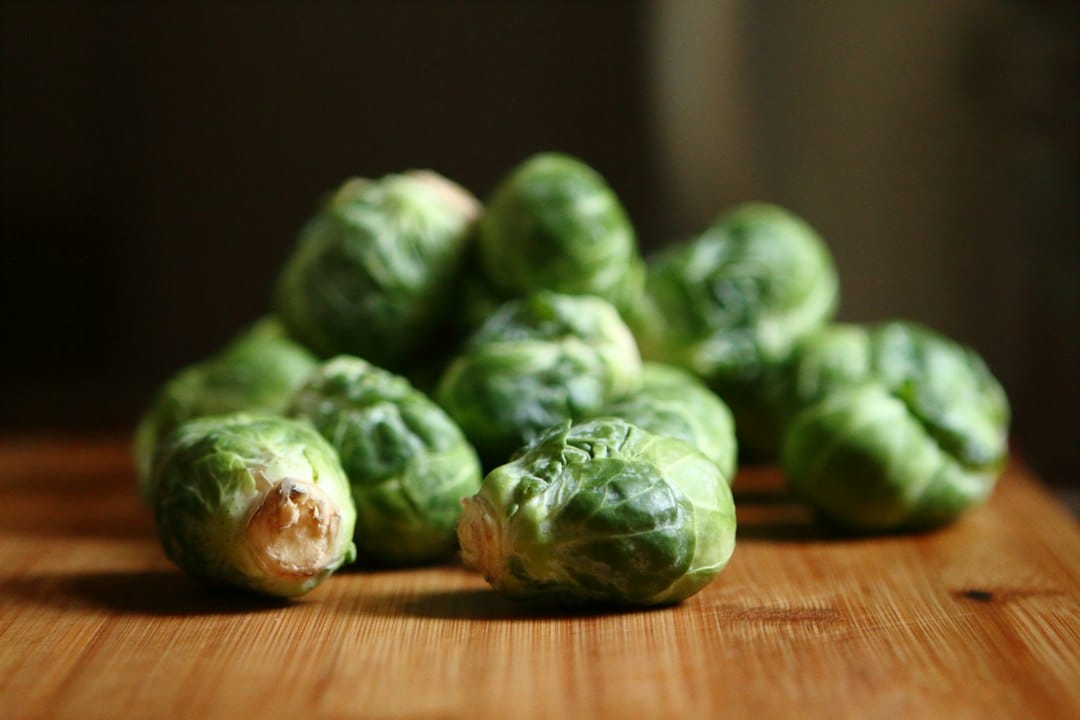
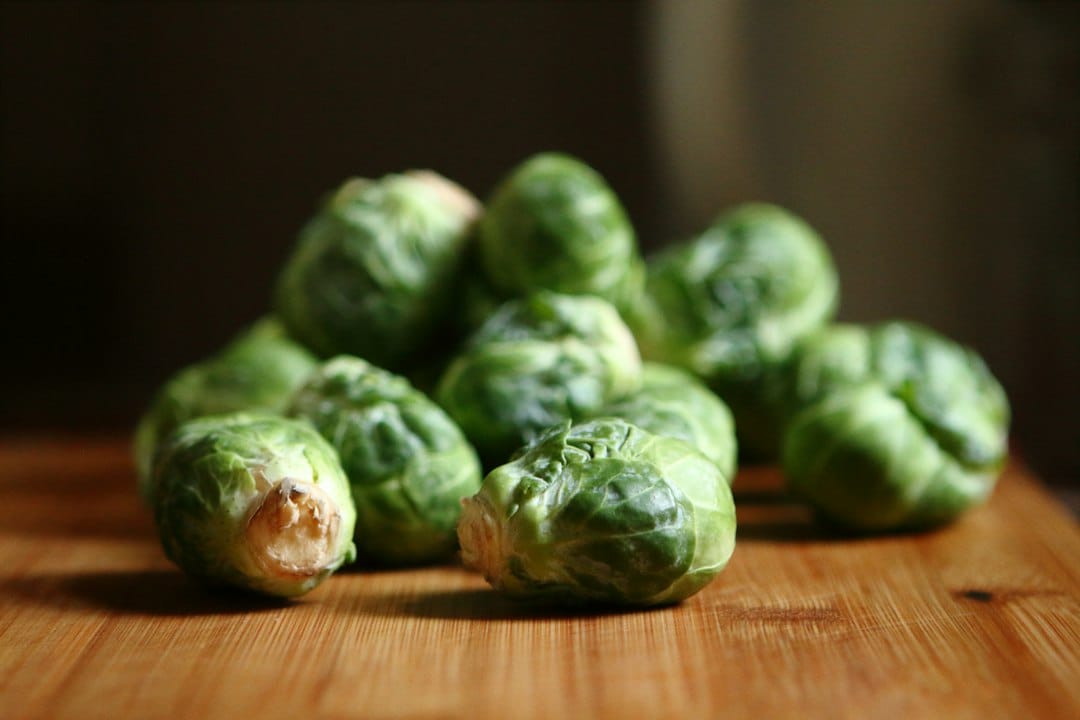
Select Brussels sprouts that feel firm and have tightly closed leaves. Halve them through the stem so the leaves remain attached. Very large sprouts can be quartered; tiny ones can stay whole. The goal is pieces with similar thickness, not identical shapes.
Pan arrangement for better browning
Place the chicken skin-side up with at least an inch between pieces. Spread the vegetables around, not underneath, the thighs. Food under the chicken catches juices and softens instead of roasting. Most Brussels sprouts should have a flat cut surface against the metal.
The apple wedges are added in the gaps after the first 20 minutes. Do not pile them on top of the sprouts. If there is no visible pan surface left, move half of the apples and vegetables to a second heated pan. That small change gives steam somewhere to escape and produces better browning than extending the cooking time on an overcrowded pan.
Avoid a deep roasting dish for this method. High sides restrict airflow and concentrate moisture. A shallow rim is helpful because it contains the rendered chicken fat and glaze while still exposing the food to the oven’s dry heat.
Troubleshooting common sheet-pan problems
The chicken skin is pale
Moisture and crowding prevent browning. Pat the chicken thoroughly dry and keep vegetables off the skin. If the thighs are safely cooked but still pale, transfer the vegetables to a bowl and broil the chicken for 1 to 2 minutes while watching constantly. Maple glaze can change from browned to burned quickly, so do not walk away.
The glaze is getting too dark
Move the pan down one rack and loosely shield the darkest chicken pieces with small pieces of foil. Confirm that the oven is set to 425°F rather than a high convection equivalent. The staged glazing method is intended to reduce burning; coating the chicken heavily before it goes into the oven increases the risk.
The Brussels sprouts are soft instead of browned
The pan was probably crowded, the sprouts were wet, or too few cut sides touched the metal. Dry them after rinsing and place them cut-side down. A dark, heavy sheet pan may brown faster than a shiny lightweight pan, so inspect the undersides at the 20-minute mark.
The apples are falling apart
Use a firmer variety, cut thicker wedges, and wait until the first 20 minutes have passed before adding them. Apples cut thinner than 1/2 inch can become very soft during the final roast.
The vegetables are done before the chicken
Because the vegetables share a pan with raw chicken and its juices, check them with a food thermometer before removing them early. Heat any vegetables or apples exposed to those juices to 165°F in several places; browning alone is not a safety check. If they are browning before they reach that temperature, shield them loosely with foil and continue roasting. Once they reach 165°F, transfer them with clean utensils to a clean heatproof bowl and keep warm. Let the chicken continue until every piece reaches at least 165°F. On the next batch, choose similarly sized thighs or roast the vegetables on a separate pan to control their timing independently.
The pan has too much liquid
Overcrowding and wet produce are the usual causes. Remove the cooked chicken, spread the vegetables out, and roast for another 5 minutes if they need more color. Do not keep cooking the chicken just to evaporate pan juices once it has reached temperature.
Substitutions and limits
- Boneless, skinless thighs: They cook faster and will not produce crisp skin. Begin checking after 25 minutes total. Their exact timing must be validated separately because thickness varies.
- Chicken breasts: Use uniformly sized breasts pounded to an even thickness and start checking early. Do not assume the 40-to-45-minute thigh timing applies.
- Pears for apples: Firm Bosc pears can work, but softer pears should be added during only the final 10 to 15 minutes.
- Sweet potato for apples: This is not a direct timing swap. Cut sweet potato into 1/2-inch cubes and add it with the Brussels sprouts at the beginning.
- Honey for maple syrup: An equal volume can work, but honey browns faster. Watch the glaze closely and shield it if needed.
- Whole-grain mustard for Dijon: Substitute up to half the Dijon. Replacing all of it changes the glaze texture and makes it less smooth.
- Frozen Brussels sprouts: They release more water and are unlikely to brown like fresh sprouts on the same schedule. Fresh sprouts are recommended for this method.
- Smaller pan: Use two pans rather than stacking ingredients. Rotate the pans between racks after the apples are added.
Make-ahead steps
Trim and halve the Brussels sprouts up to one day ahead and refrigerate them in a covered container lined with a dry paper towel. Cut the onion and mix the glaze in separate covered containers. The glaze may thicken in the refrigerator, so let it stand at room temperature for 10 minutes and whisk before using.
Wait to cut the apples until the chicken goes into the oven. Freshly cut apple wedges brown when exposed to air, and soaking them introduces surface moisture that works against roasting. Pat the chicken dry and season it only when you are ready to cook.
Do not assemble raw chicken and vegetables together on the pan hours in advance. Keeping raw poultry separate from produce during prep limits cross-contamination and protects the texture of the vegetables.
Storage and reheating
Refrigerate leftovers within two hours of cooking. Transfer the chicken and vegetables to shallow airtight containers and use them within 3 to 4 days. For longer storage, freeze the chicken separately for up to 2 months for best quality. The cooked apples and Brussels sprouts can be frozen, but their texture will be softer after thawing.
Reheat chicken and vegetables on a rimmed pan in a 350°F oven until the chicken reaches 165°F, usually 12 to 18 minutes depending on thickness and refrigerator temperature. Cover loosely with foil for the first part of reheating if the glaze is already dark. Remove the foil for the final few minutes to help the skin regain some texture.
For a single serving, a microwave is faster but will soften the skin. Arrange the food in a microwave-safe dish, cover loosely, and heat in short intervals until the chicken reaches 165°F. Stir or rotate the vegetables between intervals so cold spots do not remain.
For the temperature and storage endpoints, see the FoodSafety.gov minimum-temperature chart and cold-storage chart. Refrigerate within 1 hour when the surroundings exceed 90°F; the ordinary limit is 2 hours.