
Whole-grain kitchen guide
How to cook bulgur in a rice cooker starts with choosing the right grain and measuring the liquid carefully. Medium or coarse bulgur makes a pleasantly chewy base for grain bowls, vegetable sides, and make-ahead lunches. With a compatible cooker, the basic process is simple: measure, cook on the appropriate setting, rest, and fluff.
The important detail is that bulgur comes in several grinds, and rice cookers do not all use the same water ratio. This guide explains how to choose your starting measurements, recognize properly cooked grains, and adjust a batch without turning dinner into guesswork.
Choose the right bulgur before you start
Bulgur is wheat that has been par-cooked, dried, and cracked into smaller pieces. That head start is why it cooks differently from raw cracked wheat or whole wheat berries. Check the product name as well as the grain size; products that look similar can need very different amounts of time and water.
For a side dish with distinct grains, medium or coarse bulgur is a practical choice. Fine bulgur absorbs liquid quickly and may become too soft during a long automatic cycle. Extra-coarse bulgur needs its own package guidance. Numbered grind labels differ between brands, so read the written description instead of relying on a number alone.
| What the bag says | How to approach it | Best texture goal |
|---|---|---|
| Fine bulgur | Follow its soaking directions when provided. | Small, hydrated grains for suitable salads and mixtures. |
| Medium or coarse bulgur | Match the package absorption directions to your cooker’s grain instructions. | Tender, separate grains for bowls and sides. |
| Extra-coarse bulgur | Check the package timing and a supported appliance setting. | A larger grain with a more noticeable chew. |
| Raw cracked wheat | Use a recipe written for raw cracked wheat. | Do not apply this quick-cooking bulgur method unchanged. |
Allergen note: bulgur contains wheat and gluten. If you need a gluten-free meal, choose an appropriate alternative and use that grain’s own cooking directions; replacing bulgur with rice or quinoa does not preserve the same water ratio or timing.
Bulgur-to-water ratio: measure for your cooker
A familiar reference is 1 part dry bulgur to 2 parts liquid by volume. The Whole Grains Council’s stovetop chart lists that ratio and an approximate three-cup cooked yield from one cup dry grain. Use it as a reference, not as a promise that every rice cooker needs exactly the same water.
Actual appliance instructions show why the distinction matters. Aroma’s NRC-600 manual lists two parts water per part bulgur, while the ARC-7604 chart lists one and a half parts water per part bulgur. Those are directions for different machines. Use the chart for your own model, including its batch limits and measuring cup, rather than borrowing another model’s setting.
Use this order: start with explicit bulgur instructions in your cooker manual. Check that they suit the grind in your bag. If the cooker permits other grains but gives no bulgur ratio, the package’s absorption method is a starting reference. If the appliance does not support the method, cook the bulgur on the stovetop using its package directions.
The table below shows the arithmetic for a 1:2 package ratio only. It is not a capacity chart or a substitute for your appliance’s instructions.
| Dry bulgur | Liquid at 1:2 | Batch reminder |
|---|---|---|
| ½ kitchen cup | 1 kitchen cup | Use only if this meets the cooker’s minimum batch size. |
| 1 kitchen cup | 2 kitchen cups | The starting batch described in the printable recipe. |
| 2 kitchen cups | 4 kitchen cups | Check the grain-specific capacity before doubling. |
A rice cooker cup and a kitchen cup are different
Many supplied rice cups hold 180 mL, while a US kitchen cup is roughly 240 mL. Use one measuring system for both dry grain and liquid. One small cooker cup plus two small cooker cups of water still makes a 1:2 ratio; one small grain scoop plus two full kitchen cups of water does not.
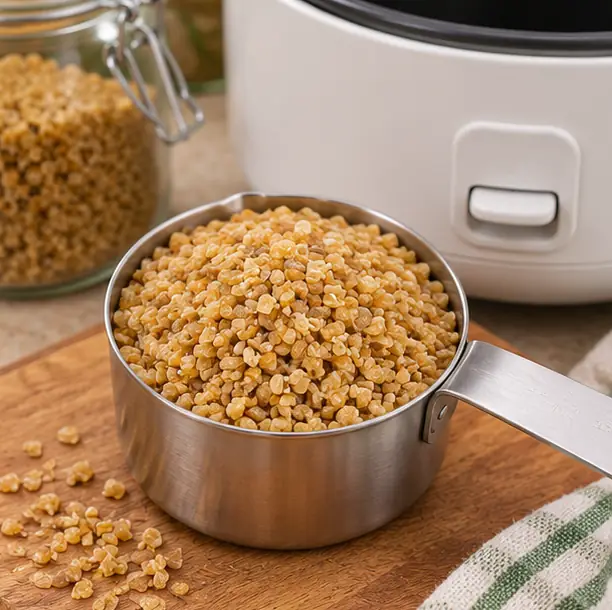
Do not automatically fill the pot to a rice-water line. Those marks usually account for a specified quantity and type of rice already in the bowl. Measure bulgur’s liquid separately unless your manufacturer provides a bulgur-specific fill-line method.
Appliance references: Aroma NRC-600 manual and Aroma ARC-7604 manual. Their settings, cup sizes, and capacities apply to those models.
Ingredients and equipment
- 1 level US kitchen cup medium or coarse bulgur: check the bag for an absorption method rather than a soak-only preparation.
- Measured water or low-sodium broth: use the liquid quantity selected from the appliance and package guidance. For a compatible 1:2 method, use 2 kitchen cups.
- 1 teaspoon olive oil, optional: adds a little richness. It does not correct an inaccurate water ratio.
- Up to ¼ teaspoon fine salt, optional: reduce or omit it if your broth is already seasoned.
You will also need a compatible rice cooker, measuring cups, measuring spoons, and a silicone or other non-scratching utensil. Keep a fine-mesh sieve nearby if the package calls for rinsing. Do not assume that a cooker advertised as a particular number of cups can hold that many cups of dry bulgur; grain-specific limits can be lower.
For your first batch, keep the ingredients simple. Thick tomato sauce, frozen vegetables, and raw meat change the liquid balance or cooking requirements. Add separately cooked toppings after you know how plain bulgur behaves in your machine.
How to cook bulgur in a rice cooker, step by step
01 Check the grain, setting, and batch size
Read the bulgur package and the rice cooker manual before measuring. Confirm that your cooker supports bulgur or comparable grains, and choose its specified setting. A brown-rice button is not automatically the right choice simply because bulgur is a whole grain: bulgur has already been partially cooked.
02 Measure and prepare the bulgur
Fill a dry measuring cup, level it, and avoid packing the grain down. Rinse only if the package directs it, then drain thoroughly. Water left in a sieve or bowl adds to the cooking liquid, so let excess water drip away before transferring the grain.
03 Add liquid and seasonings
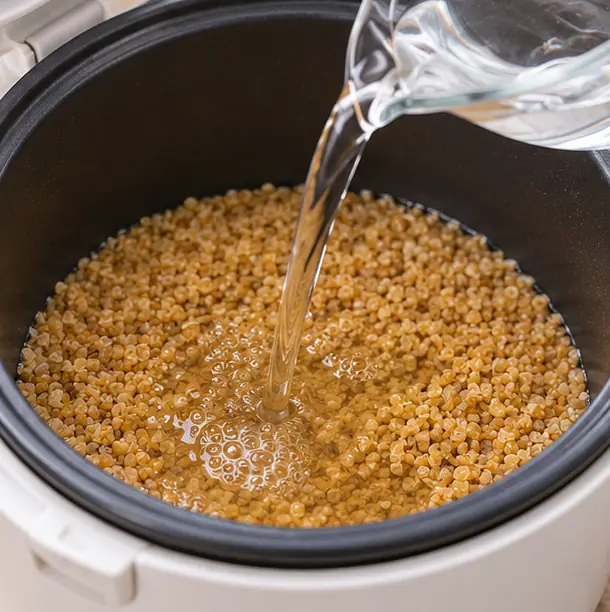
Put the bulgur, measured liquid, optional oil, and salt in the inner pot. Stir gently once to distribute the grains. Wipe the outside of the pot dry and seat it correctly in the appliance. Keep the steam vent clear and close the lid according to the manual.
04 Run the supported cooking cycle
Select the manufacturer’s appropriate grain setting. The Whole Grains Council’s rice-cooker guidance discusses shorter white-rice settings for quick-cooking grains, but your model’s instructions come first. Avoid repeatedly opening the lid or stirring during cooking.
There is no dependable universal minute count. Some machines include soaking and resting stages in their displayed time. A stovetop simmer time does not equal the full automatic cycle. Plan on about 5 minutes of preparation, your appliance’s cycle, and about 10 minutes of covered rest.
05 Rest, taste, and fluff
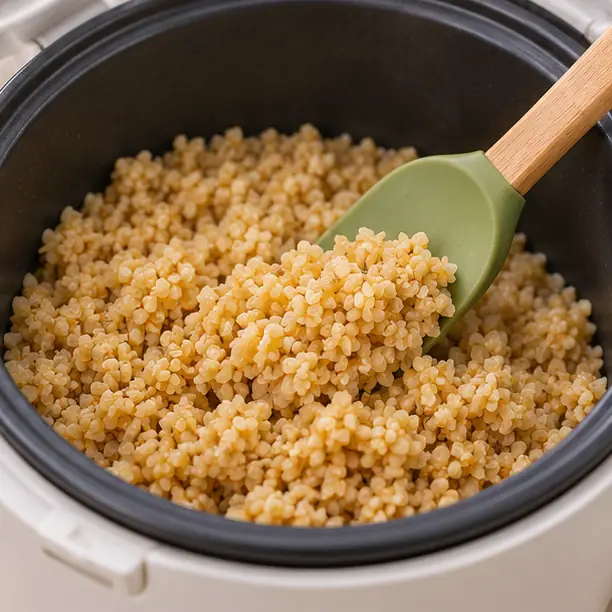
When the cycle finishes, leave the lid closed for about 10 minutes unless your manual specifies otherwise. Open it away from your face. Let a small spoonful cool before tasting: the center should be tender with a light chew. Lift and turn the grain gently with a non-scratching utensil to separate it.
A covered rest gives the moisture time to even out, but it cannot reliably finish a hard, undercooked batch. If the texture is wrong, use the troubleshooting guide below before adding herbs or sauce.
Troubleshooting: match the fix to the texture
Tender grains, but extra liquid
Carefully drain the excess through a fine sieve, let steam escape briefly, and fluff. Another full cooking cycle can turn tender bulgur mushy. Before the next batch, recheck your cup sizes, ratio, and any extra water carried in with rinsed grain.
Firm grains and a dry pot
For the one-cup dry-grain batch, try a small measured addition such as 2 tablespoons hot water. Continue only with a method permitted by the manufacturer. If the machine will not resume normally, finish the bulgur in a covered saucepan over gentle heat. Check again and record any further liquid you add.
Firm grains with water still present
The batch needs cooking rather than more water. Confirm that the cycle completed and that you used bulgur rather than raw cracked wheat. Finish using a supported cooking method. Keep Warm is not a substitute for a cooking program.
A scorched bottom layer
Lift the unaffected grains from the top without scraping the dark layer into the serving bowl. Check the minimum batch size, liquid measurement, and length of warm holding. Let the insert cool before cleaning; follow its care instructions rather than using an abrasive scrubber on a coated surface.
Soft or mushy bulgur
Cooking it longer will not rebuild separate grains. A very fine grind, excess liquid, or an unnecessarily long cycle may be the cause. If the flavor is good, use the soft grain in soup or another dish where a loose texture is acceptable. For the next batch, change one variable at a time so you can identify the cause.
Keep a useful cooking note: record the brand and grind, dry quantity, measured liquid, setting, rest time, and finished texture. “Coarse bulgur, same cup for both ingredients, slightly wet after resting” is more helpful than “needed less water.” It gives you a clear starting point next time.
Three easy ways to season cooked bulgur
These finishing ideas are starting amounts for about 3 cups cooked bulgur. Stir them into the finished grain, taste, and adjust. If your batch yields less, start with proportionally smaller amounts.
Lemon and parsley
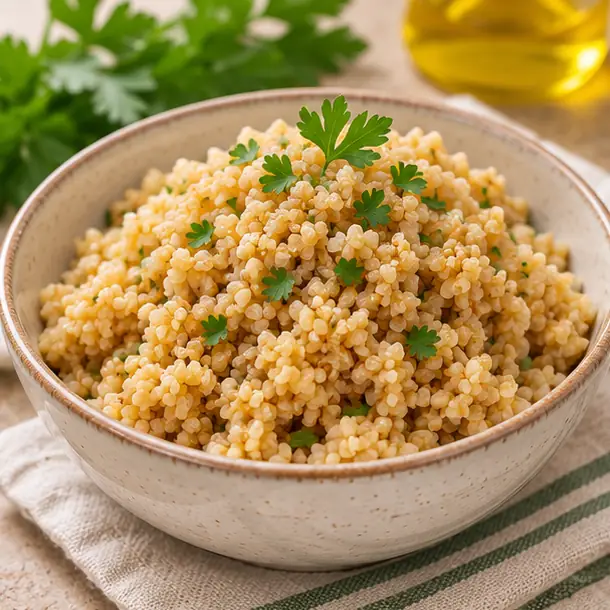
Fold in 2 tablespoons chopped parsley, 2 teaspoons olive oil, and 1 tablespoon lemon juice. Add black pepper and a little lemon zest if you like. Start with the measured juice before adding more; the goal is a fresh finish without liquid collecting beneath the grains.
Warm cumin and chickpea bowls
Mix in 1 cup drained, rinsed chickpeas that have been heated separately, ¼ teaspoon ground cumin, and 1 teaspoon olive oil. Finish with chopped parsley or green onion. Serve with crisp vegetables on the side so everyone can build a bowl with the texture they prefer.
Mushroom and thyme
Cook 1 cup sliced mushrooms in a separate skillet until tender and their released liquid has mostly evaporated. Fold them into the bulgur with 1 teaspoon butter or olive oil and a small pinch of dried thyme. Taste before adding salt, especially if the grain was cooked in broth.
Turn it into a complete meal
For two generous bowls, combine 2 cups cooked bulgur with 1 cup warmed chickpeas and 1 cup cooked vegetables. Add dressing a teaspoon at a time. Our crispy roasted broccoli guide makes a useful companion: add the broccoli just before eating to preserve its browned edges.
For a chilled lunch, refrigerate the cooked grain promptly, then combine it with chopped cucumber, herbs, and a little dressing once cold. Drain watery vegetables well and pack extra dressing separately. A grain bowl tastes more balanced when the bulgur stays distinct rather than absorbing all the dressing overnight.
For another way to use this pantry grain, try our bulgur, lentil, and cucumber bowls without mayo. That recipe uses fine bulgur with a covered soak, so follow its preparation directions rather than automatically using this rice-cooker method.
How to store, freeze, and reheat bulgur
Divide leftover bulgur into shallow containers and refrigerate promptly. Do not leave it in a switched-off cooker to cool for hours. USDA advises refrigerating leftovers within 2 hours, or within 1 hour when the temperature is above 90°F. Keep the refrigerator at 40°F or below and use refrigerated leftovers within 3–4 days.
For longer storage, freeze measured portions and label each with its date and amount. One-cup portions are convenient for lunch bowls. Follow the container’s instructions and allow appropriate expansion space. Freezing promptly makes it easier to keep track of the batch than waiting until the end of its refrigerator window.
To reheat, place a portion in a microwave-safe covered dish with a small splash of water. Heat, stir, and continue until it reaches 165°F throughout. Use a food thermometer rather than judging the hottest edge. On the stovetop, warm it gently in a covered saucepan with a little water, stirring as needed and checking the same temperature.
Reheat only what you plan to eat and keep the original storage date. Do not use Keep Warm to reheat cold grain unless the manufacturer explicitly provides that function.
Safety references: USDA’s guidance on storing leftovers and reheating leftovers.
Frequently asked questions
Do I have to rinse bulgur before cooking?
Follow the package. If rinsing is requested, use a fine-mesh sieve so small pieces do not wash away, and drain well. Do not leave the grain soaking unless the package calls for it; soaking changes how much liquid it has already absorbed before the cycle starts.
Can I use broth instead of water?
Yes, when your cooker permits it. Use broth as part or all of the measured cooking liquid, not as extra liquid on top of the water. Low-sodium broth gives you more control over the seasoning. Avoid thick sauces when establishing your basic ratio.
Can I use fine bulgur in this recipe?
Use the fine bulgur’s own instructions instead. If it only needs a covered soak, a full rice-cooker cycle may overcook it. Medium or coarse bulgur is the more useful starting point for this cooked-grain method.
Can I cook the vegetables in the same pot?
For the first batch, cook them separately. Once you have a reliable grain method, use the cooker’s own instructions for any supported steaming basket or combined recipe. A frozen vegetable mixture brings extra moisture and changes the temperature in the pot.
Can I double the recipe?
Only if the larger batch fits the appliance’s grain-specific capacity and instructions. Double the measured ingredients for the same supported ratio, but do not double the cooking time. Let the appliance run its appropriate cycle and check the finished texture.
Why is my bulgur chewy even after resting?
A pleasant chew is normal; a hard or gritty center is not the target. Taste a cooled spoonful. If the center is firm, use the dry-pot or wet-pot troubleshooting steps above. Larger grains may need a different supported cycle from the one you used.
How much cooked bulgur should I serve?
Start with about ½ cup as a side dish or ¾–1 cup as a grain-bowl base, then adjust for appetite and the other ingredients. If nutrition details matter to your meal plan, use your package label and actual portion size; broth, oil, and toppings change the final totals.
Once you understand how to cook bulgur in a rice cooker with your own bag and appliance, the process becomes much easier to repeat. Consistent measuring, the right cycle, and a quick texture check are the habits that make the biggest difference.
Printable rice cooker bulgur recipe
Keep the recipe below beside you while cooking. It includes the starting ingredients, method, timing guidance, and storage notes. Use Print Recipe for the compact recipe view.
Rice Cooker Bulgur
Ingredients
Equipment
Method
- Confirm the cooker supports the grain and batch size. Choose its recommended setting and liquid measurement for bulgur. If there is no bulgur chart but the cooker supports other grains, use the package absorption ratio as a starting reference. Fine bulgur with soak-only directions needs a different method.
- Level the dry measuring cup. Rinse only if the package directs it, then drain thoroughly. Use the same cup system for grain and liquid.
- Add bulgur, the selected measured liquid, optional oil, and salt to the inner pot. Stir once. Wipe the outside of the pot dry, seat it correctly, and close the lid. Do not use rice fill lines unless the manual gives a bulgur-specific method.
- Run the manufacturer-supported cycle normally. Do not assume a brown-rice setting is suitable just because bulgur is a whole grain. Avoid repeatedly lifting the lid or forcing the machine to restart.
- Rest covered for about 10 minutes unless the manual differs. Open the lid away from your face. Taste a slightly cooled spoonful; it should be tender with a gentle chew and no hard center.
- Gently lift and separate the grains with a non-scratching utensil. Add lemon, herbs, or separately cooked toppings after checking the plain grain. Record the ratio and setting that worked for your appliance.