Use the loaf • A small pantry project
How to make breadcrumbs from stale bread is a drying job first and a grinding job second. Cut sound bread into similar pieces, dry them gently at 300°F, cool completely, and crush or pulse to the texture your recipe needs.
A loaf that feels firm can still hold moisture in the middle. Check the thickest pieces before grinding rather than relying on color alone. This batch starts with 8 ounces of bread and usually makes about 2–3 cups of dry crumbs, depending on the loaf and how finely you process it.
Start with bread that is still sound
White sandwich bread, whole-wheat bread, sourdough, plain rolls, and French or Italian loaves can work. Each keeps some of its original flavor. A strongly seeded or rye loaf gives a more noticeable taste than mild white bread, so choose it for a dish where that flavor belongs.
Use bread that is stale but unspoiled. Discard moldy bread rather than cutting away a visible spot: the USDA guidance on mold says porous bread and baked goods can be contaminated beneath the surface. Drying, toasting, or freezing does not turn spoiled bread into an appropriate ingredient.
Keep this method to plain bread without wet meat, cheese, custard, or other perishable fillings. You can leave the crusts on for a fuller flavor and more color. Remove them if the receiving recipe needs pale crumbs, understanding that doing so changes the weight and yield.
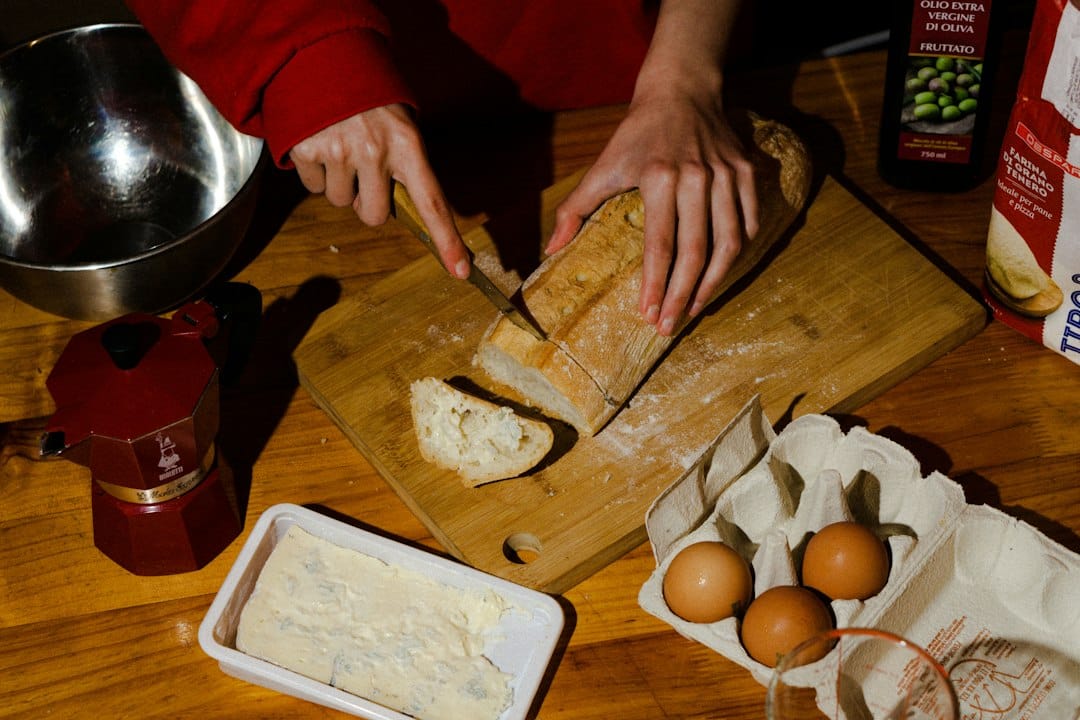
How to make breadcrumbs from stale bread in the oven
Weigh 8 ounces, or about 225 grams, before drying. Slice counts vary, so weight is more useful than assuming every loaf gives the same amount. Set out a rimmed baking sheet, knife, spatula, and food processor. A sturdy freezer bag and rolling pin can replace the processor.
Preheat and cut evenly
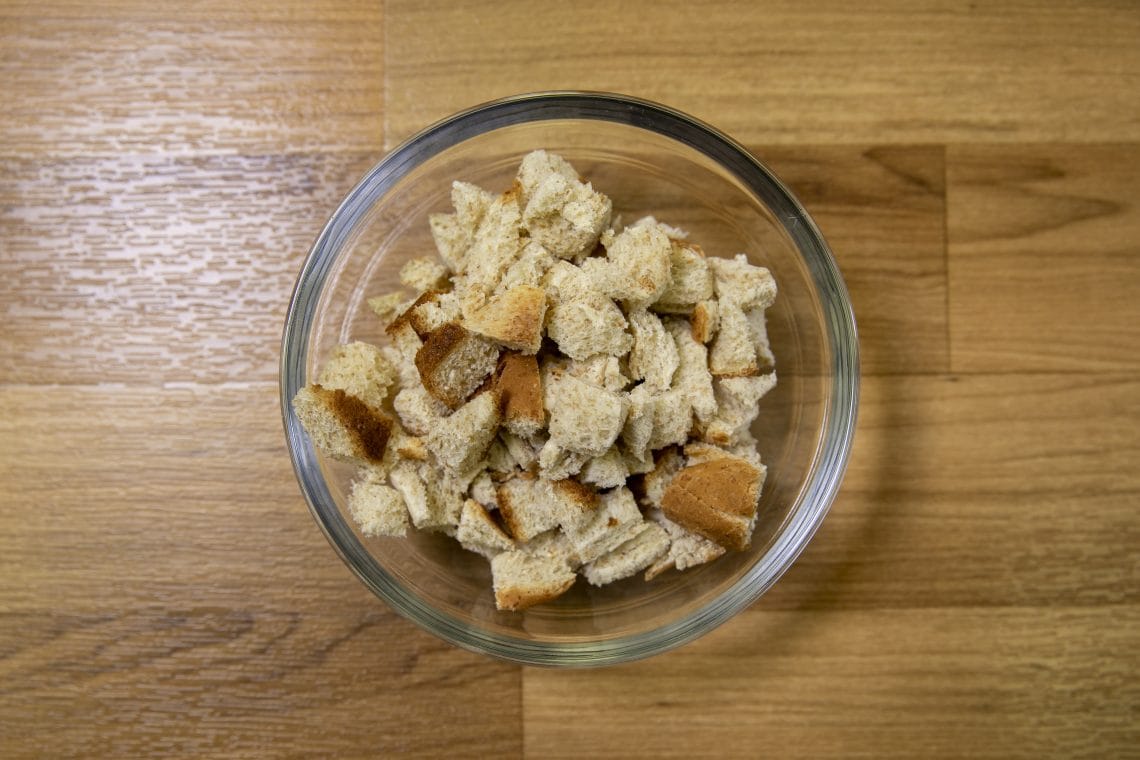
Set a rack near the center and preheat the oven to 300°F. Cut or tear the bread into roughly 1-inch pieces. Make especially thick crusts a little smaller so they do not stay soft after lighter pieces have dried.
Spread a loose layer
Arrange the bread on the rimmed sheet without piling it up. Use a second tray if necessary rather than packing pieces tightly. Keep the batch plain; oil, cheese, and fresh herbs are easier to add later to only the portion you plan to use.
Dry and turn
Bake for about 20–35 minutes. Turn and stir after 10 minutes, then check every 5–8 minutes. Remove small pieces early if they become dry first. The bread may take less or more time depending on its starting moisture and the size of the pieces.
Check the thickest centers
Let a thick piece cool enough to handle, then break it open. It should snap or crumble and feel dry inside, without a soft, compressible center. If the edges darken before the middle dries, lower the oven to 275°F and keep checking rather than accepting color as proof of dryness.
Cool completely
Leave the dried pieces spread on the pan until fully cool, often about 15 minutes. Do not grind warm bread straight into a closed storage container. Trapped heat and moisture can undo the dry texture you just worked to create.
Pulse, inspect, and label
Pulse cooled pieces in manageable batches, following your processor’s capacity guidance. Stop at the texture you need. If freshly ground crumbs contain soft fragments, spread them out and dry for another 5–10 minutes, then cool again. Label the finished batch with the date and loaf type before storing.
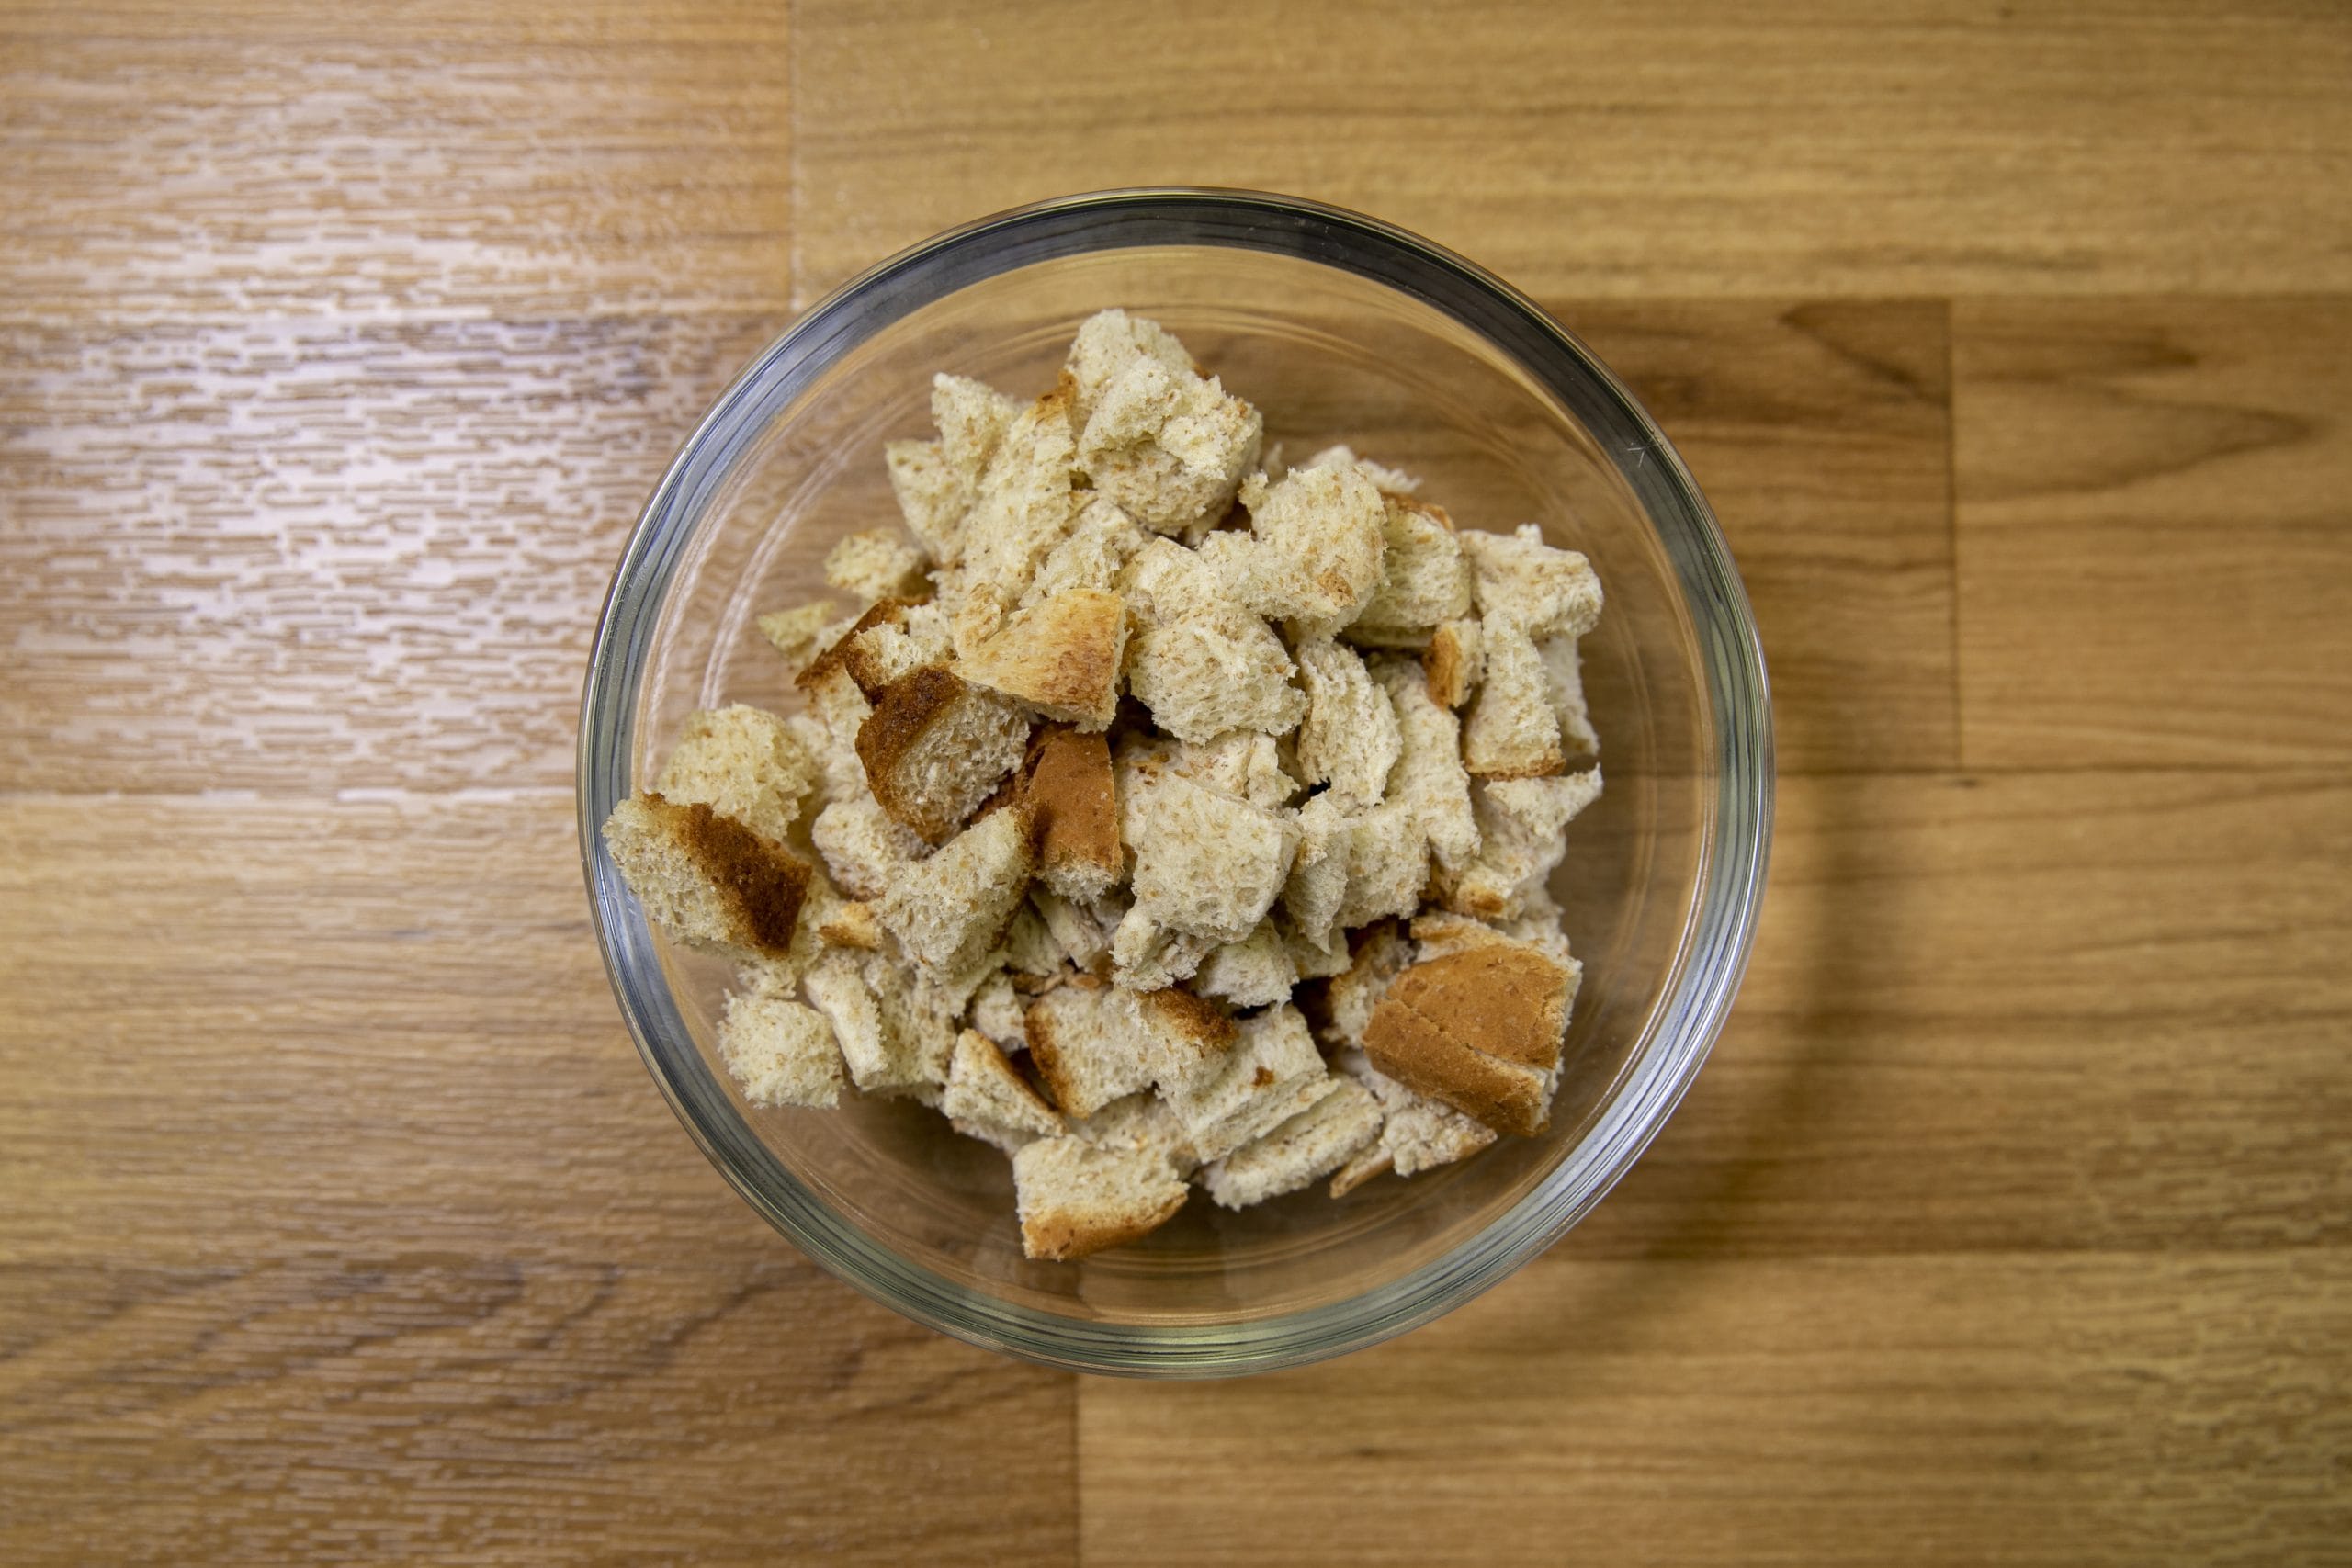
Stop grinding when the texture fits the job
Coarse
Leave irregular small pieces for a casserole or vegetable topping. Check that no large, hard chunks remain that would be awkward to bite.
Medium
A clearly granular texture suits many patties, meatballs, and meatloaf mixtures. Follow the receiving recipe’s amount and any soaking instructions.
Fine
Pulse further for a closer coating on cutlets or croquettes. Sift out large fragments and process those again rather than turning the whole batch into powder.
These are dry breadcrumbs. Fresh crumbs hold more moisture, while panko has a different flaky structure. Do not assume an equal cup of each will behave identically. For a meatball mixture, use the meatball doneness guide to check the finished food independently of the crumb’s color.
Without a food processor
Put a manageable amount of dry, cooled bread in a sturdy freezer bag, remove excess air, and seal it. Cover the bag with a towel and crush gently with a rolling pin. Move pieces out of the corners as you work. Sift if you need fine crumbs and crush the larger pieces again.
Work in small batches so the bag does not split and the pieces have room to move. If a hard crust resists crushing, break it into smaller pieces first. A box grater is another option for a suitably firm piece, but stop while you can still hold it safely away from the cutting surface.
Fix the result before storing
| What you notice | What it suggests |
|---|---|
| Dark edges, soft center | The pieces are too large or drying too quickly outside. Lower the heat and break thick pieces smaller. |
| Some powder, some big chunks | The processor batch may be uneven. Sift and reprocess the large pieces separately. |
| Lower yield than expected | The loaf’s moisture, density, crust removal, and final texture all affect volume. Measure the finished crumbs. |
| Strong rye or seed flavor | The original loaf still contributes flavor. Reserve that batch for a compatible savory dish. |
Once you know how to make breadcrumbs from stale bread, label different loaves separately instead of mixing every scrap into one jar. A mild white batch is useful for delicate coatings; a darker whole-grain batch can suit a hearty topping. The label saves you from discovering the difference halfway through dinner.
Season one cup at a time
For an Italian-style portion, combine 1 cup plain dry crumbs with 1 teaspoon dried Italian seasoning, ½ teaspoon garlic powder, and ¼ teaspoon fine salt. Add up to ⅛ teaspoon black pepper if you like. Taste the dry seasoning balance before using it, especially if the bread itself was salty.
Keep the remaining crumbs plain so they work in more recipes. Add grated cheese, oil, fresh herbs, or zest only to a portion you will use promptly, since these additions change handling and storage needs. Check the bread and seasoning labels when allergens matter; ordinary wheat bread is not gluten-free.
Measure, store, and keep the clean jar separate
Weigh finished crumbs when a recipe specifies weight. For a cup measure, spoon them in and level without packing tightly. The starting 8-ounce bread weight is not the finished crumb weight because drying removes moisture.
Cool completely before sealing. For a modest plain batch, use fully dry crumbs from a cool, dry cupboard within about one week, or freeze in a labeled airtight bag for up to three months for best quality. These are conservative household quality targets, not a measured shelf-life test. Discard crumbs with mold, insects, rancid odor, condensation, or unexpected damp clumps.
Before breading raw meat, fish, or poultry, take the amount needed into a separate bowl. Discard crumbs left in that used bowl instead of returning them to the clean jar. FoodSafety.gov’s separation guidance explains keeping raw-food contamination away from ready-to-eat ingredients.
For another use for sound bread, try apple cinnamon French toast casserole. Bread can also add body to a compatible soup; see the bread-thickening method before substituting crumbs for another thickener.
Quick questions
Can I start with fresh bread?
Yes, if it is plain and unspoiled, but it may need longer to dry. Use the same center check rather than assuming the listed time will remove all its moisture.
Do I need oil on the tray?
No oil is needed for this plain drying method. Keep oil for the topping or other dish in which you will use the finished crumbs.
Can I make a larger batch?
Use enough trays for loose single layers and check each tray separately. Crowding and oven position change drying, so doubling the bread does not mean simply doubling the time.
Printable plain-breadcrumb method
Keep the drying checks and grinding options together. In your review, share the loaf type and whether you used coarse or fine crumbs.
THE COMPLETE RECIPE
Plain Dried Breadcrumbs from Stale Bread
Yield: 1 batch (about 2–3 cups)
Ingredients
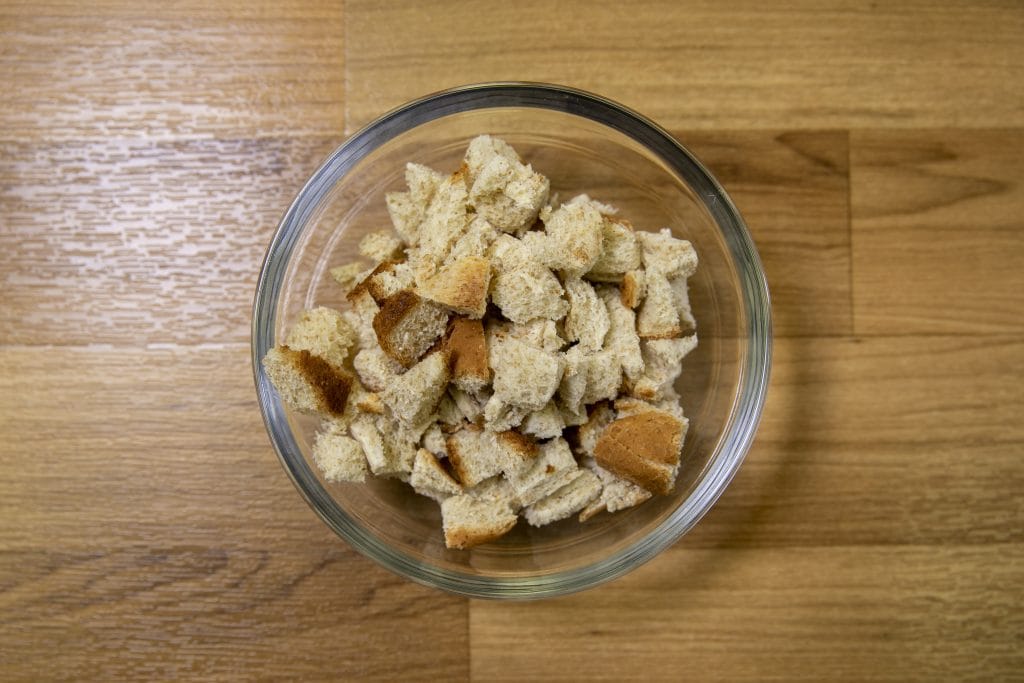
- 8 ounces plain, unspoiled stale bread About 225 grams, weighed before drying. No mold or wet meat, cheese, or custard fillings.
Equipment
- 1 Rimmed baking sheet Use enough space for a loose single layer.
- 1 Knife and cutting board
- 1 Spatula For turning the pieces.
- 1 food processor or sturdy freezer bag and rolling pin For grinding or crushing cooled bread.
- 1 airtight container or freezer bag For fully cooled crumbs.
Instructions
- Preheat and cut. Preheat a conventional oven to 300°F / 150°C. Cut or tear the bread into roughly 1-inch pieces, making thick crusts slightly smaller.
- Spread in one layer. Arrange loosely on a rimmed baking sheet without piling. Use another tray if necessary. Do not add oil or seasonings for this plain batch.
- Dry gently. Bake about 20–35 minutes, turning and stirring after 10 minutes. Check every 5–8 minutes afterward and remove small pieces early if they dry first.
- Check the centers. Cool a thick piece enough to handle and break it open. It should snap or crumble and be dry inside, without a soft center. Lower the oven to 275°F if edges darken before centers dry, then continue checking.
- Cool completely. Spread the dried bread on the pan until fully cool, often about 15 minutes. Do not seal or grind directly into a closed storage container while warm.
- Grind and label. Pulse cooled pieces in manageable processor batches or crush in a sturdy bag with a rolling pin. Choose coarse, medium, or fine crumbs. If freshly ground pieces are still soft, dry them another 5–10 minutes and cool again before storing. Label the date and loaf type.
Notes
Rate This Recipe
Made this recipe? Choose a star rating in the comment form and share how it turned out. Your cooking time and any ingredient changes can help the next reader.
Rate This Recipe