THE SPICE BENCH / PAPRIKA + HERBS
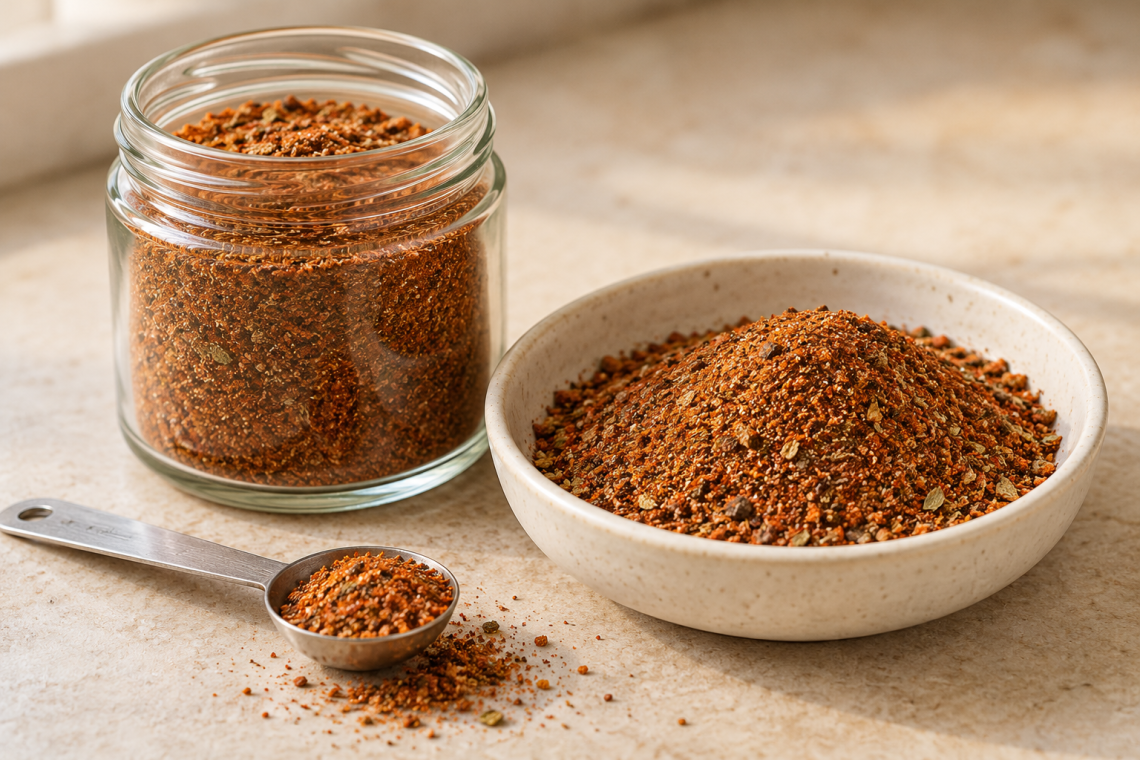
This homemade blackening seasoning recipe combines paprika, garlic, onion, dried herbs, and pepper in a blend you can stir together in about five minutes. Use it to season fish, chicken, shrimp, or vegetables, and adjust the cayenne to suit the people at your table.
The mixture starts with sweet paprika for its red color and pepper flavor. Garlic and onion provide the savory base, while thyme and oregano add an herbal finish. Once the jar is mixed, the next step is learning how much to use and how to cook the coating without scorching it.
Prep time: 5 minutes | Cook time for the blend: None | Yield: About 5 tablespoons, or 15 teaspoons
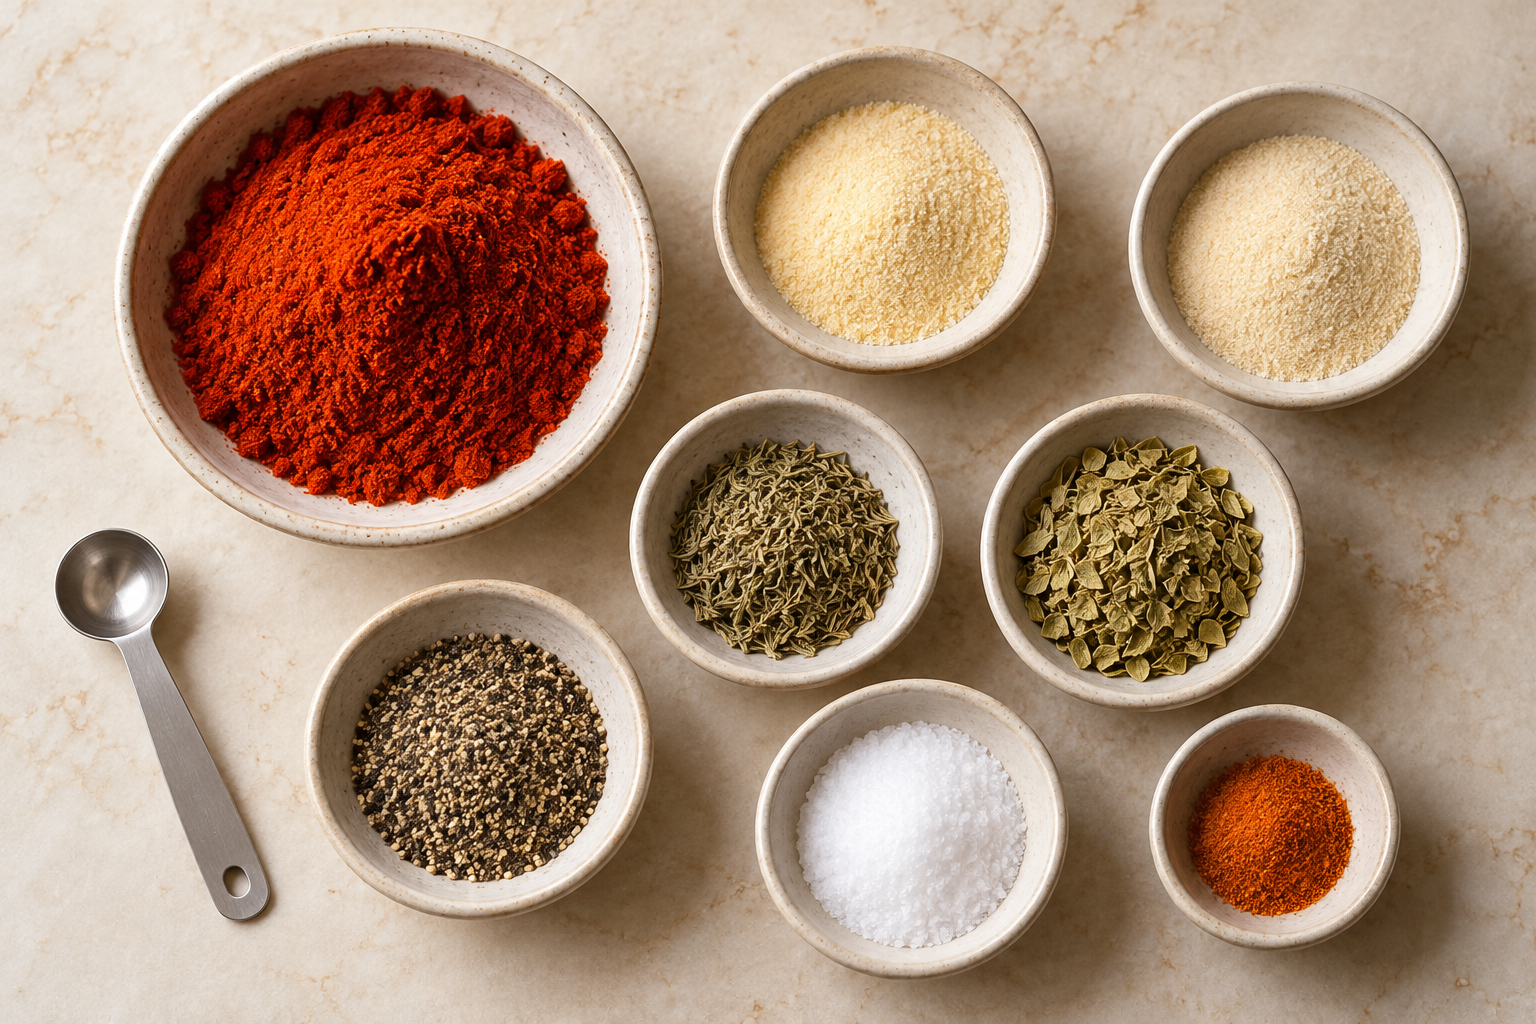
Ingredients for the blackening seasoning recipe
Use standard measuring spoons and level each amount. All herbs and spices in the storage blend should be dried.
| Ingredient | Amount | What it contributes |
|---|---|---|
| Sweet paprika | 2 tablespoons | Red color and a mild pepper base |
| Garlic powder | 2 teaspoons | Savory garlic flavor throughout the coating |
| Onion powder | 2 teaspoons | A rounded onion flavor |
| Dried thyme leaves | 1 teaspoon | Earthy herbal flavor |
| Dried oregano | 1 teaspoon | A slightly sharper herbal note |
| Ground black pepper | 1 teaspoon | Peppery bite |
| Fine sea salt or table salt | 1 1/2 teaspoons | Seasoning and balance |
| Cayenne pepper | 1/2 teaspoon | Adjustable heat |
Choose the paprika deliberately. The base recipe uses sweet paprika, which does not give the blend a strong smoke flavor. For a smoky version, replace 1 tablespoon of the sweet paprika with 1 tablespoon of sweet smoked paprika. Hot paprika adds heat as well as color, so check the label before substituting.
Use garlic powder and onion powder; garlic salt and onion salt would add extra salt. Measure dried thyme leaves rather than the same volume of finely ground thyme. Coarse kosher salts also vary in volume, so they should not automatically replace fine salt spoon for spoon.
Equipment: A small mixing bowl, measuring spoons, a fork or small whisk, and a clean, completely dry spice jar with a tight lid. A small funnel makes transferring the blend easier.
Adjust the blend to suit your cooking
For less heat: Use 1/4 teaspoon cayenne or omit it. Keep the paprika and herbs at their original amounts so the blend retains its main flavor.
For more heat: Use 1 teaspoon cayenne in the batch. Try that amount on cooked food before increasing it again.
For a smoky flavor: Use 1 tablespoon sweet paprika plus 1 tablespoon sweet smoked paprika. This keeps the total paprika unchanged.
For no added salt: Omit the 1 1/2 teaspoons salt and salt the food separately as needed. The batch will yield about 4 1/2 tablespoons. Because the other spices make up a larger share of each spoonful, start with slightly less blend and adjust after cooking.
For a larger batch: Double every ingredient. The standard recipe will make about 10 tablespoons, or 1/2 cup plus 2 tablespoons. Double the cayenne and salt as well only if you want to preserve the original balance.
How to make blackening seasoning step by step
Step 1 Check the spices
Open each container and check that the spices still have a recognizable aroma. Faded paprika or barely fragrant herbs will make a less flavorful blend. Mixing them with fresher ingredients will not restore the flavor they have already lost.
Make sure the bowl, measuring spoons, and storage jar are completely dry. Moisture can cause spice powders to cake. [3]
Step 2 Measure and lightly crush the herbs
Measure the paprika, garlic powder, onion powder, black pepper, salt, and cayenne into the bowl. Gently rub the measured thyme and oregano between clean, dry fingers before adding them. Breaking down larger leaves helps distribute the herbs through the finer powders.
Do not pack the ingredients into the measuring spoons. Level measurements make the balance easier to repeat when you prepare another batch.
Step 3 Mix until the color looks even
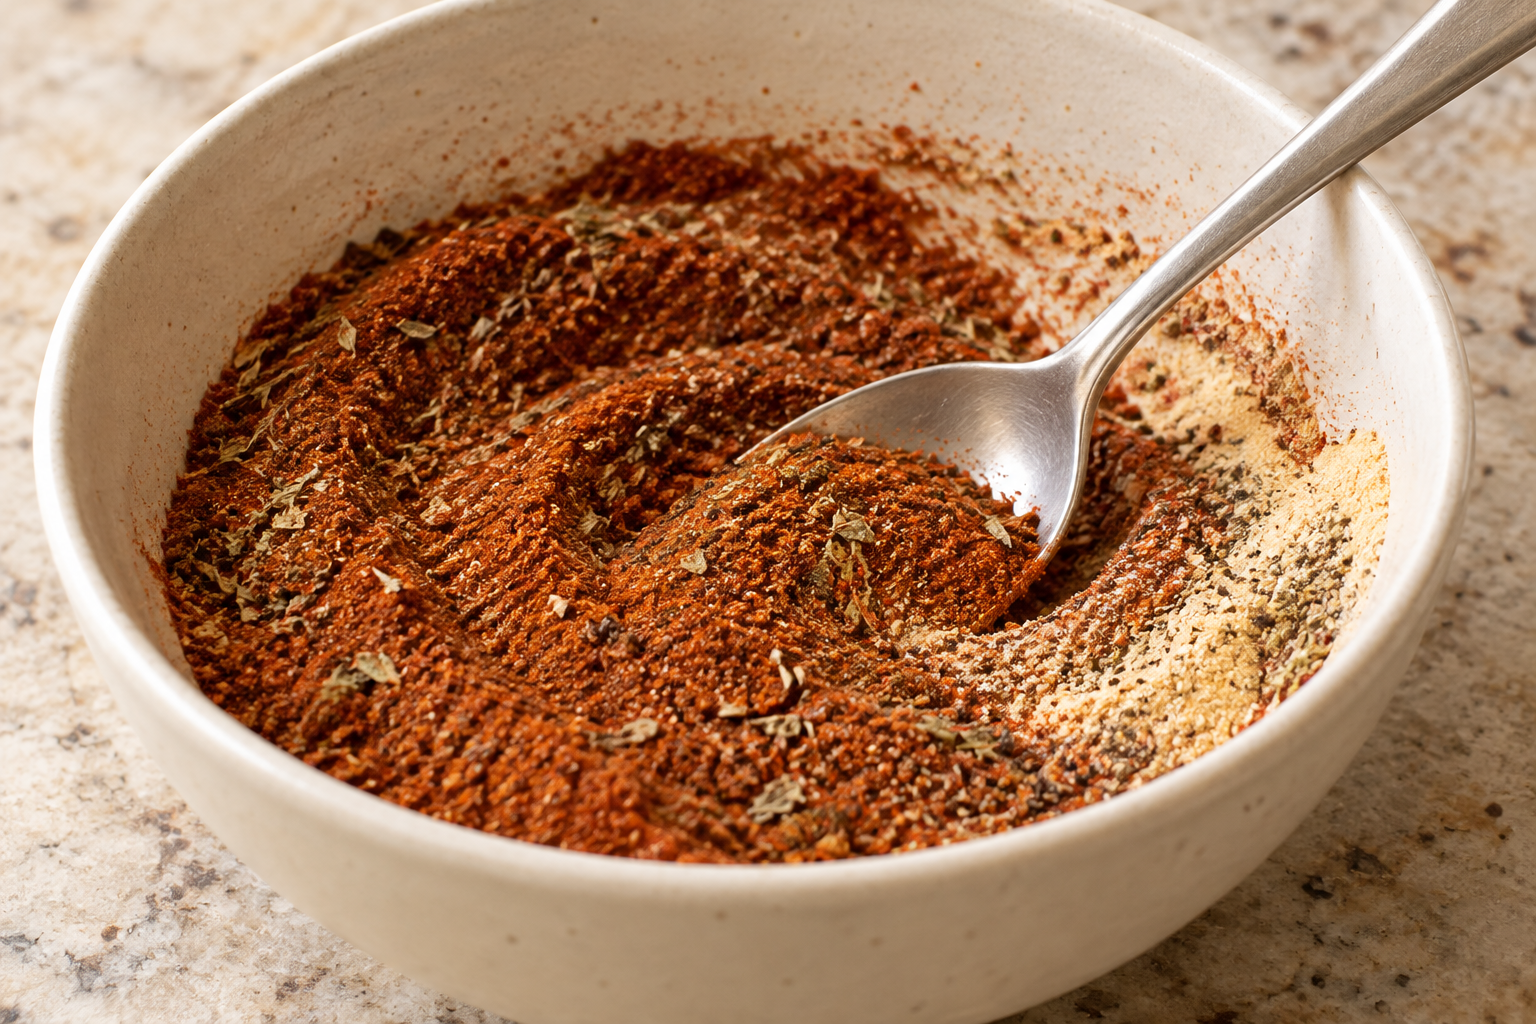
Whisk or stir thoroughly, scraping along the bottom and sides of the bowl. Break apart any small, dry powder lumps with the back of the spoon. Stop when the mixture looks evenly reddish brown, with the herbs and black pepper distributed throughout.
Check for pale pockets of garlic or onion powder near the bottom. An unevenly mixed jar can give one serving much more cayenne or salt than another.
Step 4 Choose the heat level
The listed 1/2 teaspoon of cayenne is a starting point. For less heat, use 1/4 teaspoon or leave it out. For a hotter batch, increase the total cayenne to 1 teaspoon. Black pepper still contributes some bite when the cayenne is omitted.
When trying the blend for the first time, judge it on cooked food. A mouthful of dry spice powder gives a misleading impression of the balance. Season and cook a small piece of the food you plan to serve, then adjust the remaining clean blend if needed.
Step 5 Transfer and label
Spoon the seasoning into the jar and close the lid tightly. Label it with the name, mixing date, and any changes you made, such as extra cayenne or omitted salt.
Give the closed jar a gentle shake before measuring from it. Powders and dried leaves can settle differently, so redistributing them helps keep the seasoning consistent.
How much seasoning to use
These are starting amounts for this particular blend. Surface area, the food’s existing seasoning, and your taste will affect how much you need.
| Food | Amount of food | Starting amount of seasoning |
|---|---|---|
| Fish fillets | 1 pound | 1 to 1 1/2 tablespoons |
| Peeled shrimp | 1 pound | 1 tablespoon |
| Chicken cutlets or boneless thighs | 1 pound | 1 1/2 to 2 tablespoons |
| Steak or pork chops | 1 pound | 1 to 1 1/2 tablespoons |
| Potatoes, cauliflower, or other vegetables | 1 pound | 2 to 3 teaspoons |
Start at the lower end when serving people who prefer gentler flavors. Apply an even coating over the exposed surfaces instead of piling the mixture in one place. Taste the cooked food before adding extra salt, particularly when using brined meat, salted butter, or salty sauces.
At 1 tablespoon per pound, the full batch seasons about 5 pounds of food. At 2 tablespoons per pound, it seasons about 2 1/2 pounds.
What blackening seasoning does during cooking
Blackening seasoning is the dry spice mixture applied to food before cooking. Blackening is the cooking technique that creates a dark, strongly flavored outer crust. Chef Paul Prudhomme helped popularize the method through blackened redfish at his New Orleans restaurant. [1]
The same blend can also season roasted potatoes, vegetables, or baked fish. Those dishes will have the spice flavor, even when the cooking method produces a softer or lighter coating.
Traditional blackening uses intense heat and can produce substantial smoke. The skillet instructions below use more moderate heat for home cooking, with adjustments as the crust develops. Expect a deep brown spice coating; the result may be lighter than restaurant-style blackening. Chef Paul’s published bronzed-fish method provides a useful example of cooking a seasoned fish coating at more moderate heat. [2]
How to cook with the seasoning
Step 1 Portion the seasoning first
Measure the amount you need into a separate small bowl before handling raw chicken, fish, or meat. Wash your hands after touching raw food, and use clean utensils around the main spice jar. Discard seasoning from a working bowl if it has contacted raw juices. Do not return it to the jar. These steps help prevent the spice-container cross-contamination identified in USDA research. [6]
Step 2 Dry and coat the food
Pat the food dry with paper towels. Brush it lightly with a neutral cooking oil or melted clarified butter, then sprinkle on the measured seasoning. For 1 pound of food, start with about 2 teaspoons of fat and add a little more only if needed for a thin coating.
Press the spices gently onto the surface. They should form an even layer without thick, loose piles that can fall into the skillet and scorch.
Step 3 Preheat a heavy skillet
Turn on the kitchen exhaust fan and heat a heavy cast iron or stainless steel skillet over medium-high heat. Keep ventilation running during cooking. Add a thin film of cooking oil if the pan needs it, then add the food when the oil shimmers.
Use the pan manufacturer’s heat guidance. If the oil starts producing heavy smoke, take the pan off the heat briefly and lower the burner before continuing. A little patience with temperature control helps protect the spice coating.
Step 4 Cook in a single layer
Arrange the pieces with a little space between them. Work in batches when necessary; crowded food releases moisture into the pan and can make the coating damp.
Let the first side develop color before turning it. Repeatedly moving the food can pull off the coating. Once it has a deep brown crust, turn gently and reduce the heat if the spices are darkening faster than the center is cooking.
Step 5 Check the center
Use a food thermometer to check meat, poultry, and fish in the thickest part, avoiding bone and the pan. For thin cutlets, insert the probe from the side so its sensing area reaches the center. A dark exterior does not tell you whether the center is cooked. Follow these safe-doneness guidelines. [4]
| Food | Safe-doneness guidance |
|---|---|
| Chicken and other poultry | 165°F / 74°C |
| Fish, including salmon and cod | 145°F / 63°C |
| Beef steaks and pork chops | 145°F / 63°C, then rest for at least 3 minutes |
| Shrimp | Flesh should be pearly or white and opaque |
For thick pieces, lower the stovetop heat or finish them in an oven using an oven-safe pan. Continue until the center reaches the appropriate temperature. Do not keep the burner high simply to force a darker exterior.
For more help with thermometer placement and doneness, see how to know when chicken breast is done and still juicy.
Step 6 Finish and serve
Move the food to a clean plate and follow the resting guidance above where required. Add a squeeze of lemon or lime just before serving if you want a bright finish.
Between batches, remove heavily scorched spice residue before continuing, taking care around the hot pan. Burned residue can make the next batch taste bitter.
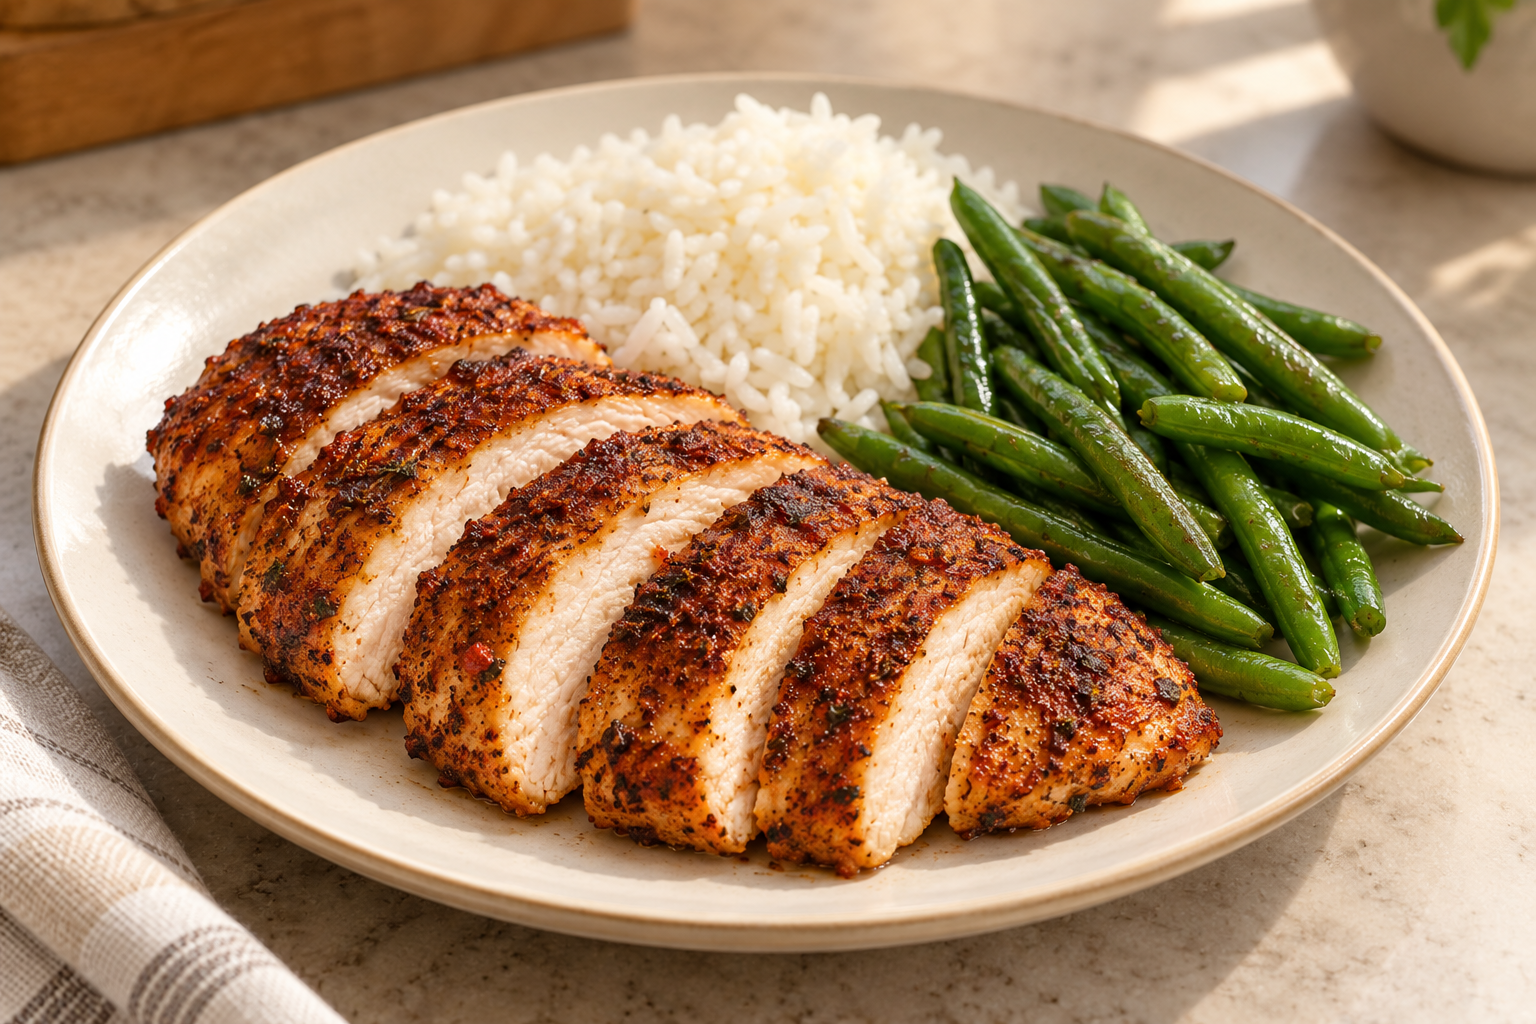
A practical example with chicken cutlets
For a first meal using this blend, choose 1 pound of boneless chicken cutlets about 1/2 inch thick. Even thickness helps the centers cook while the coating develops color.
- Measure 1 1/2 tablespoons seasoning into a small bowl.
- Pat the cutlets dry, rub them with 2 teaspoons neutral cooking oil, and distribute the seasoning over both sides.
- Preheat a heavy skillet over medium-high heat. Add a thin film of oil if needed, then place the cutlets in one layer.
- Cook for approximately 3 to 5 minutes on the first side, watching the coating. Turn when it has developed a brown crust, then reduce the heat to medium.
- Continue cooking for approximately 3 to 5 minutes, checking the thickest part with a thermometer. Remove each cutlet only once it reaches 165°F / 74°C. Thickness, starting temperature, and pan heat can change the time. [4]
- Let the cutlets rest for a few minutes before slicing. Serve with rice and a vegetable, or slice into a salad or wrap.
If the seasoning becomes dark while the center is still undercooked, turn the heat down and continue cooking. The temperature reading determines when the chicken is ready; the minutes are estimates.
Common problems and how to fix them
| Problem | Likely cause | What to change |
|---|---|---|
| Bitter or acrid coating | Excessive heat or scorched residue | Lower the heat, apply a thinner layer, and remove burned residue between batches. |
| Pale or damp coating | Wet food or an overcrowded pan | Dry the food well and cook smaller batches. |
| Seasoning falls off | Too much loose powder or too little adhesion | Use a light coating of oil and press on the spices evenly. |
| Flavor seems flat | Faded spices or too little seasoning | Start with fresher spices; taste the cooked food before adjusting salt. |
| One portion is much hotter | The blend settled or was mixed unevenly | Stir the mixture thoroughly and shake the jar before measuring. |
If a finished dish is too spicy, serve it with plain rice, potatoes, or a cooling yogurt sauce. These accompaniments can soften the overall bite of a mouthful, but they do not remove the cayenne already on the food. Reduce the cayenne in your next batch.
How to store the seasoning
Keep the blend in a tightly closed, food-safe jar in a cool, dry cupboard away from sunlight and the stove. Use a dry spoon and measure away from a steaming pan so moisture does not enter the jar. McCormick’s storage guidance also emphasizes protecting spices from heat, light, and moisture. [3]
For this small batch, aim to use it within 3 to 6 months for good flavor. This is a practical freshness target informed by extension guidance on opened spices, not a tested expiration date for this exact recipe. Older starting spices may lose their flavor sooner. UF/IFAS distinguishes spice quality dates from a universal safety deadline and suggests replacing opened herbs and spices after about six months for best quality. [5]
Discard the blend if it becomes moldy, persistently damp, infested, or contaminated with raw food. Keep fresh garlic, fresh herbs, oil, and butter out of the storage jar; add those separately when preparing a meal.
Frequently asked questions
Is blackening seasoning the same as Cajun seasoning
The blends share many ingredients, including paprika, garlic, peppers, and herbs, but their proportions vary between recipes and brands. Blackening seasoning is intended to coat food for a dark spice crust. Check the heat and salt content before substituting another blend rather than assuming equal spoonfuls will taste the same. [1]
Can I use smoked paprika instead of regular paprika
Yes. For your first batch, replace half the sweet paprika with sweet smoked paprika. You can use smoked paprika for the full amount if you want the smoke flavor to be more prominent. Check whether your smoked paprika is sweet or hot before deciding how much cayenne to add.
Does this blackening seasoning recipe need sugar
No. The recipe contains no added sugar. The spices can develop a dark coating during cooking, and sugar is unnecessary for this blend.
Can I use fresh garlic or fresh herbs
Use dried ingredients in the jar. Add fresh garlic or herbs separately when making an individual dish. They are not interchangeable with the powders and dried leaves in a seasoning intended for dry cupboard storage.
Can I use it without a cast iron skillet
Yes. A heavy stainless steel skillet works for the stovetop method described here. You can also use the blend on food you bake, roast, or grill; the final crust will depend on the cooking method. Follow your cookware manufacturer’s temperature limits.
Do I need to marinate the food overnight
No overnight marinade is required for these instructions. Apply the seasoning shortly before cooking. If you prepare raw seasoned food ahead, keep it refrigerated until you are ready to cook it.
For another homemade blend, learn how to make your own pumpkin spice for baking and warm drinks.
Sources
1. The Kitchn — Blackened Seasoning. Background on the spice blend and cooking method.
2. Louisiana Kitchen and Culture — Chef Paul’s Bronzed Fish. A more moderate-heat approach to cooking seasoned fish.
3. McCormick — Spice Storage and Freshness. Guidance on storing dried herbs and spices.
4. FoodSafety.gov — Safe Minimum Internal Temperatures. Recommended cooking endpoints and rest times.
5. UF/IFAS Extension — Herbs and Spices Explained. Spice quality dates and storage practices.
6. FoodSafety.gov — Preventing Cross-Contamination. USDA research on handwashing and spice containers.
THE COMPLETE RECIPE
Blackening Seasoning Recipe
Yield: 15 teaspoons
Ingredients
- 2 tablespoons sweet paprika
- 2 teaspoons garlic powder not garlic salt
- 2 teaspoons onion powder not onion salt
- 1 teaspoon dried thyme leaves not an equal volume of finely ground thyme
- 1 teaspoon dried oregano
- 1 teaspoon ground black pepper
- 1 1/2 teaspoons fine sea salt or table salt do not substitute coarse kosher salt spoon for spoon
- 1/2 teaspoon cayenne pepper adjust as described in notes
Equipment
- Measuring spoons
- Small mixing bowl
- Fork or small whisk
- Clean, completely dry airtight spice jar
- Small funnel, optional
Instructions
- Check the spices and equipment Use fragrant dried spices and a completely dry bowl, measuring spoons, and airtight spice jar. Choose the cayenne amount before measuring: 1/2 teaspoon for the base blend, 1/4 teaspoon or none for less heat, or 1 teaspoon for more heat.
- Measure Level each spoonful of paprika, garlic powder, onion powder, black pepper, salt, and cayenne into the bowl. Measure the thyme and oregano, then lightly rub the dried leaves between clean, dry fingers before adding them.
- Mix thoroughly Whisk or stir, reaching the bottom and sides, until the color is even and the herbs are distributed throughout. Break up small dry powder lumps; do not use damp, moldy, or contaminated spices.
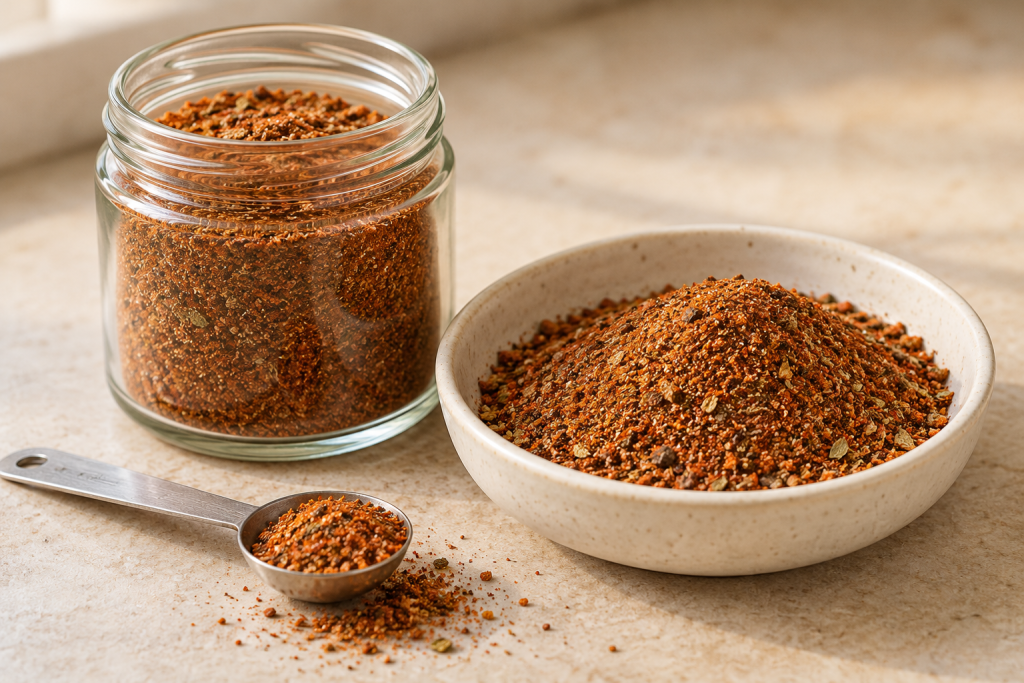
- Transfer and label Spoon the seasoning into the dry jar and seal tightly. Label with the blend name, mixing date, and any changes to cayenne or salt. The base formula makes about 5 tablespoons, or 15 teaspoons.
- Use clean portions Shake the closed jar before measuring. Portion the amount needed into a separate bowl before handling raw meat or seafood. Apply to food as directed in the article; keep the storage blend dry and discard any working-bowl seasoning that touches raw juices.
Notes
Rate This Recipe
Made this recipe? Choose a star rating in the comment form and share how it turned out. Your cooking time and any ingredient changes can help the next reader.
Rate This Recipe