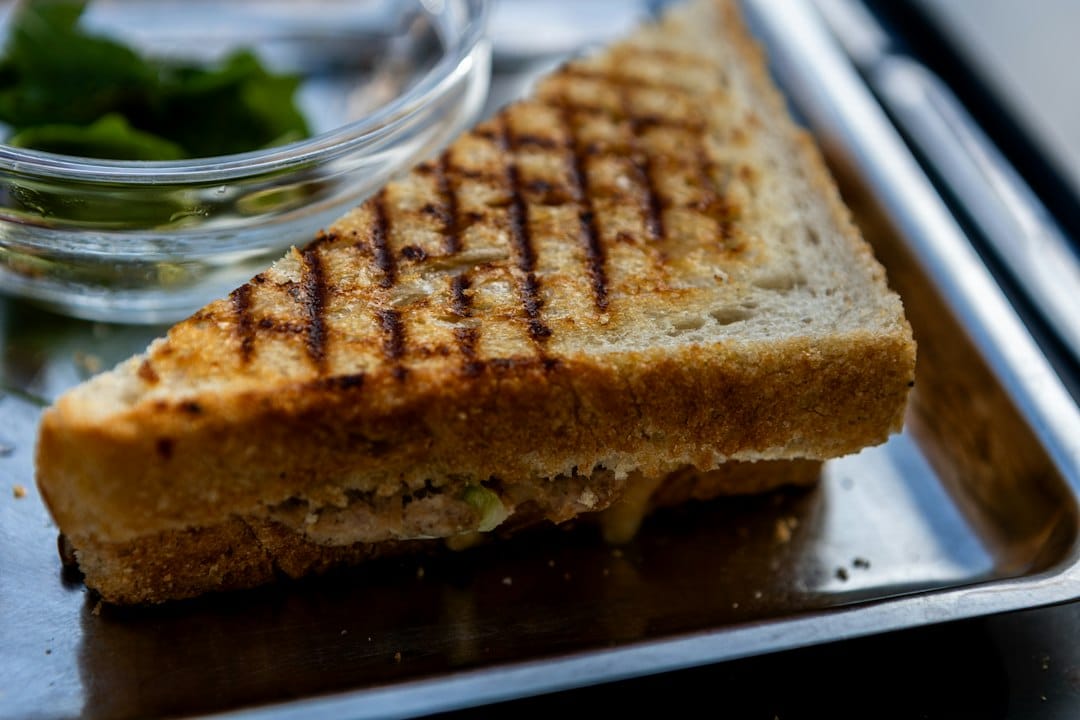
This easy tuna melt sandwich recipe makes two substantial sandwiches with crisp bread, a creamy pickle-tuna filling, and melted cheddar.
Drain the filling ingredients well, spread them evenly, and keep the pan at moderate heat. Those three choices give the cheese time to melt while the bread becomes golden.
A tuna melt should hold together when you lift it. The tuna needs enough mayonnaise to bind it without becoming loose, and the cheese should reach close to the edges. Build a fairly flat sandwich; an oversized mound makes the outside cook well before the middle warms.
Choose ingredients that work together
Tuna and binder
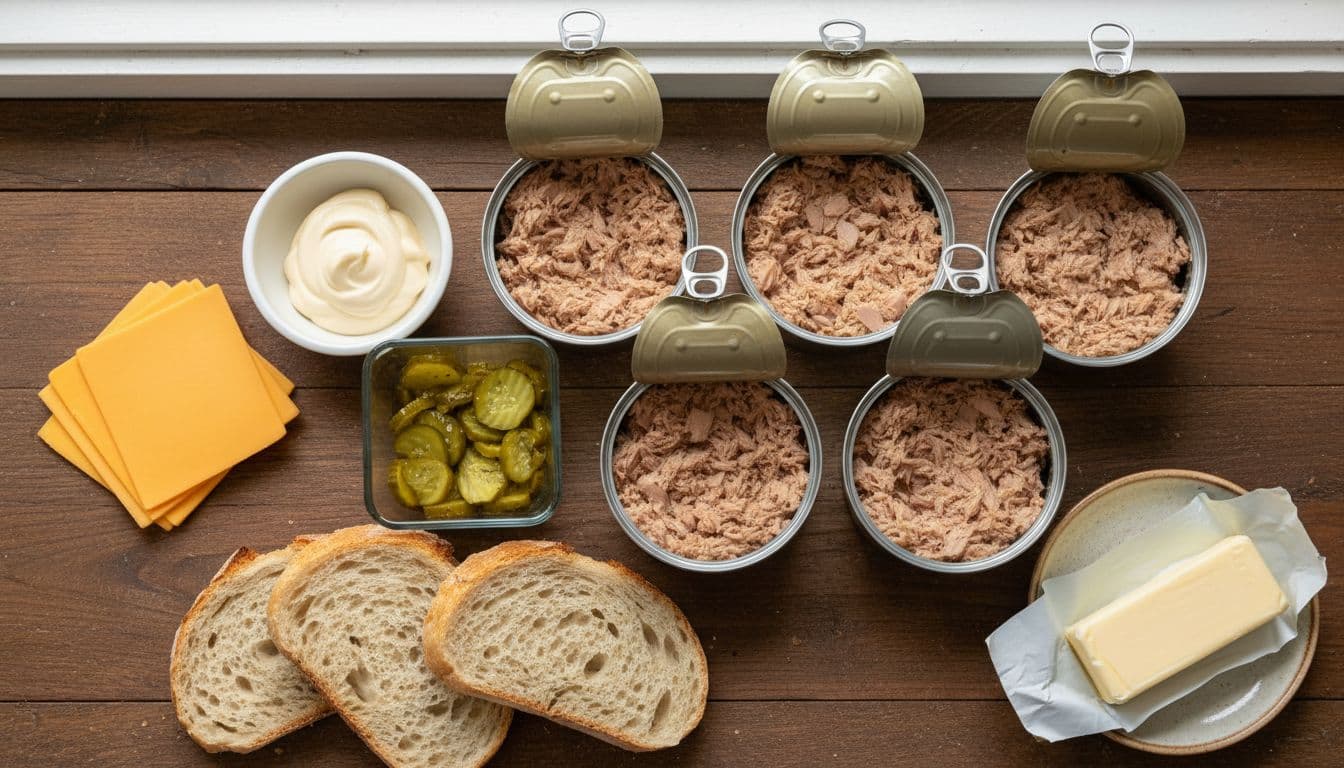
Use two 5-ounce cans tuna and 3 tablespoons mayonnaise. The can weight includes liquid; drain before measuring the mixture by eye. Water-packed tuna gives a lighter base, while thoroughly drained oil-packed tuna tastes richer. Flake either into small pieces so the filling spreads evenly.
Pickle and seasoning
Add 1 tablespoon finely chopped, drained dill pickle, ⅛ teaspoon black pepper, and optionally 1 teaspoon Dijon mustard. Chop the pickle finely so it does not push the layers apart. Taste before adding salt because canned tuna, cheese, mustard, and pickle already contribute it.
Bread and cheese
Choose 4 sturdy bread slices and 2 ounces sliced cheddar. A firm sandwich loaf or sourdough works well. Avoid very thick slices for this skillet method; they take longer to heat through. Thin cheese slices melt more evenly than a few thick chunks.
The outside coating
Use 1 tablespoon softened butter across all four outer bread faces. That is about ¾ teaspoon per face. Spread it thinly to the corners rather than leaving a lump in the center. Soft butter is easier to distribute without tearing bread.
Easy tuna melt sandwich recipe: six skillet steps
Mix a spreadable tuna filling
Put the drained tuna in a bowl and break up large pieces with a fork. Fold in the mayonnaise, drained pickle, optional mustard, and pepper. Scrape the bottom of the bowl so the mixture is evenly coated. Taste and add salt only if needed; keep the filling refrigerated until you are ready to assemble.
Build two even sandwiches
Pair four bread slices by size. Divide the filling between two slices and spread it close to the edges without piling it high. Use 1 ounce cheddar per sandwich, either over the tuna or split above and below it. Close with the remaining bread and press lightly to settle the layers.
Butter the outer surfaces
Spread the measured butter thinly across the outside of both sandwiches. Lift them with a broad spatula as needed so the filling stays in place. If your bread tears easily, butter one outside face before assembling, then coat the top face after closing the sandwich.
Toast the first side gently
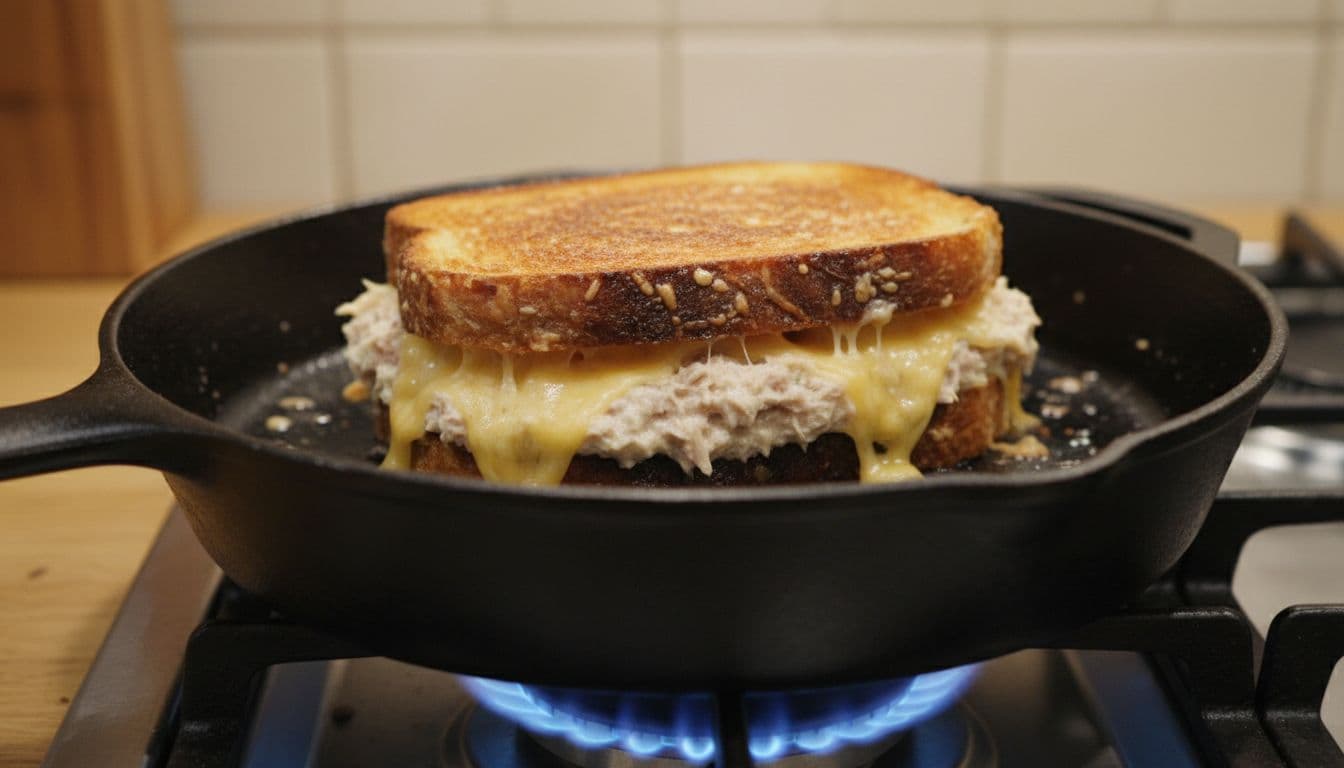
Preheat a wide skillet over medium heat, then add the sandwiches with space between them. Cook for about 3–5 minutes, checking the underside early. Lower the burner if the bread darkens rapidly. You want an even golden crust rather than black edges around a cold center.
Turn and melt the cheese
Slide the spatula fully underneath and turn each sandwich carefully. Cook the second side for about 3–5 minutes. If the cheese needs help, lower the heat and cover briefly to trap warmth, then uncover to let steam escape. Avoid pressing hard, which forces out filling and flattens the bread.
Check, rest briefly, and slice
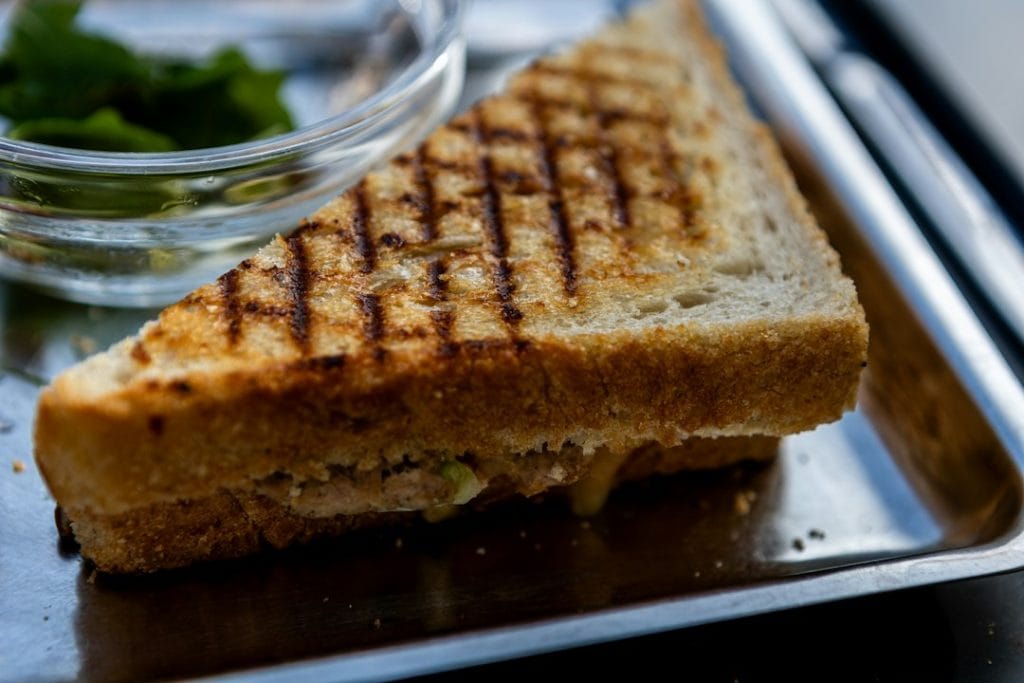
Look for golden bread, melted cheese, and filling warmed through. If the center is still cool, continue over low heat rather than increasing the flame. Rest on a board or rack for about a minute before slicing. Keep the sandwiches side by side; stacking hot bread traps steam and softens the crust.
Read the sandwich, then make one adjustment
| Problem | Best next move |
|---|---|
| Soggy inside | Drain tuna and pickle more thoroughly next time. Keep wet toppings outside the sandwich until serving. |
| Dark bread, firm cheese | Reduce heat and briefly cover. Spread filling flatter and slice cheese thinner for the next batch. |
| Filling spills out | Use a broad spatula and turn gently. Avoid overfilling or pressing hard. |
| Soft outside after resting | Uncover and separate the sandwiches so steam can escape. Serve soon after the short rest. |
| Second batch browns too fast | Lower the burner and let the pan settle before adding more sandwiches. Remove dark crumbs carefully. |
Stoves and pans vary, so the first sandwich is a useful heat check. A heavy skillet retains heat even after the burner is lowered. Move it briefly off the heat if needed, keeping the food on a safe, stable cooking surface.
Change the flavor without making the filling wet
Swap cheddar for Swiss or pepper jack using the same 2-ounce total. Add 1 teaspoon chopped chives or a small pinch of chili flakes to the filling. These changes add flavor without adding much loose liquid. Choose one addition first, then taste before combining several.
For tomato or avocado, use thin slices and add them after cooking. Blot juicy tomato slices first. Greens are also better tucked into a finished sandwich than steamed inside it. Serve pickle spears, sliced peppers, or a cup of soup alongside; the soup-thickening guide can help with a watery side dish.
Prefer an open-faced melt?
Toast two sturdy bread slices first, then divide the same filling and cheese over them. Place on a broiler-safe tray and watch continuously until the topping is hot and the cheese melts. Follow your appliance’s rack-distance guidance; broilers differ too much for a universal minute count.
Keep parchment and other materials that are not broiler-safe out of the broiler. For a separate toaster-oven sandwich technique, see the toaster-oven grilled cheese guide. The skillet method above remains the simplest option when making two closed tuna melts.
Make ahead for a better lunch
Store the filling separately from the bread and cheese, covered at 40°F or below. The FoodSafety.gov storage chart gives tuna salad a refrigerated window of 3–4 days and notes that it does not freeze well. Label the container with the day you made it.
Refrigerate perishable food within 2 hours, or 1 hour above 90°F. Reheat leftover cooked sandwiches to 165°F, following USDA leftover guidance. Toasting does not make food safe after an excessive room-temperature hold. For the crispest result, make only the sandwiches you plan to eat and refrigerate the remaining filling promptly.
Quick answers before lunch
Can I make one sandwich instead?
Yes. Halve every ingredient: one tuna can, two bread slices, 1 ounce cheese, and 1½ teaspoons butter. The cooking checks stay the same; the time is not cut in half.
Does canned tuna need to be cooked first?
Commercially canned tuna is ready to eat. This easy tuna melt sandwich recipe warms the filling and melts the cheese. Treat the mixed salad as perishable, and use the reheating guidance for cooked leftovers.
Can I use a panini press?
Follow the appliance’s instructions and use gentle pressure so the filling stays inside. Check early because both surfaces heat at once. Do not transfer the skillet timing directly to a press.
What is another easy skillet sandwich?
Try the toasted peanut butter and jelly sandwich for a sweet option. Its filling needs only gentle warming, so watch the crust rather than copying the tuna melt’s timing.
Print the two-sandwich recipe
The card keeps the ingredient amounts and cooking sequence together. Allow about 21 minutes, with extra time if your bread or filling is especially thick.
THE COMPLETE RECIPE
Easy Cheddar Tuna Melt Sandwiches
Yield: 2 sandwiches
Ingredients
- 2 5-ounce cans tuna Thoroughly drained.
- 3 tablespoons mayonnaise
- 1 tablespoon dill pickle Finely chopped and drained.
- 1 teaspoon Dijon mustard Optional.
- 1/8 teaspoon black pepper
- salt Only if needed after tasting.
- 4 slices sturdy sandwich bread Use slices of similar size.
- 2 ounces sliced cheddar cheese 1 ounce per sandwich.
- 1 tablespoon softened butter For all four outer bread faces.
Equipment
- 1 wide skillet Enough room for two sandwiches.
- 1 Broad spatula
- 1 Mixing bowl and fork
Instructions
- Mix the filling. Flake the drained tuna in a bowl. Fold in mayonnaise, drained pickle, optional mustard, and pepper. The mixture should hold together without loose liquid. Taste before adding salt.
- Assemble evenly. Divide the filling between two bread slices and spread it into flat layers. Add 1 ounce cheese per sandwich, either over the tuna or split above and below it. Close with the remaining bread.
- Butter the outside. Spread the tablespoon of softened butter thinly over all four outer bread faces, about 3/4 teaspoon per face.
- Toast the first side. Preheat a wide skillet over medium heat. Add the sandwiches and cook about 3–5 minutes, checking early and reducing heat if the bread darkens quickly.
- Turn and melt. Turn gently with a broad spatula and cook the second side about 3–5 minutes. If cheese needs help melting, lower heat and cover briefly, then uncover to release steam. Avoid pressing hard.
- Rest and serve. Check for golden bread, melted cheese, and filling warmed through. Continue over low heat if needed. Rest briefly, about 1 minute, without stacking, then slice and serve.
Notes
Rate This Recipe
Made this recipe? Choose a star rating in the comment form and share how it turned out. Your cooking time and any ingredient changes can help the next reader.
Rate This RecipeHow did your tuna melts turn out? Leave a star rating and share your bread or cheese choice.
Rate This Recipe & Leave a Review