The skillet lunch • Crisp bread, warm filling
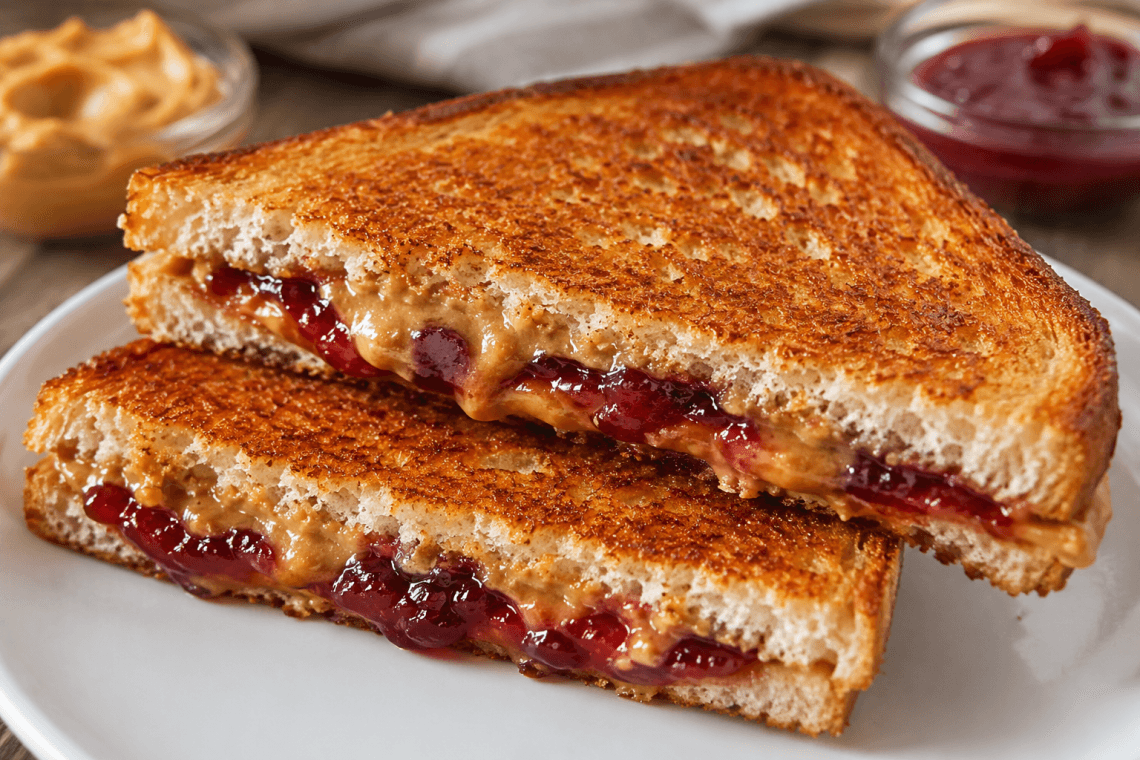
A toasted peanut butter and jelly sandwich turns four everyday ingredients into golden bread with a warm, soft center. The trick is a thin, even filling and enough time over moderate heat for the inside to warm before the outside gets too dark.
Allow about 5 minutes to assemble, 4–6 minutes to cook, and a short rest before eating. Use the bread’s color as your guide: pan thickness, burner strength, and the size of your slices all affect the timing.
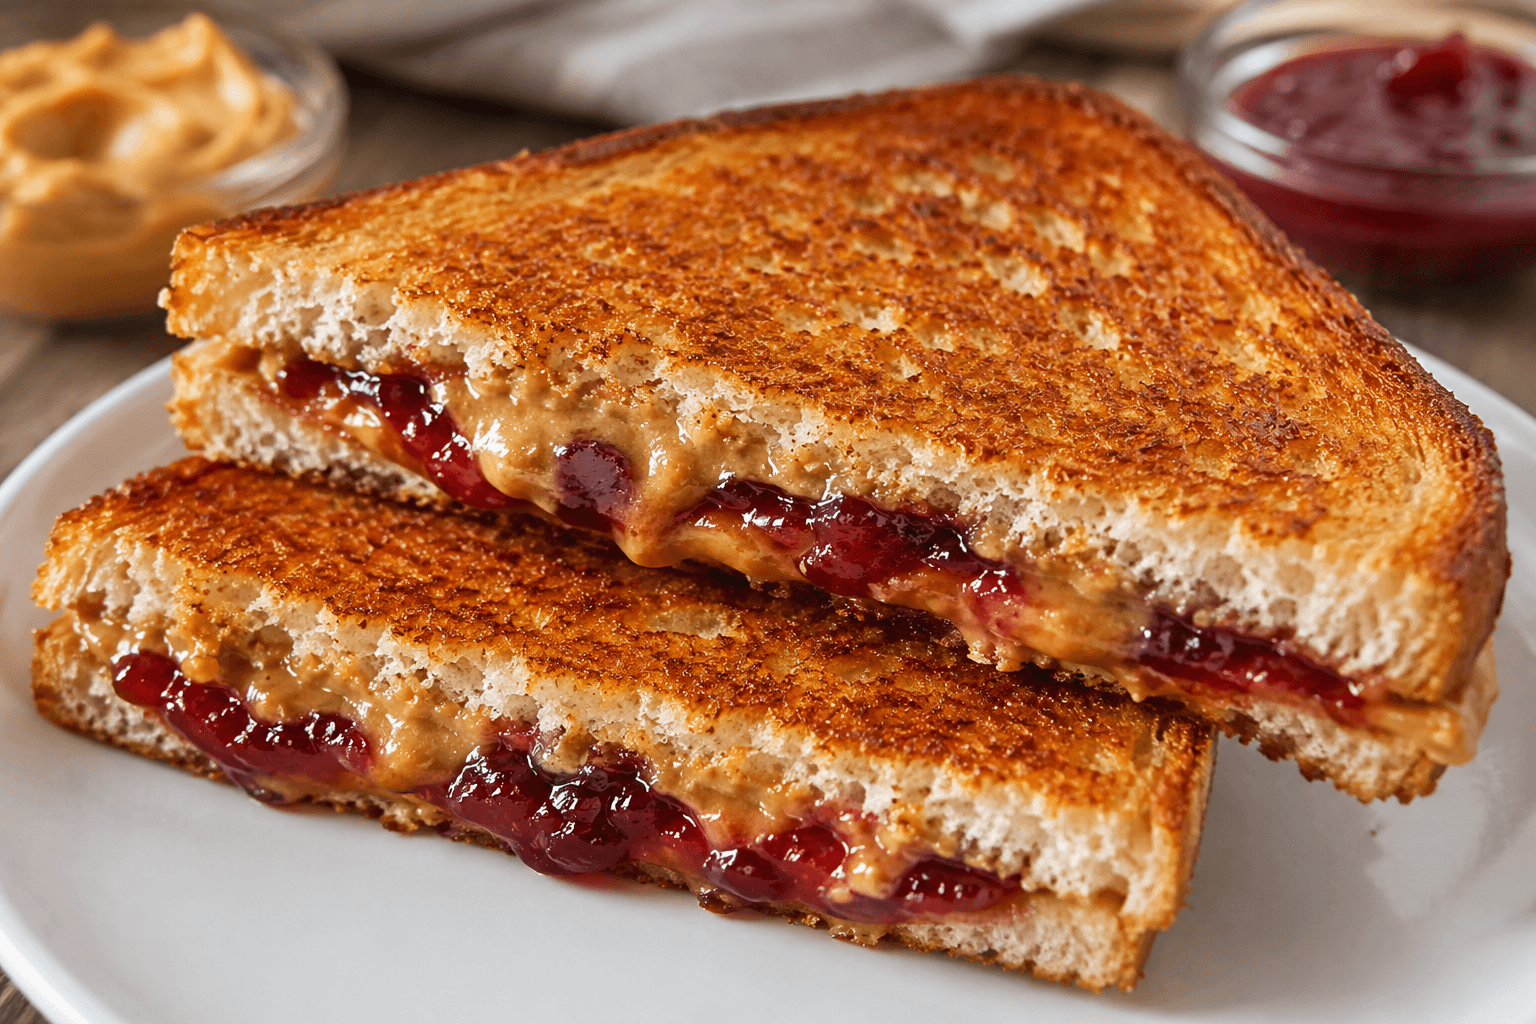
Build a better toasted peanut butter and jelly sandwich
Start with two slices of bread of similar size. A close, even crumb keeps the filling in place; very large holes give warm jelly an escape route. Regular sandwich slices are easier to heat through than thick slabs of bread. Keep the first sandwich simple, then adjust the next one to suit your preferred balance of peanut butter and fruit.
Bread with some structure
White or whole-wheat sandwich bread gives a familiar, tender bite. Sourdough adds a tangy contrast. Brioche is rich and soft, so handle it gently and check its color early. Avoid pressing soft bread flat as you spread.
Peanut butter that spreads
Measure 2 tablespoons. Creamy peanut butter makes an even layer; crunchy adds texture. Stir separated natural peanut butter thoroughly before measuring. The homemade peanut butter guide explains how texture changes as peanuts are processed.
Enough jelly to taste
Start with 1 tablespoon of jelly, jam, or preserves. Use up to 1½ tablespoons for larger slices if the sandwich still closes easily. A spreadable layer works better than a thick mound, which can slide and spill when warm.
A thin butter coating
Use 1–2 teaspoons of softened butter across the two outer faces; 2 teaspoons is a convenient starting amount for ordinary slices. Spread to the edges without leaving thick lumps. Cold butter can tear the bread, so soften it first.
From bread to golden toast: six steps
Measure and assemble
Set the bread on a board. Spread the peanut butter evenly on one inner face and the jelly on the other, keeping the jelly border clear. Put the slices together with the filling inside. Align the crusts so a spatula can support the whole sandwich when you turn it.
Butter the outer faces
Spread half the softened butter thinly across the top. Turn the sandwich carefully and coat the other outer face. If the bread is very soft, support it with your palm or a wide spatula instead of gripping the filled center.
Warm the skillet
Use a nonstick or well-seasoned skillet over medium heat, following the pan manufacturer’s preheating guidance. A heavy skillet retains heat, so begin cautiously. When the sandwich goes in, it should cook gently; immediately smoking butter or fast blackening means the heat is too high.
Toast the first side
Cook for approximately 2–3 minutes. Lift one corner with the spatula to check beneath it. Look for an even golden surface, then lower the burner if browning is happening faster than expected. Avoid repeatedly flattening the sandwich: pressure pushes filling toward the hot pan.
Turn and finish
Slide a broad spatula fully underneath and flip in one controlled movement. Cook the second side for roughly 2–3 minutes, checking earlier if the pan has become hotter. The second side may finish sooner. Transfer the sandwich once both faces are golden and the filling has warmed.
Rest, cut, and check
Rest for 1–2 minutes on a rack or board, then cut carefully. The jelly can still be very hot after the bread feels comfortable to touch, so check the filling and allow more cooling as needed before serving, especially to children. Keep hot sandwiches unstacked to limit trapped steam.
The 4–6-minute range is also used in Land O’Lakes’ skillet PB&J method. Treat it as a starting window, with the color of your own bread guiding each turn.
Read the bread, then adjust
| What you notice | What to change |
|---|---|
| Dark toast with a cool center | Lower the heat. For the next sandwich, choose thinner bread or a less bulky filling so the center warms sooner. |
| Jelly escaping at the crust | Reduce the jelly to 1 tablespoon and leave a clear edge. Turn gently without pressing down hard. |
| Pale patches beside dark spots | Spread butter more evenly and check that the bread sits flat. Rotate its position if your burner heats unevenly. |
| A crisp side becomes soft | Move the sandwich to a rack while it rests. A plate or closed container can trap moisture underneath. |
| A bitter smell from the pan | Take the pan off the heat. Let it cool enough to clean away scorched filling before making another sandwich. |
For a second toasted peanut butter and jelly sandwich, reassess the burner rather than automatically repeating the first timing. A pan that began cool may now be fully heated. Work in batches with enough space to slide in the spatula, and keep any waiting assembled sandwiches away from the hot stovetop.
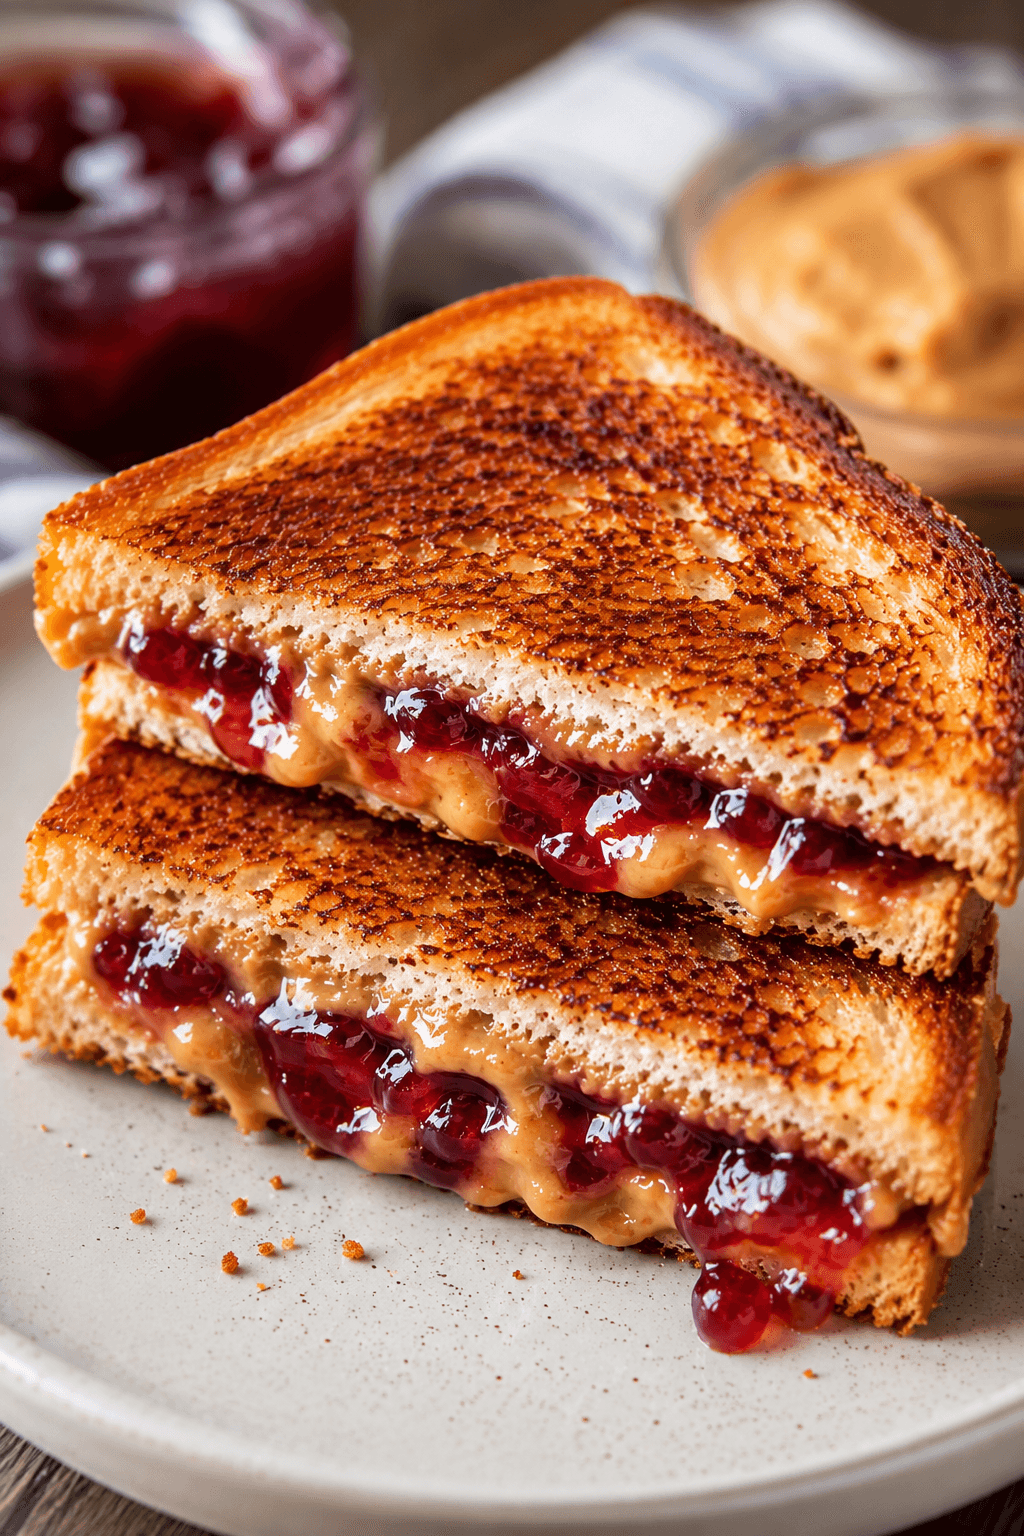
Small variations with a clear purpose
- More fruit flavor: choose tart raspberry preserves or strawberry jam instead of adding a thicker layer of sweet jelly. Spread chunky preserves evenly so the slices meet.
- Banana and peanut butter: add a few thin banana slices in one layer. Reduce the jelly so the sandwich stays manageable; a tall stack makes turning awkward.
- A little spice: sprinkle a small pinch of cinnamon over the peanut butter before closing. Keep sugary toppings off the skillet-facing bread to make browning easier to control.
- Different nut or seed butter: use a spread with a similar consistency, then adjust sweetness to taste. A substitution must fit the actual dietary needs of the person eating it.
If you make your own jelly, follow the guide to choosing a tested jelly recipe. Toasting a sandwich does not change how an opened jar should be stored. Follow the jar’s refrigeration instructions after use.
Serve it while the crust is crisp
Apple slices, berries, or plain yogurt balance a rich sandwich without complicating lunch. Prepare those sides before you heat the skillet so the toast does not sit while you finish the plate. For a savory option another day, the easy tuna melt guide uses the same principle of warming the filling while controlling the crust’s color.
For packing, let steam escape before closing the container and keep juicy fruit separate. Expect the crust to soften as it sits. If you pack yogurt or another perishable side, keep it chilled appropriately; the sandwich’s ingredients do not determine the storage needs of the whole lunch.
Questions before you cook
Can I use crunchy peanut butter?
Yes. Spread the same measured amount gently so the peanut pieces do not tear soft bread. If spreading is difficult, choose a sturdier slice rather than adding a thicker filling.
Can I make a toasted peanut butter and jelly sandwich ahead?
Prepare the ingredients ahead, then assemble and cook close to serving for the best texture. A cooked sandwich loses crispness as it sits, especially if it is stacked or closed in a container while still steaming.
Is a grilled PB&J the same thing?
In many recipes, yes: “grilled” describes browning the filled sandwich in a skillet or on a griddle. This guide uses a skillet rather than an outdoor grill.
Can I make it in a pop-up toaster?
Toast plain bread separately, then add the spreads if you prefer that method. Do not put this assembled, buttered sandwich into ordinary toaster slots; melting filling can leak inside the appliance.
Do I need to cover the skillet?
No lid is needed for the basic sandwich. If the center stays cool, reduce the heat and choose thinner bread next time. A lid traps moisture and can soften the surface you are trying to crisp.
How do I make more than one?
Multiply the ingredients by the number of sandwiches. Cook only as many as fit comfortably in one layer, allow room for turning, and check the heat between batches. Cooking time increases with the number of batches, not with the amount of filling in each sandwich.
Printable one-sandwich recipe
Keep the measurements and six steps together below. After making it, choose a star rating and share which bread and jelly worked well for you.
THE COMPLETE RECIPE
Toasted Peanut Butter and Jelly Sandwich
Yield: 1 sandwich
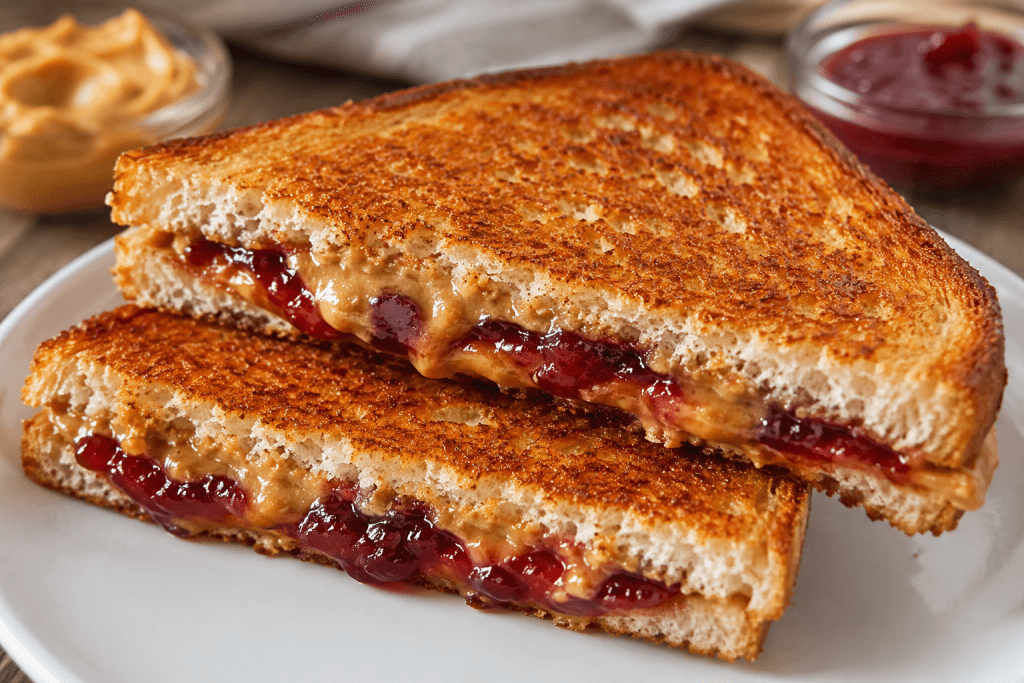
Ingredients
- 2 slices sandwich bread White, whole-wheat, or sourdough; similar-sized slices.
- 2 tablespoons peanut butter Creamy or crunchy. Stir natural peanut butter thoroughly before measuring.
- 1 tablespoon jelly, jam, or preserves Use up to 1½ tablespoons for larger bread if the sandwich closes easily.
- 2 teaspoons softened butter Use 1–2 teaspoons as needed for a thin coating across both outer faces.
Equipment
- 1 nonstick or well-seasoned skillet Large enough to turn the sandwich comfortably.
- 1 Wide spatula
- 1 butter knife and measuring spoons
- 1 cutting board or cooling rack
Instructions
- Measure and assemble. Spread the peanut butter on one inner bread face and the jelly on the other. Leave about a ½-inch border around the jelly. Close the sandwich and align the crusts.
- Butter the outsides. Divide the softened butter between the two outer bread faces. Spread it thinly and evenly toward the edges without tearing or flattening the bread.
- Warm the skillet. Warm a nonstick or well-seasoned skillet over medium heat, following the pan manufacturer’s preheating directions. Lower the heat if the butter smokes or the bread darkens rapidly.
- Toast the first side. Add the sandwich and cook for approximately 2–3 minutes, lifting a corner to check for a golden surface. Adjust the heat as needed. Do not press hard on the filled sandwich.
- Turn and finish. Support the whole sandwich with a wide spatula and flip carefully. Cook roughly 2–3 minutes more until the second side is golden and the filling is warm. Check early because the second side may brown faster.
- Rest and serve. Rest on a rack or board for 1–2 minutes, then cut carefully. Check the filling before eating and allow more cooling if needed; jelly can stay very hot after the bread feels comfortable to touch. Serve without stacking hot sandwiches.
Notes
Rate This Recipe
Made this recipe? Choose a star rating in the comment form and share how it turned out. Your cooking time and any ingredient changes can help the next reader.
Rate This Recipe