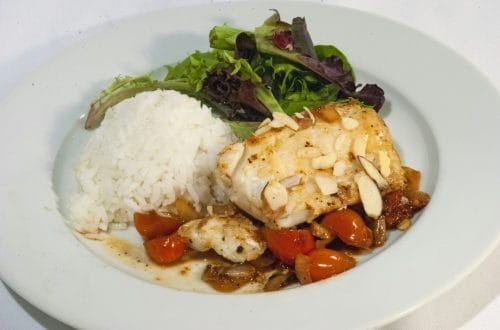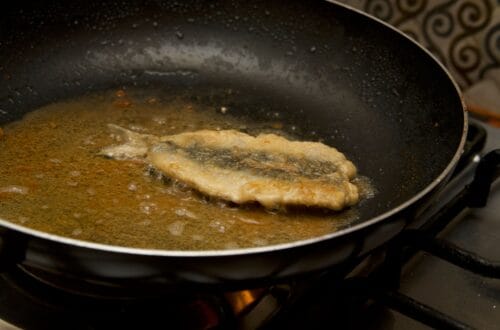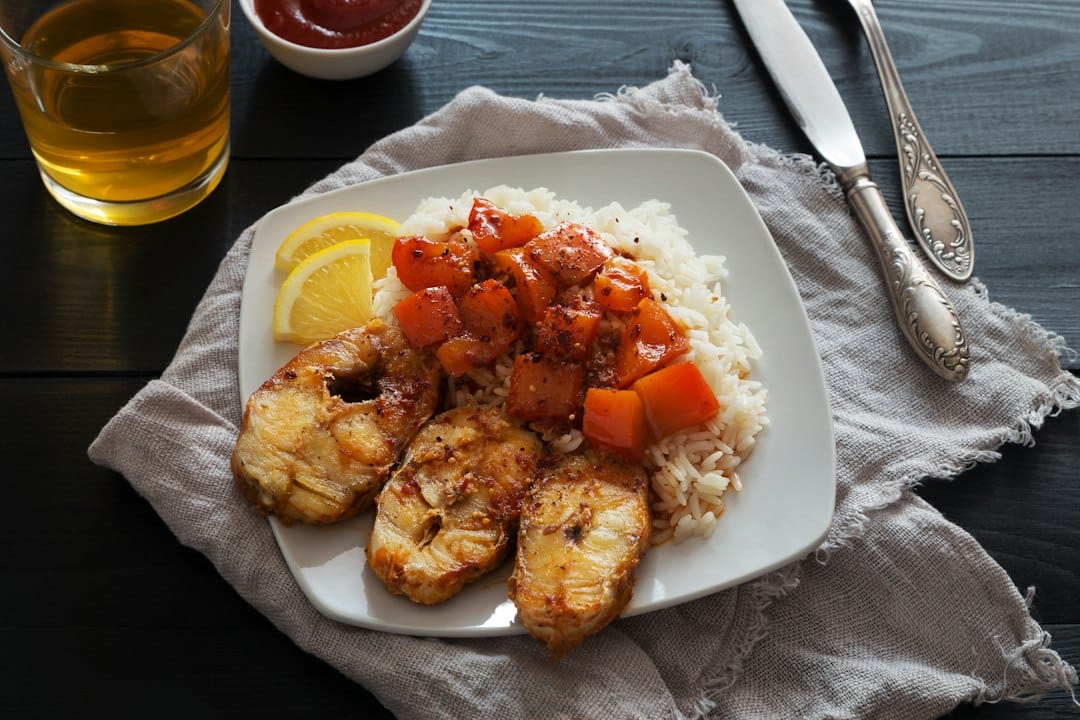
When is cod done? Check for 145°F (63°C) in the thickest center, with opaque flesh that separates easily into flakes. Begin checking before the recipe’s final minute and move each finished portion off the hot pan to limit drying.
The good news is cod doneness isn’t hard to judge. Watch for a few clear signs, then back them up with temperature, and you’ll stop guessing every time you cook it.
The clearest signs your cod is done
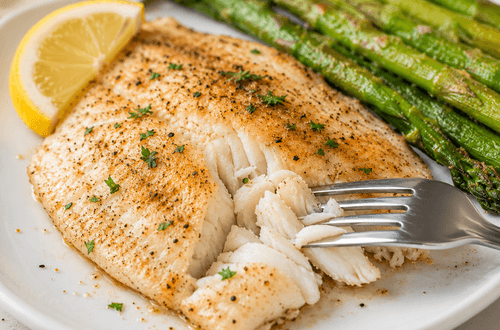
Perfect cod changes in a few easy-to-see ways as it cooks. The flesh turns from translucent and glossy to opaque white. At the same time, the layers begin to separate into moist flakes with flaky texture, and the fish firms up without getting stiff.
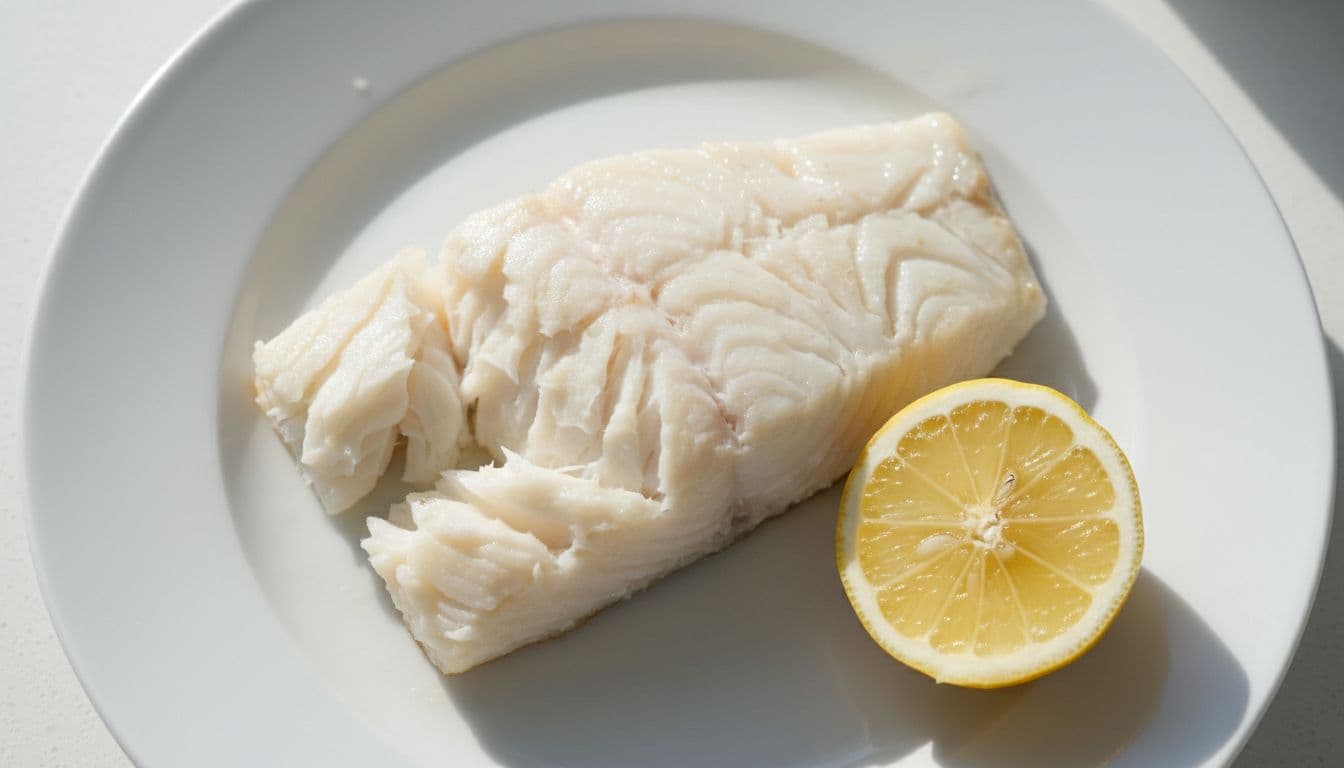
Look at the thickest part, not the thin tail end. A thin edge may finish well before the center, so checking the thickest part gives you the real answer.
Raw cod has a wet, glassy look. Done cod loses that shine and becomes opaque white. It may still look slightly pearly right before it’s ready, but it shouldn’t look translucent. If the fillet is covered in crumbs, butter, or sauce, separate one flake in the center and inspect the inside.
Use the fork test gently
To flake with a fork, slide a fork into the thickest part and twist a little. If the flesh separates into clean flakes with light pressure, it shows a useful doneness cue; confirm the center temperature where possible. If it resists and still looks shiny in the middle, give it another 30 to 60 seconds and check again.
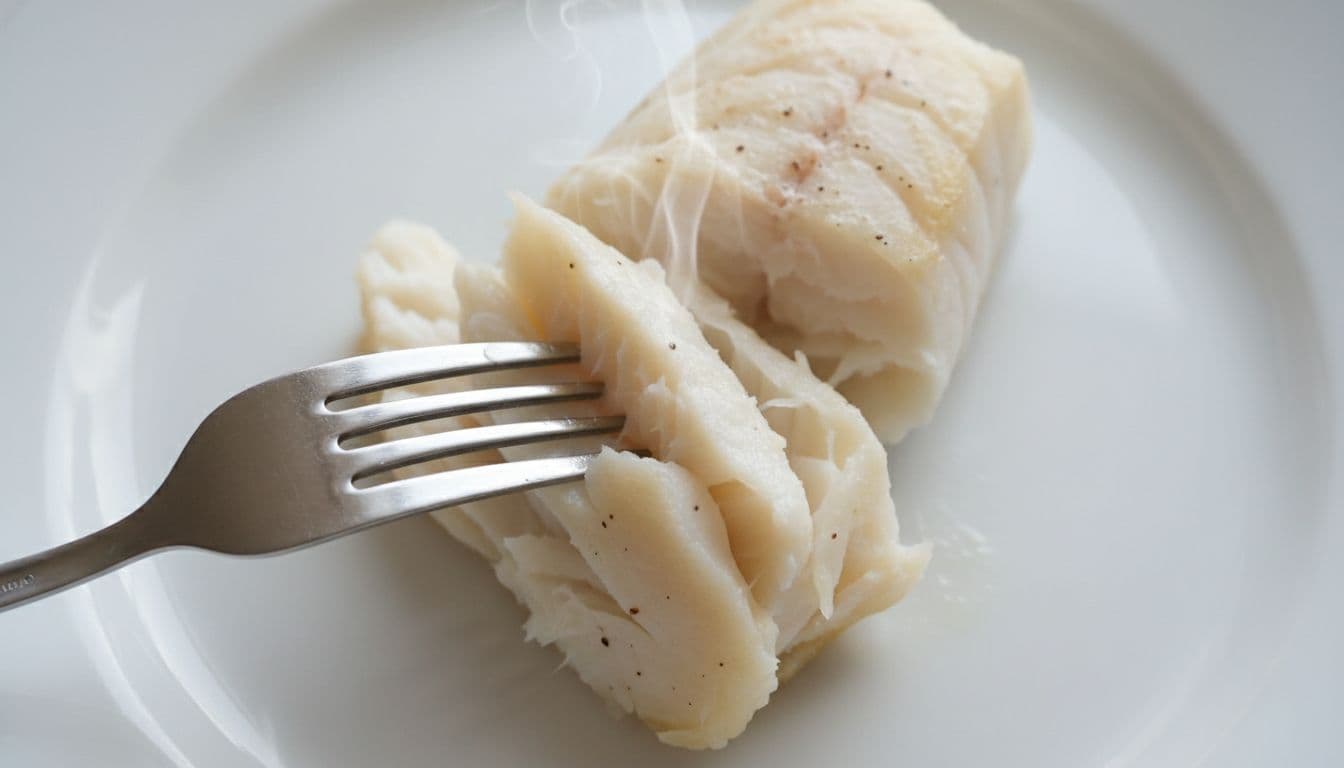
Be gentle here. If you dig too hard, you can shred a perfectly cooked fillet and make it seem drier than it is. You want large flakes that separate easily, not tiny strands that look torn apart.
The measured endpoint is 145°F; opaque flesh and easy flaking are supporting observations.
One last clue helps when you’re unsure. Undercooked cod looks glossy or slightly translucent in the center. Overcooked cod looks dull, tight, and dry, almost like the flesh has been squeezed.
Safe temperature matters, but thickness matters more than minutes
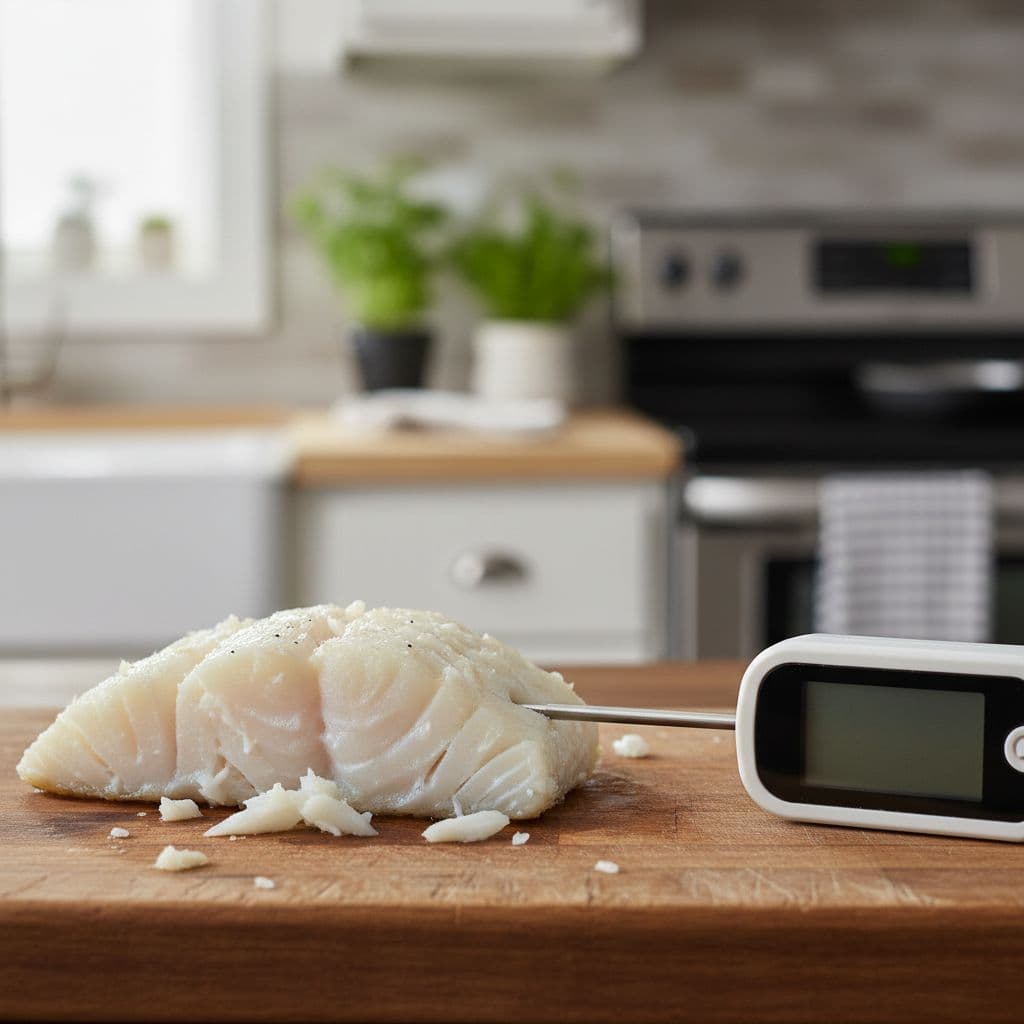
If you want the most reliable method, use an instant read thermometer or a meat thermometer. Insert it into the thickest part of the fillet for the most accurate internal temperature. For a thin piece, slide the probe in from the side so the tip lands in the center. If you poke straight down into a skinny fillet, you can miss the true middle and get a bad reading.
For seafood, FoodSafety.gov’s safe minimum temperature chart lists 145°F (63°C) for fin fish such as cod. Measure at the thickest point before removing the fish from the heat. If a thermometer is unavailable, official guidance says the flesh should no longer be translucent and should separate easily with a fork. Do not use a lower 130–135°F target for this home-cooking guide.
Check the fish near the end of the estimated cook time, not after it’s clearly gone past done. Also, take it off the heat as soon as it reaches temp. Cod keeps cooking for a minute or two from leftover heat. That carryover cooking is small, but with lean fish, even a little extra heat can dry it out.
Times help, but they are only starting points. A thick cod loin can take much longer than a thin grocery store fillet. Starting temperature matters too. So does pan heat, oven accuracy, and whether the fish is crowded.
The cooking time depends on the thickness of the fish. Here’s a quick guide for a fillet about 1 inch thick:
| Method | Heat | Rough time | What to watch for |
|---|---|---|---|
| Baking cod | 400°F | 10 to 12 minutes | Opaque center, easy flakes, 145 degrees |
| Pan searing | Medium-high | 3 to 4 minutes per side | Edges turn white, center finishes fast |
| Grill | Medium | 4 to 5 minutes per side | Firm flesh, light char, flakes easily |
| Air fryer | 400°F | 8 to 10 minutes | Light browning, moist flakes, 145 degrees |
Use the times above as early-checking estimates for thawed fish. Measure each portion rather than keeping thin pieces on the heat while thick ones finish.
Check the starting condition before using a timing estimate
A thawed fillet and a frozen fillet of the same thickness do not share the same cooking schedule. Read the product’s directions before starting, and do not assume the rough times above include thawing an icy center. Use a recipe specifically written for cooking from frozen when taking that route.
Thaw in the refrigerator, with the packaging handled correctly
The FDA’s seafood guidance recommends gradual refrigerator thawing. Place the fish in a suitable container that catches drips and keeps raw juices away from ready-to-eat foods.
For vacuum-packed cod, remove the fish from the vacuum pouch before refrigerator thawing, following the package’s directions. Michigan State University Extension explains the risk of thawing fish in its sealed, low-oxygen package. Do not leave it on the counter to speed up the process.
Identify the thickest section after arranging the fish
Pat the thawed surface dry, then look at each portion before seasoning or coating it. If you fold a thin tail underneath, the folded area becomes a thicker section that also needs checking. Do not measure only the original center while ignoring that new overlap.
A browned breadcrumb coating or bubbling sauce can hide the flesh, so plan a clear path for the thermometer into the thickest part. Check separate portions individually, moving finished fish to a clean plate while thicker pieces continue cooking. Use the temperature and texture checks in this guide rather than leaving every portion in the pan until the last one is ready.
How to keep cod moist and avoid the dry, chalky stage of overcooked fish
Wild caught cod is lean, so it doesn’t have much fat to protect it. That’s why it can dry out so quickly. Once the proteins tighten too much, they push out moisture, a bit like squeezing a sponge.
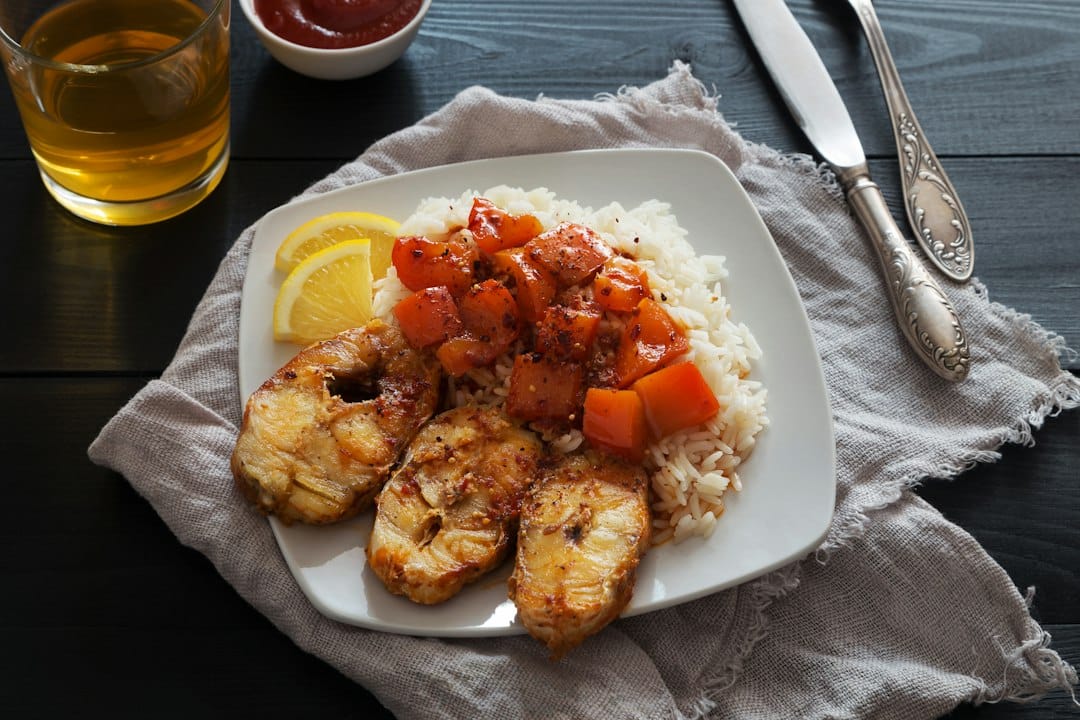
A few small habits help a lot. Pat the fillets dry before cooking so they sear instead of steam. Then add a light coat of oil or melted butter so the surface stays supple. In the oven, hot and fairly quick cooking usually works better than slow baking. In a skillet, flip once and stop fussing with it. After confirming doneness, serve with this simple garlic butter sauce for fish if you want a richer finish.
Try to cook pieces of similar thickness together. If one end of the fish fillet is much thinner, fold it under so it cooks more evenly. Also, move cod off the hot pan or baking sheet as soon as it shows a useful doneness cue; confirm the center temperature where possible. Carryover heat from a hot cast-iron skillet can keep drying the underside even after the burner is off due to the carry-over effect.
Quick FAQ
Frozen vs. thawed cod: Thawed cod cooks more evenly and is easier to check. You can cook it from frozen, but it will take longer and may release more water. In that case, trust the temperature and texture more than the clock.
Skin-on vs. skinless: The doneness target stays the same. Skin-on cod often holds together better and gets a little protection from direct heat. If you pan-sear it, start skin-side down so the fillet stays intact.
What undercooked cod looks like: The center stays translucent or glossy, the layers stay tight, and the fish won’t flake easily. It may feel slick in the middle. Cook it a bit longer, then check again at the thickest point.
Cod doesn’t need guesswork. Watch for opaque flesh, gentle flakes, and 145°F in the thickest part, then pull it from the heat right away. Refrigerate cooked cod within two hours, or within one hour when the temperature is above 90°F. Use most cooked leftovers within three to four days and reheat them to 165°F. For breaded cod, use the moisture-saving steps in this guide to reheating fried fish.