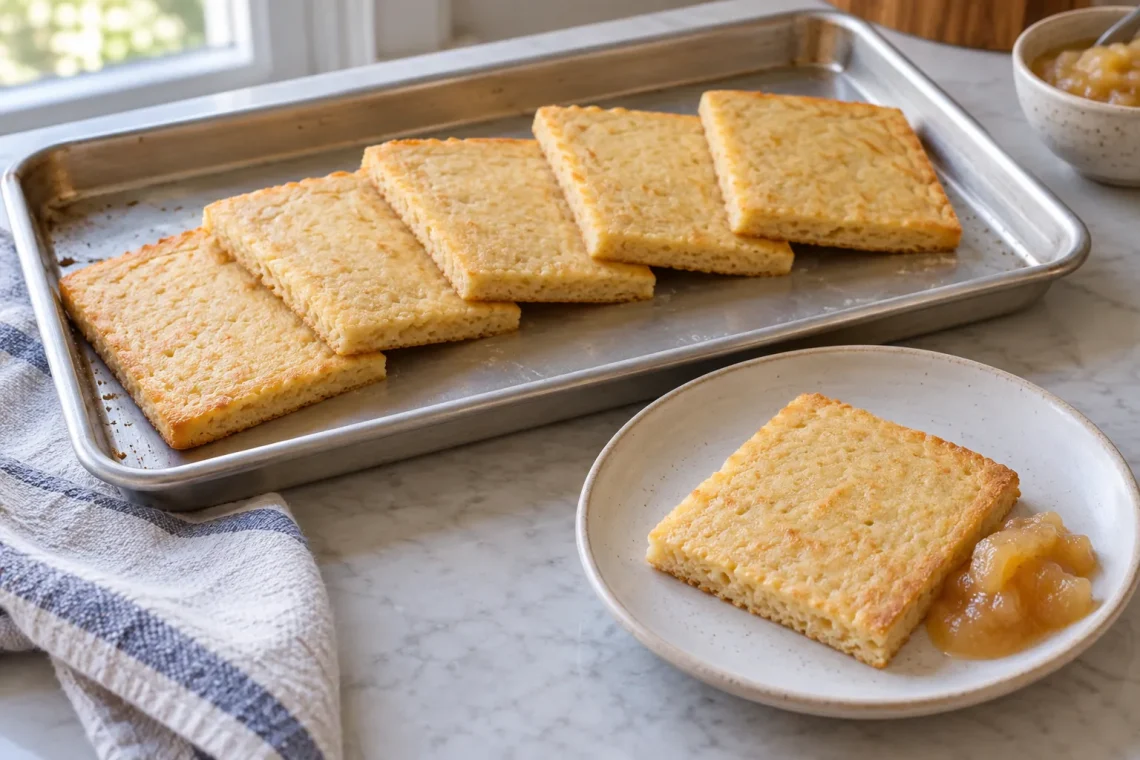
Small batch sheet pan applesauce pancakes put breakfast in the oven as one even layer, then cut into six soft squares. Applesauce adds gentle apple flavor and moisture to a simple flour-based batter. There is still an egg in this recipe, and the applesauce is not being presented as an egg replacement.
Affiliate disclosure: As an Amazon Associate I earn from qualifying purchases. Paid links open Amazon search results.
The main decision is the pan. A quarter sheet pan (paid link), approximately 9 by 13 inches with a raised rim, gives the batter enough space to cook through without becoming a thick cake. A full-size baking sheet would spread the small batch too thin. A deep casserole would change the texture and timing in the opposite direction.
Treat the pan like part of the pancake recipe
- Use the stated pan size: a larger pan makes a thin sheet that dries before it browns; a smaller pan leaves a thick center.
- Spread batter evenly: push it into the corners before it begins setting, then tap the pan to level high spots.
- Check the center, not only the rim: the middle should spring back lightly and show no wet batter on a tester.
Applesauce adds moisture and tenderness but can make the surface look done before the center is set. Let the baked sheet rest briefly before cutting so steam finishes settling and the squares hold cleaner edges.
Check the pan before making batter
Use a light-colored metal quarter sheet pan with a rim at least 1 inch high. Check the inside dimensions if the packaging is unclear. Some pans sold under similar names differ noticeably in usable area. The batter should form a relatively thin, even layer, roughly ⅓ inch deep before baking.
A warped pan can send batter toward one corner and leave another corner dry. Set it on a level counter before filling. If it rocks or tilts, choose a more stable pan. Good greasing matters too: pancake squares are easier to lift cleanly when the bottom and corners are all coated.
Timing and six-piece yield
- Makes: 6 squares, serving 2–3 people.
- Prep: 10 minutes.
- Bake: 14–18 minutes.
- Rest: 5 minutes; about 29–33 minutes total.
- Oven: 425°F / 220°C, conventional.
- Equipment: quarter sheet pan, two bowls, whisk, spatula and a thin serving spatula.
Two mixtures, one thin layer
Whisk together dry
- 1¼ cups (150 g) all-purpose flour
- 2 tablespoons (25 g) granulated sugar
- 1½ teaspoons baking powder
- ½ teaspoon ground cinnamon
- ¼ teaspoon fine salt
Whisk together wet
- 1 large egg
- ¾ cup (180 ml) milk, whole or 2%
- ½ cup (125 g) smooth unsweetened applesauce
- 2 tablespoons (30 ml) neutral oil, plus 1 teaspoon for the pan
- ½ teaspoon vanilla extract
Choose smooth applesauce without large apple pieces. Chunky sauce can create thicker pockets in a shallow batter. Sweetened or heavily spiced applesauce changes the sweetness and cinnamon level; start with the unsweetened version if you want the reference flavor.
The oil helps keep the squares tender, especially after reheating. Flour provides structure, baking powder gives lift, and the egg helps the pancake layer hold together when cut. The formula does not need baking soda or an acidifying step. Adding lemon juice to the milk is unnecessary here.
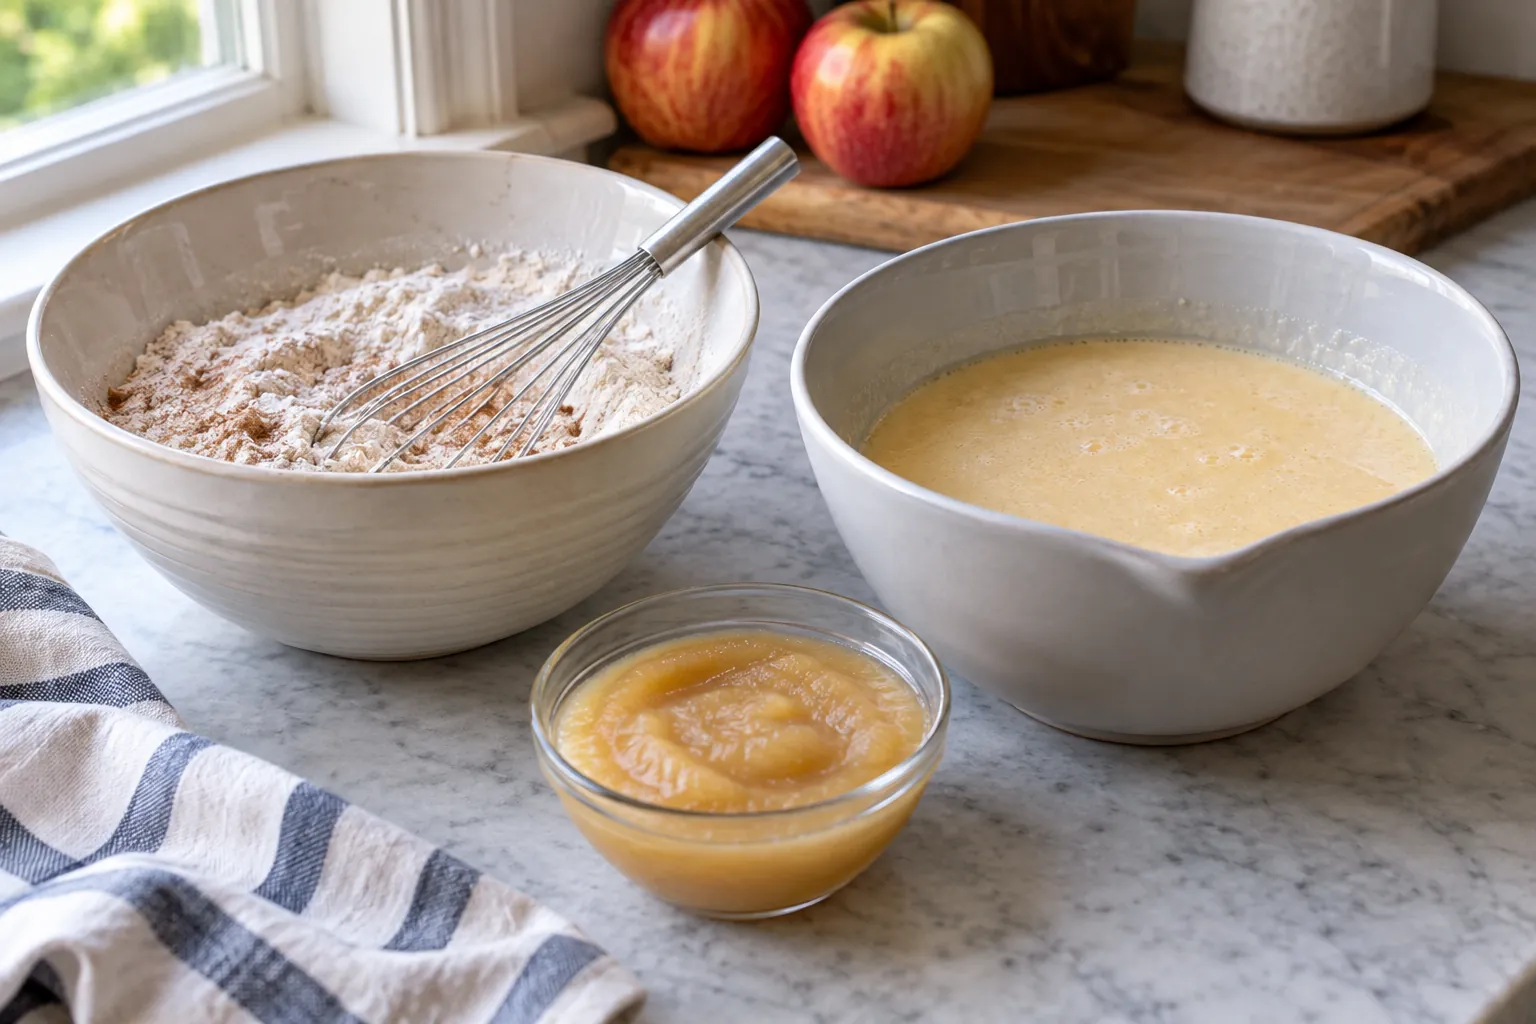
Mix small batch sheet pan applesauce pancakes
- Preheat fully. Place a rack in the center of the oven and heat to 425°F / 220°C. Grease the pan thoroughly with the additional teaspoon of oil, reaching into the corners. Do not preheat the empty greased pan for this method.
- Whisk the dry mixture. Combine flour, sugar, baking powder, cinnamon and salt in a bowl. Break up any lumps, especially in the leavening.
- Combine the wet ingredients. In a second bowl, whisk the egg, milk, applesauce, 2 tablespoons oil and vanilla until evenly blended. Small applesauce flecks are fine.
- Fold the batter. Pour the wet mixture into the flour mixture. Stir gently until the dry flour disappears. A few small lumps are expected. Pour into the prepared pan and spread with a spatula, moving batter into the corners without repeatedly beating it.
- Bake the layer. Bake for 14–18 minutes. Begin checking at 14 minutes: the surface should look set, the edges lightly golden, and a skewer inserted into the center should emerge without wet batter. The top may remain paler than a griddle pancake.
- Rest and divide. Let the pan stand for 5 minutes. Cut into six equal squares, then lift with a thin spatula. Serve warm with your chosen toppings.
Spread from the center toward the corners
Pour most of the batter into the middle of the pan, then use the broad side of the spatula to guide it outward. Check the narrow strip beside each rim, where a low spot can be easy to miss. Make a few light passes rather than repeatedly dragging the spatula through the full depth. If one corner looks bare, move batter from a thicker area instead of adding milk directly to that spot.
Look across the pan from a low angle before moving it to the oven. The surface should look level, with no large mound in the center. Carry the sheet with both hands so it stays horizontal. The goal is to preserve the even layer you just made, especially while moving over a counter edge or opening the oven door.
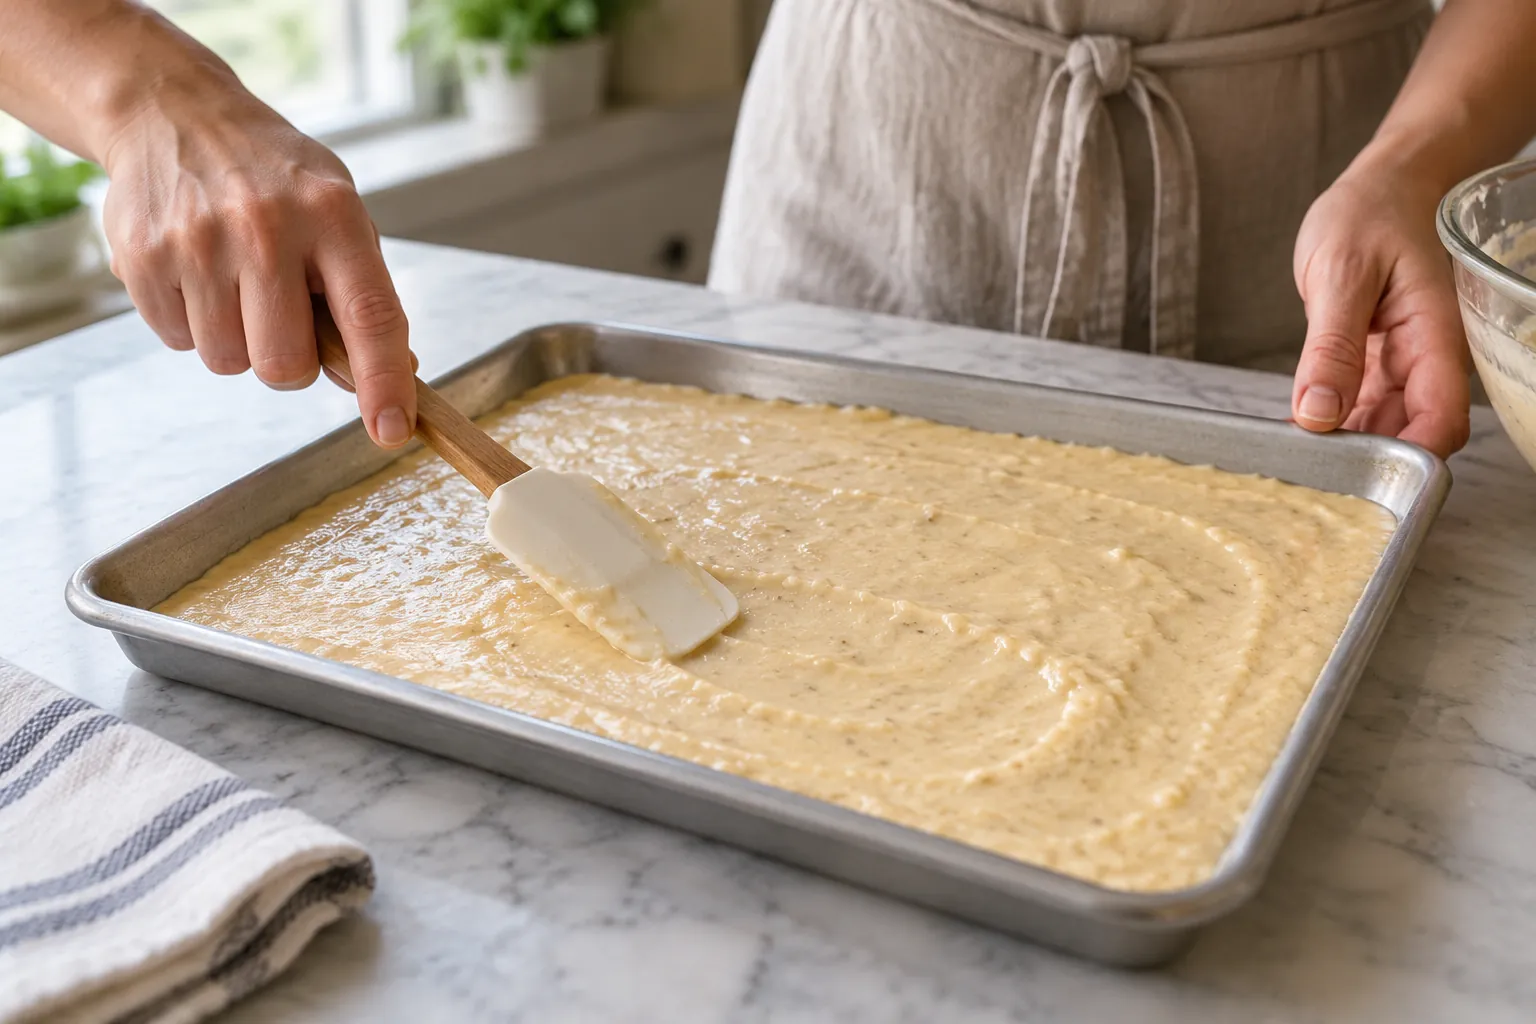
Read the surface and divide the layer
These squares are soft and evenly cooked, with less surface browning than pancakes cooked directly against a hot skillet. They are not supposed to have a dark brown griddle pattern. Waiting for that color can dry the thin edges before the center gains much color.
A tender square bends a little when lifted and has a fine, moist crumb. A rubbery center can indicate overmixing; a sticky, paste-like center suggests it needs more baking. The applesauce keeps the interior moist, so check for actual wet batter rather than demanding a completely dry skewer.
If one side cooks faster, rotate the pan once near the end of baking. Do not repeatedly open the door early, when the batter is beginning to rise. A stable oven temperature helps the layer set evenly.
Cut a practical six-piece grid
After the five-minute rest, divide the short side into two and the long side into three to make six similar pieces. Mark the lines lightly first if that helps. Use a tool appropriate for your pan’s finish, then slip the serving spatula fully underneath a piece before lifting. Pulling a corner upward while the middle is still attached can tear a tender square.
Pan, mixing and doneness troubleshooting
| Result | Check first | Next batch |
|---|---|---|
| Paper-thin, dry pancakes | Pan size | Use a quarter sheet rather than a half sheet. |
| Thick, gummy center | Pan too small or deep | Spread to the specified area and verify doneness. |
| Tough or rubbery crumb | Mixing after flour was added | Stop when loose flour disappears. |
| Stuck corners | Uneven greasing | Brush all corners and rest before lifting. |
Flour measurement is another common issue. Weigh 150 g or spoon and level the cup measures, using a reliable baking weight reference. A heaped scoop can absorb more liquid and make the batter reluctant to spread, even when the wet ingredients were measured correctly.
Finish each portion at the table
Serve syrup, yogurt, cooked apples or berries at the table. Adding a large amount of fruit directly to this shallow batter can weigh down the center and introduce water. This base version leaves the surface plain so you can learn its texture before experimenting.
A small sprinkle of chocolate chips is a possible variation, but avoid covering the entire surface. Similarly, raw apple slices would need to be very thin and modest in quantity. A separate topping of softened apples gives you more control over both fruit tenderness and pancake doneness.
If you need a different pantry constraint, the site’s banana oat pancakes without eggs or milk are a separate recipe. Leftover applesauce also fits the eggless applesauce muffin method rather than being poured into this batter beyond its measured amount.
Keep toppings separate when serving in stages
If people are coming to the table at different times, lift only the portions needed first and keep the rest plain. Syrup left on the whole warm pancake layer can soak into the center while the edges continue drying. For portions you intend to store, let the individual pieces cool with space around them before stacking. Place parchment between the cooled pieces so a future serving can be removed without prying apart a solid frozen slab.
Make breakfast ahead and freeze portions
For the best lift, bake the batter soon after mixing. You can combine the dry ingredients the night before and refrigerate measured wet ingredients separately. Stir the applesauce mixture again before combining because it may settle.
Cool leftover squares on a rack, then refrigerate within two hours in a covered container. Use within 3–4 days. Freeze cooled squares with parchment between them for up to two months for best quality. A flat freezer package makes it easy to remove one or two portions without thawing everything.
Thaw in the refrigerator and reheat in a toaster oven or conventional oven until thoroughly hot. Microwave reheating is quicker but gives softer edges. For refrigerated leftovers, heat the center to 165°F / 74°C, in line with USDA leftover guidance. Add syrup after reheating so it does not burn on the pan.
Frequently asked questions
Can I use a 9-by-13-inch cake pan?
A light metal pan with the same interior area is a reasonable option, although its deeper sides may affect browning. A glass baking dish needs separate timing checks and should be used according to its heat guidance.
Can I use homemade applesauce?
Use smooth, spoonable sauce with a similar thickness to commercial applesauce. Very watery sauce needs reducing and cooling first; very thick apple butter is a different ingredient.
Can I make these without eggs?
The egg is part of the structure. Extra applesauce is not a verified replacement in this formula. Choose a separately developed egg-free pancake recipe if that is your requirement.
Why are the tops pale?
They cook through without direct contact with a skillet. A lightly golden edge and a set center are more useful than waiting for deep color across the entire top.
Can I double the recipe?
Double the ingredients for a half sheet pan about 13 by 18 inches. Keep the oven setting and begin checking near the original time, since thickness should remain similar.
Are these strongly apple flavored?
Small batch sheet pan applesauce pancakes have a gentle apple flavor. For a stronger impression, add a cooked apple topping at serving rather than changing the batter’s moisture.
Set up the thin layer for small batch sheet pan applesauce pancakes
Small batch sheet pan applesauce pancakes benefit from a little preparation before the batter exists. Set the chosen pan on a level surface, make room for it beside the mixing bowl, and clear a heatproof landing place near the oven. A shallow batter is easy to tilt during transfer, so plan the short route from counter to rack before filling the sheet.
Check where the usable pan begins
Measure inside the raised rim if you are comparing two similar pans. Wide handles and rolled outer edges do not contribute to the batter area. Look into each corner for an old patch of baked-on residue that could catch a tender pancake square. Clean and dry the surface before greasing. Use the measured pan oil to coat the base and the lower part of the sides evenly, paying attention to the seam where the side meets the bottom. A puddle in the center does not protect a dry corner.
Measure applesauce after stirring its container
Stir the applesauce gently in its container so any separated liquid rejoins the smooth fruit before you measure. Fill the cup or weigh the listed amount, then scrape it into the wet bowl with a flexible spatula. Check the measuring cup for a thick coating left behind. In a modest batch, leaving a noticeable spoonful in the cup changes what actually reaches the batter. Keep applesauce distinct from apple butter, which is a more concentrated ingredient, and do not add a second scoop simply because the finished batter looks thicker than milk.
Break egg streaks before adding flour
Whisk the egg thoroughly with the other wet ingredients until the mixture has no visible ropes of egg white or separate oil puddles. Scrape the lower edge of the bowl once and whisk that material through. This is the stage for thorough blending. Once the dry ingredients enter, the task changes to gentle folding until loose flour disappears. A soft flour lump is not the same as an unmixed stripe along the bowl wall. Check the wall and base deliberately so you can stop mixing without leaving dry material behind.
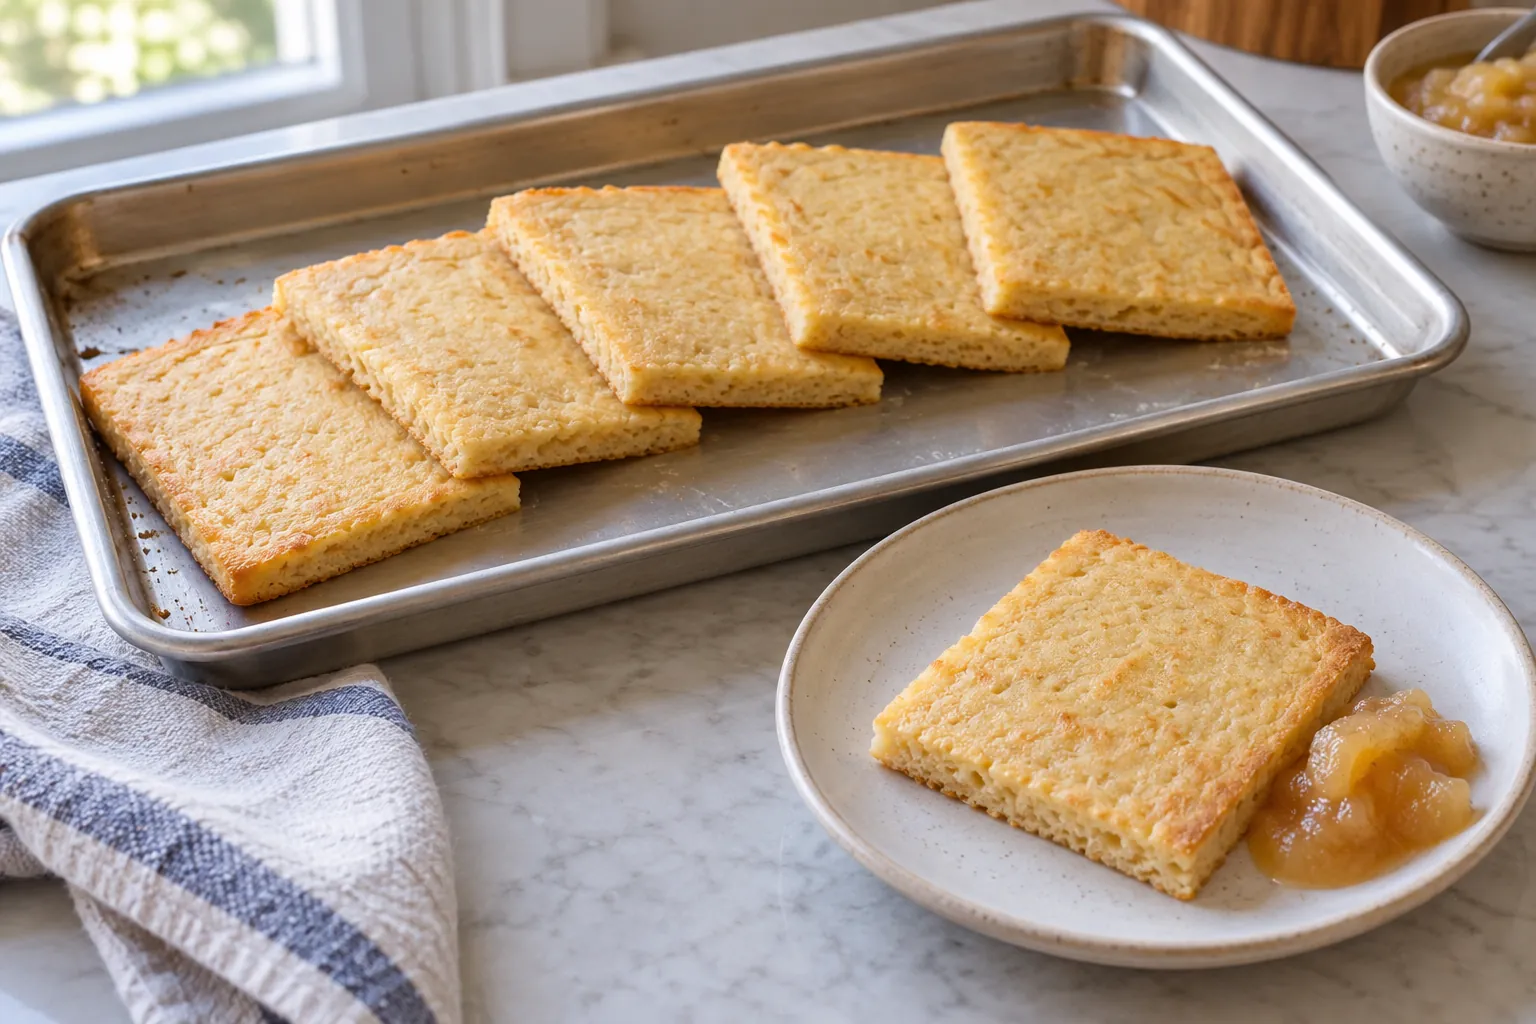
Small-Batch Sheet Pan Applesauce Pancakes
Ingredients
Equipment
Method
- Preheat fully. Place a rack in the center of the oven and heat to 425°F / 220°C. Grease the pan thoroughly with the additional teaspoon of oil, reaching into the corners. Do not preheat the empty greased pan for this method.
- Whisk the dry mixture. Combine flour, sugar, baking powder, cinnamon and salt in a bowl. Break up any lumps, especially in the leavening.
- Combine the wet ingredients. In a second bowl, whisk the egg, milk, applesauce, 2 tablespoons oil and vanilla until evenly blended. Small applesauce flecks are fine.
- Fold the batter. Pour the wet mixture into the flour mixture. Stir gently until the dry flour disappears. A few small lumps are expected. Pour into the prepared pan and spread with a spatula, moving batter into the corners without repeatedly beating it.
- Bake the layer. Bake for 14–18 minutes. Begin checking at 14 minutes: the surface should look set, the edges lightly golden, and a skewer inserted into the center should emerge without wet batter. The top may remain paler than a griddle pancake.
- Rest and divide. Let the pan stand for 5 minutes. Cut into six equal squares, then lift with a thin spatula. Serve warm with your chosen toppings.
Notes
- Yield and timing: Makes 6 squares for 2–3 people. Allow 10 minutes to prepare, 14–18 minutes to bake and 5 minutes to rest; about 31 minutes total is the planning estimate.
- Pan: Use a light metal quarter sheet pan, approximately 9 by 13 inches with a rim at least 1 inch high. Grease its base and corners with the additional teaspoon of oil. Do not preheat the empty greased pan.
- Batter: Use smooth unsweetened applesauce. Fold wet and dry mixtures only until the flour disappears, then spread the batter evenly into the corners. A few small lumps are expected; repeated beating is unnecessary.
- Doneness: Bake at 425°F (220°C) and begin checking at 14 minutes. The center should be set and a skewer should show no wet batter; the top can remain paler than griddle pancakes. Rest 5 minutes before cutting six squares.
- Leftovers: Refrigerate shallow portions within 2 hours, or 1 hour above 90°F (32°C), at 40°F (4°C) or below. Use within 3–4 days and reheat to 165°F (74°C). FoodSafety.gov storage guidance.