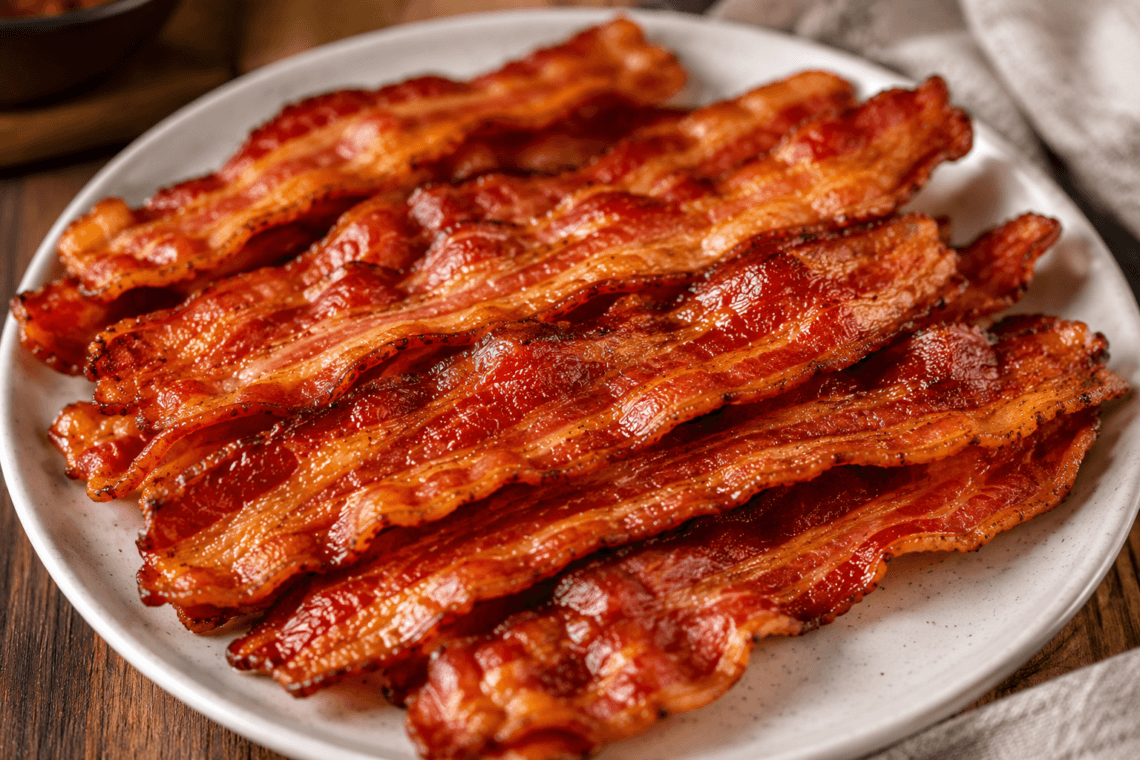
How long to bake bacon in the oven depends mainly on the thickness of the slices, the bacon’s sugar content, the pan, and whether the oven is fully preheated. At 400°F in a preheated conventional oven, begin checking thin bacon at 10 minutes, regular bacon at 12 to 15 minutes, and thick-cut bacon at 18 minutes. Many batches finish within about 10 to 16, 15 to 22, or 20 to 30 minutes respectively, but the appearance and texture of the actual strips decide when they are ready.
- 400°F conventional oven
- Check thin bacon at 10 min
- Check thick bacon at 18 min
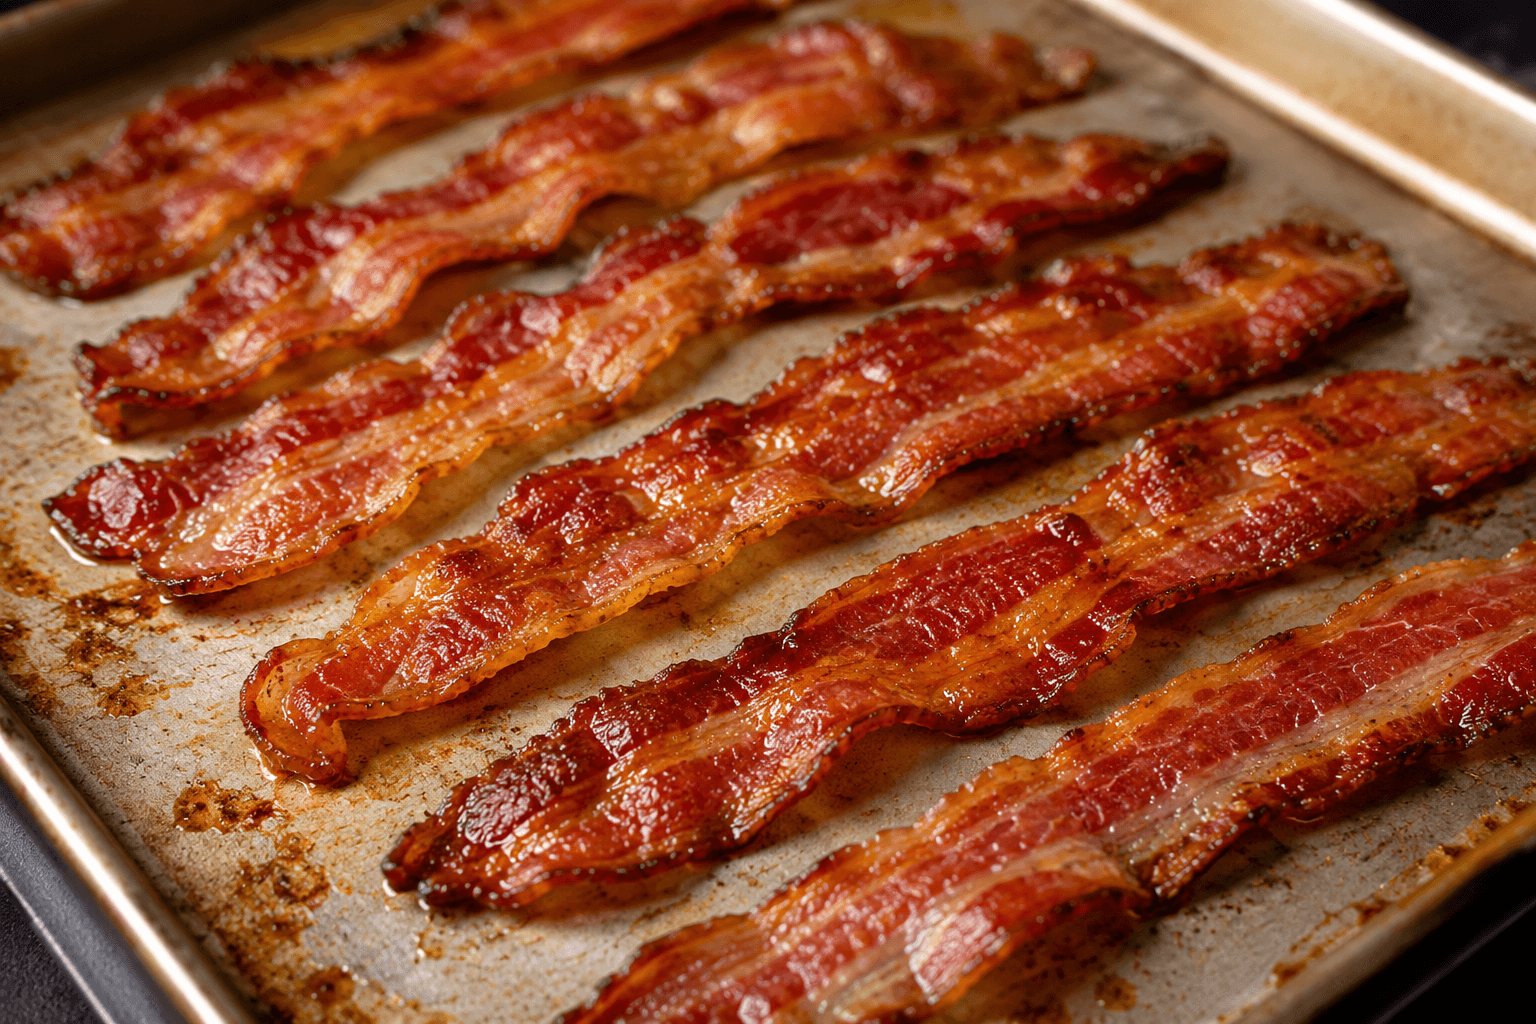
The method below uses one 12-ounce package on an 18-by-13-inch rimmed metal half-sheet pan. It gives the slices enough room to render without requiring a wire rack. Bacon can change from browned to scorched quickly near the end, so treat the timing as an inspection schedule rather than a guarantee.
Quick answer for oven bacon at 400°F
| Bacon type | Begin checking | Common finish window | What to expect |
|---|---|---|---|
| Thin sliced | 10 minutes | About 10–16 minutes | Browns quickly and can turn brittle fast |
| Regular sliced | 12–15 minutes | About 15–22 minutes | Balanced crisp edges and a meatier center |
| Thick cut | 18 minutes | About 20–30 minutes | Longer rendering time and a chewier center |
These are starting ranges for raw pork bacon in a preheated conventional oven. Dark pans, convection fans, sweet or maple cures, unusually lean bacon, and hot spots can shorten the time. The package directions take priority when they differ. Turkey bacon, plant-based strips, and fully cooked bacon are different products and need their own package instructions.
Ingredients, equipment, yield, and timing
Ingredients: One 12-ounce package raw sliced pork bacon. No oil is needed.
Equipment: One 18-by-13-inch rimmed metal half-sheet pan; foil or oven-rated parchment if desired; tongs; oven mitts; and a paper-towel-lined plate or cooling rack set over a tray. Use a rimmed pan rather than a flat cookie sheet because rendered fat must stay contained.
Yield: The package’s slice count determines the yield. Twelve strips provide four portions of three strips each. Prep time: about 5 minutes. Cook time: approximately 10 to 30 minutes depending on thickness. Total time: about 17 to 37 minutes including a brief draining period.
How to bake bacon on a sheet pan
- Preheat the oven. Position a rack near the center and heat the oven to 400°F. This article’s check windows begin when the pan enters a fully preheated oven.
- Prepare a rimmed pan. Leave the metal bare, line it with foil, or use parchment rated for 400°F or higher. Keep the liner inside the rim and away from heating elements. Do not use wax paper.
- Arrange one layer. Separate the cold slices and lay them flat. They may touch lightly because they shrink, but they should not overlap. If the whole package will not fit, use a second pan or bake another batch.
- Bake and check early. Use the table above for the first inspection. Once the edges begin to brown and the fat looks rendered, check every 1 to 2 minutes. Rotate the pan if the back or one side browns faster.
- Remove finished slices individually. Thin ends and smaller pieces may finish first. Move them with tongs instead of leaving them in the oven while thicker pieces catch up.
- Drain carefully. Transfer the bacon to paper towels or a rack over a tray for 1 to 2 minutes. Keep the hot pan level and set it on a heat-safe surface. The texture firms as the bacon cools.
How to tell when the bacon is ready
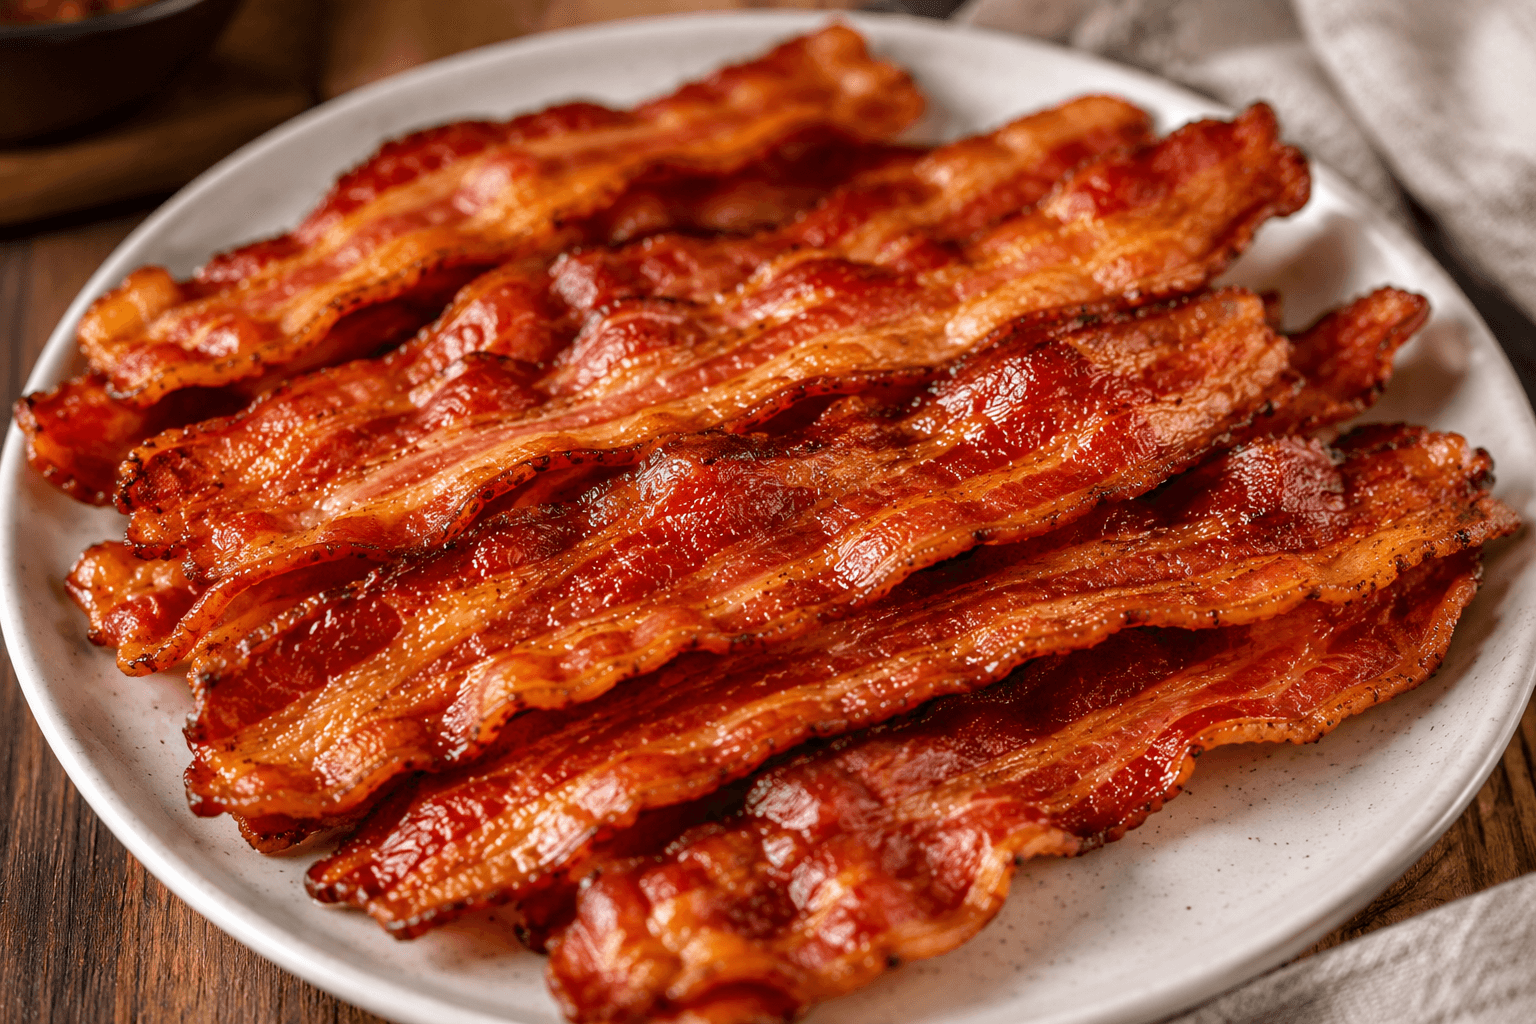
Look for browned meat, rendered-looking fat, and edges approaching your preferred crispness. Hot bacon can remain flexible because the fat is still fluid, so drain one sample for a minute before deciding that the entire pan needs more time. Pull bacon intended for sandwiches while it still bends easily; leave crumbling bacon a little firmer, but do not wait until every strip is rigid and very dark.
Sugar-cured and maple bacon can darken before the fat has rendered as much as you want. Check these products earlier and lower the oven temperature if the package recommends it. Color changes quickly at the end, which is why a single universal time cannot promise the same result across brands.
Direct pan, wire rack, foil, or parchment
Directly on the pan
This is the simplest setup. The bacon has direct contact with the hot pan and some rendered fat, which promotes browning. A liner can shorten cleanup, but it is optional. If you want the most repeatable version of this guide, use the direct-pan method first.
On an oven-safe wire rack
A rack lifts the strips above the rendered fat. That can produce a drier surface, but it creates another item to scrub and some bacon sticks to the wires. Set the rack completely inside the rimmed pan, confirm that it is oven-safe, and begin checking on the same schedule while expecting that some batches need extra time.
Foil versus parchment
Foil forms easily around the pan corners and can make cooled-fat disposal simpler. Parchment can reduce sticking, but it must stay within its temperature rating and inside the rim. Neither liner makes a flat sheet safe; the pan still needs raised edges.
How to bake two pans at once
Place racks in the upper and lower thirds rather than stacking pans directly above one another. Leave space for air to circulate. At the first check, swap the pans from top to bottom and rotate them front to back. Remove strips as they finish; do not assume both pans will be ready simultaneously. Two crowded pans usually require more attention than one, so plan for a slightly wider check window. For pan capacity, rotation, and holding a larger batch, use the sheet-pan bacon for a crowd guide.
Cold-oven bacon is a separate method
Starting bacon in a cold oven can work, but its elapsed time includes the oven’s warm-up cycle. Do not combine a cold start with the preheated timing table above. Oven preheat speed varies considerably, so a cold-start recipe needs its own checkpoints. The fully preheated method makes the starting conditions easier to repeat.
Can frozen bacon go straight into the oven?
A solid frozen stack does not cook evenly. Thaw it in the refrigerator until the slices separate, then use the method above. If only the outer slices loosen, remove those and keep the remainder refrigerated while it thaws. Do not rely on a fixed “add five minutes” rule for a frozen block. Follow the manufacturer’s directions if a specific product is designed to cook from frozen. The USDA bacon guide provides product-specific handling and storage background.
Common oven-bacon problems
| Problem | Likely cause | Correction |
|---|---|---|
| Some ends burn while other pieces stay pale | Uneven thickness, overlap, or an oven hot spot | Separate the strips, rotate the pan, and remove thin pieces first |
| Bacon seems chewy | It needs more rendering, or thick-cut bacon is still hot | Drain one sample for a minute; return unfinished strips in short increments |
| Bacon sticks to the rack | Lean bacon cooked onto dry wires | Use the direct-pan method next time, or lift gently with thin tongs while warm |
| Oven begins smoking | Old oven residue, spilled fat, excessive heat, or a liner near an element | Stop and assess safely; do not keep cooking just to reach a chart time |
| Bacon is greasy after draining | It remained in pooled fat after cooking | Transfer finished strips promptly and give them space on the towel or rack |
Handling hot bacon fat safely
Rendered fat can slosh when the pan moves. Use two dry oven mitts, keep the pan level, and set it on a stable heat-safe surface before removing the bacon. Do not pour very hot fat into cold glass, plastic not rated for heat, or the sink.
If you plan to keep the fat, let it cool enough to handle safely, strain it into a clean heat-safe container, cover, date, and refrigerate it. Avoid mixing new drippings into an old batch without checking the older fat. Discard saved fat that smells rancid, shows mold, or seems questionable. The site’s guide to cooking with bacon grease includes measured ways to use small amounts.
Storage and reheating
Refrigerate cooked bacon within 2 hours, or within 1 hour when the surrounding temperature is above 90°F. Store it covered and use refrigerated leftovers within 3 to 4 days. Freeze small portions with parchment between layers when you need longer storage; freezing preserves safety when the food stays frozen, but texture gradually declines.
Reheat leftovers to 165°F. A small portion can be rewarmed in a 350°F oven, a skillet, an air fryer, or a microwave, but the time changes with thickness and quantity. Check the food as it heats instead of relying on one fixed number of seconds.
For a make-ahead breakfast, serve the finished strips alongside sheet-pan egg sandwiches with spinach and cheddar. Keep the bacon separate during storage if you want it to retain more crispness.
For a simple breakfast plate, pair the bacon with hard-boiled eggs that are easier to peel. Serve the strips separately so their edges stay crisp.