BREAKFAST PREP
Make-ahead sheet pan egg sandwiches with spinach and cheddar bring together tender baked eggs, sharp cheese, and toasted English muffins in a breakfast you can prepare once and enjoy throughout the week. Instead of cooking each portion separately, bake the eggs in a shallow pan, cut them into six servings, and assemble the sandwiches for the refrigerator or freezer.
The key is controlling moisture: squeeze the spinach thoroughly, toast the muffins lightly, and chill the sandwiches before wrapping them for freezing. Below you’ll find the complete recipe, practical substitutions, and reheating instructions that help keep the eggs tender and the bread from turning soggy.
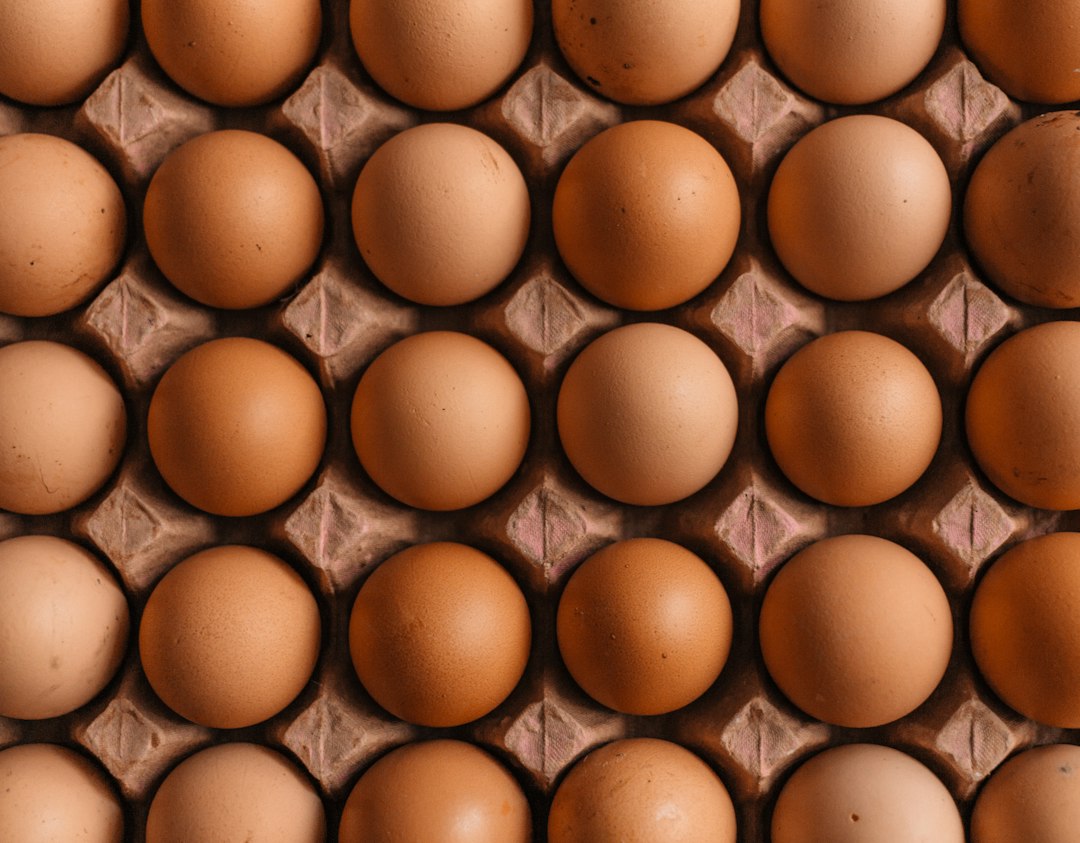
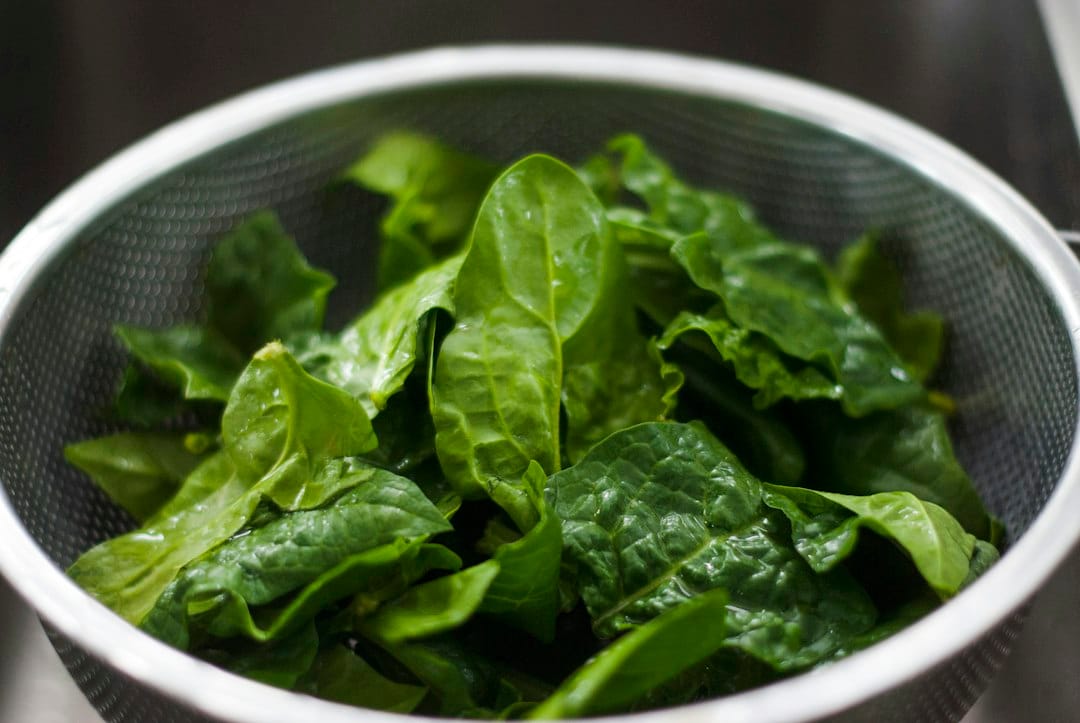
The featured photograph shows whole eggs as an ingredient reference; the inline photos show spinach and English muffins.
Spinach and cheddar egg sandwiches
- Makes: 6 sandwiches
- Preparation: about 20 minutes
- Baking: approximately 16–20 minutes; check from 14 minutes
- Resting and assembly: about 15 minutes
- Total: approximately 55 minutes, plus refrigerator chilling for freezer storage
- Oven: 350°F (175°C)
Equipment
- Rimmed 9-by-13-inch metal quarter-sheet pan, about 1 inch deep
- Pastry brush or clean paper towel for greasing
- Large mixing bowl
- Whisk
- Flexible silicone spatula
- Instant-read food thermometer
- Wire cooling rack
- Sharp knife or pizza wheel
- Parchment paper or freezer paper for wrapping
Ingredients
- 1 tablespoon unsalted butter, softened, or neutral oil, for the pan
- 8 large eggs
- 1/2 cup whole or 2% milk
- 1 teaspoon Dijon mustard
- 1/2 teaspoon fine salt
- 1/4 teaspoon ground black pepper
- 1/4 teaspoon garlic powder
- 5 ounces frozen chopped spinach, thawed and squeezed very dry
- 1 cup shredded sharp cheddar cheese, divided
- 6 plain or whole-wheat English muffins, split
- 1 tablespoon softened butter or olive oil, optional, for the muffins
Measure the spinach before squeezing: use 5 ounces from the frozen package, then thaw and squeeze until liquid no longer drips readily. The final weight varies with how much water you remove. Break up the compressed spinach before stirring it into the eggs. Both pre-shredded cheddar and cheddar grated from a block can be used.
Step-by-step instructions
- Prepare the oven and pan. Heat the oven to 350°F with a rack in the center. Grease the bottom, corners, and sides of the quarter-sheet pan thoroughly. The egg layer is thin, so a complete coating makes it much easier to lift without tearing.
- Remove moisture from the spinach. Put the thawed spinach in the center of a clean, lint-free kitchen towel. Gather the towel around it and squeeze over the sink until no more liquid readily drips out. Separate the compacted spinach with your fingers so it distributes instead of forming clumps.
- Mix the base. In a large bowl, whisk the eggs until the whites and yolks are completely blended. Whisk in the milk, Dijon, salt, pepper, and garlic powder. Stir in the dry spinach and 1/2 cup of the cheddar.
- Fill the pan on the counter. Set the greased quarter-sheet pan on a stable, level counter; for extra support, place it inside a larger rimmed sheet pan. Pour in the egg mixture, use the spatula to distribute the spinach evenly, and scatter the remaining 1/2 cup cheddar over the top. Carry the filled pan level with both hands and slide it onto the center oven rack. Do not pour the egg mixture into a pan already inside the hot oven.
- Bake to a measured doneness. Bake for 14 minutes, then check the center. Continue baking for 2 to 6 minutes, until the center is set rather than glossy or fluid and an instant-read thermometer inserted into the thickest central area registers 160°F. Check in two places without letting the probe touch the metal pan. Avoid baking far past that point because the portions will cook again during reheating.
- Toast the muffins. While the eggs bake, lightly spread the cut sides of the English muffins with the optional butter or brush them with oil. Toast cut-side up in a toaster oven, under a broiler, or on a separate sheet pan until dry to the touch and barely golden. Watch closely under a broiler. Toasting creates a useful barrier against moisture after freezing.
- Rest and portion the eggs. Let the pan rest on a wire rack for 10 minutes, then loosen the edges with a thin spatula. Cut into six rectangles by making one lengthwise cut and two crosswise cuts. These portions will be wider than most English muffins. Fold each portion to fit, or trim it and tuck the trimmings into the sandwich. Cutting rounds is another option, although it leaves more scraps.
- Assemble and chill promptly. Place one egg portion on each muffin bottom and add the tops. For make-ahead sandwiches, arrange them in a shallow container and refrigerate promptly; warm food can go into the refrigerator. Do not wait for complete counter cooling. Keep total room-temperature time under 2 hours, or 1 hour above 90°F.
- Wrap for later. For refrigeration, place sandwiches in an airtight container with parchment between layers. For freezing, wrap each refrigerator-chilled sandwich tightly in parchment or freezer paper, then place all six in a labeled freezer bag and press out excess air.
How to keep the muffins from getting soggy
The three main sources of unwanted moisture are spinach, steam, and condensation. Frozen spinach must be squeezed rather than merely drained. Freshly baked egg portions must cool before wrapping so their steam can escape. Finally, the toasted cut surface of the muffin should be dry before the sandwich is assembled.
Avoid sealing hot sandwiches in individual wrappers: trapped steam condenses and softens the bread. After the brief resting period, assemble the sandwiches and refrigerate them promptly in a shallow container. Once chilled, wrap them individually for freezing. You do not need to wait for them to cool completely on the counter.
For the same reason, watery raw vegetables are poor additions to this freezer recipe. Fresh tomatoes, mushrooms, and zucchini release moisture as they bake or reheat. Cook and cool mushrooms first, salt and drain zucchini thoroughly, and add fresh tomato only after reheating.
Storage, freezing, and reheating
Refrigerate the sandwiches promptly at 40°F or below and use them within 3 to 4 days, or freeze them the day they are made. The freezer recommendation of up to 2 months is a quality target: the sandwiches may remain safe longer when continuously frozen at 0°F, but the muffins and egg texture are best in the shorter window.
For the most even result, thaw a frozen sandwich overnight in the refrigerator. Unwrap it, place it on a microwave-safe plate, and cover loosely with a paper towel. Microwave at 50% power for 60 seconds, turn it over, then heat at full power in 20-second intervals until the center reaches 165°F. Rest for 1 minute before eating because the cheese and egg may have hot spots.
From frozen, remove all paper or foil that is not microwave-safe. Microwave at 50% power for 2 minutes, turning halfway through, then use 20-second bursts at full power until the center reaches 165°F. If desired, move the hot sandwich to a 350°F toaster oven for 3 to 5 minutes to restore a drier exterior. Appliance power and sandwich thickness vary, so temperature is more reliable than a fixed reheating time.
Food-safety reference: The FDA’s egg-safety guidance recommends cooking egg dishes to 160°F. USDA’s guidance for leftovers recommends reheating to 165°F and using refrigerated leftovers within 3–4 days. Check the egg filling with a thermometer rather than relying on how firm it looks.
Food-safety reference: USDA guidance for cooling, storing and reheating leftovers. Use the earlier deadline when an ingredient was prepared before this meal.
Practical substitutions and their limits
Cheese choices
Monterey Jack, low-moisture mozzarella, or a mild Swiss can replace the cheddar cup for cup. Very wet fresh mozzarella is not a direct substitute because it can make the egg layer watery. Strong cheeses such as feta are better used as a partial replacement: substitute up to 1/2 cup crumbled feta for the same amount of cheddar and keep the other 1/2 cup cheddar for melting.
Fresh spinach instead of frozen
Use 5 packed cups of fresh baby spinach. Cook it in a wide skillet over medium heat with 1 teaspoon oil until wilted, about 3 minutes. Cool, chop, and squeeze it dry before adding it to the eggs. Do not add five cups of uncooked leaves directly to the pan; they occupy too much volume and release their water into the egg mixture.
Dairy choices
Unsweetened plain soy milk can replace dairy milk in the egg layer. Thin almond milk also works, though the result may be slightly less rich. Avoid sweetened or flavored plant milk. If omitting cheese, add 1 tablespoon olive oil to the egg mixture for tenderness, but expect a less cohesive slice.
Different bread
Six small sandwich rolls or split biscuits can replace the English muffins if their diameter is similar. Thick bagels make the egg layer seem sparse and are slower to heat through. For a gluten-free version, use six labeled gluten-free English muffins and confirm that the mustard and seasonings meet your needs.
Troubleshooting
| What you notice | What to do |
|---|---|
| The eggs stuck to the pan | A bare or lightly greased metal pan is the usual cause. Coat the corners as well as the flat base, and let the slab rest 10 minutes before loosening it. If your pan has a worn surface, line the bottom with a fitted piece of parchment, grease the parchment and sides, and make sure the paper lies flat so liquid cannot pool underneath. |
| The center is wet but the edges are firm | The oven may run cool, the pan may be smaller than 9 by 13 inches, or the spinach may still contain water. Continue in 2-minute increments and rely on the thermometer. A smaller pan produces a thicker layer that needs more time. Do not increase the oven above 350°F to rush it; high heat toughens the outer egg before the middle is ready. |
| The reheated eggs are rubbery | They were probably overbaked initially or reheated at full power for too long. Stop the first bake as soon as the center reaches 160°F. During reheating, begin at reduced power and use short finishing intervals. The sandwich must still reach 165°F in the center, but gradual heating reduces dry edges. |
| The muffin is soggy after thawing | Confirm that the spinach was squeezed dry, both egg and bread cooled before wrapping, and the muffins were lightly toasted. If a microwave makes your bread soft, separate the muffin from the egg after thawing: heat the egg in the microwave, toast the muffin, then reassemble. |
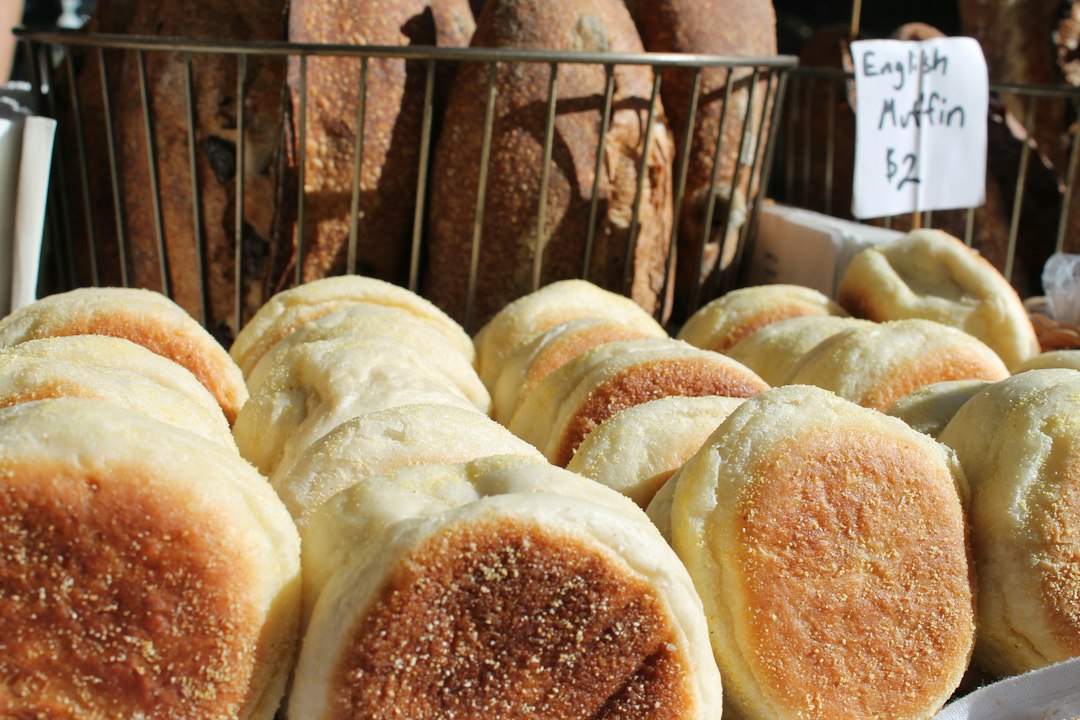
Serving ideas for a complete family breakfast
Serve a sandwich with a piece of fruit for a portable breakfast, or add plain yogurt and berries for a sit-down meal. For adults who want more heat, add hot sauce after reheating rather than before freezing. A layer of avocado is also best added fresh; frozen avocado can brown and soften.
If your family prefers a crisp sandwich, borrow the finishing idea from our toaster-oven grilled cheese method and give the reheated sandwich a few minutes in a toaster oven. For another make-ahead egg option that does not require bread, see how to cook and peel hard-boiled eggs. When the breakfast mood is more sweet than savory, our toasted peanut butter and jelly sandwich is another quick family option.
Six sandwiches do not mean six days in the refrigerator
Decide how many sandwiches your household will eat within the refrigerated storage window before wrapping the batch. Six sandwiches might feed three people for two mornings, or provide six separate breakfasts for one person. Those are different storage plans, even though the recipe yield is identical.
| When you plan to eat it | How to store that portion |
|---|---|
| Immediately after preparation | Serve after the recipe’s resting and assembly steps. |
| Within 3–4 days of cooking | Refrigerate promptly at 40°F or below. |
| Later than the refrigerated window | Chill promptly and freeze on the preparation day; label the original date. |
The refrigerator limit follows USDA leftover guidance. For one person planning one sandwich each morning, keeping three in the refrigerator and freezing three on preparation day is one practical arrangement, provided the refrigerated portions are eaten within that window.
Label the reheating endpoint, not only a microwave time
Include the date, any cheese variation, and the reminder to reheat the center to 165°F. The suggested microwave intervals are starting points; a folded egg rectangle can be thicker in one spot than another. Check the center of the filling rather than assuming a hot muffin means the egg is ready.
Keep fresh tomato, avocado, and sauces outside the stored sandwich. Add them after reheating so the freezer portions stay close to the base recipe and each breakfast can be finished to taste.
Make the batch fit your morning
Label each frozen wrapper with the date and the reheating instructions your household uses. If some family members prefer a different cheese, divide the final 1/2 cup across sections of the pan and mark the wrappers after cutting. Keep the egg base and cooking temperature unchanged so every section still reaches the same safe endpoint.
If you double the recipe, use two quarter-sheet pans rather than increasing the depth of the egg layer. Rotate the pans and swap rack positions during baking, then check each pan separately for doneness. One pan may finish sooner than the other.
Temperature reference: FoodSafety.gov safe minimum internal temperature chart. A thermometer confirms the safe endpoint; recipe times are estimates.