Pantry pasta · lemon & peas
Two cans of chickpeas and a bag of frozen peas can turn ordinary pasta into a generous weeknight dinner. This pasta with canned chickpeas and frozen peas combines short pasta, garlic, lemon, and a light sauce made with olive oil, mashed beans, and starchy cooking water. There is no cream to measure or separate sauce to simmer for half an hour.
This recipe uses regular wheat pasta with whole chickpeas added to the pan. It is different from chickpea-flour pasta, which has its own cooking behavior. Choose a short shape such as penne, fusilli, or small shells so the peas and beans are easy to scoop up with each bite.
Recipe development note: This recipe has not yet been kitchen-tested. Cooking times are estimates, and the amount of pasta water should be adjusted to the finished texture.
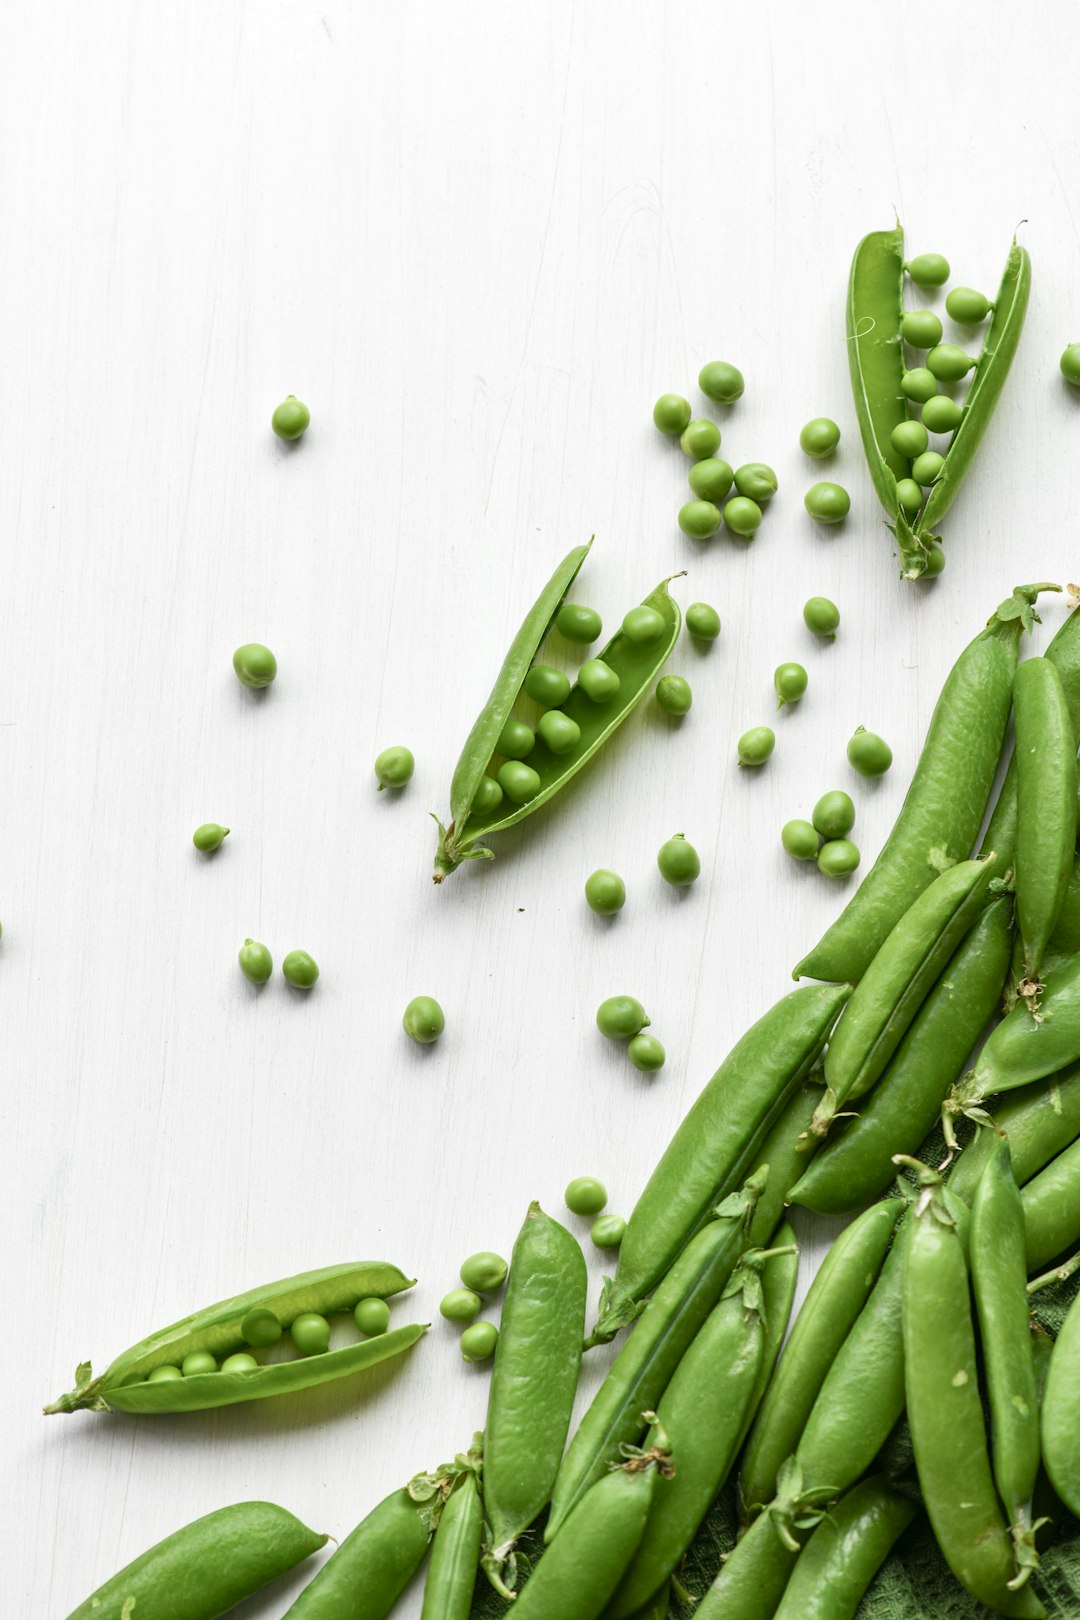
Featured ingredient reference: fresh peas by Anita Austvika on Unsplash. This recipe uses frozen peas, cooked according to their package.
At a glance
Yield: 4 generous servings
Estimated preparation: 10 minutes
Estimated cooking: 20 minutes, depending on the pasta and pea package directions
Estimated total: 30 minutes
Equipment: A large pasta pot, colander, wide skillet, measuring cup, wooden spoon, and fine grater.
Pasta with Canned Chickpeas and Frozen Peas
Ingredients
- 12 ounces short dried wheat pasta
- 2 cans chickpeas, 15 ounces each, drained and rinsed
- 1½ cups frozen peas
- 3 tablespoons olive oil
- 3 garlic cloves, minced
- Finely grated zest of 1 lemon
- 2 tablespoons lemon juice
- ½ teaspoon dried oregano
- ¼ teaspoon ground black pepper
- ½ cup reserved pasta cooking water, divided, plus more as needed
- ⅓ cup finely grated Parmesan, optional
- Salt, to taste, plus salt for the pasta water
Method
- Prepare the ingredients. Drain and rinse the chickpeas. Mince the garlic and wash the lemon before zesting it. Measure the peas and check their package cooking instructions before you begin; their required cooking time determines when they can go into the pasta pot.
- Cook the pasta and peas. Bring a large pot of water to a boil and salt it. Cook the pasta according to its package directions. Add the frozen peas near the end only if the remaining boiling time meets their package instructions. If the instructions call for another cooking method, prepare the peas separately and add them to the skillet later. Both ingredients must be cooked before tossing.
- Save the cooking water. Before draining, carefully scoop out 1 cup of pasta water with a heat-safe measuring cup. Drain the pasta and peas without rinsing them. You will start with ½ cup of that water in the sauce and keep the rest for adjustments.
- Warm the garlic. While the pasta cooks, heat the olive oil in a wide skillet over medium-low heat. Add the minced garlic and stir gently for 30–60 seconds, just until fragrant. Avoid browning it; reduce the heat if it sizzles aggressively.
- Build the chickpea base. Add the chickpeas, oregano, and ¼ cup reserved pasta water. Stir until the beans are hot, approximately 3–5 minutes. Crush about ½ cup of the chickpeas against the side of the skillet with the spoon, then stir them into the liquid.
- Toss everything together. Add the drained pasta, cooked peas, remaining ¼ cup pasta water, lemon zest, and pepper. Toss over low heat until the coating is evenly distributed. If the pasta looks dry, add additional reserved water 1 tablespoon at a time.
- Finish off the heat. Turn off the heat and stir in the lemon juice and optional Parmesan. Taste before adding salt because the pasta water and cheese may already supply enough. Serve promptly while the sauce is loose.
Give the final toss enough room
If your skillet cannot comfortably hold the cooked pasta, two cans of chickpeas, and peas, combine the sauce and pasta in the emptied pasta pot over low heat. Keep the reserved water nearby.
The ½ cup chickpeas that you mash comes from the two drained cans already listed. Use a little measured pasta water to loosen them if mashing in a bowl. When plating, scoop from the bottom as well as the top so each serving gets beans and peas.
How the simple sauce comes together
Chickpeas do two jobs here. Most stay whole for texture, while about half a cup is crushed into the pan liquid. Those mashed beans give the sauce body. Pasta water loosens that mixture and helps distribute it over the noodles. The goal is a moist coating with a little sheen, rather than a thick cream sauce or a pool of liquid underneath.
Lemon zest supplies fragrance without extra liquid. Lemon juice goes in after the heat is turned off, when you can taste the whole dish and judge its brightness. Optional Parmesan adds a salty finish, but the beans and pasta water provide the sauce structure even when you leave the cheese out.
Ingredient choices and practical substitutions
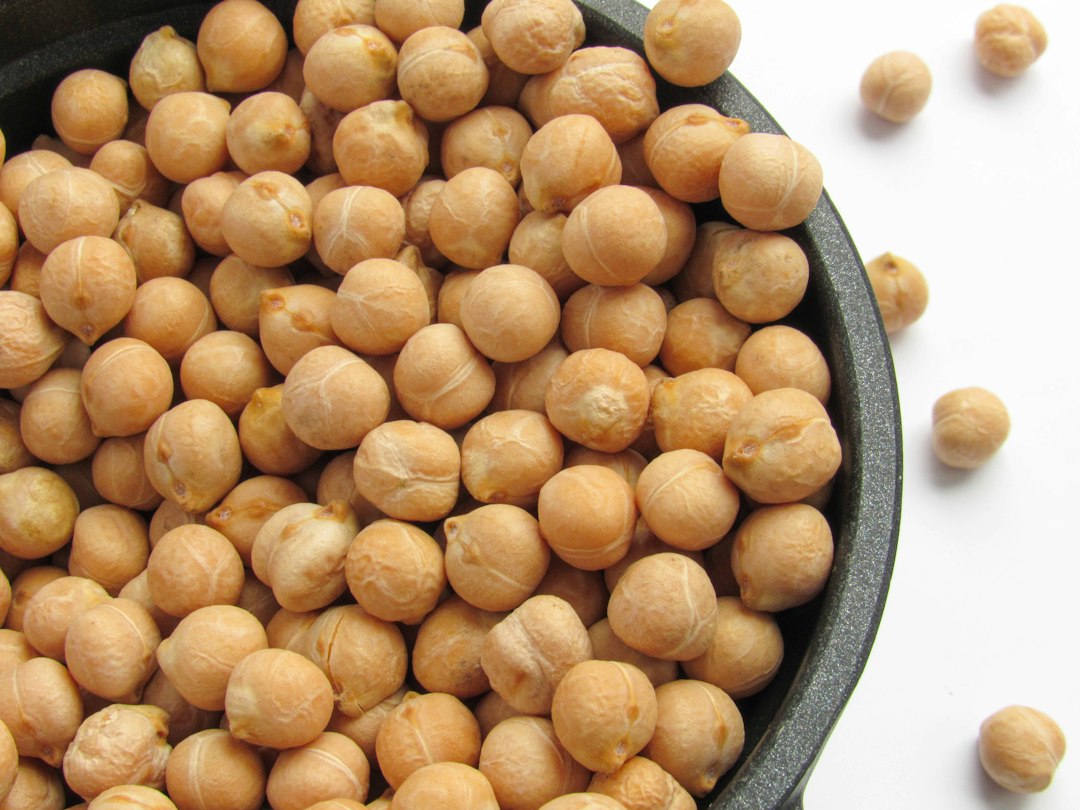
Canned chickpeas are already cooked, so the skillet step heats them through rather than cooking dried beans. Rinsing removes the packing liquid and gives you more control over the sauce. If you prefer home-cooked chickpeas, substitute about 3 cups drained, fully cooked beans; do not add uncooked dried chickpeas to this method.
For a dairy-free version, omit the Parmesan. For a vegetarian version that includes cheese, choose Parmesan-style cheese labeled as made with vegetarian rennet. Regular wheat pasta contains gluten; this recipe does not become gluten-free simply because it includes chickpeas. A gluten-free pasta substitution needs its own package directions and careful handling, and has not been tested here.
Fixing a dry, watery, or uneven sauce
If the pasta is dry: Add reserved cooking water a tablespoon at a time and toss thoroughly before adding more. Mashed chickpeas and pasta continue absorbing liquid as the dish stands. Keep the remaining cooking water nearby until you serve.
If liquid pools in the pan: Toss gently over low heat for another minute. Crush a few more beans if you need extra body. Avoid prolonged simmering, which can make the pasta too soft.
If cheese clumps: Use finely grated cheese and add it after turning off the heat. Stir in a small splash of warm cooking water to help spread it through the pasta. A large pile of cheese in one spot is harder to incorporate.
If it tastes flat: Taste for salt first, then consider a little more lemon juice. Extra pepper alone will not replace the balance supplied by seasoning and acidity.
Storage and reheating
Follow USDA leftover storage guidance: refrigerate promptly in shallow containers, within 2 hours of cooking, or within 1 hour when temperatures exceed 90°F. Keep the refrigerator at 40°F or below and use leftovers within 3–4 days.
Reheat only the portion you plan to eat, adding a splash of water to loosen the sauce. Stir during reheating and use a food thermometer to confirm it reaches 165°F throughout, following USDA reheating guidance. Do not rely on a steaming surface to judge the center.
Frequently asked questions
Should I thaw the peas first?
Follow the instructions on your particular bag. If they direct you to cook from frozen, there is no need to thaw them. Their prescribed cooking method takes priority over a generic last-minute pasta shortcut.
Can I use long pasta?
Yes, but short shapes are easier to toss with whole beans and peas. Long strands may leave more of the chickpeas at the bottom of the serving bowl, so distribute the beans as you plate.
Can I prepare this ahead?
You can drain the beans and measure the ingredients ahead, refrigerating prepared perishables promptly. The finished pasta is best served soon after tossing because the sauce thickens as it stands. For packed leftovers, plan on adding water when reheating.
More pantry-friendly dinners
For another way to use your pantry staples, explore our easy bean and lentil recipe ideas. If you prefer a creamy noodle dinner, our stovetop tuna noodle casserole without canned soup offers another direction for a simple family meal.