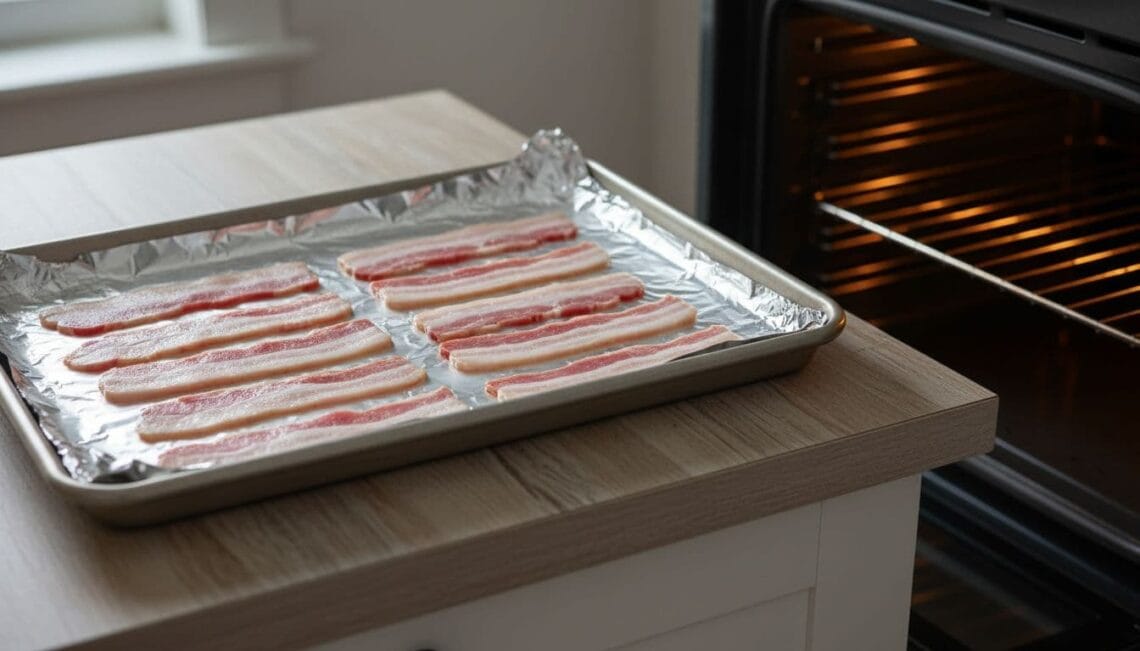
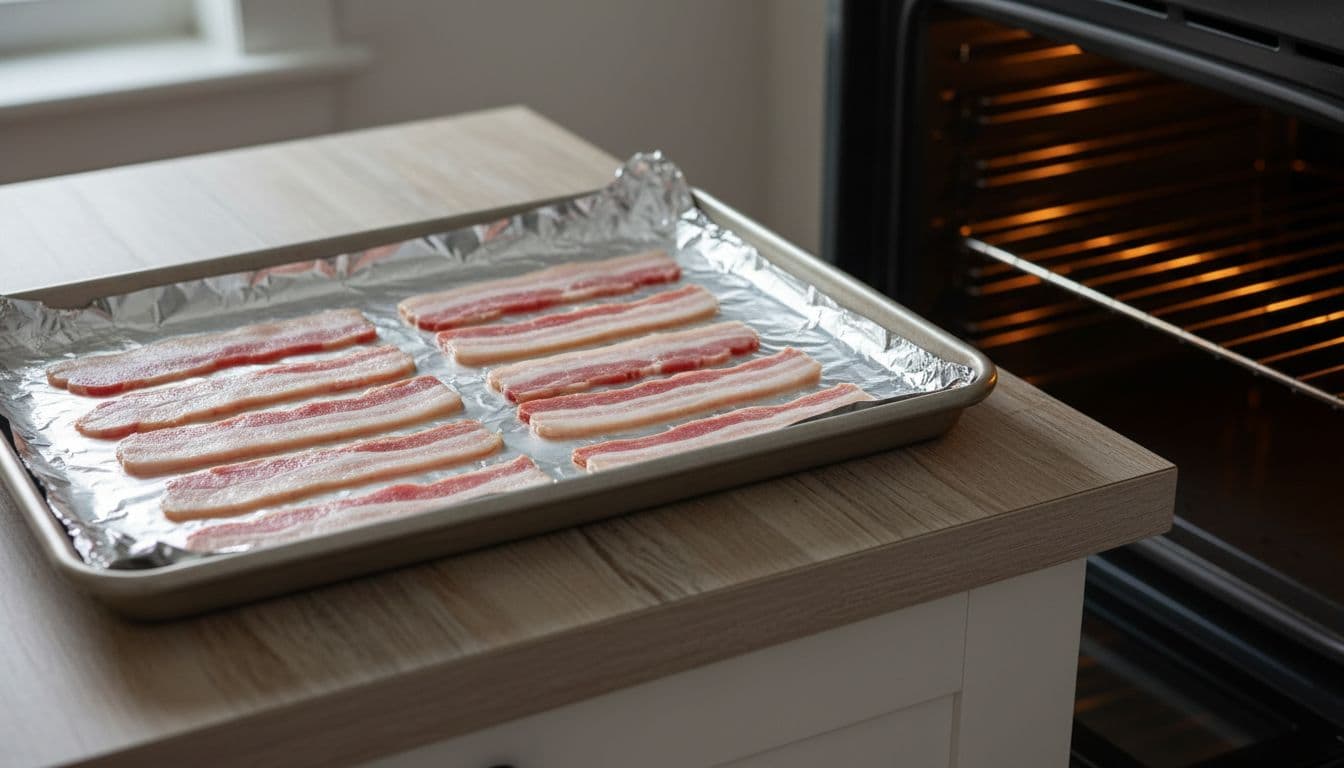
Sheet pan bacon for a crowd works best when every strip has room and the hot fat stays inside a sturdy rimmed pan. One 18-by-13-inch half-sheet pan usually holds about 12 regular slices; for a larger breakfast, use two pans and rotate them instead of overlapping the bacon.
- 400°F preheated oven
- One uncrowded layer
- Rotate two pans
This guide focuses on scaling the method: choosing direct-pan or wire-rack cooking, arranging a full pan, handling two pans safely, and keeping finished strips separate while the rest cook. For thickness-based timing and early checkpoints, use our guide to how long bacon takes in a 400°F oven.
Why sheet-pan bacon works for a crowd
A sheet pan lets you cook more strips at once while freeing the burners for eggs, toast, or pancakes. The rim contains rendered fat, and the broad surface makes it easier to separate thinner pieces as they finish.
Oven bacon often needs no flip, but it still needs supervision near the end. Rotate the pan or turn individual slices when one side is browning faster; remove finished strips with tongs.
For the batch method here, preheat a conventional oven to 400°F. Sugar-cured or maple bacon may darken faster, so check it earlier and follow the package when its directions differ. Do not use these preheated-oven instructions for a cold-oven start because the warm-up cycle varies by oven.
Use a rimmed baking sheet, not a flat cookie sheet. Bacon releases a lot of hot fat, and the rim keeps it where it belongs. Aluminum foil is the easiest liner for greasy jobs. Parchment paper also works well, and many cooks like how cleanly the bacon lifts off.
Direct pan or wire rack for a large batch
| Setup | Choose it for | Trade-off |
|---|---|---|
| Directly on the lined pan | Simple batch cooking and easier cleanup | Strips cook in some rendered fat |
| Oven-safe rack inside the rim | A drier surface for crumbling | More washing; lean slices may stick |
| Two pans | More portions without overlap | Rotate and judge each pan separately |
For most kitchens, baking bacon directly on a lined baking sheet is the clear winner. The slices sit in some of their own fat, so they cook evenly and stay a bit meatier. It also means one less piece of gear to scrub.
A standard half-sheet pan holds about 12 regular slices or 8 to 10 slices of thick-cut bacon without crowding. If you’re cooking a large batch, use two sheet pans instead of squeezing the strips together. Arrange the bacon in a single layer. Foil makes grease disposal easy. Parchment is helpful if you dislike sticking, though it can slide a bit more when you move the pan.
For slice-thickness checkpoints, use the linked 400°F timing guide. Package directions take priority when they differ, and each pan should be judged by browning and rendered fat rather than a promised finish minute.
Start checking early because brands vary. Thin slices, dark pans, sweet cures, and convection fans can all speed browning. Use the linked timing guide as an inspection schedule, not a guarantee, and remove finished slices rather than waiting for every piece to match.
- Preheat the oven to 400°F.
- Line a rimmed baking sheet with foil or parchment.
- Lay the bacon in a single layer, with no overlapping.
- Bake until the fat renders and the color matches your preference.
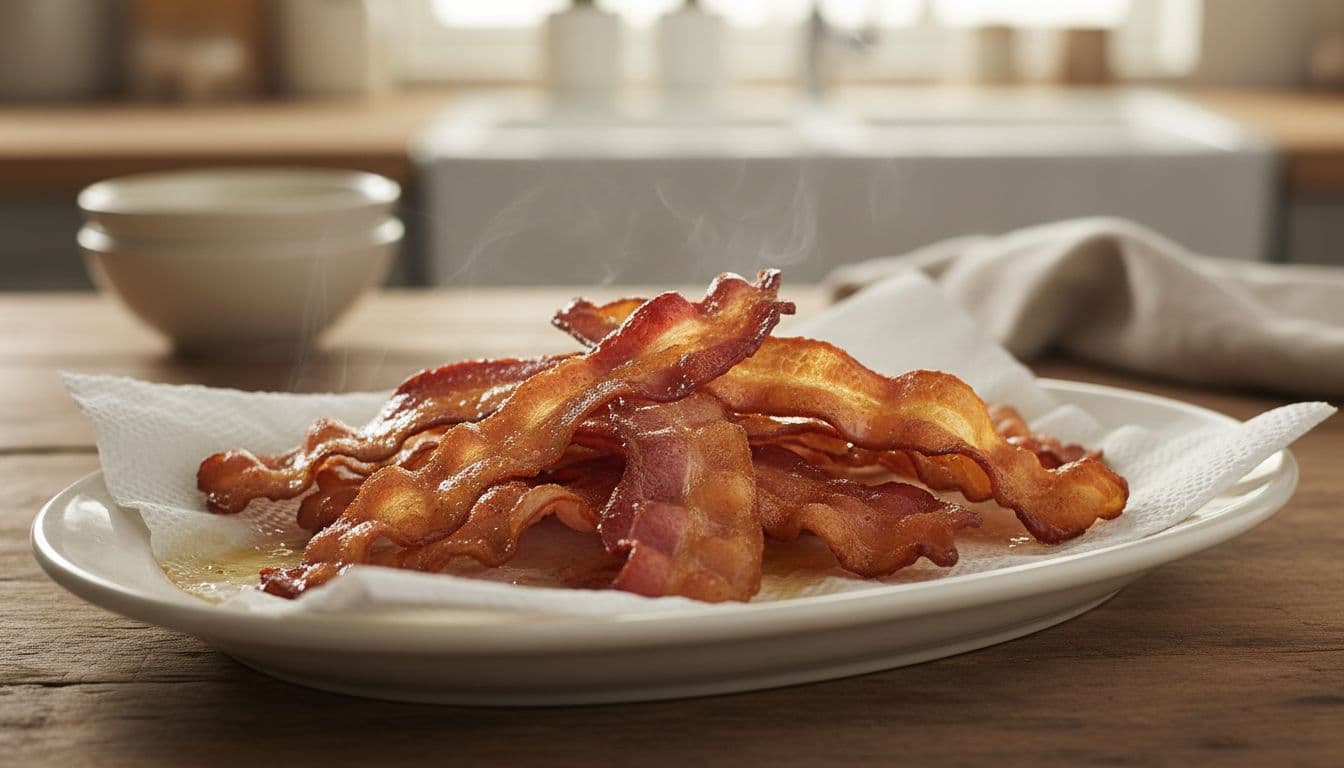
- Use tongs to move the strips to paper towels for 1 to 2 minutes.
Use the linked timing guide to choose the first inspection point. Begin earlier for thin slices, sweet cures, dark pans, or convection, and inspect each pan separately.
If you like softer bacon for burgers or wraps, pull it when it’s lightly golden and still flexible. For crispy bacon perfect for breakfast, wait for golden-brown edges and a firmer center. The strips crisp a little more as they cool, so don’t wait for them to feel hard in the pan.
When a wire rack makes sense
A wire rack set over a sheet pan or baking sheet gives you a different result. Hot air moves around the strips, and extra bacon grease drips away. That usually means slightly crisper bacon and less frying in pooled grease for crispy oven-baked bacon.
The trade-off is simple. A rack takes longer to clean, and lean or thin bacon can stick if the rack isn’t clean. A lightly oiled rack can help, but skip a heavy coat of spray because it may smoke.
A rack is useful when you want a drier surface for bacon that will be crumbled over salads, baked potatoes, or soups. It may take a few minutes longer than the direct-pan method. Inspect the strips themselves: rotate the pan or turn individual pieces only when uneven browning makes it useful.
Doneness, safety, and cleanup without the mess
The best doneness cue isn’t the timer alone. Look for bacon that is fully opaque, with most of the white fat turned clear and bubbling. The surface should look golden-brown, not raw or rubbery. If your bacon has a sweet glaze, follow the package temperature and begin checking earlier because the sugar can darken quickly.
Keep raw bacon refrigerated until the pan and oven are ready, wash your hands after handling the package, and clean surfaces touched by raw juices. USDA bacon guidance notes that thin strips are difficult to temperature-check and that cooked bacon can remain pink because of curing. Follow the package directions and cook the batch completely; do not partly cook bacon, refrigerate it, and finish it later.
After baking, leave the rimmed pan level on a stable, heat-resistant surface while the grease cools. For disposal, let the fat solidify, then fold the cooled liner around it or scrape it into the trash. Do not pour very hot fat into cold glass, plastic not rated for heat, or the sink. If you save the drippings, let them cool enough to handle safely, strain them into a clean heat-safe container, cover, date, and refrigerate. Our bacon grease guide includes measured ways to use small amounts.
Don’t carry a full sheet pan of hot grease with one hand. The fat can shift fast.
Refrigerate leftover cooked bacon promptly in an airtight container and use within 3 to 4 days. Reheat to 165°F, checking the food rather than judging only by how hot the pan feels. See USDA leftover guidance.
How to bake two pans of bacon at once
Position oven racks in the upper and lower thirds and preheat to 400°F. Divide the bacon between two sturdy rimmed pans, keeping every slice in one layer. If the pans are crowded, cook a second batch rather than overlapping the strips.
At the first inspection, swap the pans from top to bottom and rotate each one front to back. Oven zones brown at different rates, so inspect both pans separately and remove finished strips with tongs while thicker pieces continue cooking.
Two pans may need a wider check window than one because they temporarily absorb more oven heat and restrict airflow. Use the linked timing guide for the first inspection, then judge each pan separately by browning and rendered fat. Keep the rendered-fat pans level, and move each finished pan to a stable heat-safe surface before draining the bacon.
Holding and serving a large batch
Drain the strips in a single layer rather than stacking them while hot, which traps steam. Serve the finished bacon promptly when crispness matters. If one pan finishes first, keep its strips separate while the second pan completes instead of returning cooked bacon to pooled fat.
For a buffet or delayed service, keep cooked bacon at 140°F or warmer. Otherwise, refrigerate it within 2 hours of cooking, or within 1 hour when the surrounding temperature is above 90°F, and discard bacon held beyond those limits. See USDA leftover guidance.
For a coordinated make-ahead breakfast, pair the batch with sheet-pan egg sandwiches with spinach and cheddar. Store cooked bacon separately in a covered container, refrigerate it promptly, and reheat only the portions you plan to serve.
For breakfast without a second hot pan, cook and chill easy-peel hard-boiled eggs ahead, then serve them cold alongside the bacon.