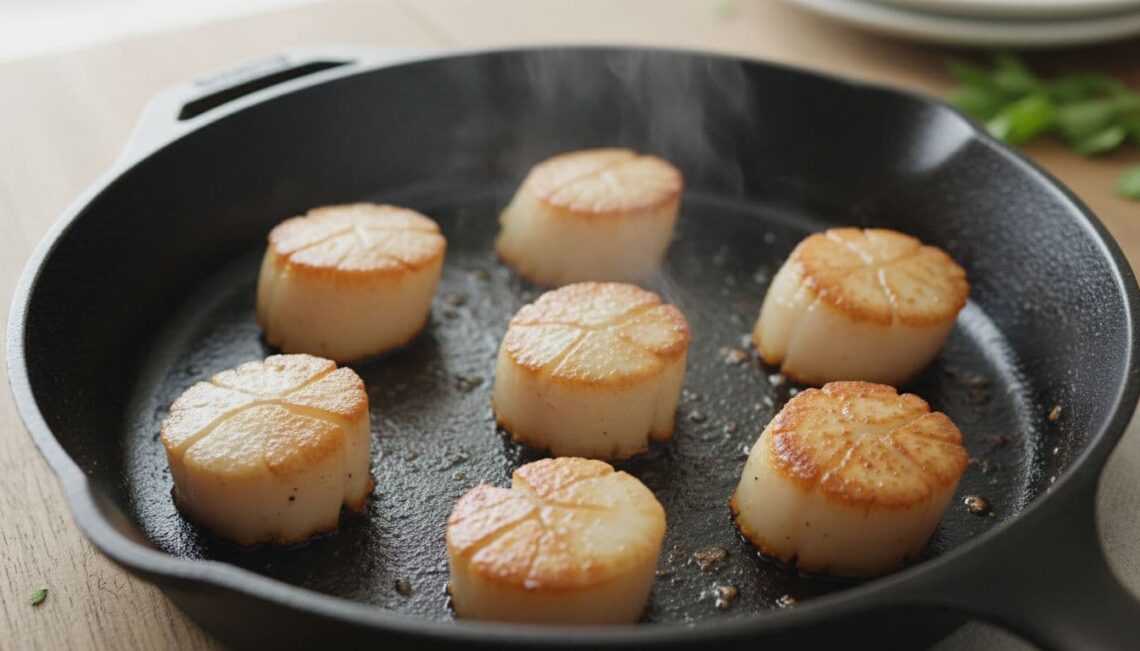
How to know when scallops are done is easier with a fine-tip thermometer: the thickest part should reach 145°F (63°C). The flesh should be opaque and firm. A golden crust tells you about surface browning; a springy feel and elapsed time help track cooking progress, but neither verifies the temperature of the center.
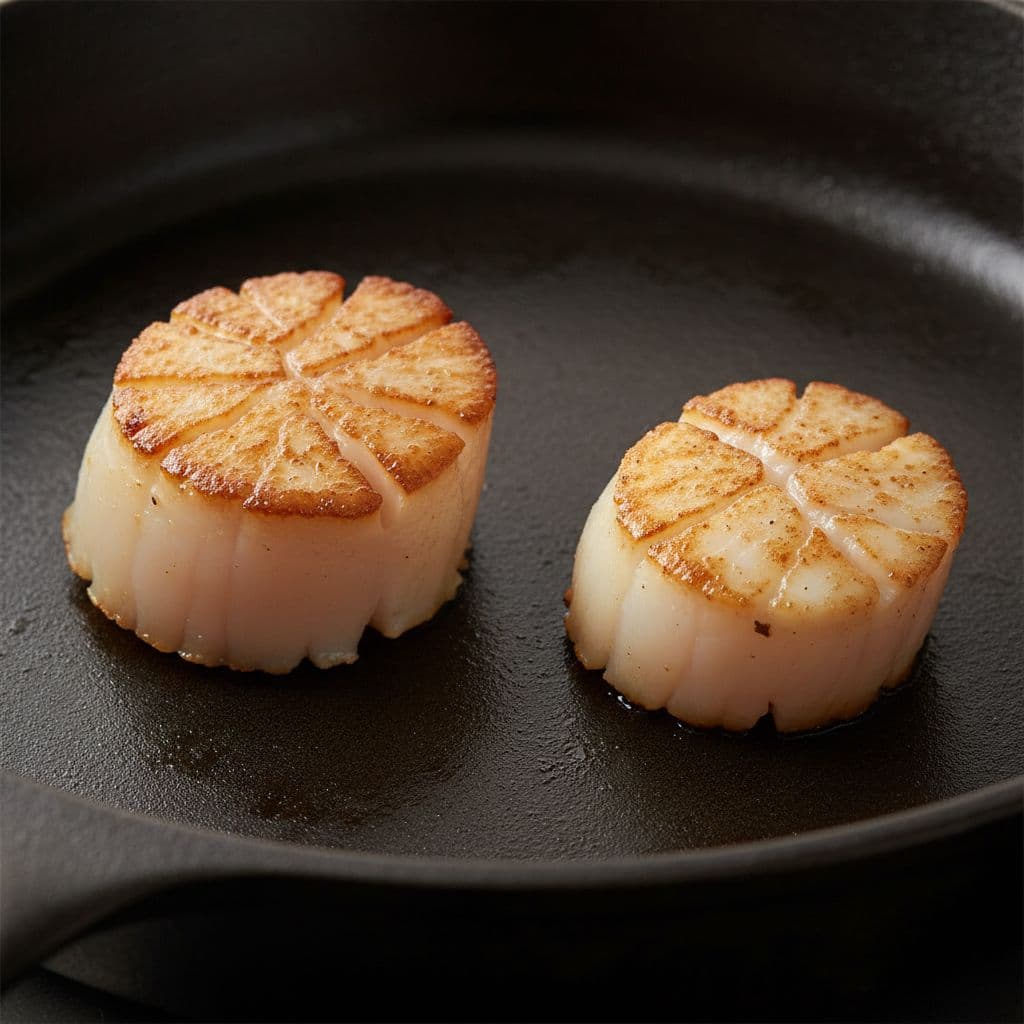
Choose similar-size scallops
Large sea scallops are easier to sear individually than small bay scallops. Choose pieces of similar thickness and cook different-size groups separately. Check the package to see whether the scallops are dry-packed or treated with a solution. Treated scallops may release more liquid and make browning harder.
If frozen, thaw in the refrigerator. Remove the small, tough side muscle if present and pat the surfaces dry. Keep the scallops cold until you are ready to cook; a long counter rest is unnecessary.
How to know when scallops are done: the searing method
Use a heavy skillet, tongs or a thin spatula, and an instant-read thermometer with a fine tip. For about 1 pound of large sea scallops, begin with 1 tablespoon of a suitable cooking oil, a modest sprinkle of salt, and black pepper. Have a clean plate ready before heating the pan.
- Heat the skillet over medium-high heat. Add the oil and let it shimmer without smoking heavily.
- Lay the dry scallops in a single layer with space between them. Work in batches if necessary; a crowded pan traps steam.
- Let the first side brown undisturbed. For large scallops, begin checking for release after about 2 minutes. If one sticks, give it a little more time rather than tearing it loose.
- Turn gently. Begin checking the center after about another minute. Insert the thermometer horizontally from the side, aiming the sensing tip into the thickest center rather than toward the hot skillet.
- Continue until the thickest part reaches 145°F (63°C). If the crust is dark before the center is ready, lower the heat and finish gently. Move each finished scallop to the clean plate promptly.
These times are checkpoints, not a guarantee. Thickness, moisture, skillet material, and burner output all change the cooking rate. Check more than one scallop, especially the largest in the batch.
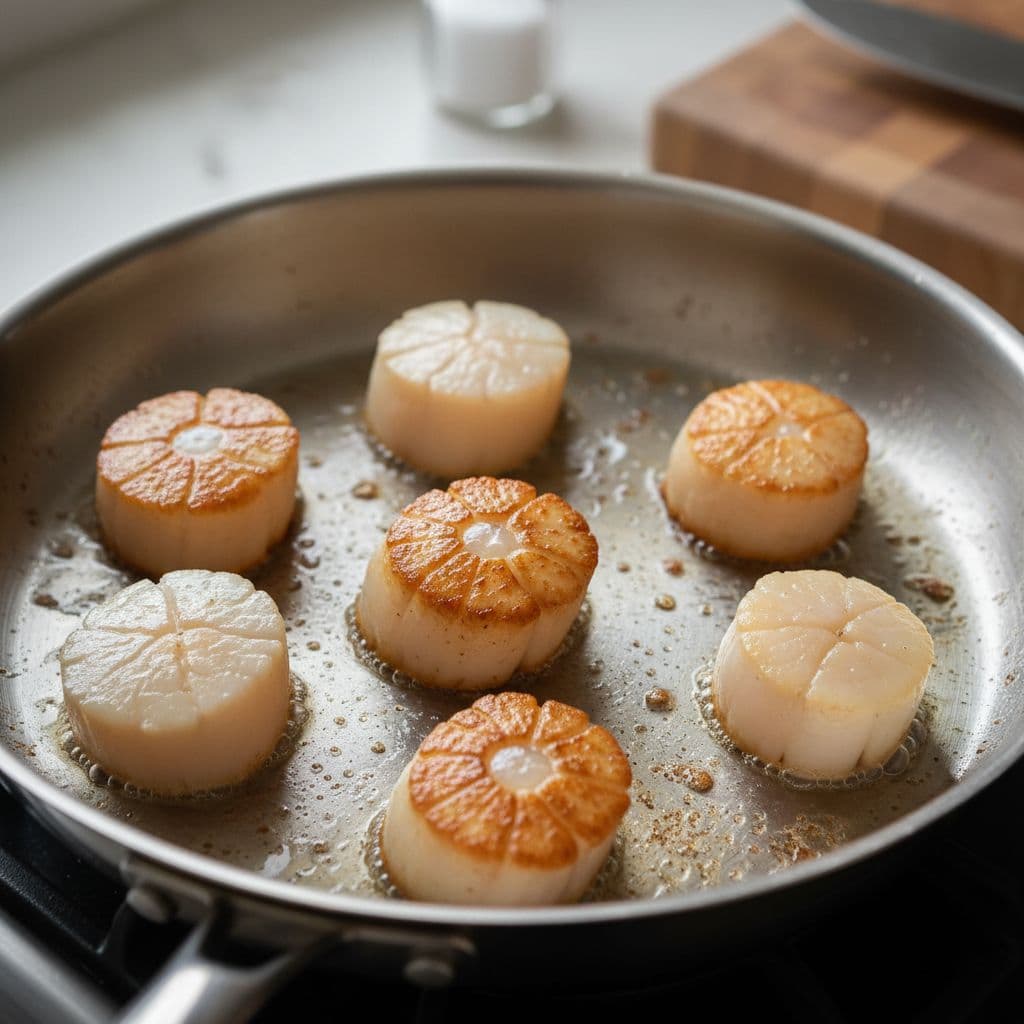
What the visual cues mean
Golden surface: the exterior has browned. A thick scallop can have a good crust while the center still needs cooking.
Opaque flesh: useful evidence of cooking progress. Pair it with the thermometer reading rather than deliberately leaving a translucent center.
Firm texture: properly cooked scallops should be firm rather than raw and slippery. Avoid pressing hard or repeatedly poking them, which damages the crust and gives an inconsistent assessment.
Do not depend on carryover heat
The amount of temperature rise after removal varies. Scallops are small enough that a slight change in size or pan heat can alter the result. Do not remove them below the target and assume resting will make the center safe. Measure the endpoint while cooking, then serve promptly to limit further drying.
Troubleshooting
Pale scallops and liquid in the pan: pat the next batch more thoroughly, preheat the skillet, and leave more space. Cook the current batch to the temperature target even if it does not develop a strong crust.
Dark crust and underdone center: lower the heat. A more moderate finish gives the center time to cook without burning the surface.
Rubbery texture: the scallops may have cooked beyond their endpoint. For the next batch, check earlier and remove each one promptly. Butter or sauce can add richness but cannot reverse overcooking.
Uneven results: sort by thickness, avoid overcrowding, and check several pieces instead of assuming the first one represents the whole pan.
Plan two batches without crowding the skillet
For a larger meal, count the scallops before you heat the skillet and decide how to divide them among the plates. For example, a package containing twelve similar large scallops can become four plates with three each; a different package may contain a different count even at the same weight. This is portion planning, not a fixed serving yield. Pair a small scallop portion with a substantial side if you want a fuller meal.
Arrange the uncooked pieces into groups that fit the skillet with space around them. Keep the second group refrigerated while the first cooks. Prepare the sauce, plates, and side dishes in advance so each finished group can be served promptly. For a shared table, serving smaller batches in sequence is preferable to squeezing every piece into a pan that then fills with liquid.
Check the second batch independently. The pan may be hotter after the first, and the pieces may differ in thickness. A successful first batch supplies useful observations about your equipment, but it does not make its cooking time a reliable endpoint for the next.
Serving ideas
Add lemon after cooking or serve with a small spoonful of garlic butter sauce. Roasted asparagus makes a useful side. Prepare the sides first so the scallops can go straight from the pan to the table.
Leftovers
Refrigerate cooked scallops within 2 hours, or 1 hour above 90°F, and keep them at 40°F or below. Use refrigerated leftovers within 3 to 4 days. Reheat to 165°F (74°C), using gentle heat and a little liquid to limit drying. This reheating endpoint differs from the initial seafood cooking temperature.
References: FDA seafood cooking guidance and FoodSafety.gov cooking temperature chart and USDA leftover guidance.
For the temperature target above, see the FDA’s general seafood cooking guidance. Its scallop-specific visual cues are firm, pearly, opaque flesh.