TWO RAMEKINS / DRAINED PEARS / LOOSE OAT CRUMBS
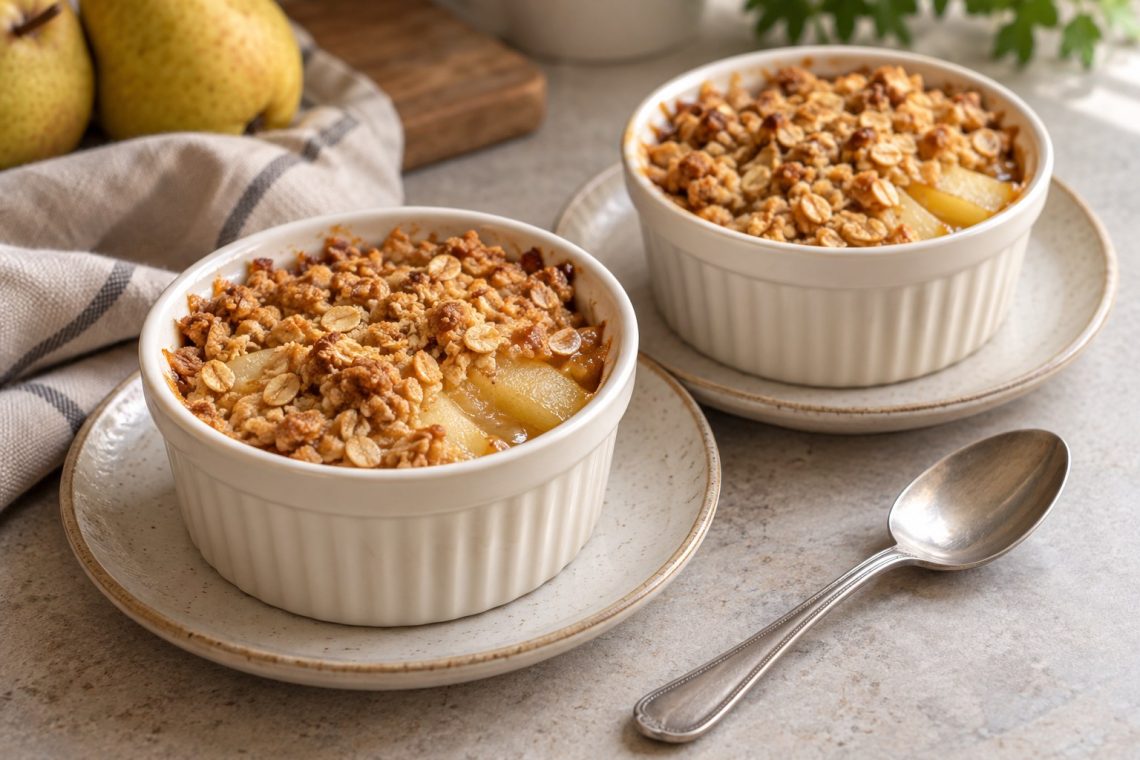
This canned pear crisp has soft, lightly lemony fruit beneath a golden oat topping, all baked in two individual ramekins. Canned pears save the peeling and softening steps. Drain them well, keep the topping crumbly, and bake until the fruit bubbles around the edges and the oats turn golden.
The filling needs no added sugar when you start with juice-packed pears. A little brown sugar sweetens the topping, while cinnamon and vanilla bring warmth without overwhelming the fruit. The small portions are useful when you want a warm dessert without a large pan of leftovers.
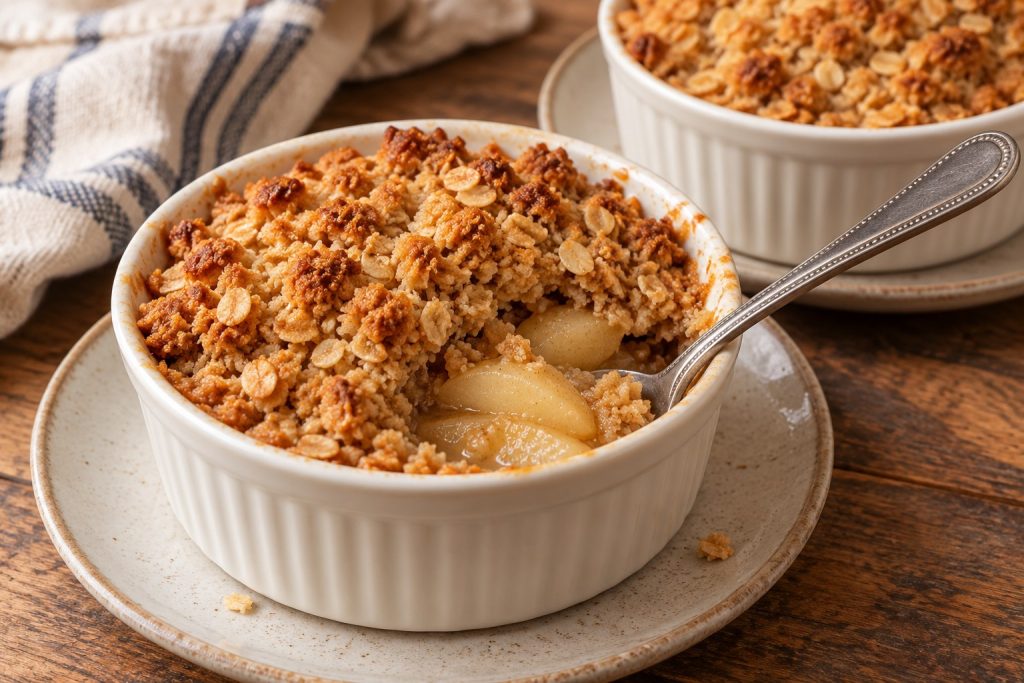
Small batch pear crisp: recipe summary
- Yield
- 2 individual desserts
- Prep
- About 10 minutes
- Bake
- Allow about 35 minutes; start checking at 25 minutes
- Rest
- 10 minutes
- Total
- About 55 minutes, including the rest
- Oven
- 350°F (175°C), middle rack
Equipment: Two oven-safe ramekins with a capacity of 10–12 fluid ounces each, a rimmed baking sheet, a strainer, two mixing bowls (or one bowl and a measuring jug), a fork, measuring tools and a small knife. Use dishes rated for the oven temperature; ordinary drinking glasses are unsuitable.
Start heating the oven before preparing the ingredients. The total assumes it reaches temperature during preparation. A slow oven or particularly deep ramekins can add time, so use the topping and filling checks rather than the timer alone.
Plan the dishes and preparation order
A small canned pear crisp is easiest to portion when the dishes match in width and depth. Choose ramekins labeled for 10–12 fluid ounces of capacity; each receives about ¾ cup drained pears plus half the crumb topping, with headroom. A 10-fluid-ounce dish holds 1¼ cups to the rim; a 12-fluid-ounce dish holds 1½ cups. Both still need empty space above the filling and topping.
If the capacity is unclear, measure water into the empty dish before starting, then empty and dry it thoroughly. This checks its size only; confirm separately that the maker rates it for oven use. A narrow, tall vessel and a wide, shallow vessel with the same capacity will not necessarily bake at the same speed.
Share the measured fruit first: each ramekin receives about ¾ cup of drained pears. Then divide the crumb mixture equally. Avoid pressing either layer down to force an undersized dish to hold it. Keeping the fruit and topping balanced helps both servings finish similarly; if one dish is much fuller, check each one individually instead of assuming they will be ready together.
Separate the components when preparing ahead
To spread out the work, measure and mix the topping earlier the same day, cover it, and refrigerate it. Drain and slice the pears into a separate covered container and refrigerate them too. Keep the measured lemon, vanilla, cinnamon, and cornstarch ready to add at assembly rather than leaving the crumbs sitting on moist fruit.
When ready to bake, start preheating the oven, loosen the chilled topping with a fork, and gently coat the pears as directed. Fill the greased ramekins and bake on the tray. Refrigerator-cold fruit may need extra time beyond the usual estimate, so retain both doneness checks: golden crumbs and bubbling juice. The advance preparation saves hands-on work at dessert time; it does not remove the baking or resting steps.
Ingredients for canned pear crisp with oats
- For the filling: 1 1/2 cups drained canned pear slices, preferably packed in juice
- 2 teaspoons lemon juice
- 1 teaspoon cornstarch
- 1/4 teaspoon vanilla extract
- A small pinch of ground cinnamon for the fruit
- For the topping: 1/3 cup old-fashioned rolled oats, about 30 g
- 1/4 cup all-purpose flour, about 30 g
- 2 tablespoons packed light brown sugar, about 27 g
- 2 tablespoons cold unsalted butter, about 28 g, cut into small cubes
- 1/4 teaspoon ground cinnamon for the topping
- A small pinch of fine salt
- About 1 teaspoon softened butter for greasing the ramekins
Begin with one 15-ounce can of pears, but measure the fruit after draining. The can’s net weight includes packing liquid and does not guarantee a particular drained volume. If your can falls short of 1 1/2 cups, use additional drained pears; do not make up the difference with juice or syrup.
Choose and prepare the pears
Juice-packed pears give you more control over sweetness
Look for plain canned pears in juice, rather than a spiced pie filling. Taste a drained piece before assembly. The fruit should be pleasantly sweet on its own; the topping supplies the measured brown sugar, so extra sugar in the filling is unnecessary for this version.
Pears in syrup can be used, but expect a sweeter result even after draining. Avoid repeatedly adding lemon to counter a very sweet can: too much acid can make the filling sharp without removing the sweetness. A juice-packed can is the more straightforward choice.
Make spoon-sized pieces without crushing the fruit
Drain the pears while you measure the topping ingredients. Give the strainer a gentle shake, then let the last drops fall away. Cut unusually large slices into smaller pieces. If using pear halves, slice them after draining; roughly 1/4- to 1/2-inch-thick pieces are easy to spoon from the finished dessert.
The pears are already tender, so handle them gently. Small fragments are fine, but aggressively stirring the fruit turns it into a soft mash before it reaches the oven. An even layer of recognizable slices gives a better contrast with the oat crumbs.
Make the oat topping crumbly
Mix the oats, flour, brown sugar, cinnamon and salt before adding the cold butter. Break up firm sugar lumps with the fork. Work the butter through the dry ingredients until you have a mixture of fine crumbs and small clumps, rather than one smooth ball.
A pinch of topping should hold together when pressed, then break apart easily. If the mixture is greasy, chill it briefly before using. If it looks powdery, check for dry ingredients at the bottom of the bowl and rub the butter through them before deciding it needs more.
Cold butter and an uneven crumb mixture are also used in King Arthur Baking’s classic crisp method. This pear recipe has its own smaller quantities and baking checks. Keep the topping loose when scattering it over the fruit.
How to bake the two pear crisps
- Heat the oven and drain the fruit. Set the oven to 350°F (175°C) with a rack in the middle. Drain the pears in a strainer while you gather the other ingredients. Measure 1 1/2 cups of drained fruit and cut any large pieces into smaller slices.
- Prepare the ramekins. Lightly grease both ramekins with the softened butter. Set them apart on a rimmed baking sheet. The sheet makes the small hot dishes easier to move and catches drips.
- Mix the topping. Stir together the oats, flour, brown sugar, 1/4 teaspoon cinnamon and salt. Work in the cold butter cubes with a fork or your fingertips until the mixture is crumbly, with some small clumps. Stop before it becomes a smooth dough.
- Coat the pears. In a separate bowl or the emptied measuring jug, gently toss the drained pears with the lemon juice, cornstarch, vanilla and pinch of cinnamon. Distribute the cornstarch evenly so no white pockets remain.
- Divide and top. Share the fruit evenly between the ramekins. Scatter half the topping over each, keeping it loose rather than pressing it into a solid lid. Leave space below each rim for bubbling juices.
- Bake and check both layers. Put the tray on the middle rack. Allow about 35 minutes, starting to check at 25 minutes. The topping should be golden, with no obvious dry flour patches, and the juices should bubble around part of the edge. Continue a few minutes if the topping is still pale or the filling has not begun bubbling.
- Rest before serving. Move the tray to a heatproof surface and let the crisps stand for 10 minutes. The filling thickens slightly as it settles. Serve each ramekin on a small plate, with a spoon, and remember that the ceramic can remain hot after the fruit is ready to eat.
Check the topping and filling separately
A golden surface tells you about the topping. Bubbling around the fruit tells you the filling is hot enough to cook the small amount of cornstarch. Look for both signs. A pale topping needs longer even though canned pears were tender before baking.
If the top colors quickly while the filling lags behind, loosely shield the surface with foil and continue checking. Do not raise the oven sharply to hurry the center: that can darken the crumbs before the fruit underneath is ready.
After the rest, the pears should be soft and juicy, with a little thickened liquid around them. This is a spoon dessert, so the filling does not need to set into a sliceable block.
Fix common pear crisp problems
| Problem | What helps |
|---|---|
| Pale, sandy topping | Allow more baking if it is still pale. Next time, check the flour measure and work the butter through all the dry ingredients. |
| Golden top but little bubbling | Shield the top loosely with foil and give the filling more time. Deep ramekins and refrigerator-cold pears can change the schedule. |
| Too much liquid | Give the crisp its full rest before judging. For the next batch, drain before measuring and keep packing liquid out of the dish. |
| Dense topping | Scatter the crumbs loosely next time. Pressing them firmly creates a more solid crust. |
| Overflowing ramekin | Use the stated capacity and leave headroom. Before baking, move excess mixture to another suitable dish rather than mounding it above the rim. |
On a small screen, scroll the table sideways to see every column.
Serving and scaling the dessert
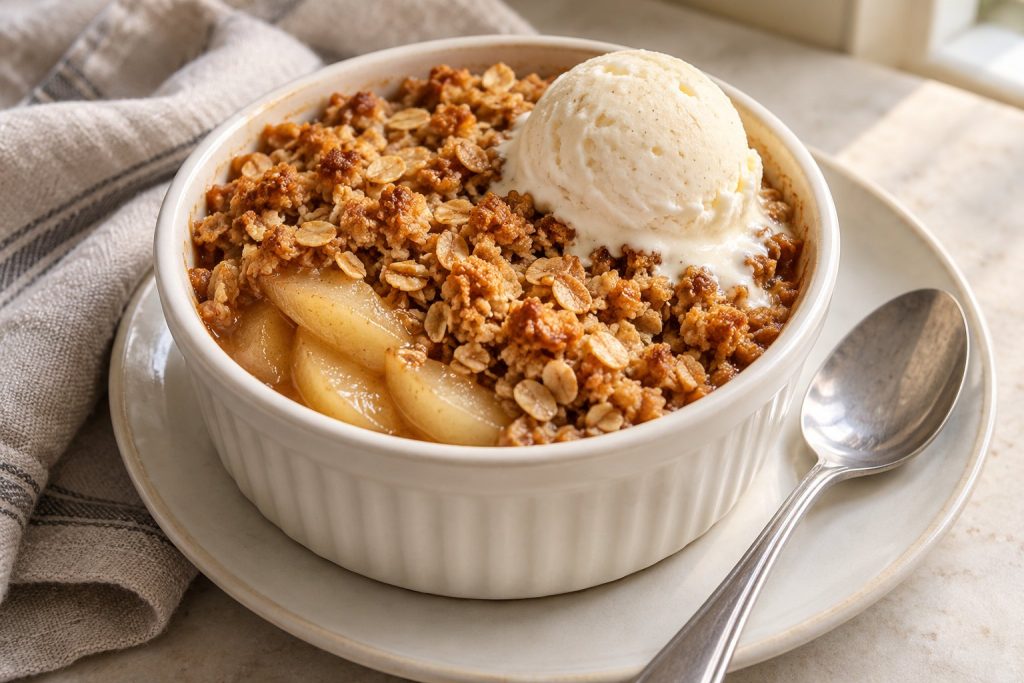
Serve the crisp warm on its own, or add vanilla ice cream or plain yogurt just before eating. Keep those toppings separate from any portions you plan to store. A small pinch of ginger in the fruit gives a different spice note without changing the method.
For four desserts, double every ingredient and use four matching ramekins. Leave space between the dishes and check more than one before removing the tray. A larger oven load may need longer, but it does not call for twice the baking time.
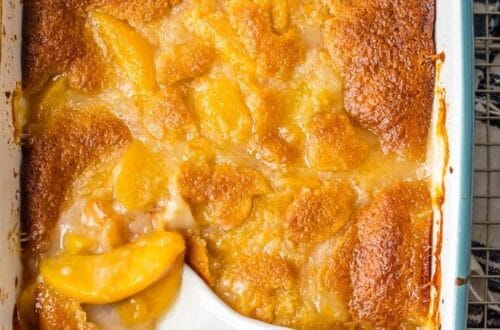
If you want a different pantry fruit dessert, try peach cobbler with self-rising flour, which has a cake-style base. For a portable bake, eggless applesauce muffins without yogurt are another option.
Storage and reheating
Refrigerate leftovers within 2 hours, or within 1 hour above 90°F (32°C), and keep them at 40°F (4°C) or below. Use within 3–4 days, following Nebraska Extension’s leftover guidance. Do not wait for a hot dessert to sit at room temperature for hours before refrigerating it.
Cover the ramekins for storage. The topping will soften against the fruit, so expect a different texture from a freshly baked portion. Enjoy safely stored leftovers chilled, or reheat to 165°F (74°C). An oven can dry the topping more effectively than a microwave.
Follow the bakeware maker’s directions when reheating refrigerated ceramic. If the dish is unsuitable for the temperature change, transfer the portion to appropriate oven-safe bakeware. Add ice cream or yogurt after reheating.
Frequently asked questions
Can I bake this in one dish?
A small, shallow oven-safe dish with about a 3-cup capacity is a possible alternative. Keep some headroom and judge the bake by golden crumbs and bubbling fruit; changing the depth changes how quickly the center heats.
Can I use quick oats?
Plain quick-cooking rolled oats can give a finer topping in the same amount. Old-fashioned oats provide more distinct flakes and chew. Steel-cut oats and sweetened instant oatmeal packets are unsuitable direct replacements.
Can I use fresh pears instead?
Fresh pears vary widely in firmness. Hard fruit will not follow the short canned-fruit method reliably, so use a recipe written for fresh pears rather than assuming the same timing.
Can I leave out the cornstarch?
You can omit the teaspoon if you are comfortable with a looser filling. Keep the pears well drained and let the dessert rest. Avoid replacing it with an unmeasured spoonful of flour.
Can I prepare the topping ahead?
Yes. Mix the topping, cover and refrigerate it, then break it back into crumbs before assembly. Keep the fruit separate until you are ready to fill the ramekins so the oats do not absorb liquid while waiting.
THE COMPLETE RECIPE
Small Batch Canned Pear Crisp with Oats
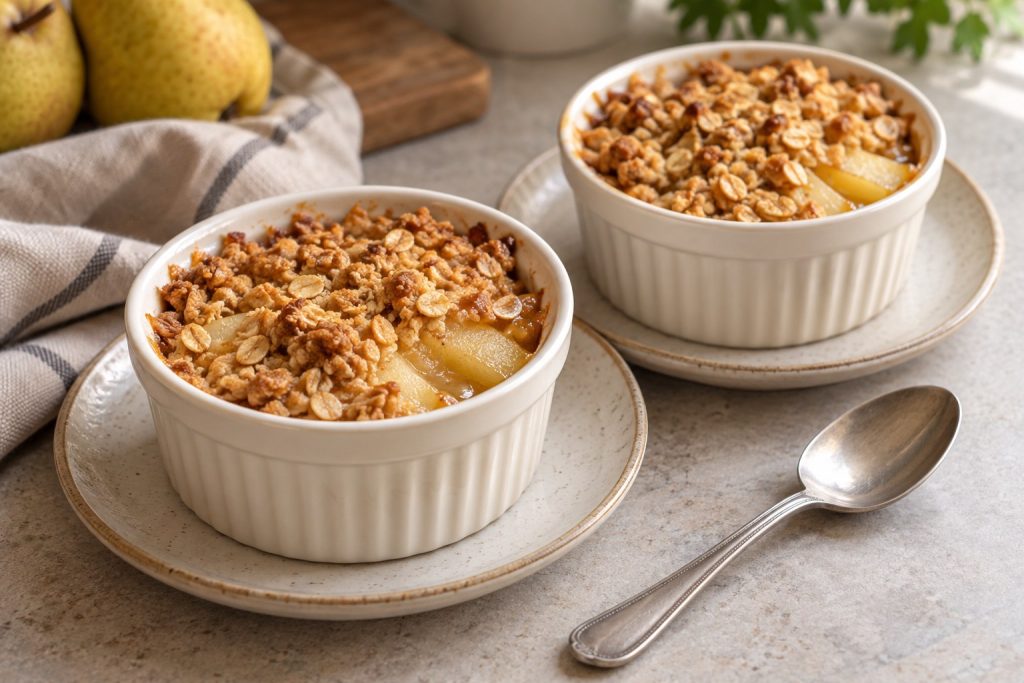
Yield: 2 individual desserts
Ingredients
Pear filling
- 1 1/2 cups drained canned pear slices preferably packed in juice; measure after draining
- 2 teaspoons lemon juice
- 1 teaspoon cornstarch
- 1/4 teaspoon vanilla extract
- 1 small pinch ground cinnamon for the fruit
Oat topping
- 1/3 cup old-fashioned rolled oats about 30 g
- 1/4 cup all-purpose flour about 30 g; spooned and leveled
- 2 tablespoons packed light brown sugar about 27 g
- 2 tablespoons cold unsalted butter about 28 g; cut into small cubes
- 1/4 teaspoon ground cinnamon for the topping
- 1 small pinch fine salt
For the ramekins
- 1 teaspoon softened butter approximately; for greasing both ramekins
Instructions
- Heat the oven and drain the fruit Set the oven to 350°F (175°C) with a rack in the middle. Drain the pears in a strainer while you gather the other ingredients. Measure 1 1/2 cups of drained fruit and cut any large pieces into smaller slices.
- Prepare the ramekins Lightly grease both ramekins with the softened butter. Set them apart on a rimmed baking sheet. The sheet makes the small hot dishes easier to move and catches drips.
- Mix the topping Stir together the oats, flour, brown sugar, 1/4 teaspoon cinnamon and salt. Work in the cold butter cubes with a fork or your fingertips until the mixture is crumbly, with some small clumps. Stop before it becomes a smooth dough.
- Coat the pears In a separate bowl or the emptied measuring jug, gently toss the drained pears with the lemon juice, cornstarch, vanilla and pinch of cinnamon. Distribute the cornstarch evenly so no white pockets remain.
- Divide and top Share the fruit evenly between the ramekins. Scatter half the topping over each, keeping it loose rather than pressing it into a solid lid. Leave space below each rim for bubbling juices.
- Bake and check both layers Put the tray on the middle rack. Allow about 35 minutes, starting to check at 25 minutes. The topping should be golden, with no obvious dry flour patches, and the juices should bubble around part of the edge. Continue a few minutes if the topping is still pale or the filling has not begun bubbling.
- Rest before serving Move the tray to a heatproof surface and let the crisps stand for 10 minutes. The filling thickens slightly as it settles. Serve each ramekin on a small plate, with a spoon, and remember that the ceramic can remain hot after the fruit is ready to eat.
Notes
Rate This Recipe
Made this recipe? Choose a star rating in the comment form and share how it turned out. Your cooking time and any ingredient changes can help the next reader.
Rate This Recipe