This quick pickled onions recipe makes one small refrigerator batch from a red onion and a measured 3-to-1 vinegar-to-water brine. Choose warm brine for faster seasoning or cold brine for more raw-onion crunch.
- One small refrigerator batch
- Use 5% acidity vinegar
- Keep the 3:1 brine
Quick pickled onions are refrigerator pickles: thin onion slices covered with a measured vinegar brine and kept cold. This recipe uses one 3-to-1 brine with two temperature options. Warm brine flavors the onions sooner; cold brine keeps more of their raw snap.
Neither method makes a shelf-stable pickle. Make one small batch, refrigerate it promptly, and use the storage and discard guidance below.
What actually keeps quick-pickled onions crisp?
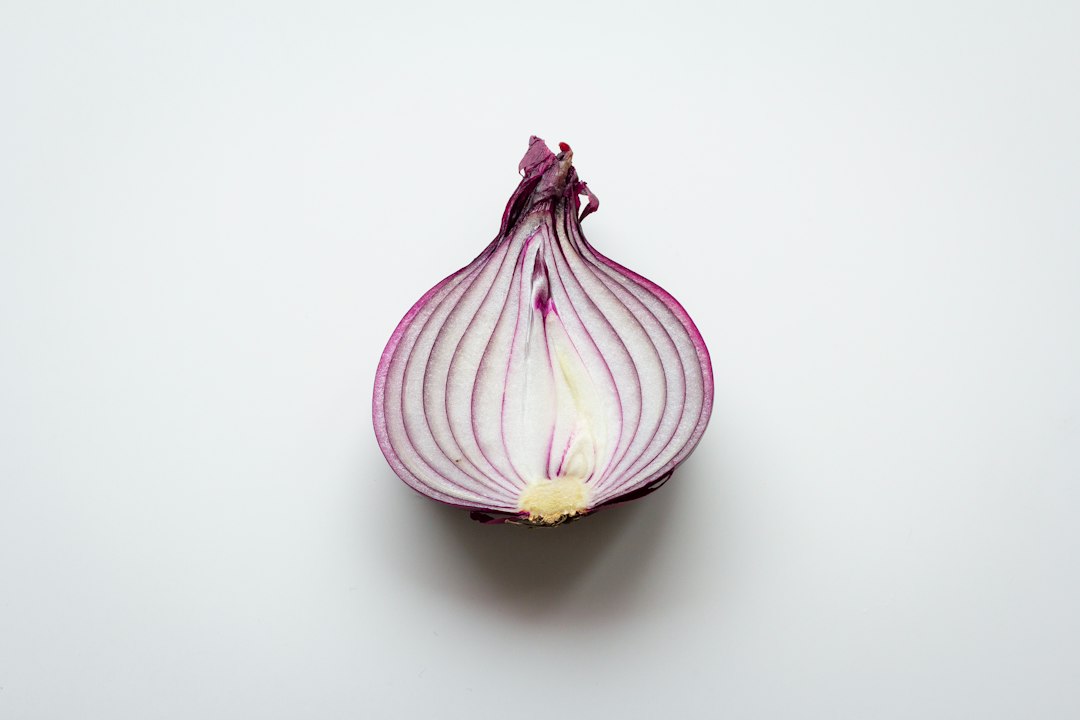
Start with a firm onion that has no soft or moldy areas. Heat and very thin slicing both move the texture toward tender, so the method and slice thickness should match the result you want.
Cut the onion into even 1/8-inch (3 mm) slices. Thinner pieces soften and season faster; thicker pieces need more time before the center loses its raw bite. If you use a mandoline, use its hand guard.
Salt seasons this refrigerator pickle; it is not the preservation control. Use fine canning or pickling salt so it dissolves predictably, and weigh it when possible.
The vinegar supplies the acid, so use vinegar whose label states 5% acidity and keep the written vinegar-to-water ratio. Oregon State University Extension advises adding sugar, rather than reducing vinegar, when a pickle tastes too sour.
Texture choice: use the warm-brine method for faster seasoning and a slightly more tender bite; use the cold-brine method when you prefer more raw-onion crunch.
Ingredients and timing
| Choose your method | First taste | Texture |
|---|---|---|
| Warm brine | After about 30 minutes; fuller flavor after 2 hours | Slightly more tender |
| Cold brine | After about 1 hour; fuller flavor after 4–6 hours | Firmer raw-onion bite |
Prep: about 10 minutes. Yield: approximately one pint of onions and brine; use a larger container if needed to keep slices submerged. Wait: at least 30 minutes with warm brine, or about 1 hour with cold brine; flavor develops further in the refrigerator. This is a refrigerator recipe, with no canning step.
Base ingredients (US + metric)
- 1 medium red onion (about 8 oz, 225 g), sliced 1/8-inch (3 mm) thick
- 3/4 cup vinegar (180 ml), labeled 5% acidity, such as apple cider or distilled white vinegar
- 1/4 cup water (60 ml)
- 1 tablespoon granulated or cane sugar (about 12 g); for a different flavor, use 1 tablespoon maple syrup or honey by volume, whose weight and sweetness differ
- 9 g fine canning or pickling salt (about 1½ teaspoons); weigh it when possible because coarse salts vary by brand
- Optional aromatics: 1 or 2 garlic cloves (smashed), 1/2 teaspoon black peppercorns, 1/2 teaspoon mustard seeds, or a small pinch of red pepper flakes
Use the measured 3-to-1 formula below. For a less sharp taste, add 1 additional teaspoon of sugar instead of adding more water.
The finished brine contains 3/4 cup (180 ml) vinegar and 1/4 cup (60 ml) water.
Do not substitute vinegar of unknown acidity or dilute the brine beyond the written amount.
Prepare the onion and jar
Slice the onion and separate the layers. For a less aggressive raw-onion bite, soak the slices in ice water for 10 minutes, then drain thoroughly. The soak is optional; it does not preserve or sanitize the onion.
Pack the separated onion slices in a sterilized, heat-safe pint jar with enough space for brine to cover them. If the onion and brine will not fit, use a larger sterilized container or divide the batch rather than leaving slices above the liquid.
Method 1: Warm brine for faster seasoning
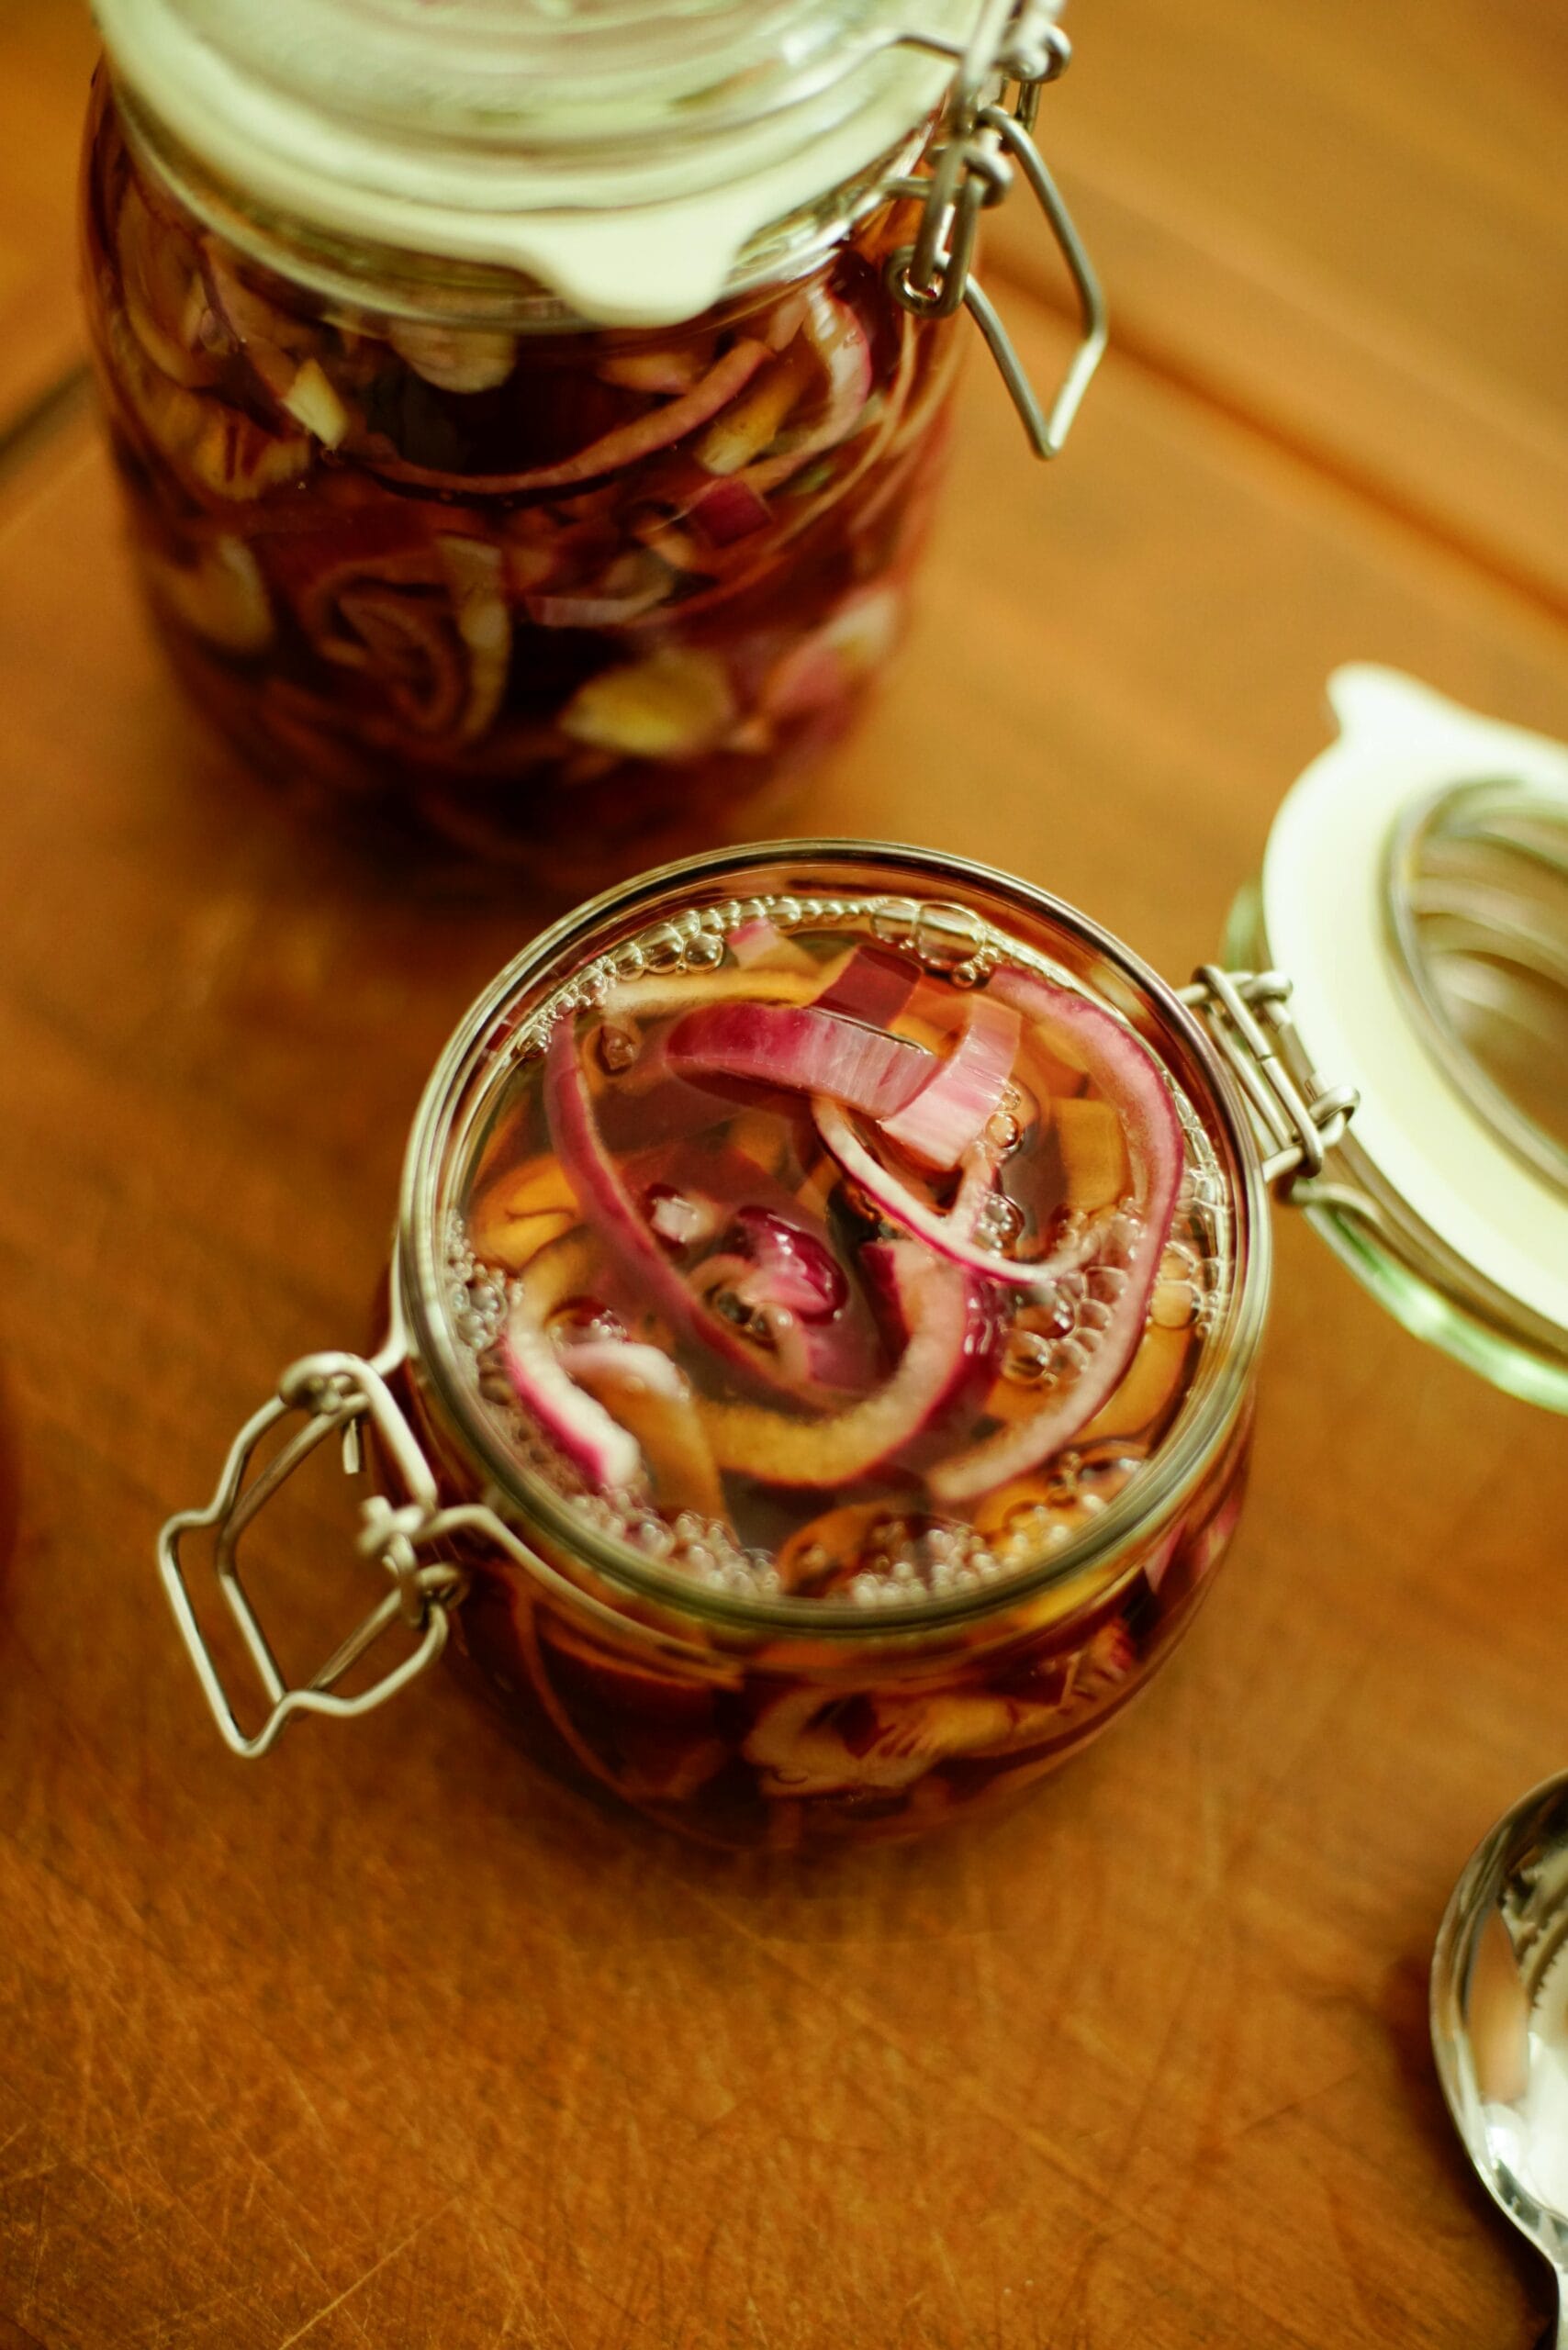
Choose this method when you want pickled onions quickly, like for dinner tonight. You’ll get a more “pickled” taste sooner, because warm brine moves into the onion faster.
Steps
- Pack the onions. Add sliced onions (and any aromatics) to a pint jar. Don’t mash them down hard.
- Heat the brine. In a small saucepan, combine the vinegar, water, sugar, and salt. Warm over medium heat, stirring, just until the sugar and salt dissolve. There is no need to boil it.
- Cool the brine briefly. Take the pan off the heat and let it sit for 5 minutes. You want it hot, not raging.
- Pour and wait. Pour the hot brine over the onions until fully covered. Tap the jar lightly to release air bubbles.
- Cool briefly, then refrigerate. Let the jar stand about 20–30 minutes to lose its initial heat, cover, and refrigerate promptly. Do not wait for complete cooling if that would leave it out beyond 2 hours.
- Chill before serving. The onions can be served after 30 minutes; allow about 2 hours for the brine to move farther into the slices.
For a firmer bite, choose the no-heat method. With warm brine, keep the initial cooling period short and refrigerate promptly rather than leaving the jar out until completely cold.
Method 2: Cold brine for a firmer bite
Choose this method when you prefer a firmer, more raw-onion texture and can wait a little longer. Because the brine is not heated, whisk until the sugar and salt are fully dissolved before adding it to the jar.
Steps
- Dissolve the pickling liquid. In a measuring cup or bowl, whisk vinegar, water, sugar, and salt until fully dissolved. This takes a minute or two.
- Pack the jar. Add onions and any aromatics to a pint jar.
- Pour and press down gently. Add the cold pickling liquid. Use a fork to nudge onions under the liquid.
- Rest, then chill. Let the jar sit at room temp for 15 minutes, then refrigerate.
- Chill before serving. The onions can be served after 1 hour; allow 4 to 6 hours for a more even flavor from edge to center.
The cold-brine onions will be firmer at first. Give them at least 4 hours for a more even flavor from edge to center.
Flavor choices, onion swaps, and how to serve them
Red onions are the classic for quick pickled onions, because they stay firm and develop a vibrant pink color as they sit. White onions taste sharper at first, but they mellow nicely overnight. Sweet onions work too, although they can soften faster.
Choose apple cider, distilled white, or white wine vinegar labeled 5% acidity. Rice vinegar can taste milder, but use it here only if the label states 5% acidity; do not assume unseasoned or standard-strength rice vinegar meets that requirement. Seasoned rice vinegar also contains added sugar and salt.
For easy variations, keep the base brine the same and change the accents. Add a few jalapeño slices for heat, a teaspoon of oregano for taco night, or a strip of citrus zest for fish tacos.
These are refrigerator pickles, not water-bath canned. Keep them cold, and don’t store them at room temperature.
Make-ahead and storage
Refrigerate the jar at 40°F (4°C) or colder, date it, and use this small batch within 7 days. The one-week limit is a conservative house rule for this unprocessed recipe, not a validated shelf-life study. Keep the slices submerged, use a clean utensil, and discard the whole batch if you see mold, smell an off odor, or notice unexpected bubbling or slime.
The University of Minnesota Extension explains that refrigerator pickles are not shelf-stable and that jars should be sterilized before filling. Oregon State University Extension advises using vinegar labeled 5% acidity and adding sugar rather than reducing vinegar when a pickle tastes too sour. This article is not a water-bath canning process.
Easy ways to use them
Pile them on tacos, burrito bowls, and other Mexican dishes, add them to avocado toast, tuck them into burgers and pulled pork sandwiches, or scatter them over grain bowls and salads. They also wake up smoked meats, especially brisket and chicken thighs.
Troubleshooting
If something seems off with your pickled red onions, this table fixes most problems fast.
| Problem | Likely cause | Fix next time |
|---|---|---|
| Onions turned soft | Liquid too hot or slices too thin | Use 1/8-inch (3 mm) slices; cool briefly, cover, and refrigerate promptly |
| Too sharp or “raw” | Thick slices or not enough pickling time | Slice a bit thinner and wait overnight |
| Too salty | Salt over-measured, or a denser salt substituted by volume | Weigh the salt for the next batch. For serving, drain a small portion rather than diluting the stored jar |
| Not tangy enough | Too much water, weak vinegar ratio | Use the measured 3-to-1 brine and give it a few more hours |
Most texture issues come from heat and slice thickness, so fix those first.
Before you make a batch
- Choose a firm onion and cut even 1/8-inch (3 mm) slices.
- Use vinegar labeled 5% acidity and keep the measured 3-to-1 brine.
- Warm the brine only until the sugar and salt dissolve, or whisk it cold until clear.
- Keep the onions submerged, refrigerate promptly, date the jar, and use within 7 days.
- Do not treat this refrigerator recipe as a canning process.
Drain a spoonful for fire-pit hot dogs or toaster-oven grilled cheese. Keep the serving utensil clean and the rest of the jar chilled. For a bowl-style meal, try them over taco soup.