Family Recipe HQ • Kitchen guide
How to tell when chicken breast is done: put a food thermometer into the center of the thickest part and confirm 165°F (74°C). Check each breast separately. White meat, clear juices, and browning cannot tell you the temperature of that center.
Chicken breast doneness at a glance
| Reading or cue | What it tells you | What to do |
|---|---|---|
| Below 160°F | The checked spot has not reached the simple USDA home-cooking endpoint | Continue cooking |
| 160–164°F | Close, but not yet at the 165°F endpoint used in this guide | Return to the heat and recheck soon |
| 165°F | Safe minimum for chicken breast and other poultry | Remove from the heat unless another checked area is cooler |
| Pink or tan meat | Color alone cannot establish safety | Trust a correctly placed thermometer reading |
| White exterior | The surface has cooked; the center may still be cooler | Measure the thickest part |
| Clear juices | A secondary visual cue, not a safety test | Confirm with a thermometer |
FoodSafety.gov lists 165°F for all poultry, including breasts, thighs, wings, ground poultry, and stuffing cooked inside poultry. That is the clearest rule for a home cook who wants one dependable endpoint.
How to tell when chicken breast is done with a thermometer
An instant-read digital thermometer gives a useful result in seconds. The important detail is not merely owning one; it is placing the sensing area in the coldest part of the meat.
1. Identify the thickest area
Look at the breast from the side. The rounded center is usually thicker than the tapered end. If several pieces are cooking together, identify the thickest piece rather than assuming they will all finish at once.
2. Insert the probe correctly
For a thick boneless breast, insert the probe into the center of the thickest section. For a thin chicken breast, USDA thermometer guidance recommends inserting the probe from the side so the sensing area reaches the center instead of passing through the meat or measuring the hot pan.
Keep the probe away from bone and the cooking surface. If the tip touches a hot skillet or sheet pan, the display can reflect the pan rather than the chicken.
3. Check more than one place when needed
Uneven breasts may have a thick lobe and a thinner tail. Check the thick center and, when the shape is irregular, a second nearby spot. When cooking several breasts, check each piece before serving it. Remove pieces as they reach 165°F rather than waiting for the thickest one while the smaller pieces dry out.
4. Recheck a low reading
If the center reads 160–164°F, return the chicken to the heat. Recheck soon in the same thick area, adjusting the probe angle slightly so you are not measuring the warm channel left by the first insertion. Do not treat a white exterior or clear-looking juice as permission to skip the final reading.
Why thickness matters more than weight
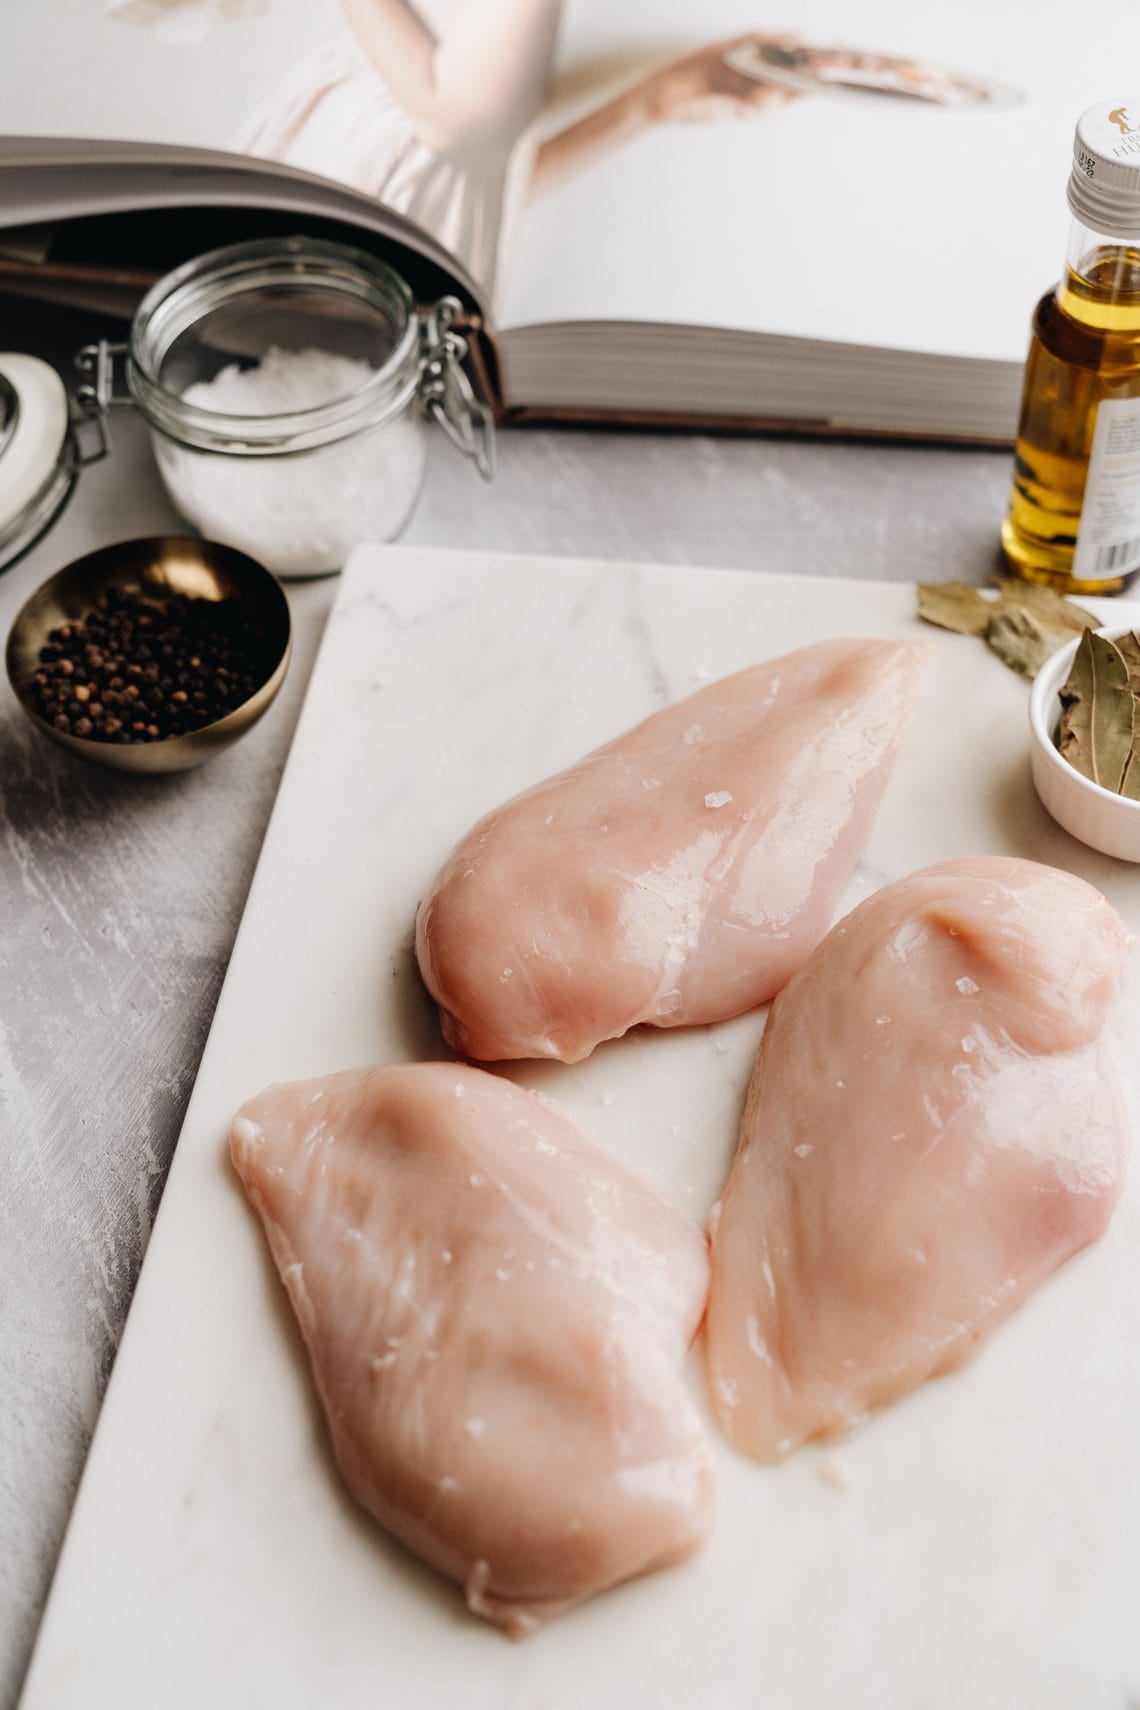
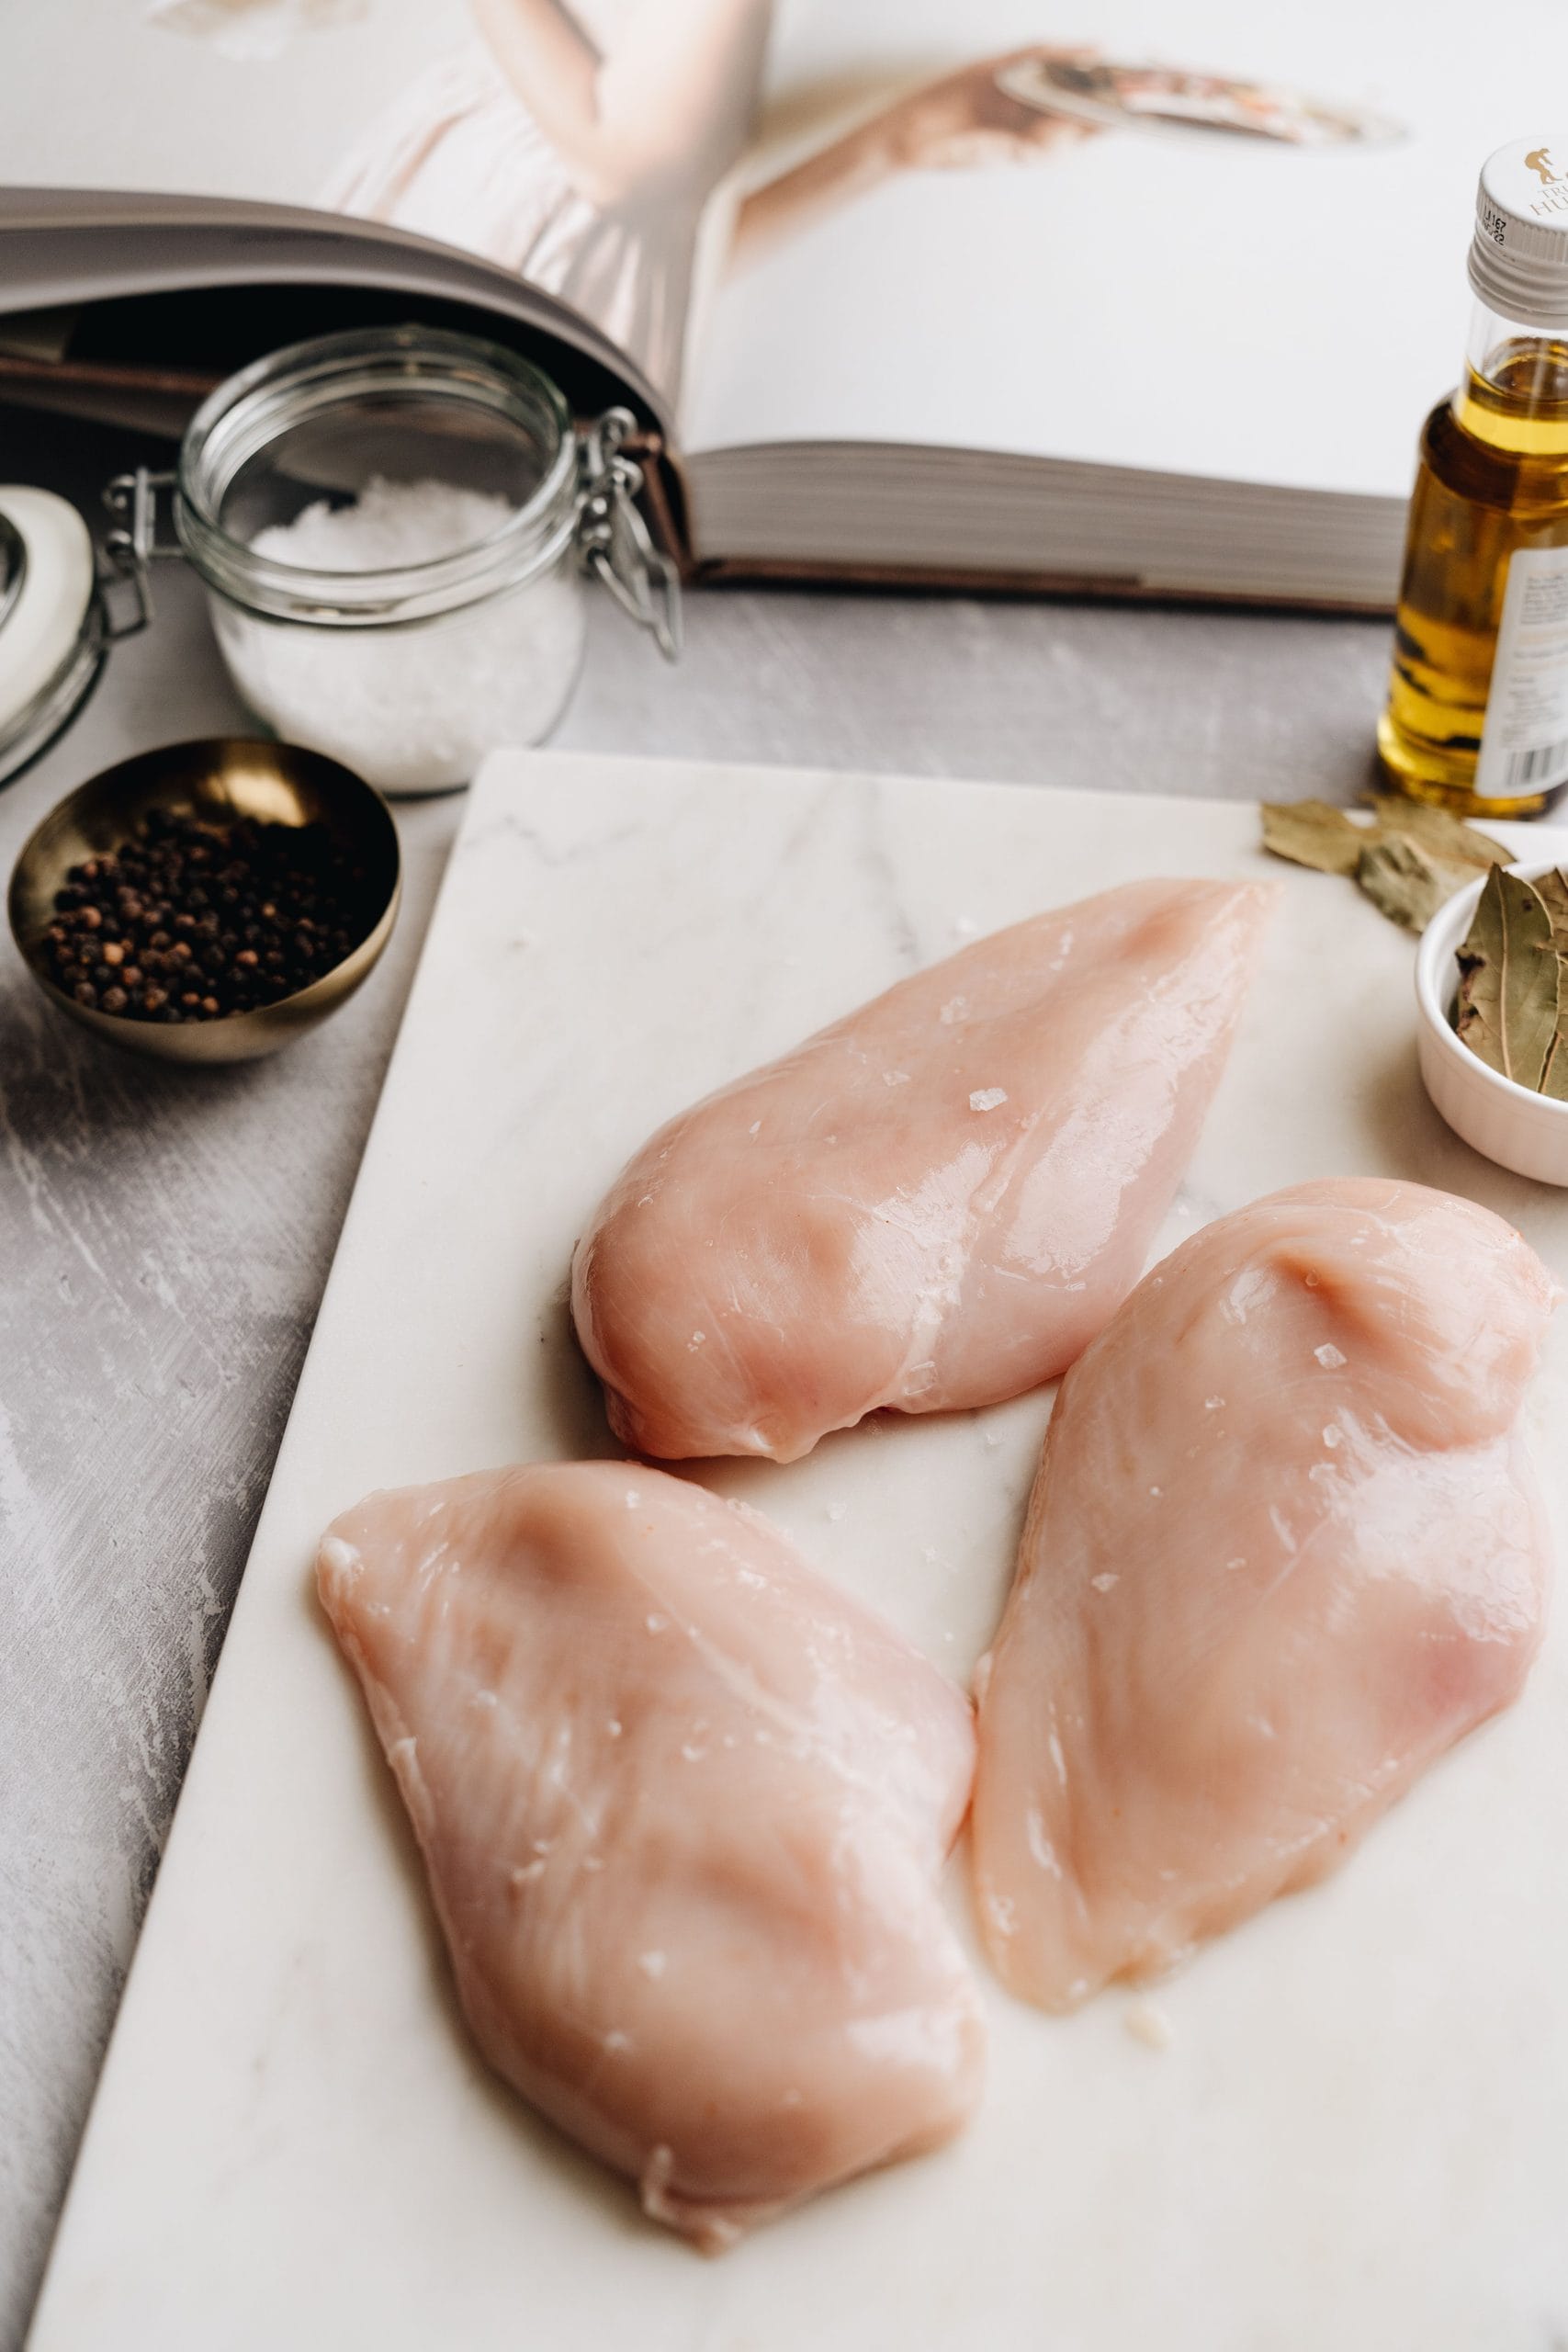
Two chicken breasts can weigh the same and cook at different rates. A broad breast pounded to 3/4 inch exposes more surface area and has a shorter path to its center than a compact breast that is 1 1/2 inches thick.
Before cooking, compare the thickest and thinnest sections:
- If the breast is reasonably even, cook it as directed and check the center near the early end of the recipe’s range.
- If one end is much thicker, pound the breast gently to a more even thickness or butterfly it.
- If a breast is thicker than the example used by the recipe, expect it to need more time and use moderate heat so the outside does not scorch first.
- If pieces vary noticeably, cook them in a single layer and remove each one when its own center reaches 165°F.
Pounding is a timing-control technique, not a safety shortcut. The thermometer remains the final check.
Useful cooking-time ranges without treating the clock as a test
Cooking times are planning estimates. Oven accuracy, starting temperature, thickness, bone, pan material, crowding, and appliance design all affect the result.
FoodSafety.gov’s poultry roasting chart gives these oven estimates at 350°F:
- A 4-ounce boneless chicken breast half: approximately 20–30 minutes.
- A 6–8-ounce bone-in breast half: approximately 30–40 minutes.
Those figures are a starting point, not proof of doneness. A modern store-bought boneless breast is often larger than four ounces, so the 20–30 minute estimate may not match the piece in front of you.
For other methods, follow the recipe’s stated heat and begin checking before the maximum time:
- Skillet: Keep the heat moderate after browning. A very thick breast may benefit from a covered finish or a short oven finish rather than increasingly dark surface color.
- Air fryer: Arrange the breasts in one layer with space for air circulation. Check the thickest piece because browning can occur before the center reaches 165°F. For a complete method, use the site’s air-fryer chicken breast without oil recipe.
- Grill: Move a deeply browned breast to a cooler area if the center is still below 165°F. Grill marks reveal surface browning, not internal doneness.
- Oven: Use a pan large enough to keep pieces in one layer. Start checking at the early end of the relevant size range.
Can cooked chicken breast still be pink?
Yes. USDA guidance explains that safely cooked poultry can range from white to pink to tan. Pigments, smoking, grilling, freezing, and other factors can affect its color. Chicken can also look white before its center reaches the safe temperature.
That means neither of these statements is dependable:
- “It is pink, so it must be raw.”
- “It is white, so it must be safe.”
Use appearance to judge eating quality and to notice an obviously raw, glossy center, but use temperature to judge safety.
What if you do not have a thermometer?
There is no equally reliable visual substitute. Cutting into the thickest section can reveal whether the center is still translucent or gelatinous, but an opaque center does not prove that it reached 165°F. Juice color and firmness have the same limitation.
If a thermometer is unavailable, an opaque center can show that cooking has progressed, but it cannot establish that the chicken reached 165°F. Use a food thermometer to verify the thickest center before serving. For households that cook meat regularly, a digital instant-read thermometer provides more useful information than repeatedly cutting the meat open.
How to keep chicken breast juicy while reaching 165°F
Juiciness depends largely on even cooking and stopping unnecessary heat exposure.
Make the thickness more uniform
Place the breast between sheets of parchment or reusable food-safe wrap and pound the thicker area gently. Aim for consistency rather than an exact measurement. A uniform piece gives the thin end less time to dry while the center catches up.
Use enough heat, but not uncontrolled heat
Heat that is too low can lengthen cooking unnecessarily, while aggressive direct heat can darken the outside before the center is ready. Match the heat to the method, and reduce or relocate the chicken if the exterior is browning too quickly.
Check before you expect it to be finished
The best time to catch 165°F is before the chicken overshoots it. Begin checking at the early end of the recipe’s range, especially for thin pieces, convection ovens, and air fryers.
Rest before slicing
A short rest is a quality step: it lets the temperature settle and reduces the amount of liquid that runs onto the cutting board. The safety instruction in this guide remains to measure 165°F in the chicken rather than depending on unmeasured carryover cooking.
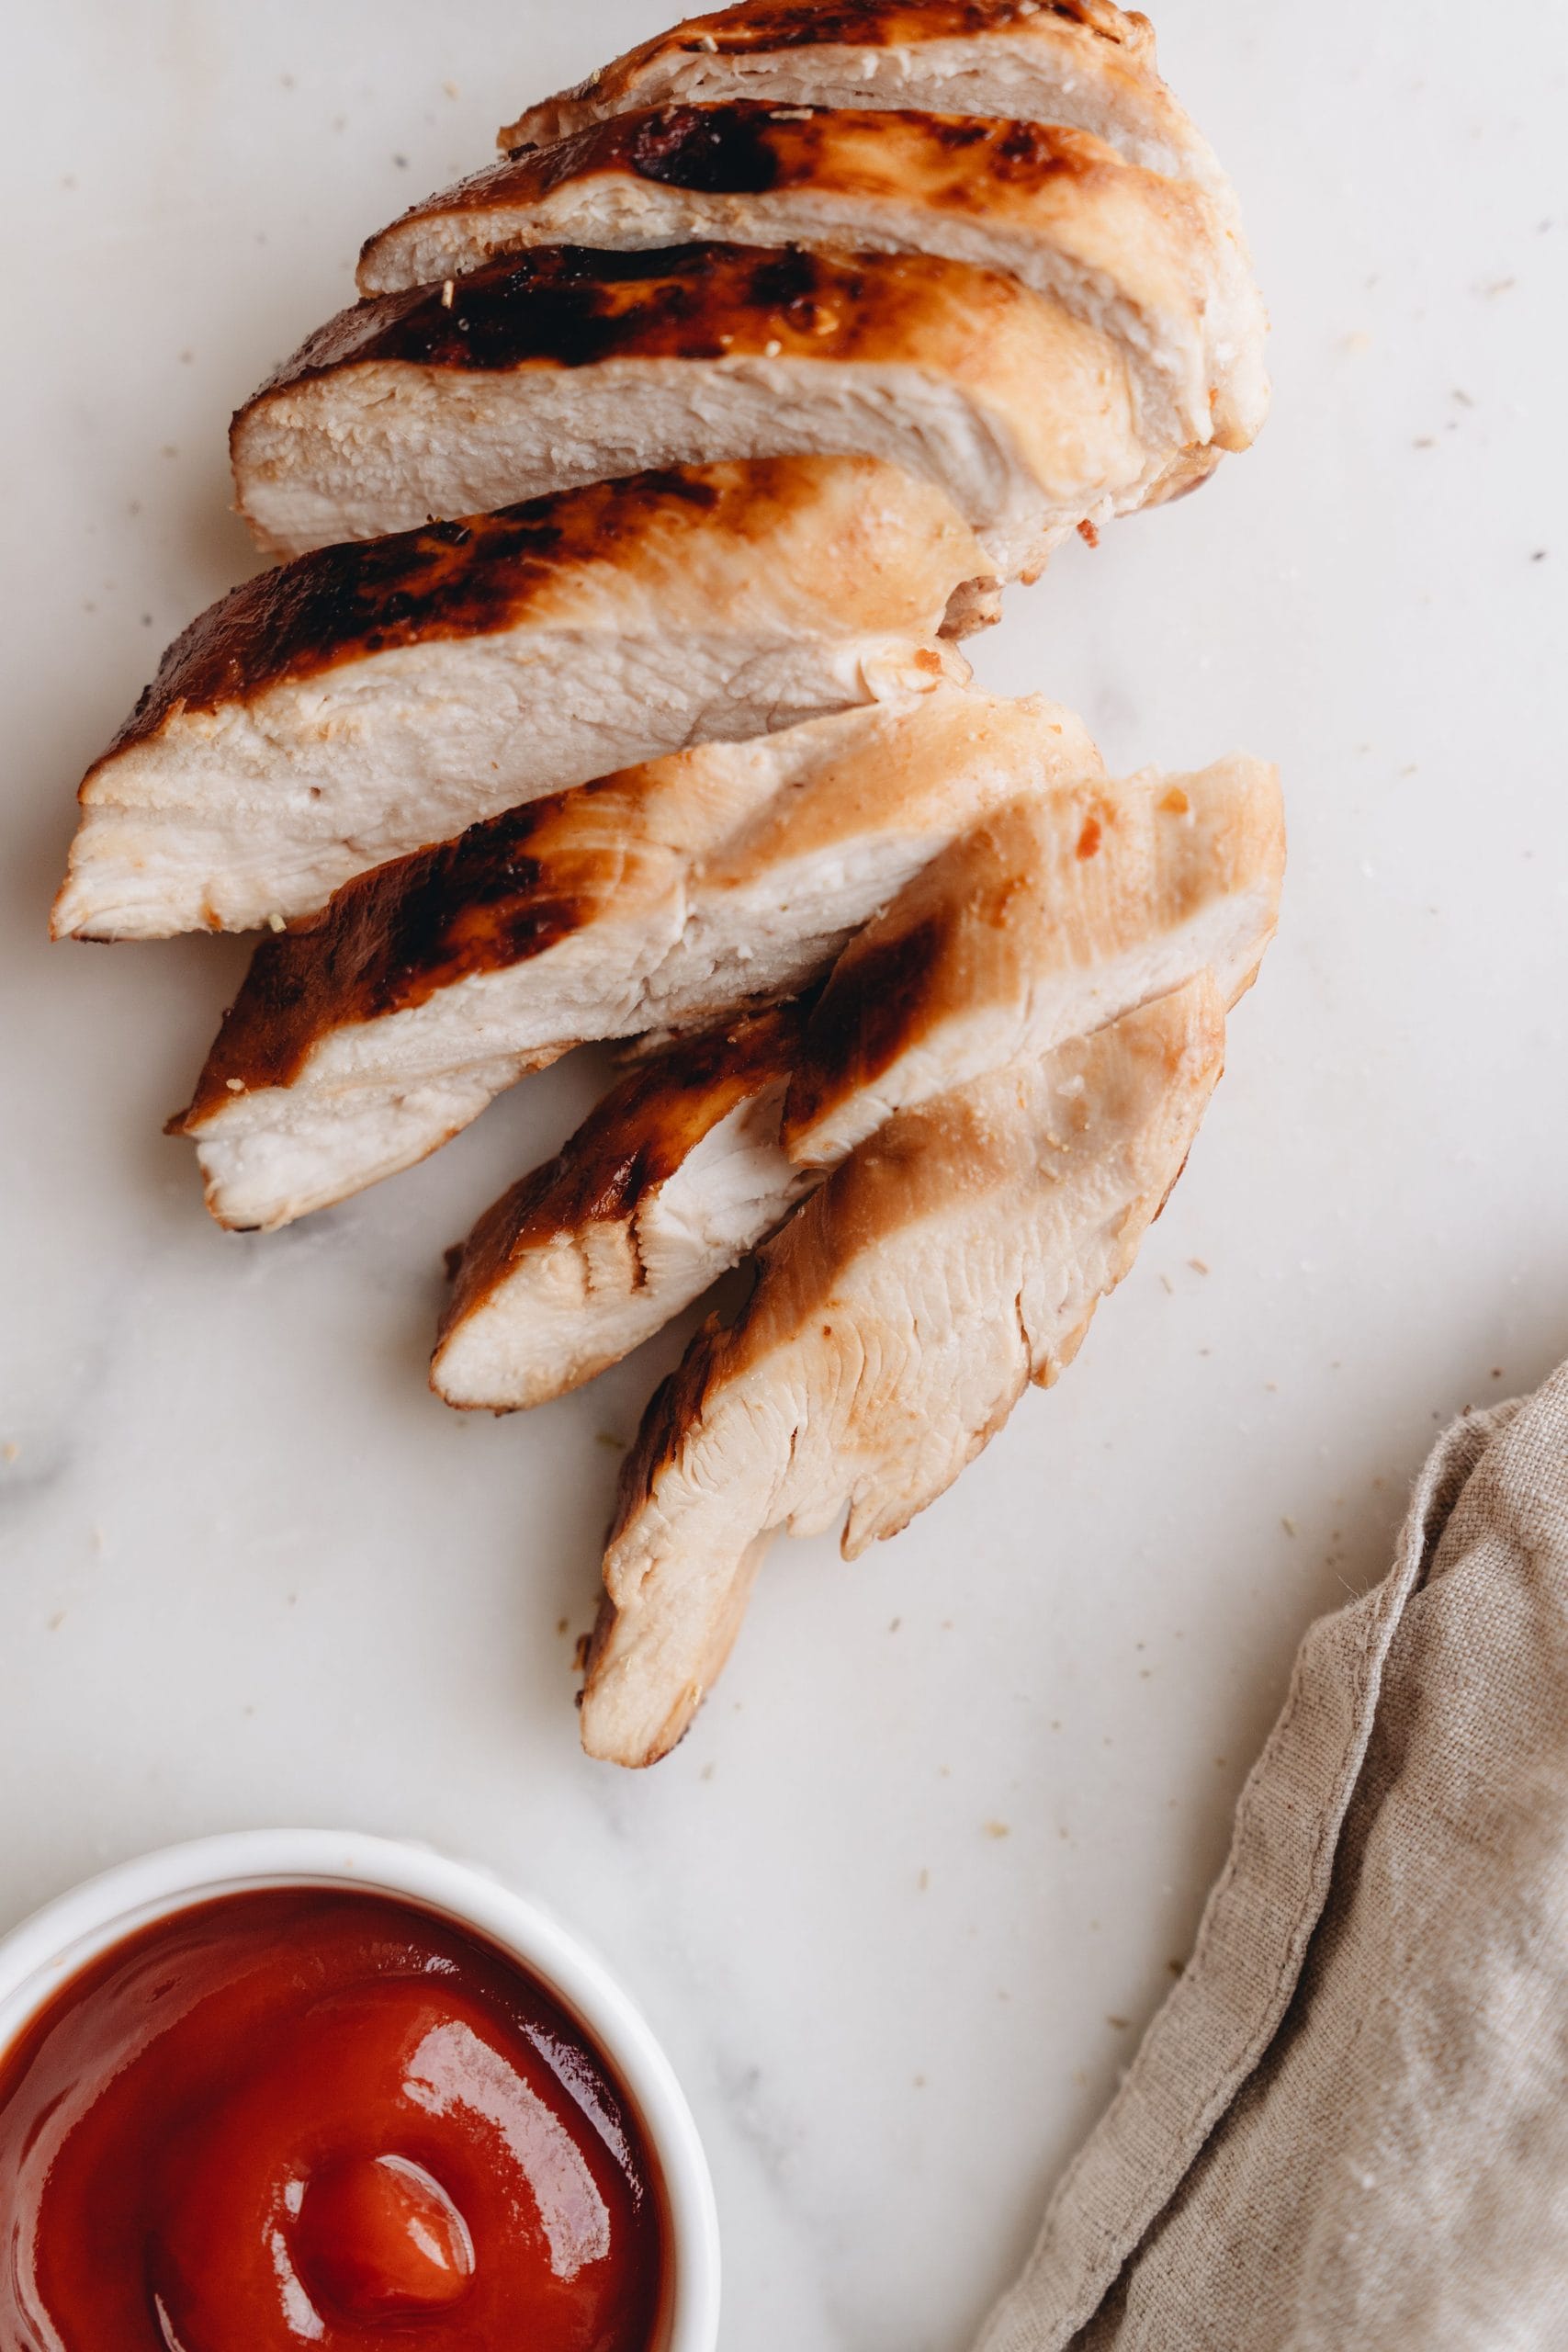
Slice across the grain
Once rested, look for the direction of the muscle fibers and slice across them. This shortens the fibers and can make the chicken easier to chew, even though slicing direction does not change its internal temperature.
Troubleshooting dry, browned, or uneven chicken
The outside is dark but the center is below 165°F
Lower the heat or move the chicken away from direct heat. In a skillet, cover briefly or finish in a moderate oven. On a grill, move it to indirect heat. Next time, flatten the thick area before cooking.
One breast finishes before the others
Remove the finished piece and loosely cover it while the others continue. Cooking every piece for the same number of minutes can overcook smaller ones.
The chicken reaches 170°F or higher
It is above the safety minimum, but lean breast meat may be drier. Start checking earlier on the next batch, verify that the thermometer responds quickly, and make the pieces more uniform.
The reading changes when the probe moves
The first placement may have missed the coldest area. Take readings in the thick center from two angles. Use the lowest accurate center reading to decide whether more cooking is needed.
The breast is cooked but still looks pink
Confirm the reading in the thickest area and make sure the probe did not touch the pan or bone. If the coldest checked area reached 165°F, USDA guidance says color alone is not a reason to consider the poultry unsafe.
Frozen and stuffed chicken breast need extra attention
Frozen chicken cooks less evenly and takes longer than thawed chicken. Follow instructions specifically written for cooking from frozen. USDA guidance advises against placing frozen chicken directly in a slow cooker or microwave; thaw it first for those methods. Regardless of the cooking method, verify 165°F in the center.
For stuffed chicken breast, check two locations: the thickest part of the chicken and the center of the filling. Both must reach 165°F. Follow the package directions for raw frozen breaded stuffed chicken; a browned coating does not mean the filling is hot enough.
Safe storage and reheating
Refrigerate cooked chicken within two hours, or within one hour when it has been exposed to temperatures above 90°F. Divide large amounts into shallow containers so they cool promptly.
FoodSafety.gov’s cold-storage chart lists cooked meat or poultry for 3–4 days in a refrigerator at 40°F or below. Freeze portions that will not be eaten in that window; the chart gives 2–6 months for best freezer quality.
Reheat leftovers to 165°F. To limit drying, add a spoonful of broth or water, cover the chicken, and heat only until the thickest portion reaches the target. Reheat sliced chicken in a single layer when possible so the pieces warm evenly.