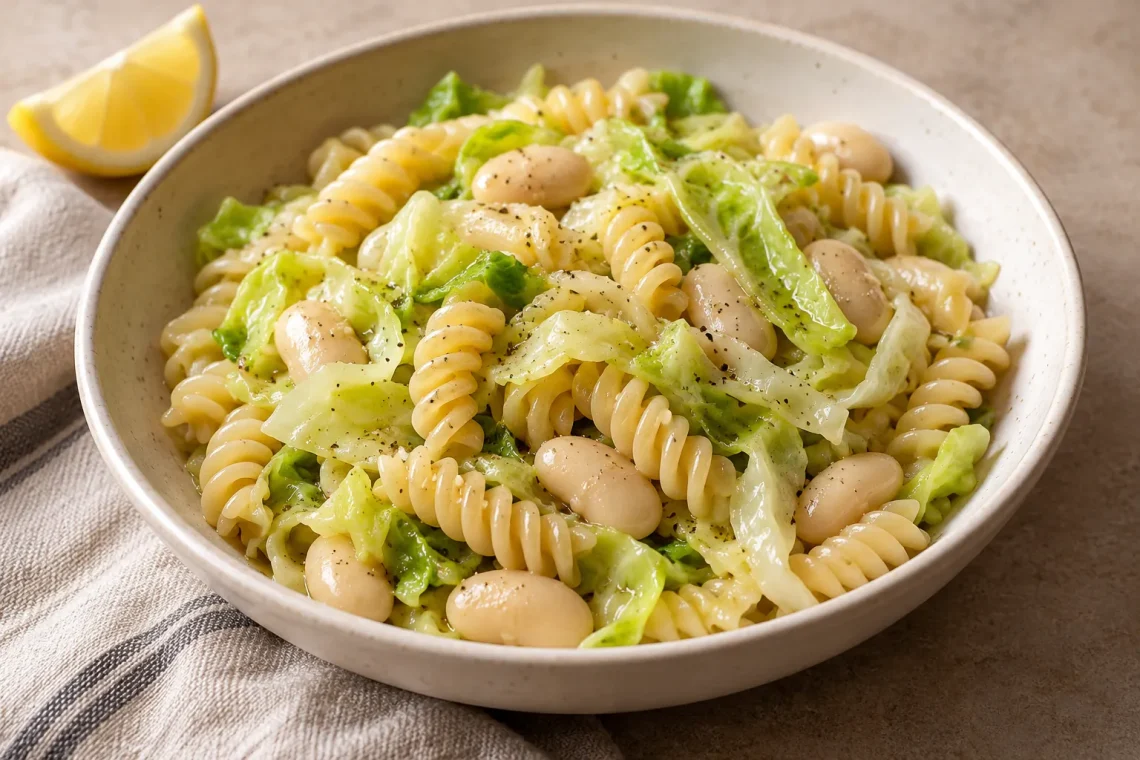
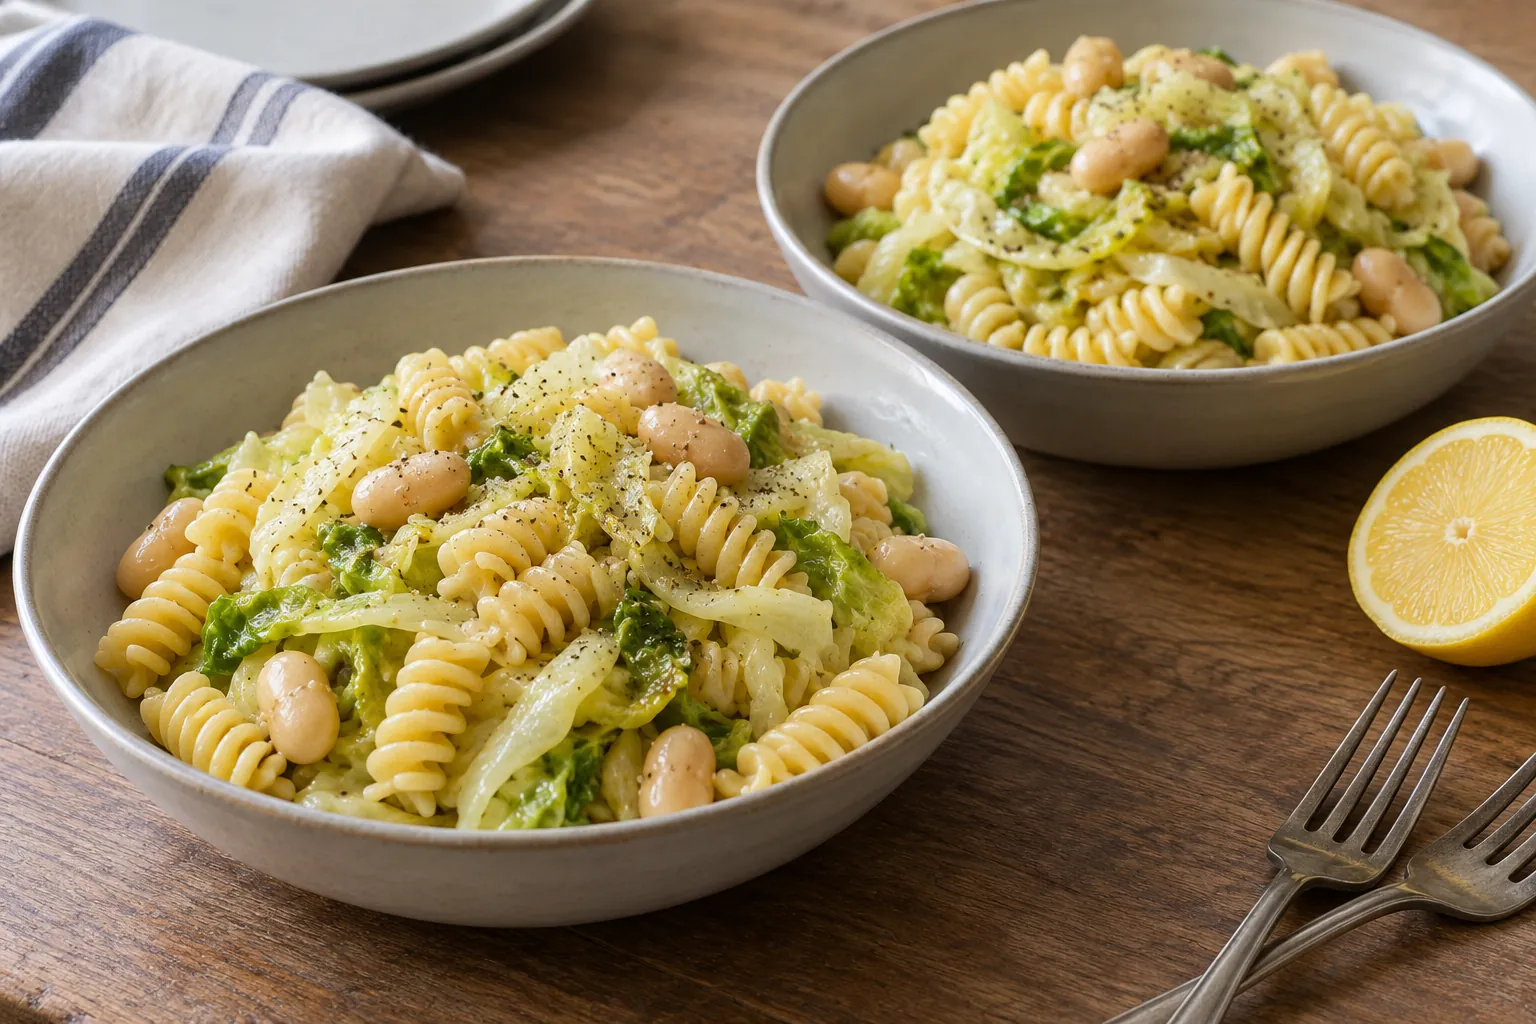
Soft cabbage strands and large white beans give cabbage butter bean rotini with garlic without tomato sauce a gentle, savory character. The cabbage spends several minutes in the skillet before garlic and thyme enter. Cooked rotini and delicate butter beans meet that base only near the end, with lemon and a little reserved pasta water forming a light coating.
This is a pasta dish with visible vegetables and beans rather than a thick sauce. The cabbage should be soft enough to fold around the spirals while keeping a little chew. The beans should remain mostly whole, and the rotini should hold their shape. Preparing the cabbage first gives each component an appropriate amount of cooking.
Use cabbage as the sauce-building ingredient
- Soften the cabbage first: start uncovered and stir between short rests against the pan. Use a brief covered stage with a splash of water only if thicker strands remain firm.
- Add garlic after the cabbage softens: let any added water evaporate, then cook the garlic briefly so it does not scorch.
- Use pasta water deliberately: add only enough to help the cabbage, garlic and oil coat the rotini.
- Warm butter beans last: broad folds keep them whole and prevent a pasty finish.
The finished pasta should have cabbage tucked between the twists, not a separate pool of liquid. If the pan seems dry, loosen it before adding more oil; starchy water restores movement without making the dish greasy.
Let the cabbage set the dinner pace
Affiliate disclosure: As an Amazon Associate I earn from qualifying purchases. Paid links open Amazon search results.
Serves: approximately 2–3. Preparation: about 10–12 minutes. Cooking: about 15–25 minutes, depending on the pasta and cabbage. Estimated total: about 25–37 minutes. Use a pasta pot (paid link), colander (paid link), wide skillet with a lid available, broad spoon or spatula, knife, cutting board and measuring tools.
Start heating the pasta water while you shred the cabbage. Have the garlic, thyme and lemon prepared before the rotini is nearly done. If the cabbage needs a few extra minutes, keep the pasta timing in mind instead of adding firm cabbage to the beans just to make the two pans finish together.
Jump to: recipe card · ingredients · cabbage preparation · method · FAQs.
If one pan finishes first
The cabbage and rotini have separate clocks, and coordinating them does not require starting both at the same second. Read the pasta package before heating the skillet. A very quick-cooking rotini can wait until the cabbage has clearly begun to soften; a slower brand can start earlier. Use the cabbage’s tenderness and the pasta’s bite as the deciding cues.
Cabbage ready first: Take the skillet off the active burner before adding the thyme, garlic and beans. Let the softened cabbage wait briefly, then return the pan to gentle heat when the rotini is nearly ready. Cook the thyme and garlic for the stated brief interval, then warm the beans. Garlic is less forgiving than cooked cabbage and should not keep frying while you wait.
Rotini ready first: Reserve the cooking water and drain promptly instead of leaving tender pasta boiling. Return it to the empty pasta pot off the heat with 1 tablespoon reserved water so the spirals remain movable. Count that tablespoon toward the recipe’s allowance of up to 1/3 cup. This is a brief pause while the cabbage finishes, not a plan to hold the pasta on a warm burner.
Only part of the cabbage is browning: Move the darker shreds away from the skillet’s hottest area and bring paler strands into that space. Taste one of the thicker strands before increasing the heat. A hotter burner can overbrown finished patches before the rest becomes flexible enough to wrap around the rotini.
Doubling needs pan space, not double the time
Scale every measured ingredient together for 4 larger or 6 lighter servings and use enough skillet surface for the cabbage to contact the base. Two familiar wide pans are easier to control than one crowded deep pot. Divide the beans between the pans and add them only during the gentle warming stage. Add reserved water gradually in each pan. Extra preparation and managing two skillets can extend the usual 25–37 minute total; check each pan separately rather than automatically doubling the cooking time.
Reserved pasta water supplies moisture and starch that help an olive-oil coating cling, but this dish should remain lightly glossy rather than turn into a heavy sauce. Add it gradually and stop when the rotini grooves look moist. Barilla’s pasta-water guidance explains the starch-and-moisture role.
Measured ingredients
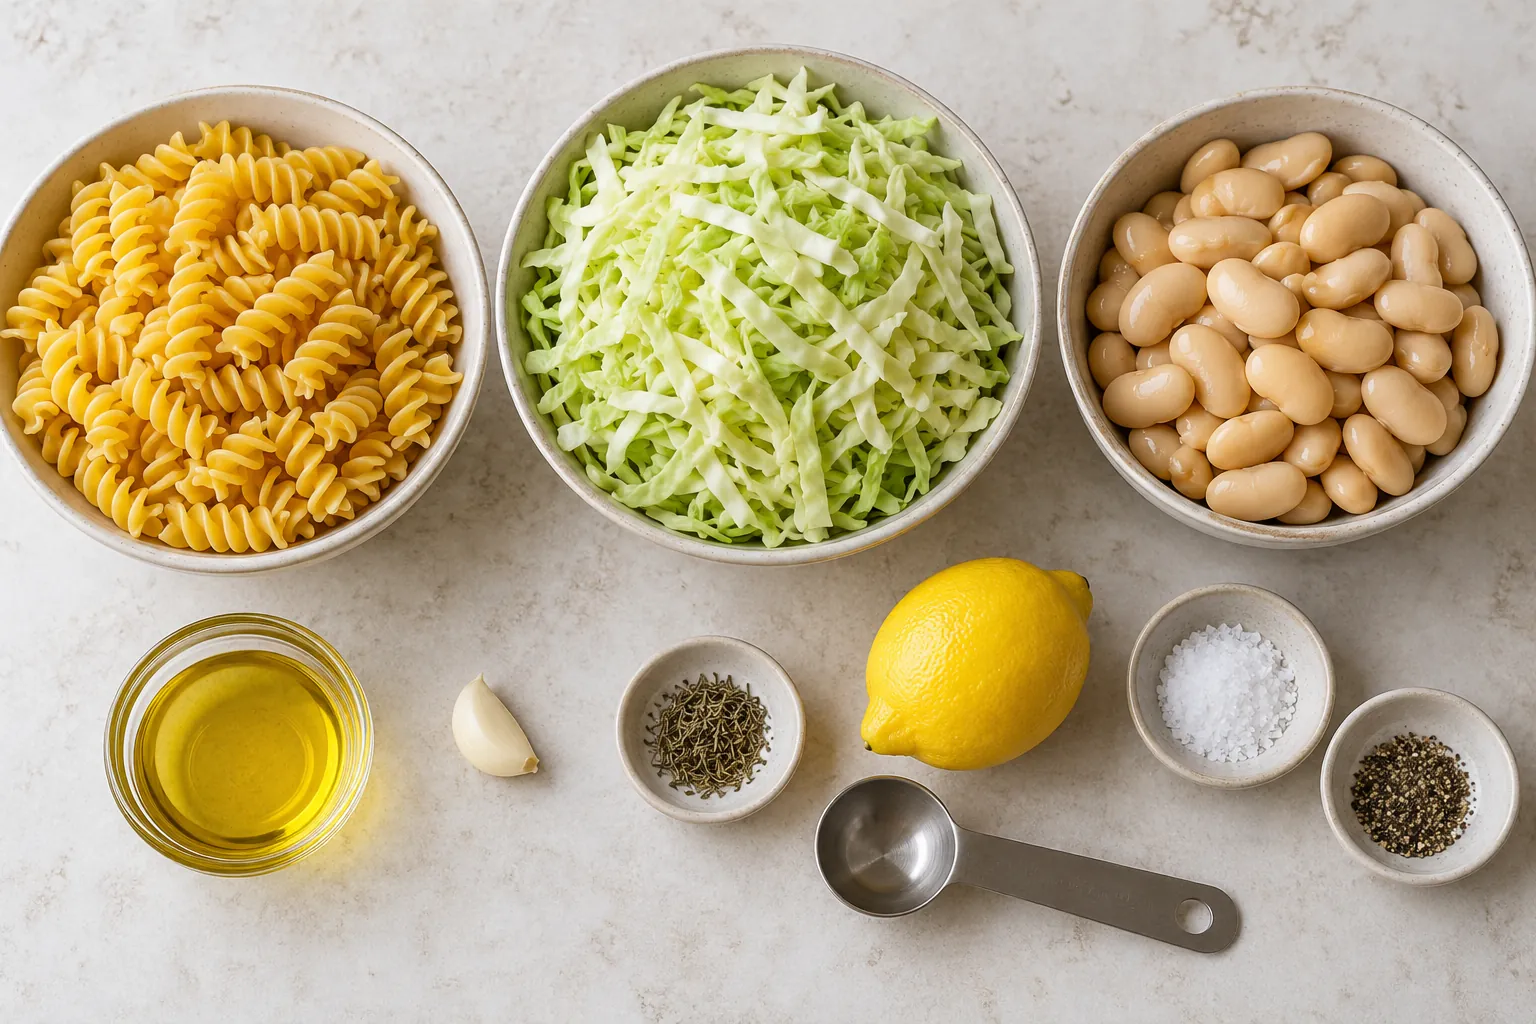
- 6 ounces rotini
- 3 cups thinly shredded green cabbage
- 1 can (15 ounces) butter beans, drained and rinsed
- 2 tablespoons olive oil
- 1 small garlic clove, minced
- 1/4 teaspoon dried thyme
- 1/3 cup pasta water
- 1 tablespoon lemon juice
- Black pepper and salt
Shred cabbage that can wrap around rotini
Remove damaged outer leaves, rinse the green cabbage and cut away tough core sections. Place a wedge flat on the board and slice thinly across it. Cut especially long strands once more so they mix with short pasta rather than forming one large tangled forkful.
Measure three cups of the shreds without compressing them into a dense block. A handful that looks modest can become a much larger packed quantity when pushed firmly into a measuring cup. Keep the reference amount visible in a broad bowl so it can be scattered into the skillet evenly.
The garlic is only one small clove, minced. It should support the cabbage rather than dominate it. Keep the garlic and thyme separate from the raw cabbage so they enter after the vegetable’s longer cooking stage. A few browned cabbage edges are welcome, but black garlic pieces are not part of the intended flavor.
Protect the large beans before they reach the pan
Drain and rinse the butter beans gently. Let the main trickle stop without rubbing them against the colander. Large soft beans can lose their skins before cooking if they are handled roughly. Tip them into a broad bowl so they can slide into the skillet instead of being dug out of a narrow measure.
The drained can is the quantity for this recipe; its printed 15-ounce weight includes packing liquid. Do not replace it with 15 ounces of dry beans or assume uncooked beans will finish in the short pasta schedule. The method relies on fully cooked, tender beans needing only final warming.
Reserve enough liquid without pouring it all in
Save 1/2 cup of pasta cooking water before draining, then use the listed 1/3 cup gradually to help coat the rotini. The remainder is a small adjustment supply. It is easier to add another spoonful than to remove a large puddle after the delicate beans are already in the pan.
Put the measuring cup beside the colander as a reminder. The water should come from the cooked-pasta pot, and it stays hot, so set it down on a stable surface. Measure the tablespoon of lemon separately and hold it for the final off-heat finish.
Cook cabbage butter bean rotini with garlic without tomato sauce
- Prepare the pasta water. Bring a pot of water to a boil and salt to preference. Check the rotini package so you know its approximate cooking time. Keep the colander and heatproof measuring cup ready for the later drain.
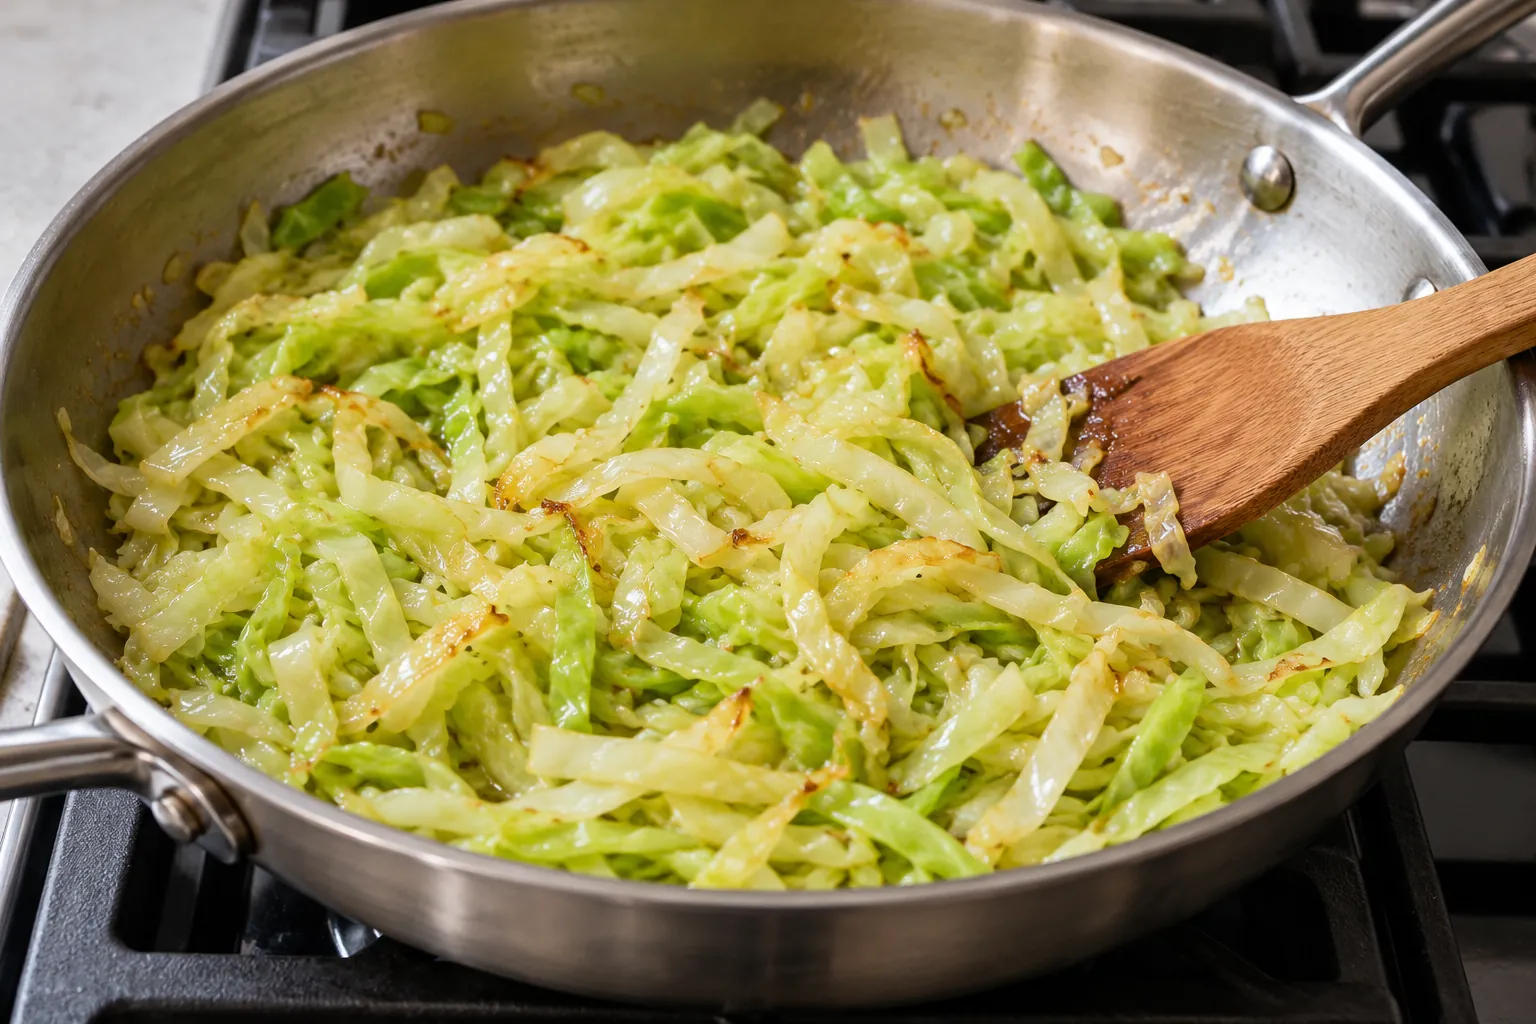
- Start the cabbage. Warm the oil in the wide skillet over medium heat. Add the thin cabbage shreds and spread them broadly. Cook for about 7–9 minutes, stirring between short rests against the pan. Look for softened strands with a few golden edges.
- Cook the rotini alongside. Add the dry rotini to the boiling water when the cabbage is progressing toward tenderness. Stir so the spirals separate, then cook according to the package until tender with a little bite. Start checking near the suggested time.
- Finish tenderizing cabbage if needed. If thicker strands still resist, add a splash of water and cover briefly. Keep the butter beans out during this correction. Once the cabbage is ready, uncover and clear any excess liquid before adding the aromatics.
- Add thyme, garlic and beans. Stir in thyme and garlic for about 30 seconds. Gently fold in the drained butter beans and warm through over moderate heat. Use broad lifts instead of a hard tossing motion so their large shapes remain intact.
- Reserve and combine. Save 1/2 cup of cooking water, then drain the rotini. Add pasta to the skillet with part of the listed third cup of water. Fold to distribute cabbage among the spirals, adding more of the allowance as needed for a light coating. Use a little extra reserve only if the mixture is still dry.
- Finish with lemon and pepper. Once the whole mixture is hot, remove from the heat and fold in the tablespoon of lemon juice. Taste before adding salt and black pepper. Portion the pasta, cabbage and beans together, lifting from the bottom of the skillet as well as the top.
Keep the finish gentle
Rotini ridges can catch the light garlicky liquid, but they can also knock against the soft bean skins during vigorous stirring. Use a spoon or spatula with a broad face, slide it under a section of pasta and turn that section over. Repeat from another part of the pan rather than beating the entire mixture in circles.
A few beans may break and lightly thicken the coating. That is acceptable, but the goal is not a mashed-bean sauce. Stop folding once the cabbage and liquid are distributed. If the pan is dry, add a little warm water before continuing so the ingredients can move without being pressed against the base.
Choose the right response to the texture
| Observation | Useful response |
|---|---|
| Cabbage remains stiff | Give it a brief moist covered stage before beans enter. |
| Pasta looks dry and tacky | Add warm reserved water by the spoonful and fold gently. |
| A puddle gathers underneath | Use a short uncovered finish and reassess before continuing. |
| Butter beans break repeatedly | Reduce movement and finish once everything is hot. |
Seasoning comes after the texture is close to ready. Taste with the measured lemon before adding extra salt. A bland spoonful of plain cabbage from one side of the pan may simply need the existing coating distributed through it rather than another large seasoning addition.
More simple meal ideas: Try pasta shells white beans broccoli with lemon without cheese or garlic zucchini canned lentil spaghetti without tomatoes.
Serve the soft vegetables with a crisp side
Warm shallow bowls make it easier to gather rotini and cabbage together. Chopped tender herbs are an optional serving addition. A simple green salad or cucumber side provides contrast without competing with the garlic and thyme. There is no need to add another heavy sauce at the table.
For three lighter portions, distribute the large beans deliberately rather than leaving several in the pan until the final scoop. For two fuller bowls, alternate spoonfuls between them. Serve promptly while the light coating remains loose and the pasta has its intended bite.
Cabbage rotini questions
Can I use red cabbage?
It creates a different-colored dish and can tint both pasta and beans purple. Slice it thinly and allow its own tenderness check. The flavor and timing differ from green cabbage, so treat it as a suggested variation rather than a matching result.
Can Savoy cabbage replace green cabbage?
Its softer, crinkled leaves may cook sooner. Use a similar loose measured amount and start checking early. Do not keep cooking simply to reach the longest time in the range. Taste a thicker strand before adding the beans so the shorter cabbage cooking time does not leave the pasta waiting.
Can I use cannellini beans?
They are a plausible one-can substitute and may be easier to keep intact. Their smaller size changes how they sit among the spirals. Drain and rinse them, keep the late addition and still use gentle folding rather than assuming they cannot break.
Can I use another short pasta?
Use the same dry weight and follow its package time. Short spirals or similar shapes are easier to combine with cabbage than large stuffing shells. Each shape carries liquid differently, so reserve water and judge the final coating instead of copying a fixed pour.
Why does the garlic go in after the cabbage?
Minced garlic cooks much faster than a skillet of raw cabbage. Holding it back lets the cabbage soften and color without exposing the garlic to the entire seven-to-nine-minute stage. The brief aromatic finish should leave a pleasant garlic flavor rather than dark bitter specks.
Can cabbage butter bean rotini with garlic without tomato sauce be packed for lunch?
Yes after prompt safe chilling. Expect the pasta and cabbage to soften and the coating to thicken. Add water during reheating and lift gently to protect the beans. Store any crisp side separately and taste the hot portion before adding more lemon.
Storage and the next reheating
Refrigerate in shallow covered containers within 2 hours, or within 1 hour above 90°F. Keep at 40°F or below and use within 3–4 days. Reheat to 165°F, adding water as needed and stirring carefully so the center heats evenly. Include earlier storage time if the beans were already opened.
A broad, shallow portion needs fewer forceful movements than a compact deep mound. Label the cooking date and reheat only what you plan to eat. The first freshly combined pan remains the reference for the intended pasta bite and whole-bean texture.
Food handling references: USDA leftovers guidance, FDA refrigerated storage advice and FoodSafety.gov reheating temperatures.
Rate this recipe
Made this cabbage and butter bean rotini? Choose a star rating in the comment form and share which ingredient finished first in your kitchen.
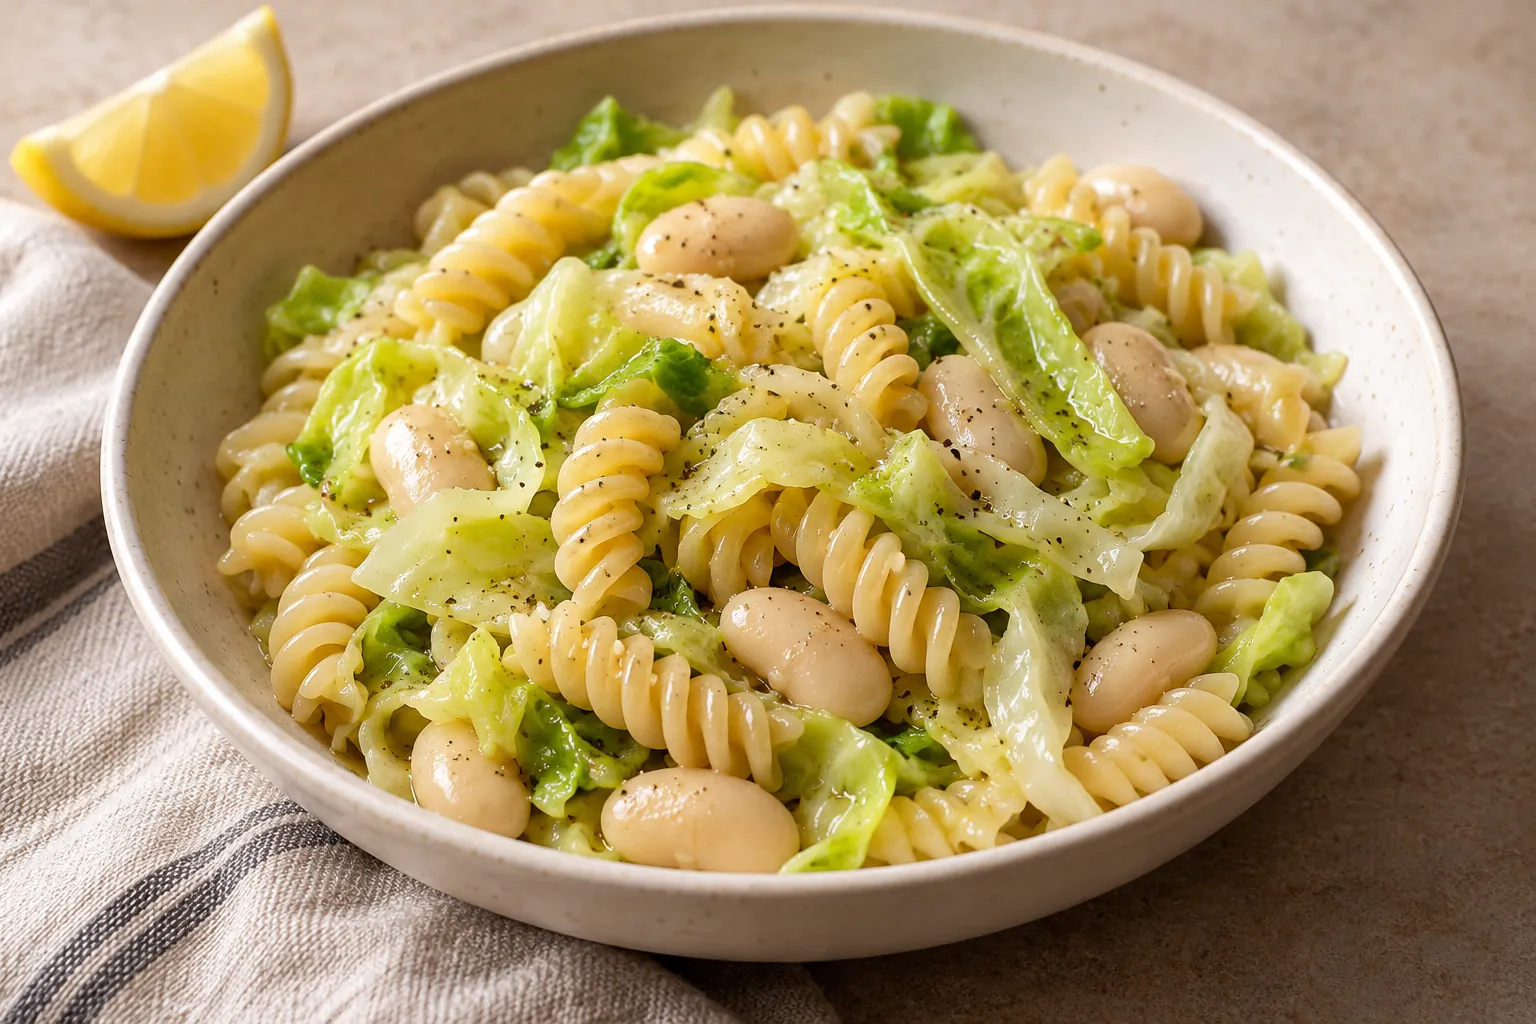
Cabbage Butter Bean Rotini With Garlic Without Tomato Sauce
Ingredients
Equipment
Method
- Bring a pot of water to a boil and salt to preference. Check the rotini package for its approximate cooking time. Set the colander and a heatproof measuring cup beside the stove.
- Warm the olive oil in the wide skillet over medium heat. Add the thin cabbage shreds and spread them broadly. Cook for 7 to 9 minutes, stirring between short rests against the pan, until softened with a few golden edges.
- Add the rotini to the boiling water while the cabbage cooks. Stir so the spirals separate, then cook according to the package until tender with a little bite. Start checking near the suggested time.
- If thicker strands still resist, add a small splash of water and cover briefly. Keep the butter beans out during this correction. Uncover and let excess liquid clear before adding the aromatics.
- Stir in the thyme and garlic for about 30 seconds. Gently fold in the drained butter beans and warm them through over moderate heat. Use broad lifts so the beans remain mostly intact.
- Reserve 1/2 cup pasta cooking water, then drain the rotini. Add the pasta to the skillet with part of the listed 1/3 cup water. Fold gently, adding more of that allowance as needed for a light coating. Use a little extra reserve only if the mixture remains dry.
- Once everything is hot, remove the skillet from the heat and fold in the lemon juice. Taste before adding salt and black pepper. Divide the rotini, cabbage and beans evenly among the bowls.
Notes
- Yield and timing: The batch makes approximately 2–3 servings. Allow 10–12 minutes to prepare and 15–25 minutes to cook, about 25–37 minutes total. The card’s planning estimate is 31 minutes.
- Cabbage: Measure 3 cups loosely after thinly shredding. Let the strands soften and gain a few golden edges before adding garlic and beans. If thick strands stay firm, add a small splash of water and cover briefly, then uncover to clear excess liquid.
- Pasta water: Reserve ½ cup before draining. Add the listed ⅓ cup gradually for a light coating, using a little extra reserve only if the mixture remains dry.
- Gentle finish: Butter beans are already cooked and can break with rough stirring. Fold them through with broad lifts, warm the whole mixture, then add the measured lemon off heat. Taste before adding salt.
- Leftovers: Refrigerate shallow portions within 2 hours, or 1 hour above 90°F (32°C), at 40°F (4°C) or below. Use within 3–4 days and reheat to 165°F (74°C). FoodSafety.gov storage guidance.