How to Guide - Recipes by Method

Easy Homemade Jelly Recipe for Beginners: Step-by-Step Guide

A Simple Homemade Jelly Recipe for Beginners

Making homemade jelly at home may seem difficult at first, but it is actually one of the easiest kitchen projects you can try. With just a few simple ingredients and a little patience, you can make delicious homemade jelly that tastes fresher and better than most store-bought varieties.

This beginner-friendly guide will walk you through every step of the process using easy-to-understand instructions. Even if you have never canned or made jelly before, you can follow along with confidence.


Why Make Homemade Jelly?

There are many reasons people enjoy making their own jelly.

  • Fresh, natural flavor
  • Control over the sweetness
  • No unnecessary preservatives
  • Great for gifts
  • Fun family activity
  • Less expensive than gourmet jelly

Once you make your first batch, you’ll see just how rewarding homemade jelly can be.


What Is Jelly?

easy homemade jelly recipe for beginners

Jelly is a smooth, clear fruit spread made by cooking fruit juice with sugar and pectin until it reaches a thick, spreadable consistency. Unlike jam or preserves, jelly does not contain pieces of fruit. Instead, the fruit juice is strained before cooking, giving jelly its signature clear appearance and silky texture. This makes it a favorite for people who enjoy the sweet flavor of fruit without the seeds or pulp.

The main ingredients in jelly are fruit juice, sugar, pectin, and sometimes a small amount of lemon juice. Pectin is a natural fiber found in many fruits that helps the jelly set as it cools. Some fruits, such as apples and grapes, naturally contain a lot of pectin, while others may require additional commercial pectin to achieve the proper consistency. Sugar not only sweetens the jelly but also works with the pectin to create the gel-like texture that makes jelly easy to spread.

Jelly can be made from a wide variety of fruits, including grapes, strawberries, blackberries, raspberries, apples, peaches, cherries, and even unique combinations of fruits. Some recipes also include herbs, spices, or peppers to create sweet and savory flavors. Because it is made from fruit juice, jelly often has a bright, vibrant color that reflects the fruit it comes from.

People enjoy jelly in many different ways. It is commonly spread on toast, biscuits, English muffins, and peanut butter sandwiches. It can also be used as a glaze for meats, a topping for desserts, or an ingredient in baking recipes. With its smooth texture, fresh fruit flavor, and long shelf life when properly canned, homemade jelly remains a popular pantry staple and a rewarding project for beginner and experienced home cooks alike.


Ingredients

This recipe makes about 5 half-pint jars.

You’ll need:

  • 4 cups fruit juice (grape, apple, blackberry, strawberry, or mixed berry)
  • ¼ cup fresh lemon juice (optional but helps with flavor)
  • 1 box (1.75 ounces) powdered fruit pectin
  • 5 cups granulated sugar

Equipment You’ll Need

Having everything ready before you begin makes the process much easier.

Gather:

  • Large stock pot
  • Medium saucepan
  • Wooden spoon
  • Measuring cups
  • Measuring spoons
  • Ladle
  • Funnel
  • Jelly jars with lids
  • Jar lifter or kitchen tongs
  • Water bath canner or large pot
  • Clean towels

Step 1: Prepare Your Jars

Start by washing the jars, lids, and rings with hot, soapy water.

Rinse everything well.

Place the jars in hot water to keep them warm until you’re ready to fill them.

Warm jars are less likely to crack when hot jelly is added.


Step 2: Prepare the Fruit Juice

If you’re using bottled juice, simply measure out four cups.

If you’re using fresh fruit:

  1. Wash the fruit.
  2. Crush it with a potato masher.
  3. Add a little water.
  4. Simmer for about 10 minutes.
  5. Strain through cheesecloth or a jelly bag.

Try not to squeeze the bag too hard. Let gravity do the work so your jelly stays clear.


Step 3: Mix the Juice and Pectin

Pour the fruit juice into a large pot.

Add:

  • powdered pectin
  • lemon juice (if using)

Stir everything together until the pectin dissolves.


Step 4: Bring to a Boil

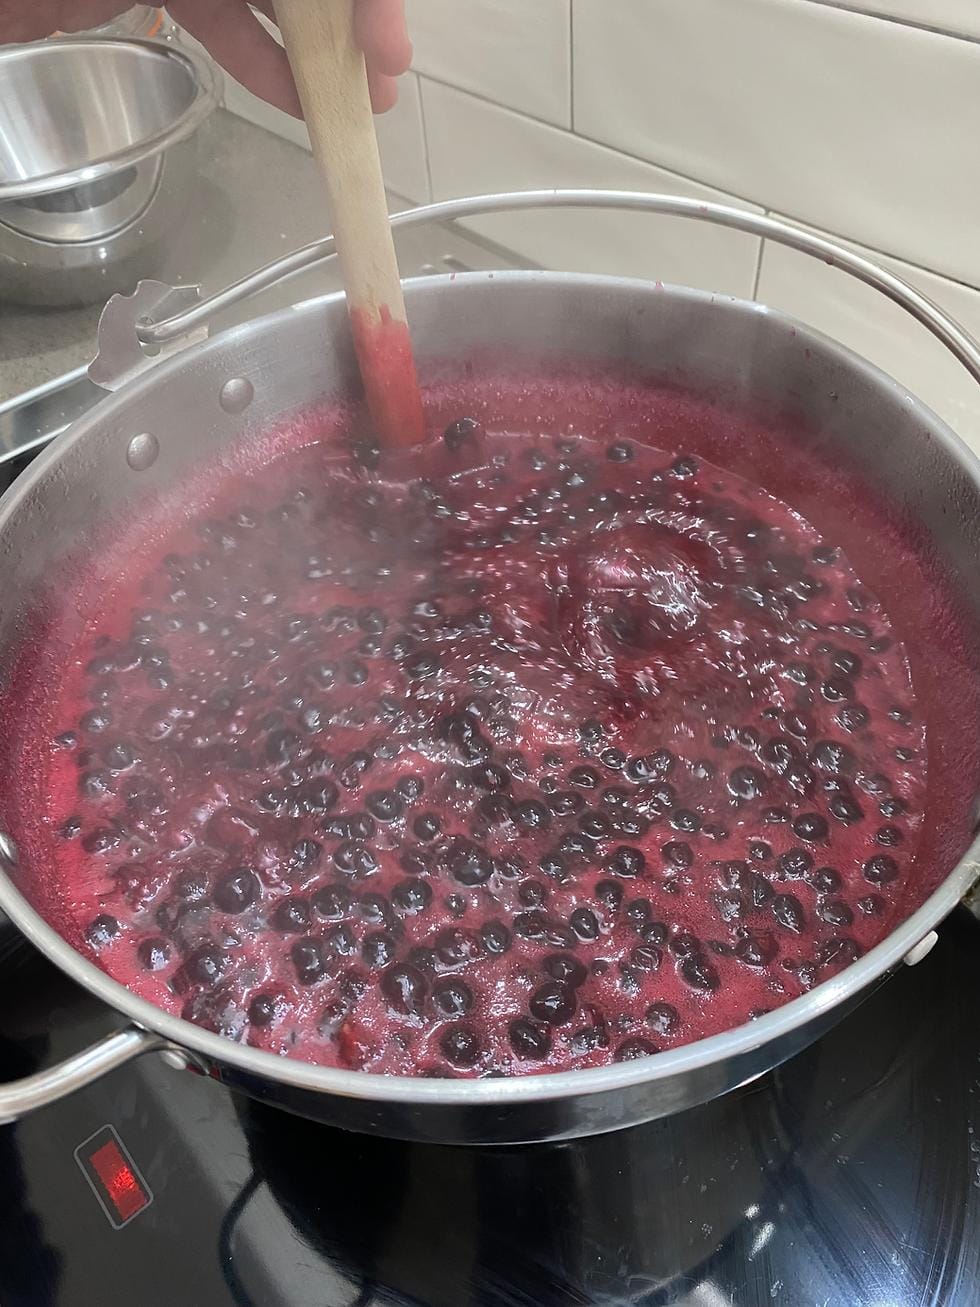
Turn the heat to high.

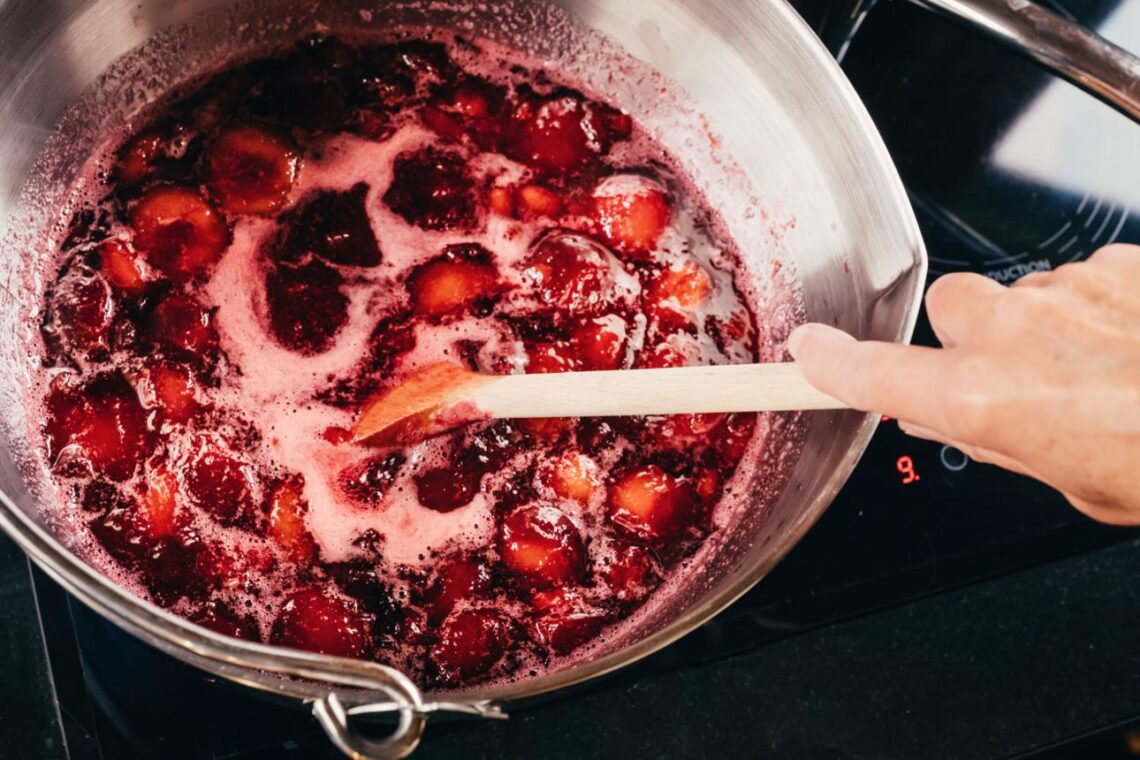
Keep stirring until the mixture reaches a full rolling boil.

A rolling boil means the liquid continues boiling even while you stir.


Step 5: Add the Sugar

Pour in all five cups of sugar at once.

Continue stirring until the sugar completely dissolves.

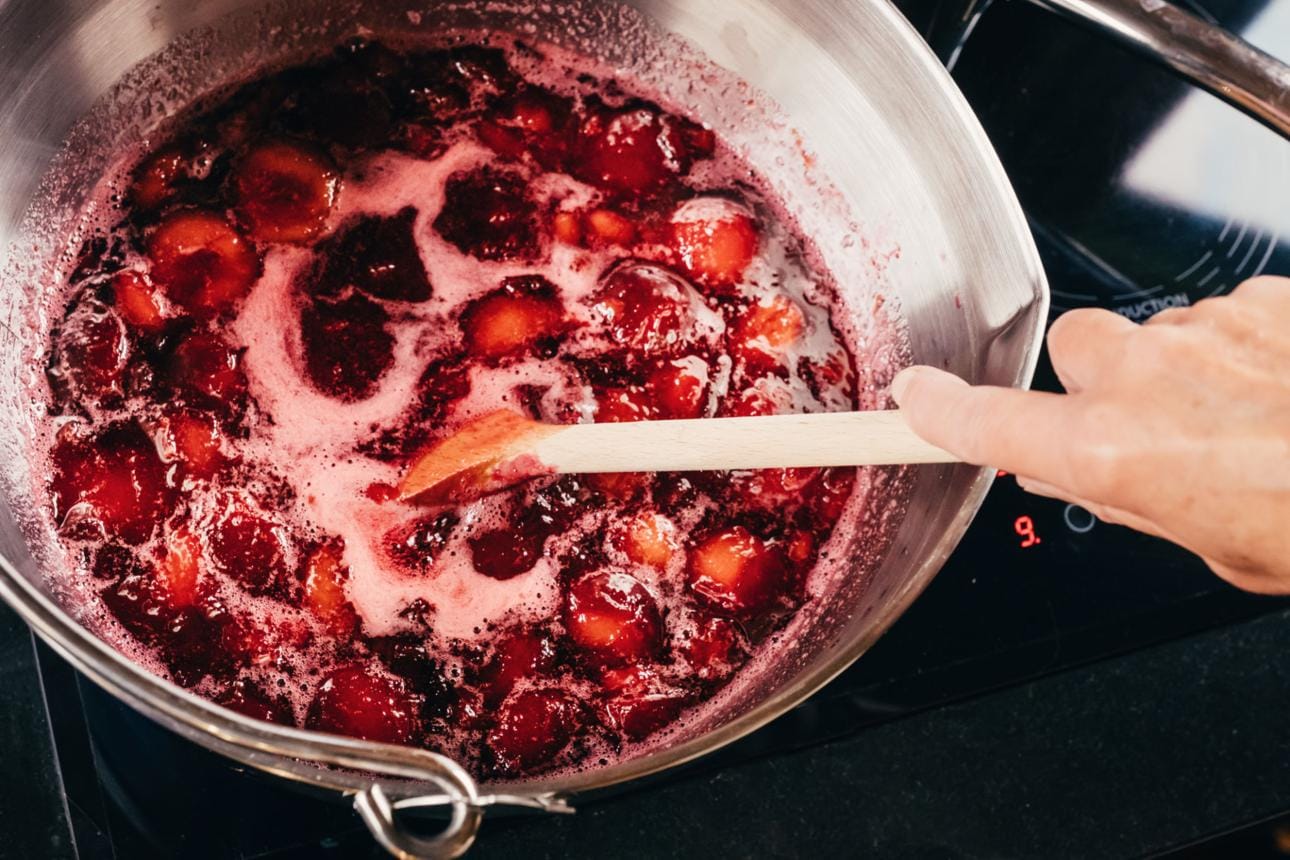
Bring everything back to a full rolling boil.

Boil for exactly one minute while stirring constantly.

Then remove the pot from the heat.


Step 6: Remove Foam

You may notice white foam floating on top.

Use a spoon to skim it off.

Removing the foam helps your finished jelly look clear and attractive.


Step 7: Fill the Jars

Using a funnel and ladle:

  • Fill each warm jar.
  • Leave about ¼ inch of space at the top.
  • Wipe the rims with a clean, damp cloth.
  • Place the lids on the jars.
  • Screw the rings on until fingertip tight.

Do not overtighten them.


Step 8: Process the Jars

Place the filled jars into a boiling water bath.

Make sure the water covers the jars by at least one inch.

Process for 10 minutes (adjust for high altitude if needed).

Carefully remove the jars.

Place them on a towel and allow them to cool undisturbed for 12 to 24 hours.


Step 9: Check the Seal

After the jars have cooled, press the center of each lid.

If the lid does not move, the jar is sealed.

If it pops up and down, refrigerate that jar and use it within a few weeks.


How Do You Know the Jelly Is Ready?

Good jelly should:

  • Jiggle slightly
  • Hold its shape on a spoon
  • Spread easily
  • Not run like syrup

As the jars cool, the jelly will continue to firm up.


Beginner Tips for Success

If this is your first time making jelly, these simple tips can make a big difference.

Measure Carefully

Too much sugar or too little pectin can prevent the jelly from setting properly.


Don’t Double the Recipe

Large batches often don’t set as well.

For the best results, make one batch at a time.


Stir Constantly

Frequent stirring helps prevent scorching and ensures the sugar dissolves evenly.


Use Fresh Ingredients

Fresh fruit juice and fresh pectin produce the best flavor and texture.


Keep Everything Clean

Clean jars and utensils help prevent spoilage and keep your jelly safe for storage.


Easy Flavor Ideas

Once you’ve mastered the basic recipe, try different fruits.

Some favorites include:

  • Grape jelly
  • Apple jelly
  • Blackberry jelly
  • Raspberry jelly
  • Strawberry jelly
  • Blueberry jelly
  • Mixed berry jelly
  • Peach jelly
  • Cherry jelly
  • Jalapeño pepper jelly

Each fruit creates its own unique flavor.


Ways to Enjoy Homemade Jelly

Homemade jelly is incredibly versatile.

Try it on:

  • Toast
  • English muffins
  • Biscuits
  • Peanut butter sandwiches
  • Pancakes
  • Waffles
  • Cheesecake
  • Yogurt
  • Ice cream
  • Thumbprint cookies

It also makes an excellent glaze for meats like ham or pork.


Common Problems and Simple Fixes

Jelly Didn’t Set

Possible causes:

  • Not enough pectin
  • Incorrect sugar measurement
  • Boiled too long or not long enough

Sometimes jelly firms up after another day or two.


Jelly Is Too Thick

This usually happens when the mixture boils too long.

Next time, carefully watch the clock during the one-minute rolling boil.


Jelly Is Cloudy

Cloudiness often comes from squeezing the fruit bag while straining.

Allow the juice to drip naturally for the clearest jelly.


Sugar Crystals Formed

This can happen if the sugar wasn’t fully dissolved before boiling.

Keep stirring until everything is completely mixed.


Storage Tips

If properly processed:

  • Store sealed jars in a cool, dark place.
  • Homemade jelly usually keeps for up to one year.
  • Refrigerate after opening.
  • Use opened jelly within about one month for the best quality.

Always discard any jar with mold, an off smell, or a broken seal.


easy homemade jelly recipe for beginners

Frequently Asked Questions:

Can I use frozen fruit?

Yes. Thaw the fruit completely before extracting the juice.


Can I reduce the sugar?

Only if you’re using a low-sugar pectin specifically designed for that purpose.


Do I need pectin?

Most beginner recipes are much easier and more reliable with commercial pectin.


Can I freeze jelly instead of canning it?

Yes. Let the jelly cool, place it in freezer-safe containers, and leave room for expansion before freezing.


How long does homemade jelly last?

Properly sealed jars generally last up to one year in a cool, dark pantry. Once opened, keep the jelly refrigerated.


Final Thoughts

Making homemade jelly doesn’t have to be complicated. By following this simple step-by-step guide, even beginners can create smooth, flavorful jelly with confidence. Measure your ingredients carefully, follow the boiling times, and use clean jars for the best results. After your first successful batch, you’ll be ready to experiment with different fruits and flavors while enjoying delicious homemade jelly all year long.

Leave a Reply

Your email address will not be published. Required fields are marked *