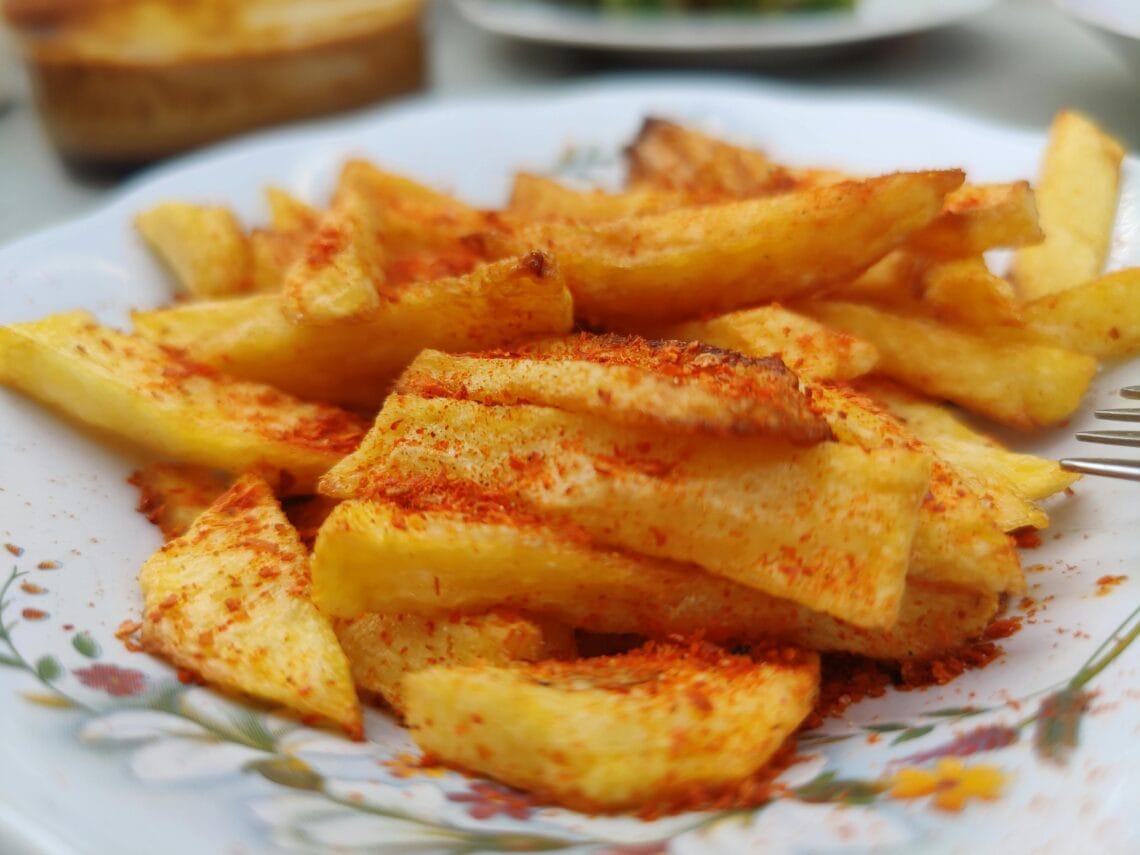
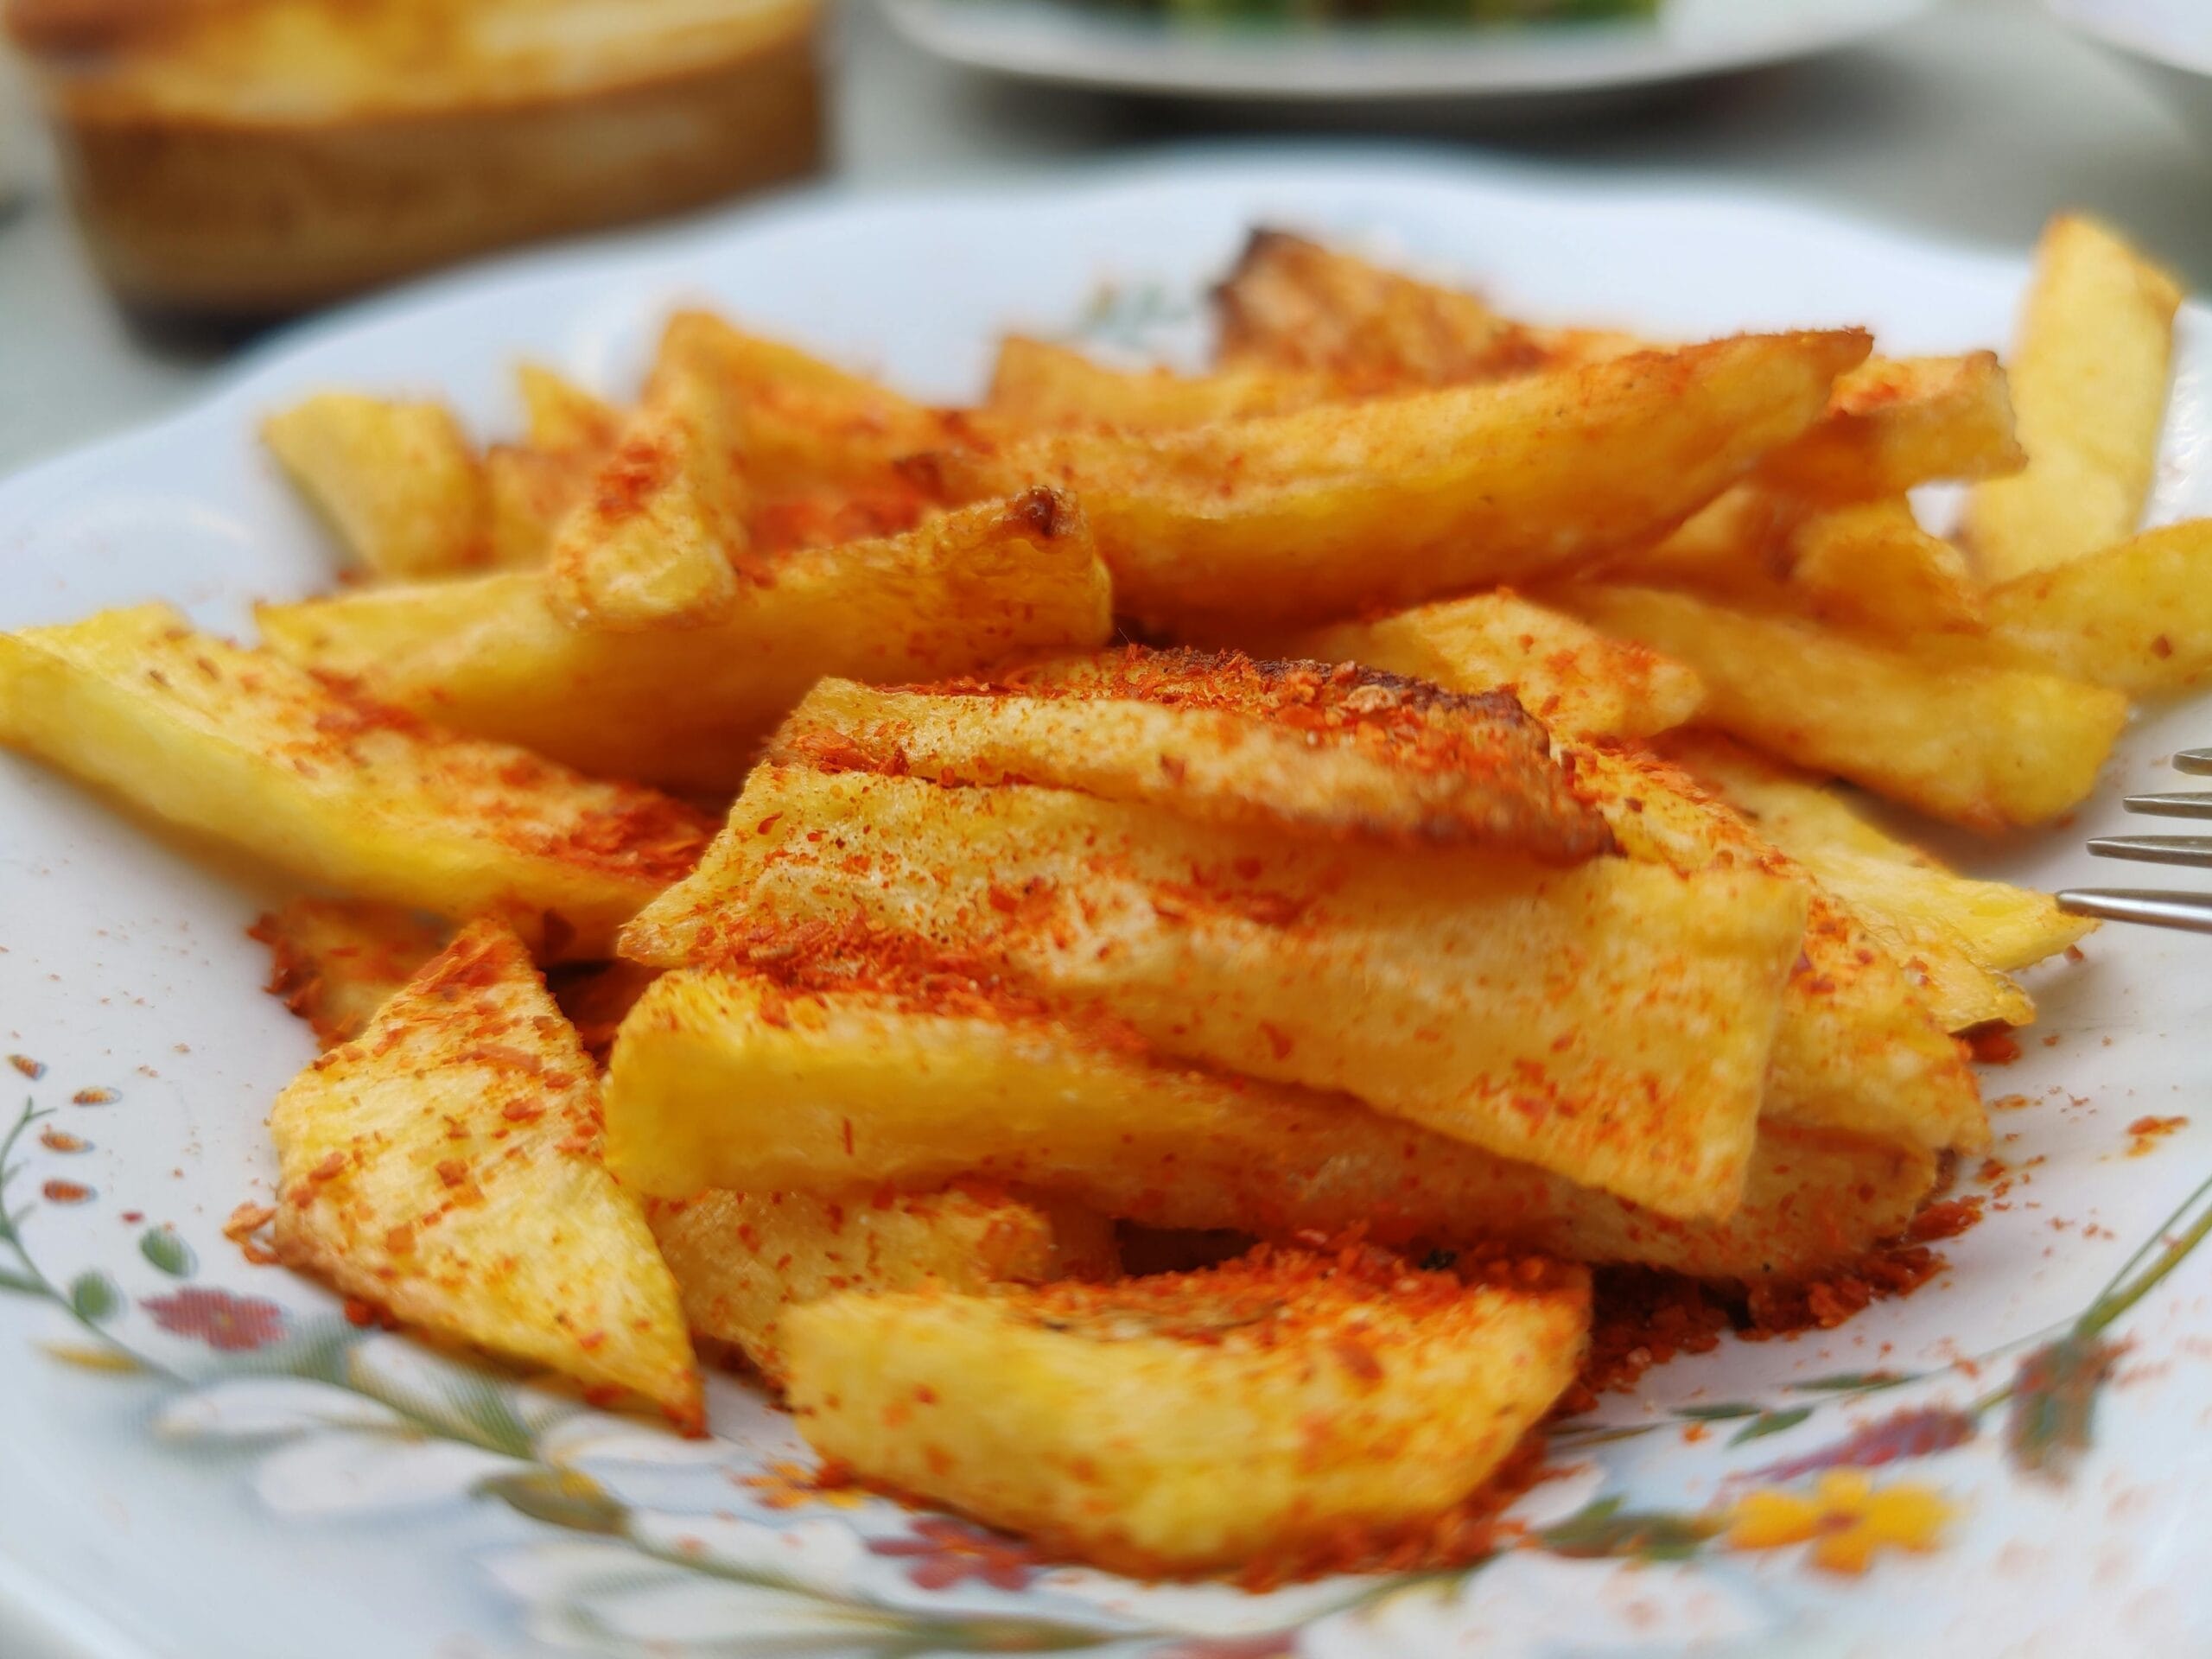
These homemade oven fries are parboiled, dried, and baked at 425°F on a hot rimmed pan. Cut the potatoes evenly and spread them in a single layer so the edges brown while the centers stay soft.
Jump to ingredients and instructions. Serves 3–4; allow about 20 minutes of preparation and 35–45 minutes of baking.
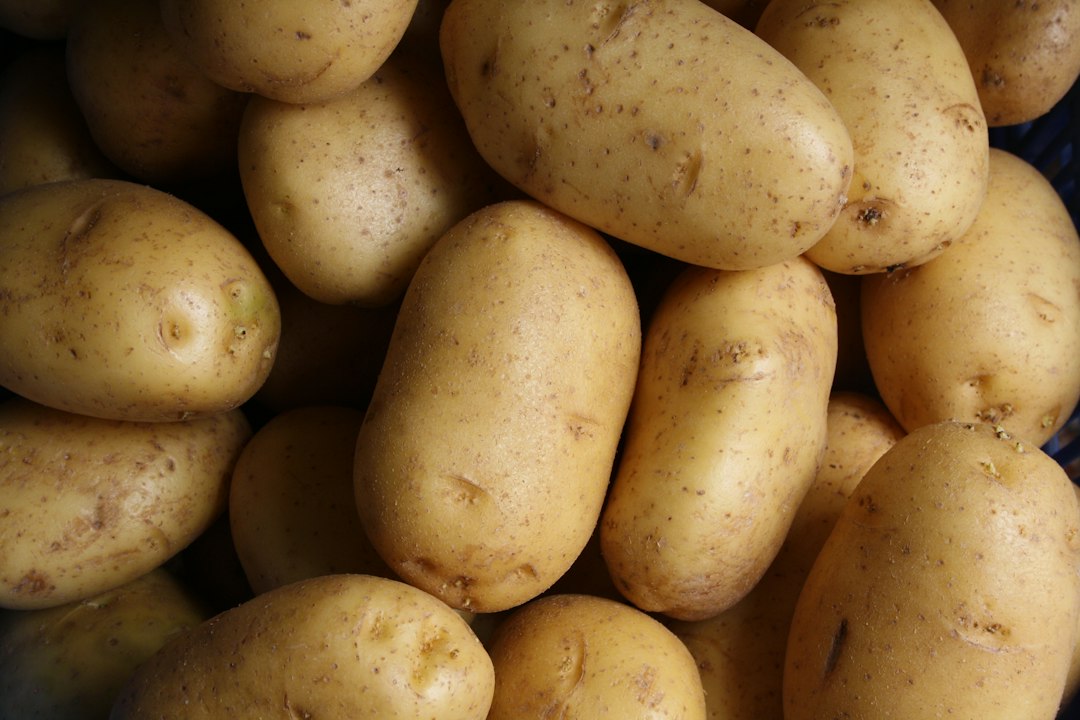
Homemade Oven Fries Recipe
The method here combines parboiling in lightly acidified water, steam-drying, and roasting on a hot oiled pan. Parboiling starts the interior cooking before the surface browns. Drying and a single uncrowded layer help the outside crisp.
Quick ingredient list (serves 3 to 4 people)
- 2 to 2 1/2 lb russet potatoes (Sebago also works well), peeled or scrubbed
- 2 1/2 tsp kosher salt, divided (plus more to finish)
- 2 tablespoons cider vinegar or white vinegar, for 2 quarts of parboiling water
- 1/4 cup olive oil or avocado oil
- 1 to 2 tbsp all-purpose flour or cornstarch (optional, for extra crunch)
- Black pepper, garlic powder, paprika (optional)
Hot-pan caution: Set the rimmed pan on a heatproof surface before adding the dry potatoes. Lower them in carefully and turn them with a long spatula; do not pour water or wet potatoes into hot oil.
Step-by-step recipe walkthrough
- Heat the oven and the pan. Set the oven to 425°F. Put a large rimmed sheet pan inside to preheat. Add the oil to the pan once it’s hot, then return it to the oven for a few minutes.
- Cut evenly. Slice potatoes into sticks about 3/8 to 1/2 inch thick. Keep them as uniform as you can so they finish together.
- Parboil with salt and vinegar. Bring 2 quarts of water to a boil. Add 2 teaspoons salt and 2 tablespoons vinegar. Boil the fries for 5 to 7 minutes, until the outsides are slightly softened, but the centers are not fully tender.
- Drain, then steam-dry. Tip into a colander, then let them sit 5 minutes. That short rest lets moisture evaporate, which helps browning later.
- Coat lightly (optional). Put fries in a large bowl. Sprinkle flour or cornstarch (or a mix) and toss gently. Add pepper or other spices if you want them to be baked on.
- Add to the hot pan carefully. Remove the pan from the oven. Add fries and toss to coat in the hot oil. You should hear a quiet sizzle.
- Spread into a single layer. Give the fries space. If they’re crowded, use two pans.
- Bake until deep golden. Bake 20 minutes, flip, then bake another 15 to 25 minutes. Timing depends on thickness and your oven, but don’t stop at “lightly tan.”
- Rest briefly, then season. Let the fries sit on the pan for 1 to 2 minutes. Sprinkle evenly with the remaining 1/2 teaspoon kosher salt, turn the fries gently with a spatula or tongs, then taste. Add more salt only if needed.
Why parboil plus steam-dry beats soaking alone
Soaking removes surface starch, which helps, but parboiling does more in less time. First, it jump-starts cooking, so the inside turns fluffy before the outside dries out. Second, the boil knocks loose some surface starch, which creates a rougher exterior that crisps well. The steam-dry step matters just as much because surface water turns to steam in the oven, and steam is the enemy of crunch. A splash of vinegar in the water also helps the fries hold their shape and cook more evenly.
The non-negotiables for crispiness (single layer, hot pan, enough oil)
- Dry fries well after draining, because wet potatoes steam rather than roast.
- Don’t crowd the pan, or you’ll trap moisture and soften edges.
- Preheat the pan and oil, so the fries start browning on contact.
- Flip once, halfway through, for even color and texture.
- Bake until truly golden, not just “cooked,” because color equals crunch.
A lightly oiled bare metal pan gives direct contact with the potatoes. If using parchment, check its oven-temperature rating and expect the underside to brown differently.
Pick your potatoes, cut them right, and season like a pro
For homemade oven fries, russet potatoes are a useful starting point. Yukon Golds also work, with a creamier center and a somewhat different surface texture. Keep the cut size consistent whichever potato you choose.
Cutting matters more than most people think. Aim for squared-off sticks, not wedges with sharp, thin corners. Those skinny edges burn before the centers finish. If you want faster cooking, cut thinner, but don’t go too skinny or they’ll dry out.
Seasoning has a timing trick. Salt draws moisture. If you salt too early, you can soften the surface. That’s why many home cooks get better crunch when they salt right after baking, while the fries are hot and a touch glossy with oil.
Chicken salt is a fun option if you want that classic takeout vibe. Sprinkle it at the end, or add a light dust before baking, and finish with more after.
Flavor ideas that stay crispy (what to add before vs after baking)
Add dry spices before baking so they toast onto the surface: garlic powder, paprika, onion powder, black pepper, and a small pinch of flour or cornstarch for texture. Keep sugary blends off the tray, because they can burn and stick.
Finish after baking for big flavor without losing crunch: flaky salt, grated Parmesan, lemon zest, chopped parsley, chicken salt, Cajun seasoning, or za’atar. Serve homemade fry sauce and other wet sauces on the side (ketchup, aioli, ranch), since pouring sauce over fries turns crisp edges soft fast.
Troubleshooting and make-ahead tips for oven fries
Most oven-fry issues arise from moisture, overcrowding, or uneven cuts. Here are some quick solutions you can implement immediately:
| Problem | Likely cause | Fast fix |
|---|---|---|
| Soggy fries | Too wet, crowded pan, oven not hot | Steam-dry longer, use two pans, bake at 425°F until darker |
| Uneven browning | Mixed sizes, hot spots, no flip | Cut evenly, flip once, rotate pan near the end |
| Sticking to the pan | Pan not hot, too little oil | Preheat pan with oil, don’t rush the flip |
| Fries break apart | Overboiled, rough tossing | Boil less, toss gently after parboil |
For make-ahead prep, cut the potatoes and store them submerged in cold water in the fridge up to 24 hours. When you’re ready, drain, parboil, steam-dry, then bake as usual.
Refrigerate leftovers in shallow containers within 2 hours, or 1 hour above 90°F. Use within 1–2 days for the best texture. Follow FDA safe food handling guidance and reheat leftovers to 165°F; timing alone does not confirm that temperature.
Quick reheat method that brings back the crunch
Reheat fries in a single layer on a sheet pan in a 425°F oven until hot and crisp, usually 6 to 10 minutes. An air fryer also works well at about 400°F, with a single shake. If the fries look dry, add a tiny drizzle of oil before reheating to wake up the crispy edges.
Serve as soon as the fries are golden and tender, with dip on the side. If the tray is crowded, split the potatoes between two pans and rotate their positions during baking.