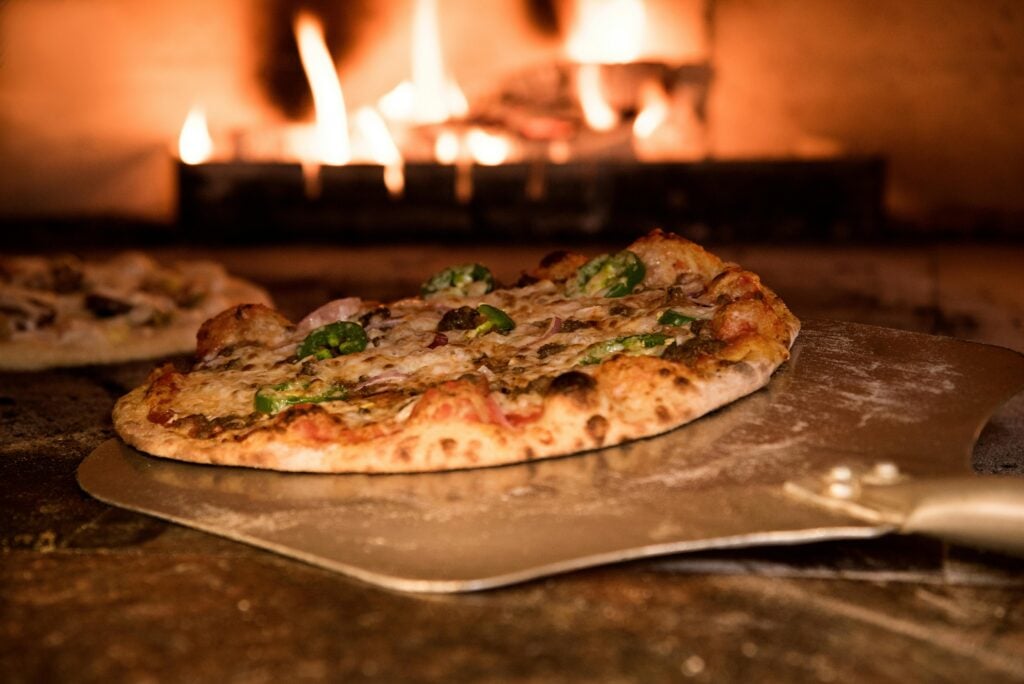
This guide keeps it practical. You’ll get a simple homemade dough formula with hydration percentages, two schedules (same-day and overnight cold ferment), and clear baking cues for a normal home oven.
The pizza dough formula (with hydration you can control)

If your homemade dough results in a dense or tough crust, it’s usually due to hydration and fermentation time. Hydration is just water compared to flour by weight. For most home ovens, 60 to 68% hydration is the sweet spot. Lower is easier to shape, higher gives bigger bubbles but needs a gentler hand. If you want the math behind scaling pizza dough, see PizzaBlab’s guide to baker’s percentages.
Here’s a reliable base pizza dough for two 12-inch pizzas (or three 10-inch).
| Ingredient | Baker’s % | Weight (g) | Volume (approx) |
|---|---|---|---|
| Flour (bread flour or all-purpose flour) | 100% | 500 g | 4 cups |
| Water (warm water) | 65% | 325 g | 1 1/3 cups |
| Salt (fine sea salt or table salt) | 2% | 10 g | 1 3/4 tsp |
| Instant yeast (see schedules below) | 0.2 to 0.6% | 1 to 3 g | 1/4 to 1 tsp |
| Olive oil (optional, helps browning) | 2% | 10 g | 2 tsp |
Flour choices: Bread flour gives more chew and easier stretching. All-purpose flour works, but it can tear sooner, so stay closer to 62 to 65% hydration.
Yeast swaps: Instant yeast mixes right into flour. If you use active dry yeast, use the same weight, but dissolve it in the water first and wait 5 minutes.
Water temp tip: Aim for warm water (around 90 to 95°F) for consistent fermentation. If your kitchen is warm, use slightly cooler water so the dough feels cool and slightly tacky after mixing.
A scale fixes most pizza problems. Cups vary a lot, but grams don’t.
Two dough workflows: same-day and overnight cold ferment
Both schedules use the same pizza dough. The only real change is the yeast amount and time. Either way, you’re looking for dough that becomes smoother, slightly puffy, and easier to stretch.
Workflow 1: Same-day pizza (start at lunch, bake at dinner)
- Mix (5 minutes): Stir flour, salt, and instant yeast (3 g, about 1 tsp). Add water (and oil if using). Mix until no dry flour remains.
- Rest (20 minutes): Cover the bowl. This short rest hydrates the flour and reduces kneading.
- Knead (3 to 5 minutes): Knead by hand or with a stand mixer until kneading dough results in a smooth, elastic texture. It should still feel a bit tacky, not dry.
- Primary dough rise (1 1/2 to 2 hours at 72 to 78°F): Cover until the dough grows about 50% and shows bubbles at the surface.
- Divide and ball (5 minutes): Split into two pieces (about 415 g each). Form tight balls by tucking edges under.
- Final proof (45 to 60 minutes): Cover. When you press a floured finger into the dough, the dent should spring back slowly.
Workflow 2: Overnight cold ferment (best flavor, best texture)
- Mix and rest: Same as above (use warm water if you want a faster room temperature start), but use 1 g instant yeast (about 1/4 tsp).
- Brief room temp start (20 to 30 minutes): Let the dough begin rising.
- Divide and ball: Ball the dough right away for easier shaping later.
- Refrigerate (12 to 72 hours): Keep in covered containers with a little oil or flour to prevent sticking.
- Warm up before baking (60 to 90 minutes): Take the dough out until it’s cool but pliable. Cold dough tears.
A slow dough rise in the fridge develops the best pizza dough flavor. For more on why time changes dough texture (and how to diagnose dough issues)
Pizza sauce, shaping, and baking homemade pizza in a regular oven
A home oven can still make excellent homemade pizza, as long as you preheat longer than you think. King Arthur’s tips on turning any home oven into a pizza oven match what most beginners miss: stored heat matters. Homemade pizza quality depends on pizza sauce moisture control, too.
Quick pizza sauce that won’t waterlog the crust
Stir together:
- Crushed tomatoes, 200 g (about 3/4 cup)
- Salt, 2 g (about 1/4 tsp)
- Olive oil, 1 tsp
- Garlic, 1 small clove, finely grated (optional)
- Dried oregano, a pinch (optional)
If your tomatoes look watery, drain them for 2 minutes in a fine strainer. Use less pizza sauce than you think (about 2 to 3 tablespoons per 12-inch pizza).
Shaping the dough without fighting it
Lightly flour your counter, then press the dough into a disk. Push gas toward the rim to form a thicker edge. While a rolling pin can help for super thin styles, hand-stretching over your knuckles and rotating lets gravity help build that rim. If it resists, set it down for 10 minutes. That pause is like letting a tangled cord untwist on its own. For extra color, brush the rim lightly with olive oil.
Oven setup, temps, and bake times
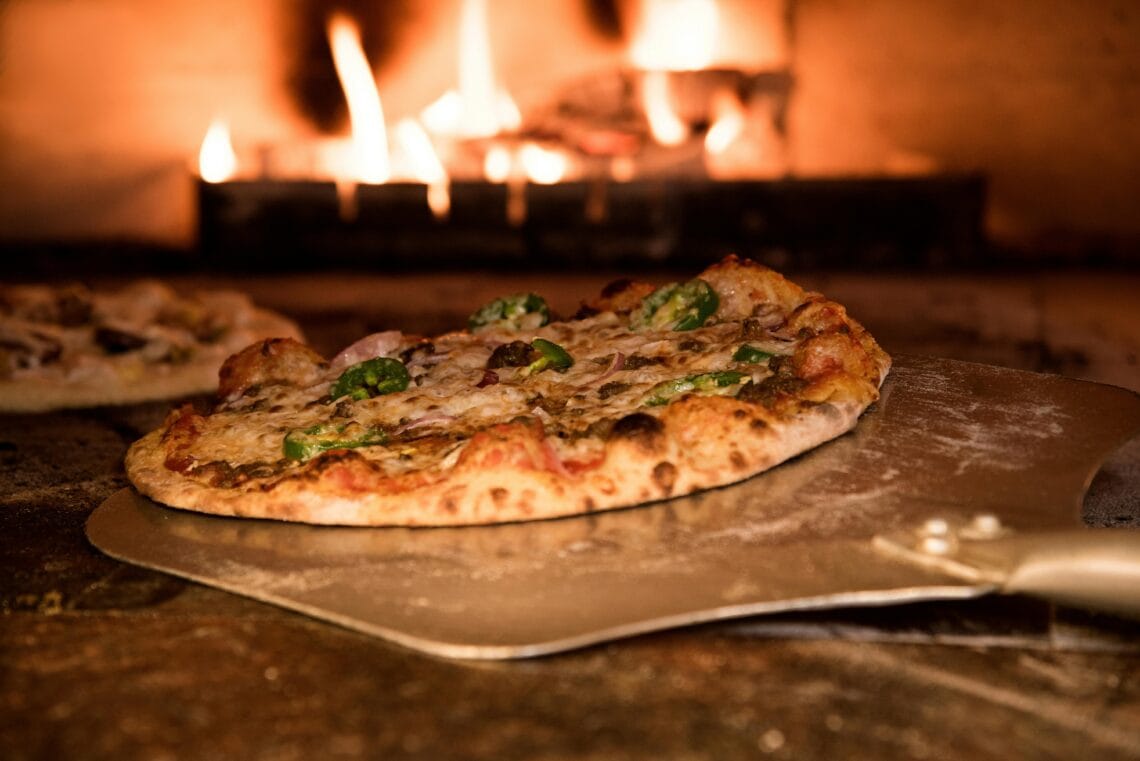
- Put a pizza stone, steel, baking sheet, or pizza pan on the upper third rack.
- Preheat the oven to 500 to 550°F for 45 to 60 minutes. (Yes, even if the oven beeps sooner.)
- Build the pizza on parchment paper or a well-floured pizza peel dusted with cornmeal, then launch it onto the hot surface.
Typical bake times:
- Steel: 6 to 9 minutes
- Stone: 8 to 12 minutes; expect slightly longer on a baking sheet or pizza pan
- For extra browning, broil 30 to 90 seconds at the end, but stay close.
Doneness cues:
- The rim turns deep golden brown with some darker spots.
- The cheese fully melts and bubbles.
- The underside is browned and crisp when lifted with tongs.
- The center slice doesn’t feel wet or floppy after 1 minute of cooling.
Heavy pizza toppings bake slower, so keep the first few pizzas simple and fast.
Toppings that bake well at home
Home ovens reward pizza toppings that cook quickly and don’t leak water.
- Classic pepperoni pizza: Pizza sauce, shredded mozzarella cheese, pepperoni, thin-sliced onion.
- Mushroom and sausage: Pre-cook sausage, sauté mushrooms to drive off moisture.
- Margherita style: Pizza sauce, shredded mozzarella cheese plus parmesan cheese, bake, then add fresh basil and a drizzle of olive oil after.
- BBQ chicken: Cooked chicken, BBQ sauce in light streaks, red onion, cheddar plus mozzarella.
Shortcuts: store-bought dough and gluten-free
Store-bought dough shortcut: Let it sit covered at room temp for 60 to 120 minutes before stretching. If it snaps back, it’s still cold. Also, reduce flour on the bench, because many packaged doughs already run dry.
Gluten-free option: Use a tested gluten-free recipe, because ratios matter more without gluten. This easy gluten-free pizza dough guide is a good reference for handling and texture expectations. In general, gluten-free doughs spread better with oiled hands, and many do best with a 5 to 7 minute par bake on a baking sheet before adding toppings.
Safety and storage notes (worth reading)
Hot steel and stone can cause serious burns. Use thick oven mitts, and keep your forearms away from the rack edges. Also, avoid creating clouds of flour, because fine flour dust irritates lungs.
For leftovers, cool pizza within 2 hours, then refrigerate in a sealed container for up to 3 to 4 days. Reheat on a skillet over medium heat with a lid for 3 to 5 minutes, or in a 425°F oven for 6 to 8 minutes.
Fast troubleshooting (cause and fix)
Here’s a quick diagnosis chart for common homemade pizza issues.
| Problem | Likely cause | Fix next time |
|---|---|---|
| Dough tears while stretching | Too cold, under-developed gluten | Warm 60 to 90 minutes, add a 20-minute rest after mixing |
| Dough snaps back | Gluten too tight, not rested | Rest 10 minutes mid-shape, don’t over-flour |
| Pale crust | Not enough heat stored, too much flour | Preheat 45 to 60 minutes, brush off excess flour and brush rim with olive oil |
| Soggy center | Too much sauce, wet pizza toppings | Use less sauce, pre-cook mushrooms and sausage |
| Burnt cheese, blond crust | Rack too high, broiler too soon | Lower rack one level, broil only at the end |
Conclusion
Homemade pizza gets easier once you master three things: the dough rise, choice of pizza toppings, and ensuring you preheat oven properly. Start with quality pizza dough, pick a schedule that fits your day, and preheat longer than feels normal. After a couple bakes, you’ll know your oven’s sweet spot. The reward is a perfect pizza dough yielding that crispy crust every time. What pizza toppings combo are you making first?