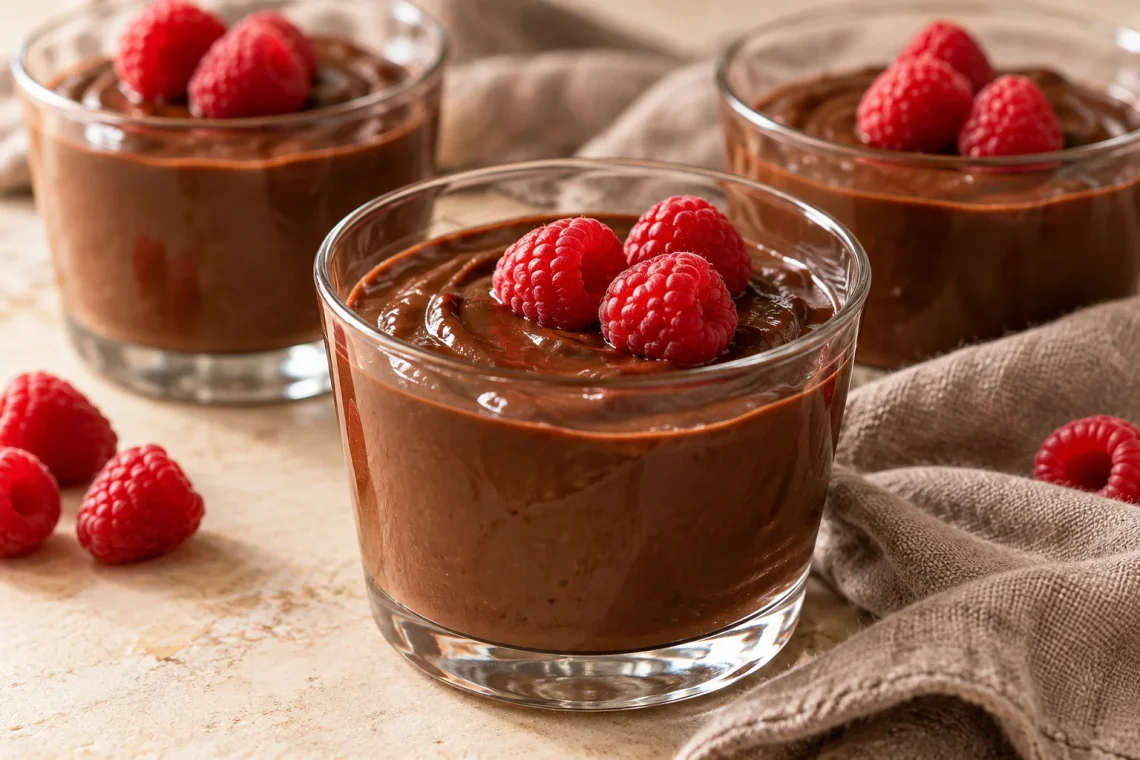
For anyone searching for “dessert dairy free gluten free”, these chocolate pudding cups offer a straightforward recipe without specialty baking flours. The ingredients are familiar: coconut milk, a little almond milk, cocoa, sugar, cornstarch, salt, and vanilla. You cook everything in one saucepan, divide it into small cups, and let the refrigerator finish the job.
Expect a chocolate-coconut flavor, a gently sweet finish, and a smooth, spoonable texture. This is a chilled pudding, so plan for four hours in the refrigerator rather than expecting it to be ready immediately. Fresh berries add brightness without another cooking step. The recipe makes six small servings, each roughly a scant half-cup, with room for your favorite suitable toppings.
Printable chocolate pudding recipe
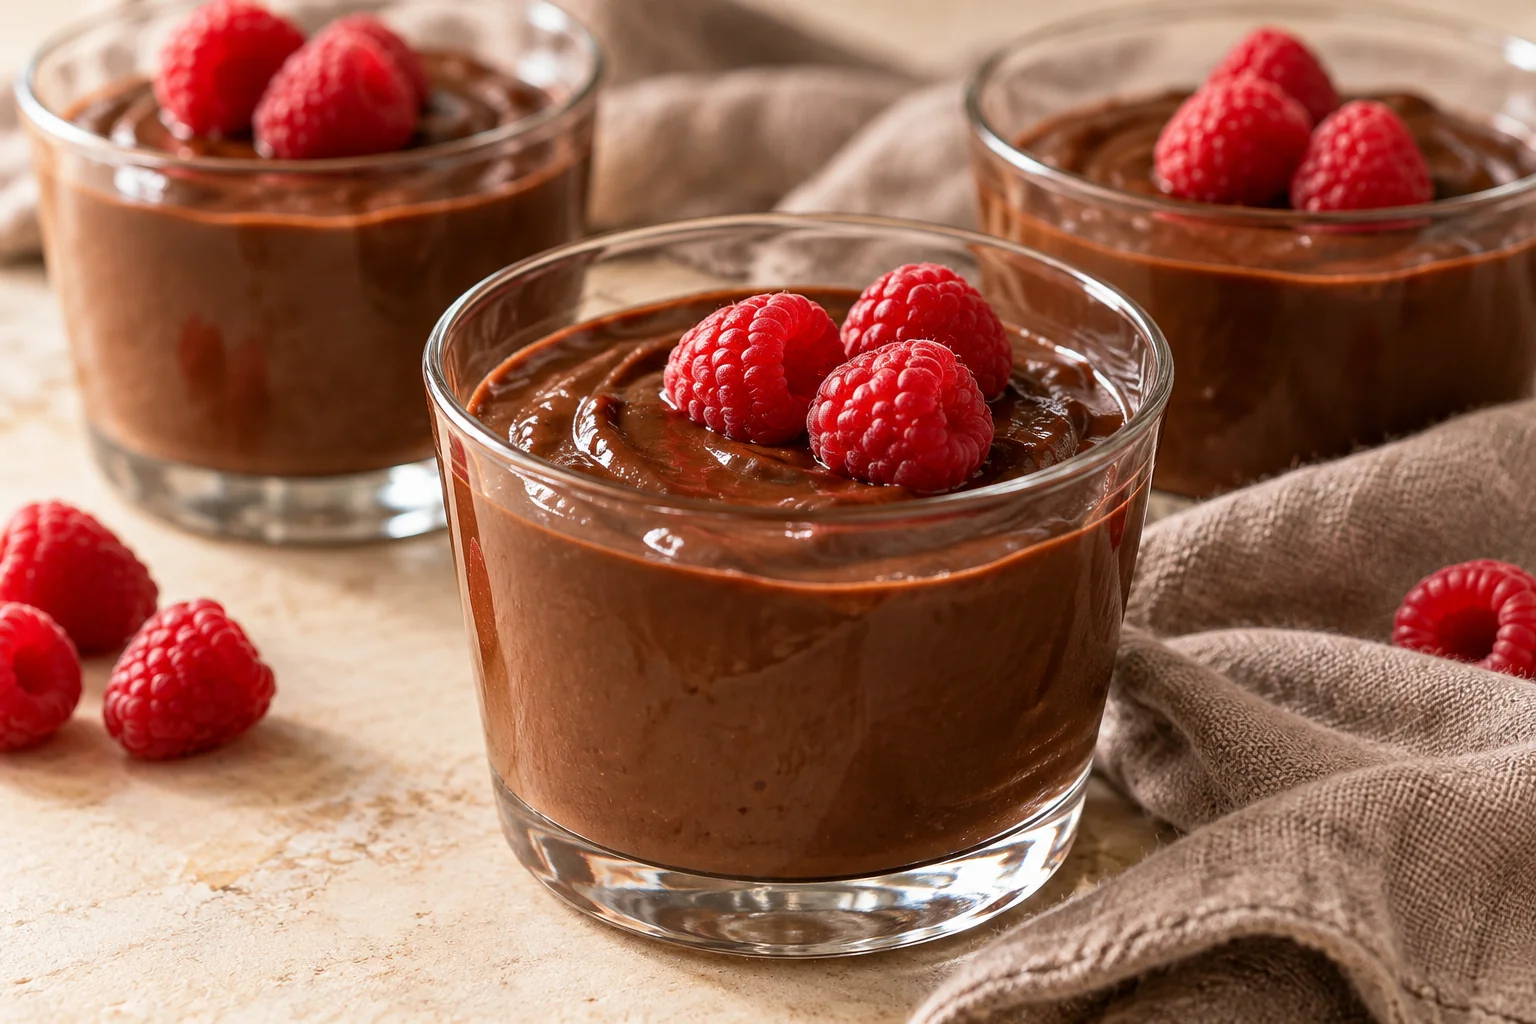
Dairy-Free Gluten-Free Chocolate Pudding Cups
Ingredients
Equipment
Method
- Set out six small heat-safe cups or ramekins. Stir the entire can of coconut milk until its cream and liquid are evenly combined.
- In a medium heavy-bottomed saucepan, whisk together the sugar, cocoa, cornstarch, and salt. Gradually whisk in half the almond milk to make a smooth paste. Add the remaining almond milk and all the coconut milk.
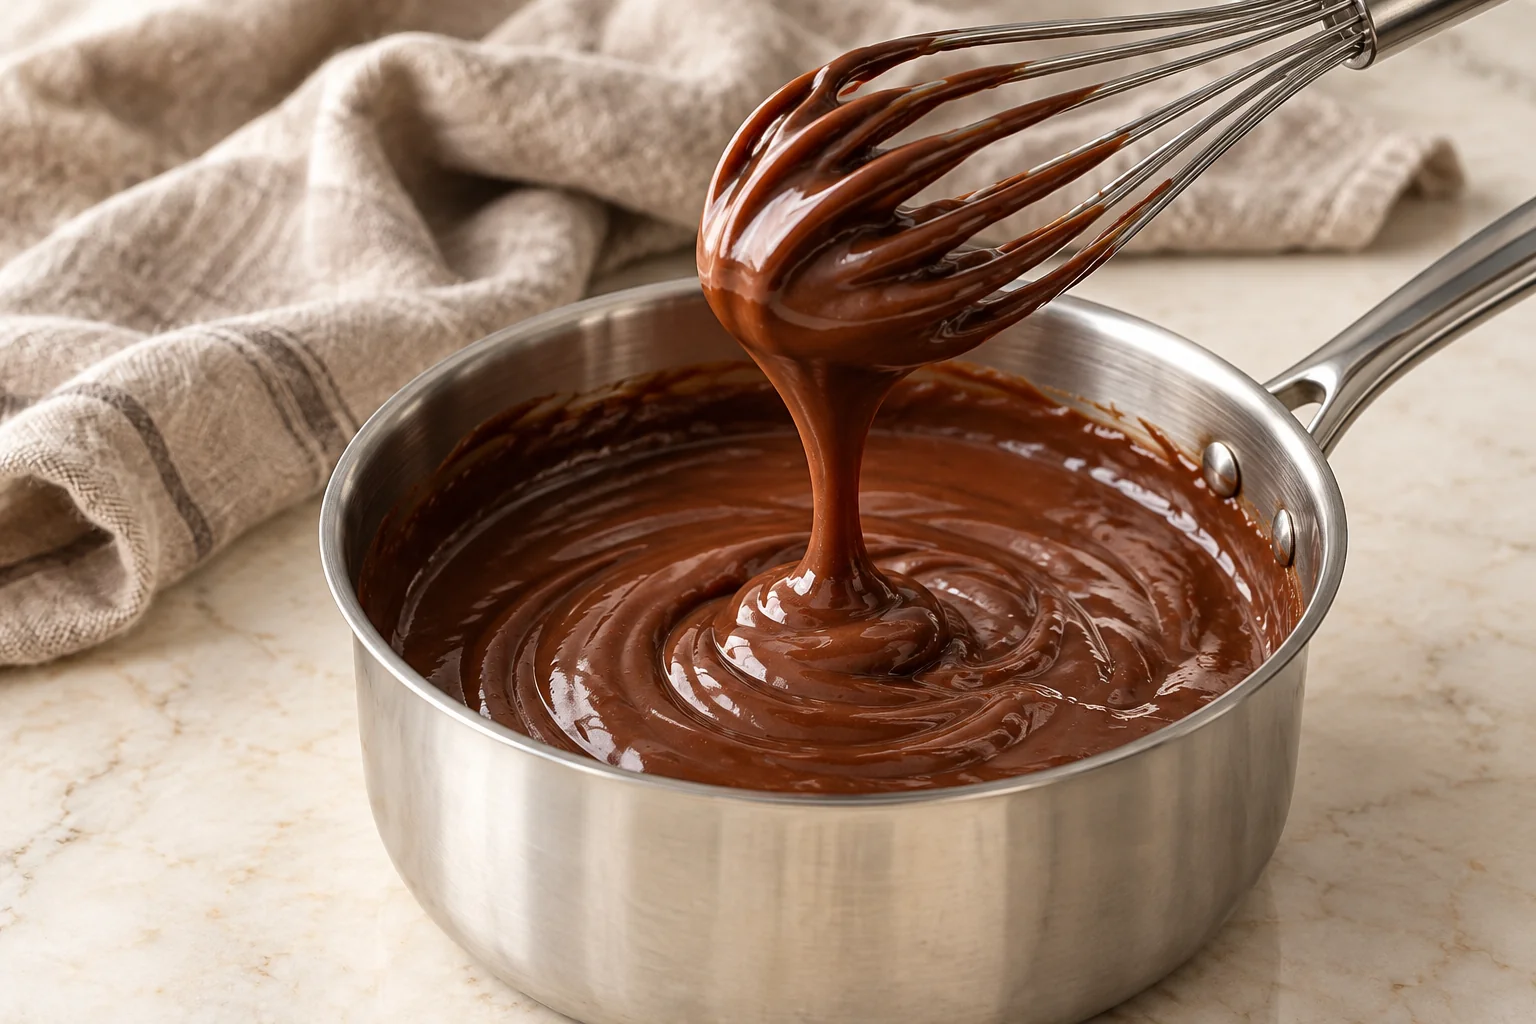
- Place over medium heat. Stir continuously, scraping the bottom and corners, until the mixture thickens and bubbles break across the surface. This usually takes about 7-9 minutes, depending on the pan and burner.
- Adjust the heat to maintain steady bubbling and continue stirring for 1 minute. Remove from the heat. Do not stop at the first hint of thickening or boil for several extra minutes.
- Stir in the vanilla. For a smoother pudding, pass through a fine-mesh strainer while hot if needed. Divide evenly among the cups; each is roughly a scant 1/2 cup.
- To reduce a surface skin, use food-safe wrap suitable for warm-food contact, following its package instructions. Refrigerate the small portions promptly without waiting for them to cool completely on the counter. Chill for at least 4 hours, until cold throughout and set.
- Add fresh berries just before serving. Gently stir a chilled portion if you prefer a softer texture.
Notes
Dessert dairy free gluten free: why pudding works
Many desserts rely on butter for richness, flour for structure, or eggs to help a filling set. This pudding uses a different arrangement. Full-fat coconut milk supplies richness, while cornstarch thickens the liquid into a soft dessert. Cocoa supplies the chocolate flavor without requiring a chocolate bar, which would introduce another ingredient label to check.
There is no baking, rolling, or dough handling. You need a saucepan, whisk, measuring tools, and six small heat-safe containers. That makes it a practical option when you want to prepare dessert ahead of dinner. It also gives you a flexible starting point: keep the pudding plain for a simple family treat, or add carefully chosen fruit and toppings for guests.
Dessert dairy free gluten free: ingredient checks
Treat “dessert dairy free gluten free” as two separate ingredient checks: removing dairy does not remove gluten, and removing gluten does not remove dairy. Start with the ingredient list, even when a product’s front label sounds suitable. Dairy-free and lactose-free are different requirements. Lactose-free cow’s milk remains a dairy product and is unsuitable for someone with a milk protein allergy, as ASCIA explains. Use the plant milk specified in this recipe.
For packaged ingredients and toppings, look for milk, butter, cream, whey, casein, and caseinates. FARE’s milk-allergy guide also notes that some products described as “non-dairy” contain casein. Check dark chocolate and whipped toppings individually; the name alone does not establish that they meet your needs.
For gluten, check each product rather than assuming a wheat-free label tells the whole story: barley and rye also contain gluten. Choose gluten-free-labeled oat milk if using it as an alternative, and avoid barley malt in flavored ingredients. The FDA’s gluten-free labeling guidance explains these distinctions.
This recipe contains coconut and, as written, almond milk. It is not automatically suitable for every allergy. When cooking for someone else, confirm their requirements before shopping and keep the packages available so they can review the ingredients.
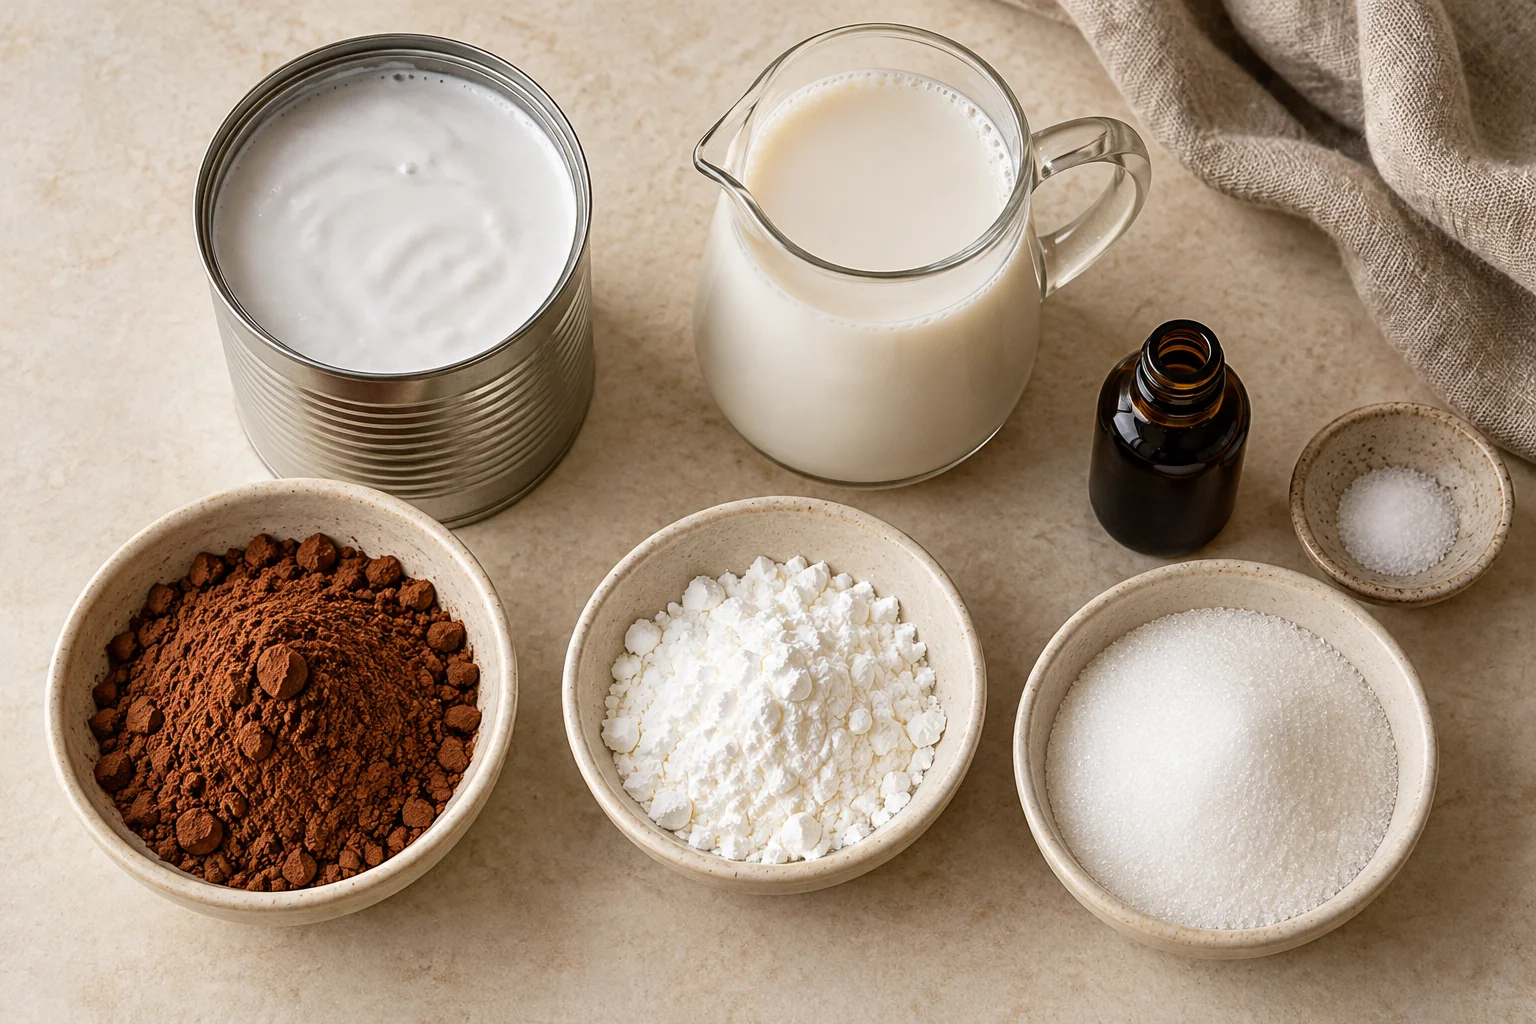
Choose the right ingredients for creamy pudding
The short shopping list makes product choice especially important. Use these notes alongside the measured ingredients in the printable recipe card.
| Ingredient | What to choose and why |
|---|---|
| Coconut milk | Use one 400 mL can of full-fat, unsweetened coconut milk, including both the thick and liquid portions. Stir them together. Sweetened cream of coconut and coconut milk beverages are different products. |
| Almond milk | Use 240 mL unsweetened almond milk. It balances the richness of the canned coconut milk. Sweetened versions change the final sweetness. |
| Cocoa powder | Use 22 g plain, unsweetened cocoa. Hot chocolate mix contains additional ingredients and is not a direct substitute. |
| Cornstarch | Measure 24 g, or three level US tablespoons. It provides the pudding’s thickening structure; extra heaped spoonfuls can make the finished cups too firm. |
| Sugar | Use 67 g granulated sugar. This gives the cocoa some sweetness without turning the pudding into a heavily sweetened dessert. |
| Vanilla and salt | A teaspoon of vanilla and 1/8 teaspoon of fine salt round out the flavor. Add the vanilla after taking the saucepan off the heat. |
A kitchen scale is useful for the cocoa and cornstarch, which are easy to overfill in measuring spoons. Use the same measurements throughout the batch rather than switching between guessed spoonfuls and weights.
How to get a smooth, spoonable texture
1. Make a smooth mixture before heating
Whisk the sugar, cocoa, cornstarch, and salt together in the saucepan. Break up visible cocoa lumps, then add a little of the cold almond milk and whisk into a smooth paste. Gradually whisk in the remaining almond milk and the coconut milk. Check the corners of the pan, where dry ingredients can hide.
Take your time here. A smooth cold mixture is easier to work with than a hot pudding containing pockets of dry powder. Do not sprinkle extra cornstarch into the finished pudding.
2. Watch the pudding, not only the clock
Cook over medium heat, whisking steadily across the bottom and into the edges. The liquid will gradually become thicker. Once bubbles break through across the surface, including the center, adjust the heat to maintain bubbling and cook for one minute while continuing to whisk. Start that minute when you see bubbling, rather than when the saucepan first goes on the stove.
A heavy saucepan and steady attention help you control the heat. If the mixture is catching on the bottom, reduce the heat. Argo’s cornstarch guidance explains that a one-minute boil allows the starch to thicken properly and that excessive cooking can make pudding thin as it cools. Set a timer once the bubbling begins.
3. Portion promptly and give it time
Remove the saucepan from the heat, stir in the vanilla, and divide the pudding among six heat-safe cups. The portions will be small; use smaller ramekins or jars so they look intentional. Chill for at least four hours, until cold and set.
Keep the cups covered. If you dislike a surface skin, use food-safe wrap suitable for warm food, gently touching the pudding’s surface, and follow the wrap manufacturer’s instructions. Add fresh toppings after chilling.
Dessert dairy free gluten free: smart substitutions
If a guest asks for “dessert dairy free gluten free,” confirm whether almonds, soy, or any other ingredients also need to be avoided. Change one ingredient at a time when possible. That makes it easier to understand why the flavor or texture differs.
- Almond milk: Unsweetened soy milk is a practical alternative for the 240 mL portion when soy suits your household. A gluten-free-labeled oat milk is another option, although flavor and thickness vary by product.
- Canned coconut milk: Keep the full-fat version for the intended richness. Replacing the whole can with a thin plant beverage changes the recipe substantially; do not expect an identical result.
- Cornstarch: Arrowroot, tapioca starch, and gluten-free baking flour do not necessarily behave the same way. Use a recipe designed for your preferred thickener instead of assuming an equal swap.
- Sugar: Maple syrup and other liquid sweeteners also add liquid. They are not straightforward replacements for the measured granulated sugar in this formula.
For a simple flavor change, add a little finely grated orange zest with the vanilla. Keep fruit juice out of the base unless you are deliberately developing a different recipe.
Troubleshooting common pudding problems
| What happened? | What to check |
|---|---|
| The pudding is still loose | Allow the full chilling time. Check whether the mixture reached a gentle bubble and cooked for one minute, and whether the liquid and cornstarch were measured correctly. |
| The pudding has small lumps | Dry ingredients may not have dispersed completely. If it is still warm, pass it through a fine-mesh strainer before portioning. Next time, make the cold paste carefully. |
| The texture is unusually firm | Check for heaped cornstarch measures or reduced liquid. Stir an individual serving gently before eating; use the specified weights for the next batch. |
| The bottom tastes scorched | Scraping burnt pudding into the rest spreads the flavor. If scorching is noticeable, start again with lower heat and more attention to the pan’s corners. |
| It tastes strongly of coconut | That flavor comes from the main ingredient. Choose a different pudding base if you dislike coconut; extra toppings will not remove it. |
Dessert dairy free gluten free: make-ahead storage
Make the pudding the evening before you need it, leaving the toppings separate. This removes any uncertainty about fitting the four-hour chilling period around dinner. Label the containers with the preparation date and use within three days.
Refrigerate promptly in small containers at 40°F (4°C) or below. Do not wait for the pudding to reach room temperature. The FDA recommends prompt chilling, including refrigerating perishable food within two hours, or one hour above 90°F (32°C). The three-day recommendation here sits within federal guidance to use leftovers within three to four days.
Prepare only the toppings you need for each serving. Keep extra pudding covered and refrigerated while the rest is on the table.
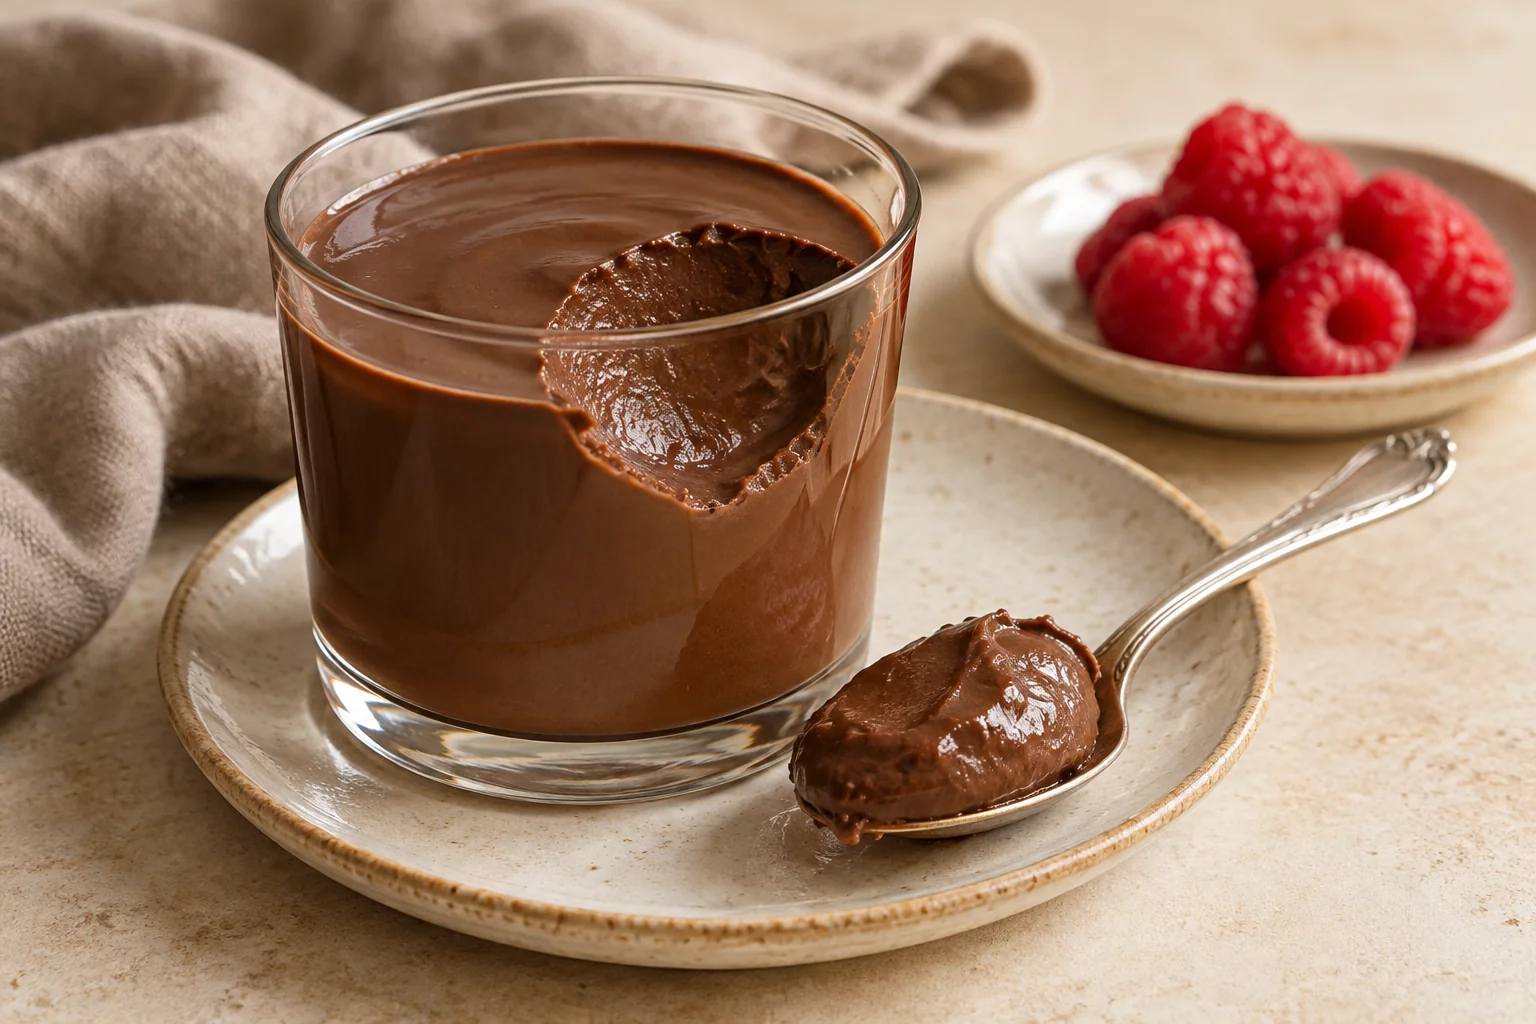
Serving ideas and a little guest preparation
Try raspberries and a few suitable chocolate shavings, sliced strawberries, or plain toasted coconut. For crunch, offer a separately checked gluten-free, dairy-free cookie alongside the cup rather than mixing crumbs into the whole batch.
When preparing food for someone with an allergy, use thoroughly cleaned equipment and work surfaces, wash your hands, and keep suitable servings separate from other foods. FARE’s cross-contact guidance explains why cooking does not remove this risk. Give each topping its own spoon and avoid sharing utensils between regular whipped cream and a dairy-free alternative.
Dessert dairy free gluten free FAQs
Is this pudding vegan?
The base uses plant ingredients and no eggs. Eggs are not dairy, but they are also absent from this recipe. If you follow a vegan diet, choose sugar and toppings that fit your preferences. A vegan label does not separately establish that a product is gluten-free or appropriate for a particular allergy.
Can I use cream of coconut?
Sweetened cream of coconut changes both the sugar and liquid balance. Use full-fat, unsweetened canned coconut milk for this recipe. Check the product name carefully; similar-looking cans can contain quite different products.
Is this a no-cook dessert?
It is a no-bake dessert, but it still needs stovetop cooking. The cornstarch mixture must be heated as directed before chilling. Refrigerating the cold ingredients alone will not produce the intended pudding.
Can I double the recipe?
You can double the measured ingredients, but use a larger saucepan and expect the heating stage to take longer. Follow the bubbling cue, then divide into individual containers for chilling. Do not assume the original cooking time will stay the same.
Can I add the berries the night before?
For a cleaner presentation, keep washed, well-dried berries separate and add them shortly before serving. This also lets each person choose a topping without changing every portion.
Three more dairy-free, gluten-free dessert directions
For anyone collecting “dessert dairy free gluten free” ideas, there are options beyond chocolate. If pudding is not the mood, consider these different starting points:
- Baked fruit: Pears or apples with cinnamon offer a warm dessert. Choose an accompanying topping that meets both dietary requirements.
- Fruit sorbet: A fruit-focused frozen dessert suits a lighter finish. Check packaged sorbet ingredients rather than confusing it with dairy-containing sherbet.
- Rice pudding: A separate recipe developed with plant milk gives you a comforting alternative with a different texture. Follow its liquid ratios and cooking instructions.
For a fruit-ice variation on dessert, explore our celery pineapple mint granita, which uses a blender and repeated fork-scraping for its crystalline texture. For more choices, browse the Family Recipe HQ dessert collection and check each recipe against your dietary requirements. For these chocolate cups, choose suitable ingredients, measure carefully, cook until the mixture bubbles, and allow enough time to chill.