The practical BBQ guide · Pork rib racks
Updated
Learning how to know when ribs are done comes down to two checks: the meat has reached a safe temperature, and it feels tender between the bones. A dark crust, a timer, or a glossy coat of sauce cannot answer both questions.
This guide covers baby back ribs, spare ribs, and St. Louis-style pork ribs cooked in an oven, smoker, or grill. Use it alongside your recipe to decide when to keep cooking and when to finish and serve.
Quick answer
Measure first. Check tenderness next.
Take several temperature readings in thick meat between the bones. Then slide a probe or toothpick into those meaty sections: tender ribs offer little resistance.
Already safely cooked and tender? Do not keep cooking just to reach 203°F. Still firm? Recheck probe placement and the meat’s resistance before deciding.
Safe temperature and tender ribs are different goals
The USDA temperature guidance published by FoodSafety.gov sets the minimum for whole pork cuts at 145°F (63°C), followed by a 3-minute rest. Check the meat before removing it from the heat. Do not rely on resting to bring an under-temperature section up to that minimum.
Ribs contain connective tissue that needs time and heat to soften. They can reach a safe temperature while still feeling chewy. Barbecue cooks commonly finish pork rib racks around 195–203°F (91–95°C); ThermoWorks’ rib cooking guidance combines that range with a final tenderness check.
Why do some recipes give a lower finishing temperature? Cooking method, time at temperature, and preferred texture matter. The National Pork Board’s general temperature guide lists 180°F for enjoying tender ribs. A long, moist cook can produce a different result from an unwrapped rack in a smoker. There is no single number that describes every finished rack.
How to know when ribs are done: four practical checks
Have a thin-tip instant-read thermometer, a toothpick or narrow skewer, sturdy tongs, and a clean tray ready. Check near the end of your recipe’s estimated cooking time, then work through these steps.
Measure the meat, not the bone
Choose a thick, meaty section between two ribs. Insert the thermometer from the side if that gives you enough meat to surround its sensing area. Follow your thermometer’s required insertion depth; a large probe may not fit thin rib meat well.
Keep the tip away from bone, the cooking grate, and obvious fat pockets. Wait for the display to settle, then check other thick sections, including both ends and the middle of the rack. A single reading can miss a cooler area. Reposition the probe if a reading seems unexpectedly high or low.
Feel for resistance between the bones
Push a toothpick or narrow probe into the meat between the bones in several places. The outer bark may offer a little resistance, but the meat underneath should let the probe move through easily. Test actual meat rather than an open gap or a soft pocket of fat.
If the center still feels rubbery or grips the probe firmly, the rack may need more cooking. Use this texture check together with the thermometer: a toothpick cannot establish food safety.
Use a gentle bend test on a whole rack
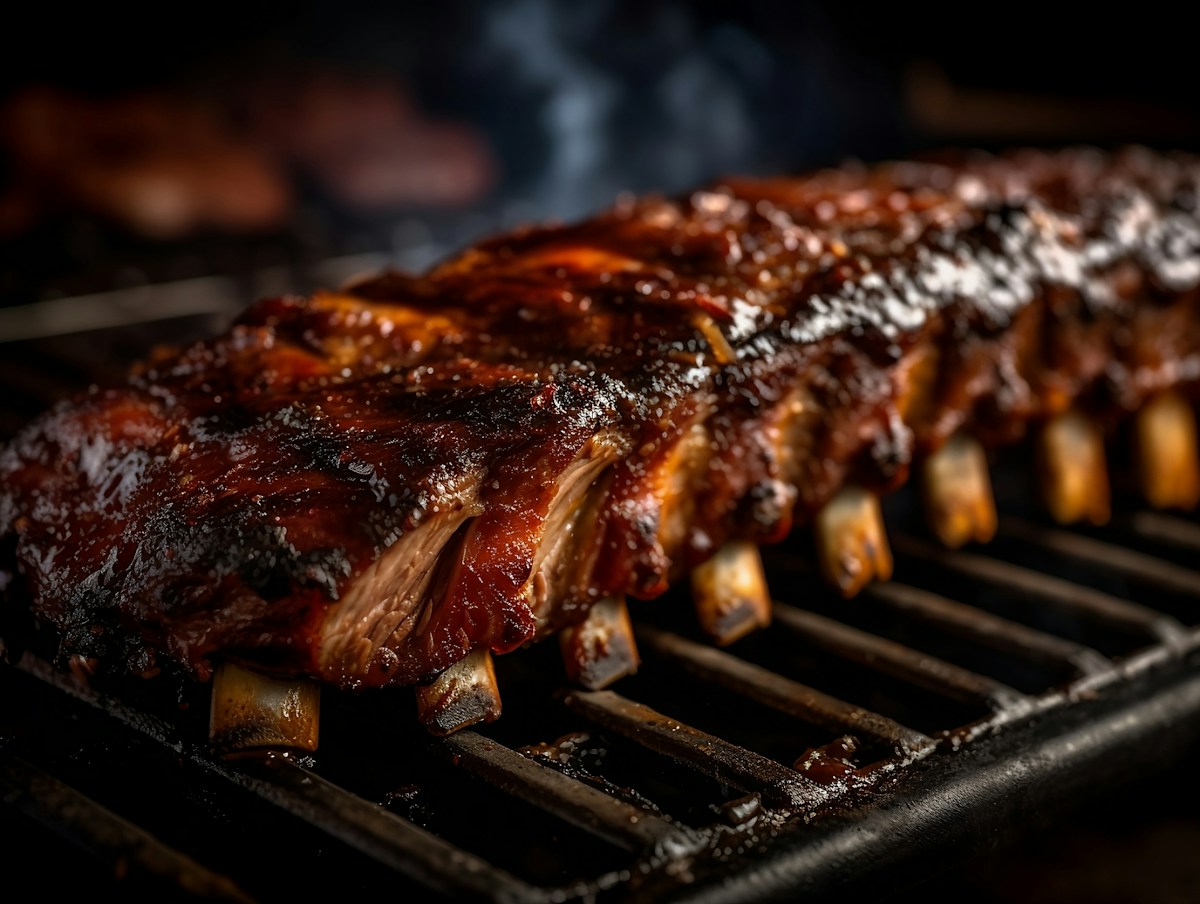
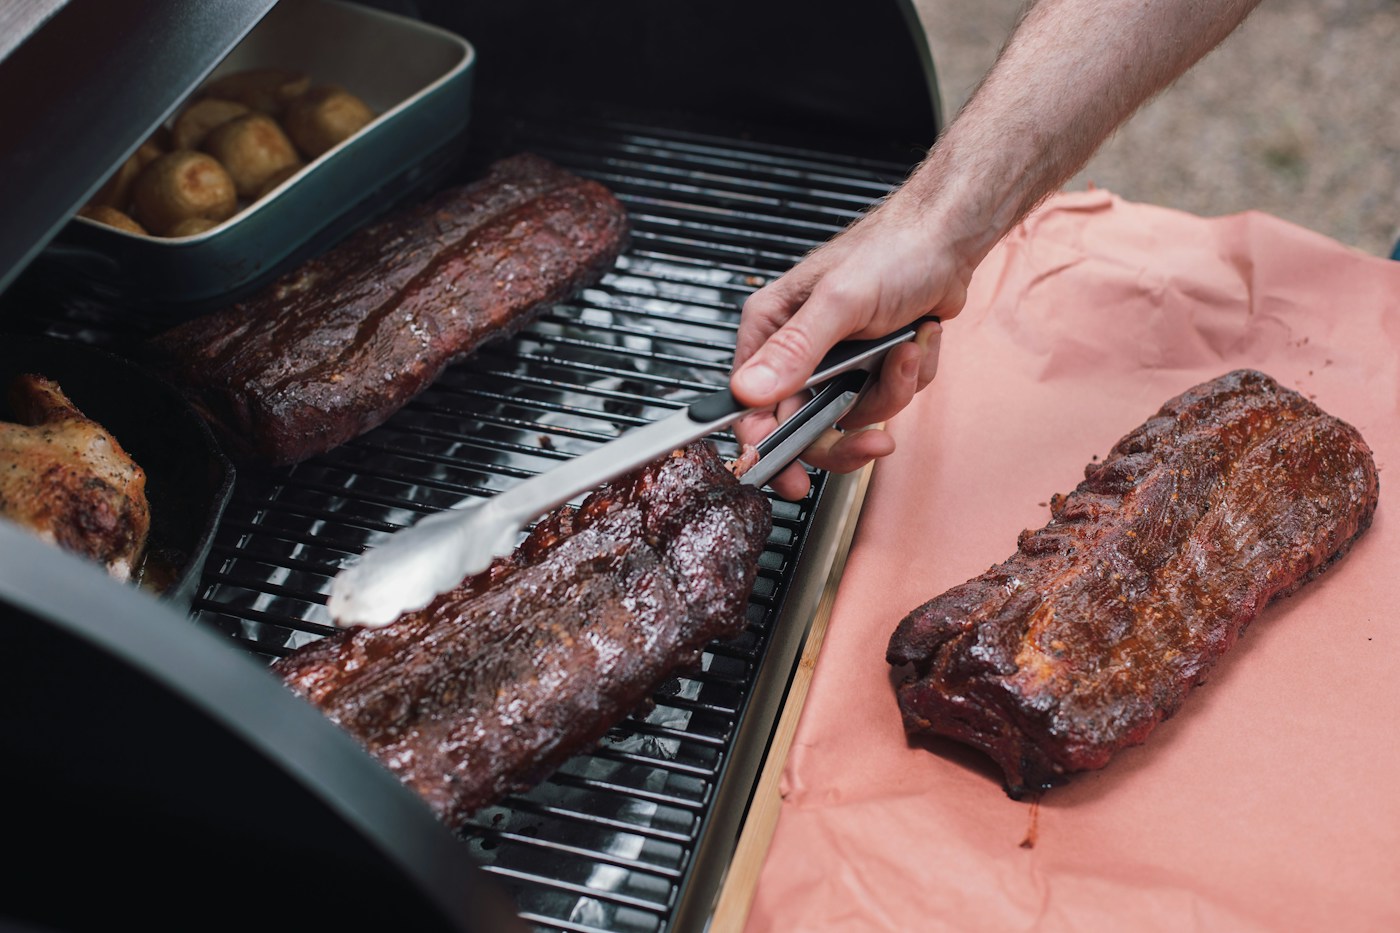
Hold the rack securely with tongs near one end, supporting enough of it that it cannot slip. Lift it only slightly over a tray or the grate and let the free end droop. A tender rack bends readily and may develop a small crack in the surface between the bones.
A stiff rack usually needs another check. A rack that starts falling apart is very soft, so support it immediately. The Weber bend test is a useful texture clue, but it works poorly on short rib portions and does not replace temperature readings.
Check the thickest part before finishing
Compare the thick sections with the thinner ends. If one area still feels tight, reposition the rack away from a hot spot and continue cooking as needed. For a rack that is close, check again in about 15–20 minutes; that is a checking interval, not a promise that it will be ready.
Once the safety check and your preferred tenderness agree, move on to glazing and resting. Keep a brief note of the cut, cooker temperature, and texture at removal. That gives you a more useful starting point next time than a cooking time alone.
Rib doneness table: what to do next
| What you find | What it suggests | Your next step |
|---|---|---|
| Below 145°F in a thick section | That section has not reached the whole-pork minimum. | Continue cooking. Recheck correctly positioned readings before removing the rack. |
| Above the minimum, but firm and rubbery | The meat may need more time for barbecue tenderness. | Maintain steady heat and check again. Consider your recipe’s wrapping stage if the surface is drying. |
| Little probe resistance; rack bends easily | The texture is likely ready, provided the safety temperature has been verified. | Finish the glaze if using one, then remove, rest, and portion. |
| Dry, stringy, or crumbling | The rack may have cooked beyond the texture you wanted. | Stop extending the cook once safety is confirmed. Serve with sauce or use the meat in sandwiches. |
Do not chase one clue: bone pullback, pink meat, a smoke ring, clear juices, and dark bark cannot prove that ribs are safely cooked. Likewise, a 203°F reading does not guarantee that every part of a rack is juicy or tender.
Rib types and cooking methods change the timing
Baby back ribs
These curved ribs come from near the loin. Some racks carry a thick layer of meat, so a small-looking rack is not always a quick cook. Check the thickest areas; our baby back ribs temperature guide adds cut-specific detail.
Spare & St. Louis ribs
Spare ribs come from farther down the rib cage. St. Louis racks are spare ribs trimmed into a more even rectangle. Full spare racks can have uneven sections, so check several areas rather than judging by the thin edge.
Country-style ribs and beef ribs need their own recipes. Country-style pork ribs may come from the loin or shoulder and are not the same as a pork rib rack. Do not automatically apply this barbecue finishing range to lean loin pieces.
- Oven: follow your recipe’s covered or uncovered method. A covered tray changes moisture and cooking speed. Open foil away from your face and hands before checking.
- Smoker: maintain the cooking temperature specified by your recipe. Wrapping reduces evaporation and can help the meat soften, but it also softens the bark. It is an option, not a requirement.
- Grill: use the indirect cooking zone your recipe calls for. If one end darkens much faster, rotate the rack and check for uneven heat. Direct flame can scorch sauce while the meat still needs time.
Schedules such as “3-2-1” describe stages of a particular cooking method. They do not guarantee that every rack needs six hours. Rack thickness, wrapping, cooker temperature, and hot spots all affect the result. ThermoWorks’ overview of pork ribs explains these cut and cooking differences.
A practical plan for the oven recipe
Plan dinner around a checking window
The recipe below uses one fully thawed 2–2½-pound baby back rack in a covered packet at 275°F (135°C). Allow about 3–4 hours from prep to serving, plus some flexibility for a thick rack. This is a planning window for that method, not a timing chart for every type of rib.
Check the membrane, mix the rub, and seal the rack with the measured water. Put your thermometer and a clean finishing pan within reach.
Open the packet carefully and check several thick sections. A small rack may be close; a thicker rack can still need considerably more time.
The covered stage often takes 2½–3½ hours. Once the meat is safely cooked and tender, add the thin glaze and watch it closely under the broiler for about 3–5 minutes.
Use the rest to finish your sides and set out clean serving utensils. Slice between the bones and serve while the ribs are warm.
For a fixed dinner time: do not start a thick rack at the latest possible moment. If your schedule is tight, the make-ahead method below is easier to manage than turning up the heat on ribs that are still firm. Prepare a cold side while the ribs cook, and leave quick last-minute tasks until after the first tenderness check.
How much should you buy?
One rack in this weight range makes about two generous portions or four smaller portions with substantial sides. Bone weight and meat thickness vary, so count portions as well as racks. For four hearty appetites, consider two racks and check them separately. The recipe’s four-serving yield means modest portions; it does not mean four large restaurant-style rib plates.
- A correctly placed thermometer has confirmed the safe temperature in several thick sections.
- The meat between the bones has the tenderness you want.
- A clean pan, clean utensils, and separately reserved serving sauce are ready.
Glaze, rest, and slice without undoing the cook
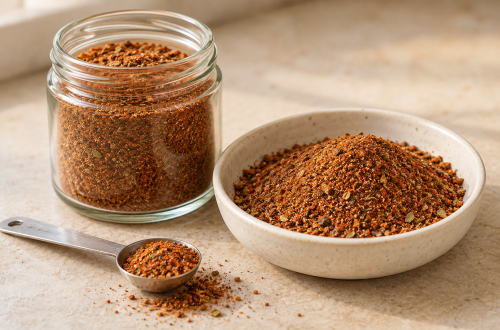
Build flavor at the start with a balanced seasoning such as our BBQ rub ratio for ribs. Save a sugary finishing sauce for late in the cook, when the meat is tender or almost there.
- Unwrap carefully, if needed. Put the rack on a tray first and release the hot steam away from you. Support very tender ribs underneath when moving them.
- Brush on a thin glaze. Return the rack to the cooker only long enough for the sauce to become tacky, watching closely for scorching. Follow the sauce recipe’s heat and timing guidance; a thick layer can burn before it sets. Try our baby back rib sauce with a sticky finish.
- Rest before slicing. Allow at least the required 3-minute rest after cooking. For practical handling, a roughly 10-minute rest is a useful starting point. Avoid tightly sealing a rack you want to keep firm, because trapped steam continues softening the surface.
- Slice between the bones. Transfer to a clean board and locate the bone lines before cutting. Use a sharp knife and support the rack so the glaze and tender meat stay together.
For another example of applying sauce near the end and checking between the bones, see Weber’s baby back rib method.
Why are my ribs still tough or dry?
Firm, moist, and springy: the meat may need more time. Check your cooker temperature and probe placement, then continue according to your recipe. If its wrapping stage is appropriate, that can protect the surface while cooking continues.
Dry edges but a tight center: uneven thickness or excessive direct heat may be part of the problem. Move the rack to gentler indirect heat and protect the exposed areas. More heat is not automatically the answer.
Dry and stringy throughout: extra cooking will not restore lost moisture. Once safely cooked, slice or pull the meat and serve with sauce. Next time, begin checking earlier and compare several sections instead of waiting for one fixed number.
Small details that make rib doneness easier to judge
Once you understand how to know when ribs are done, a few preparation choices make those checks easier to interpret. These details help explain why two racks can behave differently even when their rib internal temperature looks similar.
Separate a chewy membrane from undercooked meat
The thin membrane across the bone side can leave an unpleasant, papery chew even when the meat between the bones is tender. Before seasoning raw ribs, check whether it is still attached. Loosen an edge over a bone with a blunt dinner knife, grip it with a paper towel, and peel gently; Weber illustrates this membrane-removal method. If the butcher has already removed it, skip the step.
During the doneness check, test the meaty side as well as the underside. A resistant sheet on the back and firm meat throughout are different problems. If your probe hits a sudden hard stop, withdraw and change its angle: you may have struck a bone. Assess the meat again before committing the rack to another long stretch of cooking.
Read the package before adding a salty rub
For the printable oven ribs recipe below, choose plain, unseasoned baby back ribs. Some packaged pork contains an added solution or seasoning; USDA explains how added solutions appear on meat labels. Check the ingredient list for salt before applying a full measure of salted rub. If the ribs are already seasoned, use their package directions and reduce or omit extra salt. Taste your barbecue sauce separately, too. A salty rub and a salty sauce can overwhelm the meat even when the texture is right.
A shorter rack does not need half the cooking time
If a rack will not fit your pan, cut it between two bones into two manageable sections before seasoning. Lay the pieces beside each other in one layer. Cutting across the rack changes its length much more than the thickness of its meaty center, so do not divide the cooking time in half. Begin checking within the recipe’s suggested window, and assess both pieces individually. Short sections also cannot droop like a whole rack during a bend test; rely on correctly placed temperature readings and probe resistance instead.
Give two racks separate finish lines
When doubling oven-baked baby back ribs, use separate covered packets or roomy pans, and leave space around them. Avoid piling one rack on another. Put a small label on your cooking notes identifying the thicker rack and its pan position, then check each rack independently. One can become tender before the other. Rotate pans if your oven cooks unevenly, but let the condition of each rack decide when it comes out. Doubling the ingredients does not mean doubling the cooking time.
Keep the glaze and serving sauce in separate bowls
Before brushing the ribs, set aside the sauce you want to offer at the table in a clean bowl. Use a second portion for glazing, so a brush that has touched meat does not return to the serving sauce. A thin coat is easier to watch than a thick blanket. If the sauce darkens before the meat is tender, stop the direct-heat finish and return to the recipe’s gentler cooking stage; a darker glaze cannot fix a tight center.
Save a useful family recipe note: write down the cut, package weight, whether the membrane was removed, oven setting, covered or uncovered method, and where the rack first felt tender. Add the finished texture your family preferred: tidy slices with a gentle bite, or softer meat that pulls apart. Those observations help you repeat dinner more reliably than a timer reading by itself.
Store and reheat leftovers
Refrigerate leftover ribs within 2 hours, or within 1 hour when the surrounding temperature is above 90°F (32°C), following FoodSafety.gov’s leftover guidance. Use shallow containers so portions cool promptly.
Keep the refrigerator at 40°F (4°C) or below and use cooked ribs within 3–4 days, as listed in the cold food storage chart. Reheat leftovers to 165°F (74°C) throughout, checking thick meaty areas. Covering them with a little sauce or liquid can help limit drying during reheating.
Make tomorrow’s dinner easier
Cook ahead and reheat without drying the surface
For a make-ahead meal, complete the covered cooking stage until the ribs are safely cooked and tender. You can leave the final glaze for serving day. Divide the rack into manageable portions and refrigerate promptly in shallow containers, following the storage limits above. Do not leave a whole hot pan on the counter until it feels cold.
- Heat the oven to 325°F (163°C). Put the refrigerated rib portions in a baking dish with a small splash of water or sauce, then cover tightly.
- Check the meat, not the clock. Reheat until several thick meaty sections reach 165°F (74°C). Small portions and a whole rack will not heat at the same rate, so one fixed reheating time is not reliable.
- Refresh the glaze. Once the portions are hot throughout, brush on a thin layer of fresh sauce. Uncover briefly to set it, watching the surface so it does not scorch.
The oven setting and internal reheating temperature follow FoodSafety.gov’s leftover reheating guidance. Reheat the portions you plan to serve; keeping the remainder refrigerated makes the next meal simpler.
Starting with frozen raw ribs?
Thaw the ribs in the refrigerator on a tray that catches drips. For a faster method, submerge a leakproof package in cold water, replace the water every 30 minutes, and cook immediately after thawing. Never thaw ribs on the counter or in warm water. Follow USDA’s safe thawing methods; the recipe’s cooking window assumes the center is fully thawed.
Common questions about rib doneness
How do I know when ribs are done without a thermometer?
The probe and bend tests help you judge tenderness, but they cannot confirm a safe internal temperature. Use a food thermometer to check safety. Color, cooking time, and meat pulling back from the bones are not reliable substitutes.
Should the meat fall off the bone?
That is a texture preference. Some people want a gentle tug when they bite; others like very soft meat that releases easily. Falling apart is not required for good ribs. If the rack is already as soft as you want, handle it carefully and avoid a long extra glazing stage.
Are ribs done at 180°F?
They may be tender at that temperature, depending on the cooking method and time. Check several meaty sections for both temperature and probe resistance. Many barbecue-style racks finish higher, but there is no benefit in drying out an already tender rack to meet a different recipe’s number.
Why does the thermometer give different readings?
Ribs have thin meat, bones, fat, and uneven thickness close together. The sensor may be too shallow or touching a different material. Reinsert into thick meat between bones, wait for a stable reading, and compare other sections. Do not average away a genuinely cooler area.
Your final check before serving
When deciding how to know when ribs are done, check the thick meat with a thermometer, confirm easy probe movement, and use the bend test as supporting evidence. Finish to the texture you enjoy, then rest and slice.
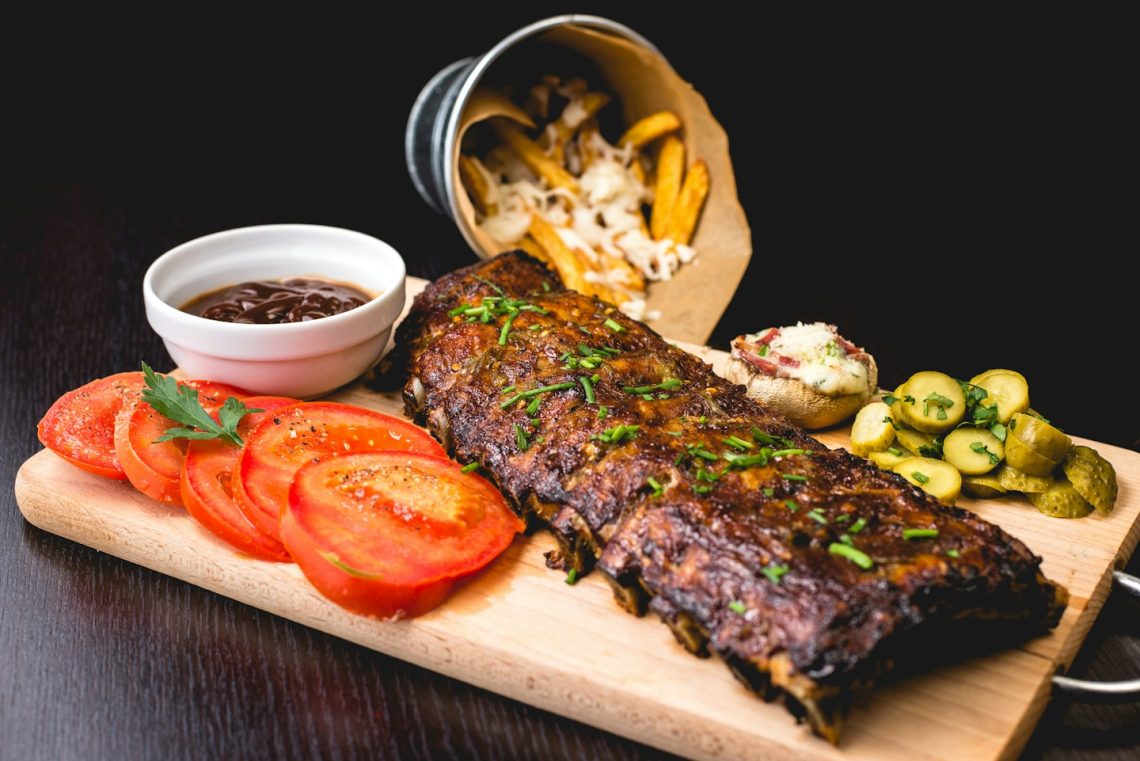
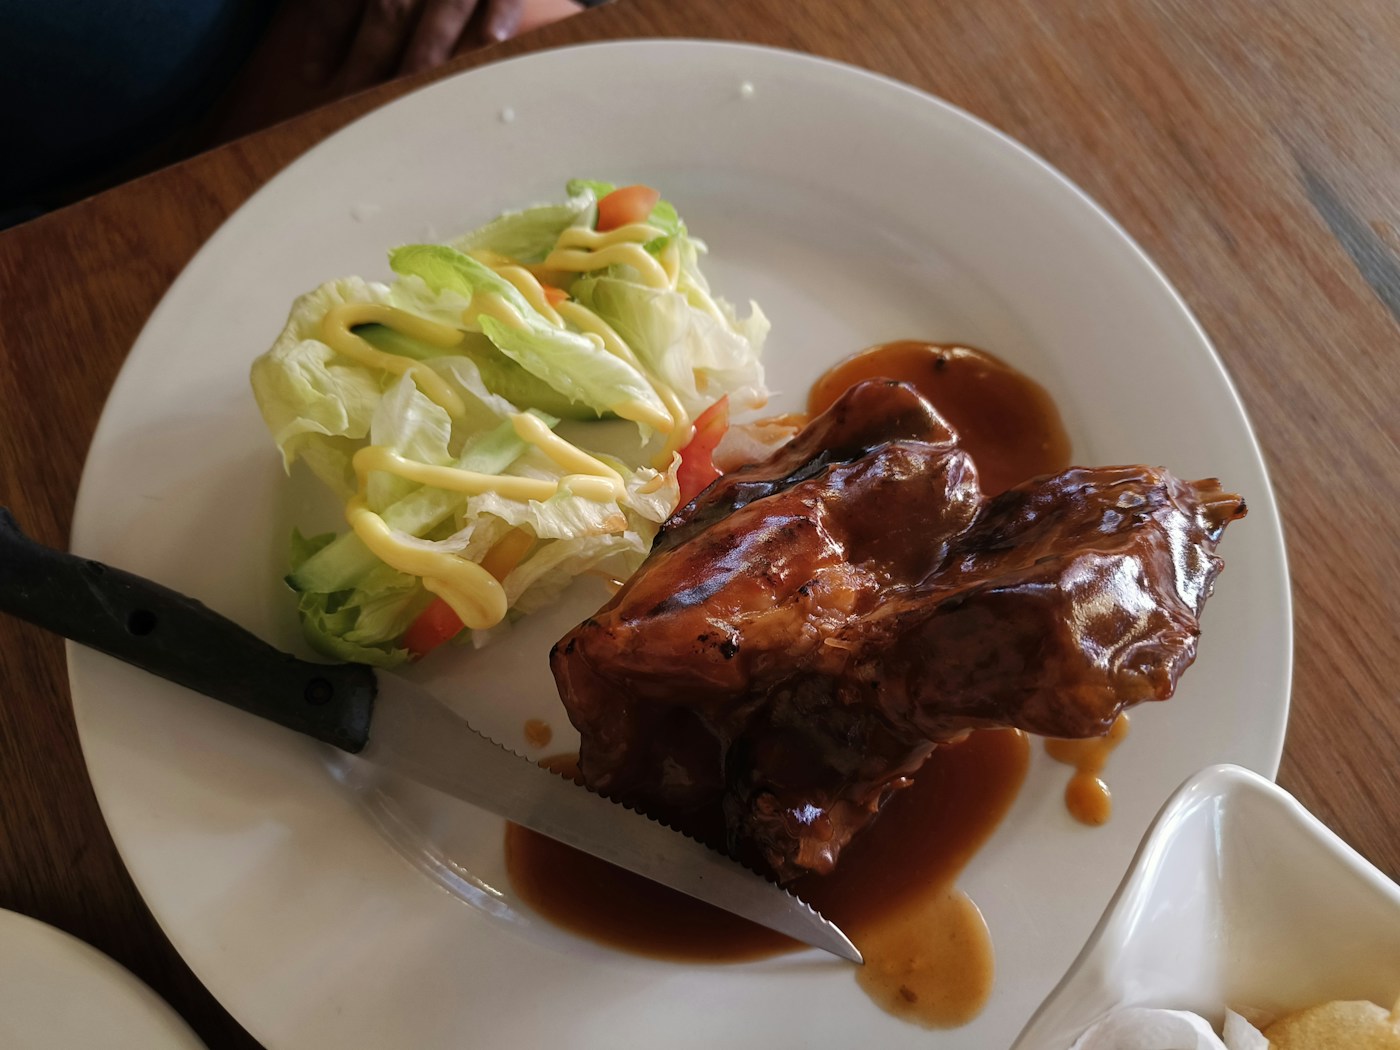
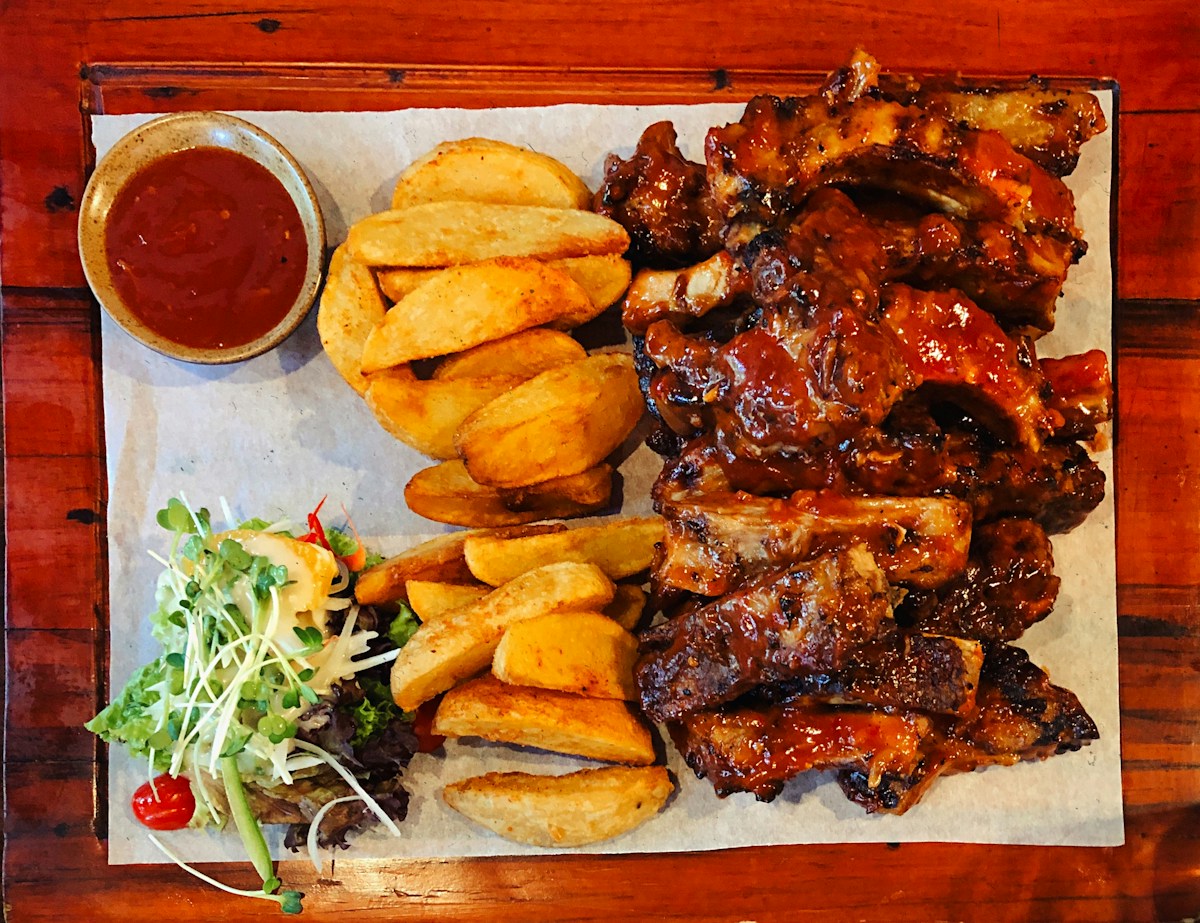
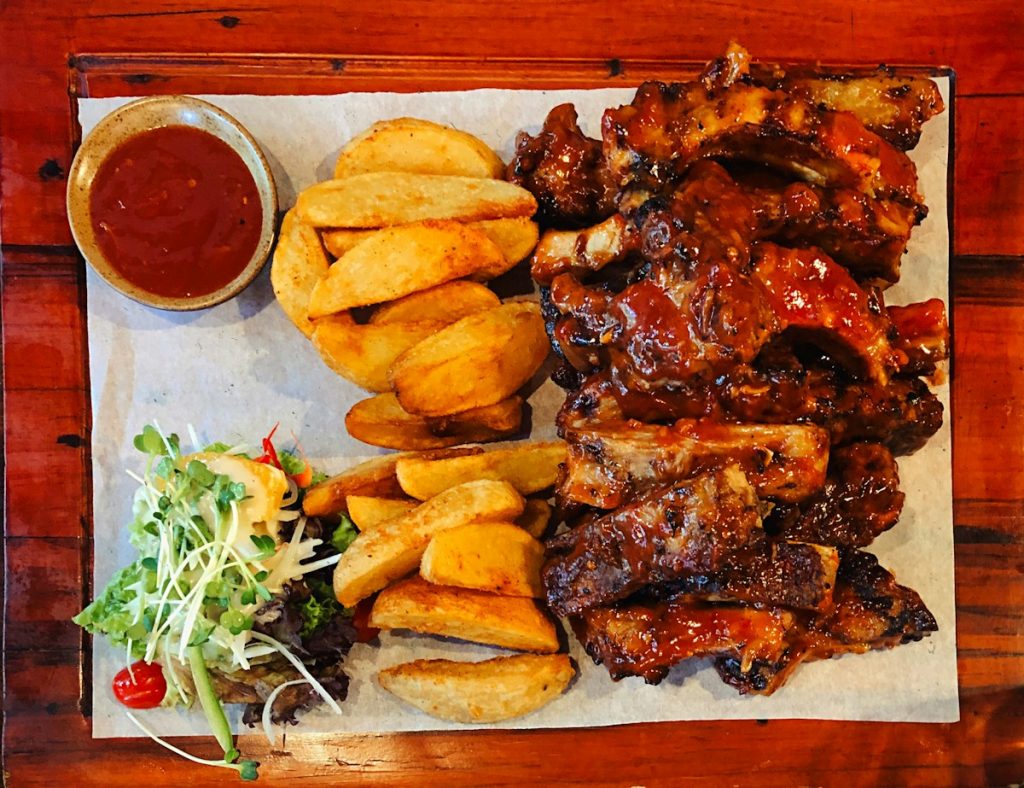
Featured photo: Alexandru-Bogdan Ghita. In-content photos: Brian Wegman and Tiffany Nguyen. Additional photos: Z Grills Australia and Famery Fialiwan. Photos sourced from Unsplash illustrate serving and handling; they do not document a Family Recipe HQ kitchen test.
Printable recipe: Oven-Baked Baby Back Ribs
Put the temperature and tenderness checks into practice with one rack, a smoky pantry rub, and a thin barbecue glaze. Allow roughly 3–4 hours from prep to serving, with extra time for an unusually thick rack. The cooking time is an estimate; the checks in the method determine when your ribs are ready.
Use the Print Recipe button for a clean copy of the ingredients, steps, and notes. This recipe is for fully thawed baby back pork ribs; spare ribs and beef ribs need their own timing.
THE COMPLETE RECIPE
Oven-Baked Baby Back Ribs with a Smoky Pantry Rub
Yield: 4 modest servings with sides
Ingredients
Ribs and rub
- 1 rack baby back pork ribs 2–2½ pounds (about 900 g–1.1 kg); raw, fully thawed, unseasoned, with no added salt solution.
- 1 tablespoon light brown sugar Packed.
- 2 teaspoons smoked paprika
- 1 teaspoon garlic powder Not garlic salt.
- 1/2 teaspoon fine salt Reduce or omit if using ribs that already contain salt.
- 1/2 teaspoon ground black pepper
- 2 tablespoons water For the bottom of the foil packet or covered pan.
Light barbecue glaze
- 1/3 cup barbecue sauce Plus extra in a separate clean bowl for serving, if desired.
- 1 teaspoon apple cider vinegar Optional, for a tangier glaze.
Equipment
- 2 rimmed metal baking pans One for the covered cook and one clean, broiler-safe pan for the finish; each must hold the rack in one layer.
- heavy-duty aluminum foil For a tightly covered pan or packet.
- 1 thin-tip instant-read food thermometer Check the meat between bones and follow the required sensing depth.
- 1 narrow skewer or toothpick For checking texture.
- 1 pair of sturdy tongs Support a tender rack underneath with a wide spatula if needed.
- 1 pastry brush Keep table sauce separate from the portion used for brushing.
Instructions
Prepare, cook, and finish
- Prepare. Heat the oven to 275°F (135°C) with a rack near the center. Set foil in a rimmed metal pan, leaving enough to seal around the ribs. Pat the ribs dry with paper towels; do not rinse raw meat. If the membrane remains on the bone side, loosen an edge with a blunt dinner knife and peel it away with a paper towel. Cut the rack between two bones if needed to fit, keeping the pieces in one layer.
- Season and seal. Mix the brown sugar, smoked paprika, garlic powder, salt, and pepper. Rub over both sides of the rack. Place the ribs bone-side down in the pan. Pour the 2 tablespoons water beside the ribs, then crimp the foil tightly to make a covered packet. Keep the packet on the rimmed pan to catch any leaks.
- Bake. Cook at 275°F, allowing roughly 2½–3½ hours for the covered stage. Start checking at about 2 hours, especially with a smaller rack. Thickness and oven performance can extend the time. When checking, place the pan on a stable heatproof surface and open the foil away from your face to release steam.
- Check several meaty spots. Insert the thermometer into thick meat between bones, away from bone and the pan. Whole pork must reach at least 145°F (63°C), followed by a minimum 3-minute rest, but ribs usually need more cooking for tenderness. Check the meat with a narrow probe: it should slide through with little resistance. Many barbecue-style racks finish around 195–203°F (91–95°C), but do not chase that range if the meat is already safely cooked and tender. If still firm, reseal and continue cooking, checking about every 15–20 minutes when close.
- Prepare the glaze. Stir together the ⅓ cup barbecue sauce and optional vinegar. Keep any extra table sauce in a separate clean bowl. Once the ribs are tender, carefully uncover and support them underneath while transferring to a clean, foil-lined, broiler-safe metal pan, bone-side down. Leave pooled cooking liquid behind. Use clean utensils for the cooked meat.
- Glaze briefly. Brush the meaty side with a thin coat of the sauce mixture. Broil according to your oven’s instructions, usually with the ribs about 6 inches from the element, for approximately 3–5 minutes, just until tacky and lightly bubbling. Watch continuously and stop sooner if the glaze begins to scorch. Use only broiler-safe metal equipment; do not put parchment under the broiler.
- Rest and slice. Rest the ribs for 10 minutes before cutting; this exceeds the minimum 3-minute rest for whole pork. Transfer to a clean board, locate the bones, and slice between them. Divide into four modest portions and serve promptly with prepared sides and the reserved table sauce.
Notes
Rate This Recipe
Made this recipe? Choose a star rating in the comment form and share how it turned out. Your cooking time and any ingredient changes can help the next reader.
Rate This Recipe