The steak notebook · Temperature, timing & technique
A good crust tells you about the outside. A thermometer tells you about the center. This steak doneness temperature chart explains the numbers, then shows you exactly how to take a useful reading.
Start with the chart, follow the six-step temperature check, and use the troubleshooting section if the crust and center are cooking at different speeds.
Steak doneness temperature chart: °F and °C
The home-cooking safety benchmark: reach this internal temperature before removing the steak from the heat, then rest for at least 3 minutes. This is the USDA recommendation.
The table describes familiar culinary doneness preferences. These are approximate reference points, not precise boundaries or a list of equally safe endpoints. A steak described as rare, medium-rare, or medium may be below the recommended minimum.
| Doneness | Reference temperature | What to understand |
|---|---|---|
| Rare | 125°F52°C | Usually a red center. Below the USDA minimum. |
| Medium-rare | 130°F54°C | Often a warm red center. Below the USDA minimum. |
| Medium | 140°F60°C | Often a pink center. This reference point is still below 145°F. |
| Medium-well | 150°F66°C | Usually firmer with less pink. Rest before slicing. |
| Well-done | 160°F+71°C+ | Usually little pink and a firmer texture. Avoid unnecessary extra cooking. |
Reference points follow the ThermoWorks chef-temperature table; Celsius values are rounded. Different charts and restaurants draw the boundaries differently. The color descriptions are context, not a doneness test.
Read the number, not just the label. “Medium” on a menu is not a guarantee of 145°F. Also, these are temperatures inside the meat—not the oven, grill, skillet, or air-fryer setting. A 400°F air fryer does not mean the steak’s center is 400°F.
Take the temperature correctly, in six steps
Have a digital food thermometer, tongs, a clean plate, and a timer ready before cooking. Read the thermometer’s instructions so you know where its sensor is and how long it needs to settle. A dial probe with a long sensing area can be awkward in a thin steak.
Choose the correct rule for the meat
This steak doneness temperature chart is for whole beef steaks. Check the package for tenderizing or preparation instructions. A hamburger, ground-beef patty, or leftover steak has a different endpoint; see the distinctions below.
Cook using the method your recipe specifies
Pat the steak dry, season it, and preheat the cooking surface as directed. Start checking before the recipe’s estimated finish time. Thickness, bone, starting temperature, and appliance performance can change the schedule. For a complete method, use our air fryer steak without butter recipe or ribeye preparation guide.
Aim the probe into the thickest center
For a thin steak, insert the probe horizontally from the side so the sensing area sits inside the meat. With a thicker steak, either side or top entry can work if the sensor reaches the center. Keep it away from bone, large fat seams, and the hot pan or grill grate. Hold the steak with tongs if that makes the angle easier.
Find a stable reading, then check another spot
Wait for the display to settle. Reposition slightly through the center to find the coolest part, allowing the reading to stabilize again. Check a second thick area on an uneven steak and check each steak separately. A hotter edge does not tell you whether a colder center is ready.
Keep cooking if the coolest spot is below your endpoint
Return the steak to the heat and check again after a short cooking interval. As it gets close, recheck frequently; do not add several unattended minutes just because the crust looks pale. If one spot reads 146°F and another reads 138°F, the lower reading means it needs more cooking to meet the 145°F recommendation. Do not average the readings.
Move to a clean plate and start the rest timer
Once the coolest checked center has reached at least 145°F—or a higher temperature you prefer—remove the steak from the heat. Rest for at least 3 minutes before slicing or eating. Clean the probe according to its instructions after checking undercooked meat and before the final check.
The USDA food-thermometer guide explains sensing areas and placement. An infrared thermometer measures a surface; it does not replace a probe reading at the center.
A useful reading example: if pushing the probe deeper makes the temperature drop, you were probably measuring a warmer outer layer. Pause at the coolest stable point and verify it from another angle. A jumping display can also mean the sensor is touching bone, the pan, or a pocket of fat.
Adjust the technique to the steak
Thin steaks
Use side entry and keep the sensor inside the meat. Thin steaks can move from underdone to overdone quickly, so have the thermometer ready rather than searching for it near the end. Check each piece even when they look similar.
Thick or bone-in steaks
Check more than one thick area and avoid touching the bone. If the outside is browned but the center is lagging, reduce the direct heat or finish in a gentler zone appropriate to your recipe. More intense surface heat is not always the solution.
On a grill, a cooler zone gives you somewhere to finish a well-browned steak. In a skillet, lowering the burner can slow further browning while the center warms. In an air fryer, leave space around the meat and check individual steaks rather than judging the entire batch from one reading.
Keep a short cooking note: cut, thickness, appliance setting, first-check time, and final measured temperature. That record makes the next cook easier to plan, but it never replaces checking the next steak.
Understand resting and carryover cooking
Resting is the pause after removing the steak from the heat. Carryover cooking is the rise that can occur at its center as heat moves inward from hotter outer layers. They are related, but they are not the same thing.
How much the temperature rises depends on the steak and the cooking conditions. A fixed instruction to “pull every steak 5°F early” cannot guarantee a particular final temperature. For the USDA approach used here, measure at least 145°F before removing the steak, then start the three-minute rest.
Rest on a clean plate or board, away from the hot pan. If you cover the steak, tent foil loosely; a tight wrap traps steam and can soften the crust. Prepare the plates and sides during this pause, then slice and serve. A longer rest may suit a thick cut, but the minimum rest is not permission to leave dinner out indefinitely.
After resting, look for the direction of the muscle fibers and cut across them where practical. Shorter fibers make each bite easier to chew. Add a modest spoonful of garlic butter sauce for steak if desired; sauce adds flavor but cannot undo overcooking.
When the result does not match the plan
- The outside is dark but the center is under temperature.
- Check the center again from the side. If it is still low, keep cooking with gentler heat so the crust does not keep scorching. Do not serve it solely because the surface looks finished.
- The thermometer gives very different readings.
- Confirm it is set to the units you expect. Keep the sensor away from bone and the cooking surface, wait for a stable display, and check another central spot. Follow the manufacturer’s accuracy-check or calibration procedure if the readings still seem implausible.
- The steak reached its endpoint but has a pale crust.
- Extra cooking just to darken it will also raise its internal temperature. For the next steak, improve surface drying, preheating, and spacing. For this meal, serve it with seasoning or a finishing sauce instead of chasing a darker crust indefinitely.
- The steak is tougher than expected.
- Check the cut and slicing direction as well as doneness. A lean or naturally firm cut can stay chewy even with accurate temperature control. Slice it thinly across the grain. Cooking an already-overdone steak longer will not restore its lost moisture.
Whole steak, tenderized steak, and ground beef
- Whole beef steak: use the 145°F minimum and three-minute rest described above.
- Mechanically tenderized beef: look for “blade tenderized,” “needle tenderized,” or “mechanically tenderized” on the label. Tenderizing can carry surface bacteria into the meat. Follow the package’s validated cooking directions; USDA advises at least 145°F and a three-minute rest. See its tenderized-beef guidance.
- Ground beef and hamburgers: cook to 160°F (71°C). The lower culinary reference points in this chart do not apply. Our burger doneness guide explains the separate check.
Store and reheat leftovers with a different target
Refrigerate cooked steak within two hours, or within one hour when exposed to temperatures above 90°F. Keep it at 40°F (4°C) or below and use refrigerated leftovers within three to four days, following FoodSafety.gov’s storage chart and prompt-refrigeration guidance.
Reheat leftovers to 165°F (74°C). Do not use the fresh-steak doneness chart as a reheating target. For methods that limit drying while reaching that temperature, see how to reheat steak without drying it out.
Questions that come up at the stove
Why do different steak charts give different temperatures?
Doneness names describe culinary preferences, and their boundaries are not standardized across every cook or restaurant. This steak doneness temperature chart uses representative points rather than pretending each label has one exact boundary. For safety, follow the measured minimum for the food you are cooking.
Can a steak still look pink at 145°F?
Yes. Color varies and cannot confirm safety or doneness on its own. Use a correctly placed thermometer and the required rest. Conversely, a brown-looking center is not proof that it reached the recommended temperature.
Can I use the finger test instead of a thermometer?
Firmness changes with the cut, thickness, and cooking method, so comparing the steak with your palm is not a dependable substitute. A timer is useful for deciding when to check; a probe provides the internal reading.
Does this chart work for sous vide?
It can explain doneness terminology, but it is not a sous-vide pasteurization schedule. Water-bath cooking depends on time at temperature, thickness, and handling. Use a validated method designed for that process rather than treating a temperature alone as a complete instruction.
What should I do if I cut into it and it needs more cooking?
Return the meat promptly to the heat and check its internal temperature again. Smaller pieces cook faster, so watch them closely. Use a clean serving plate and complete the rest after reaching the appropriate endpoint.
Your repeatable routine: check the package, cook with a thermometer ready, measure the thickest center in more than one spot, finish to the appropriate temperature, and rest before slicing. Keep this steak doneness temperature chart handy for the numbers.
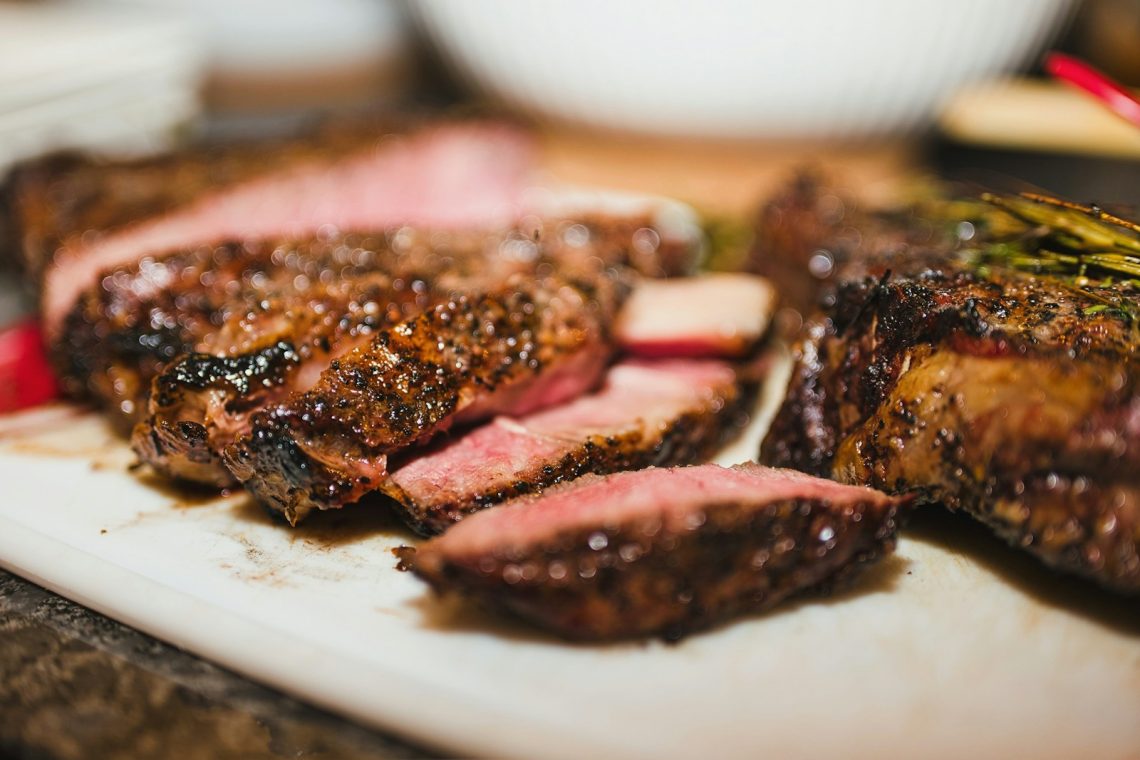
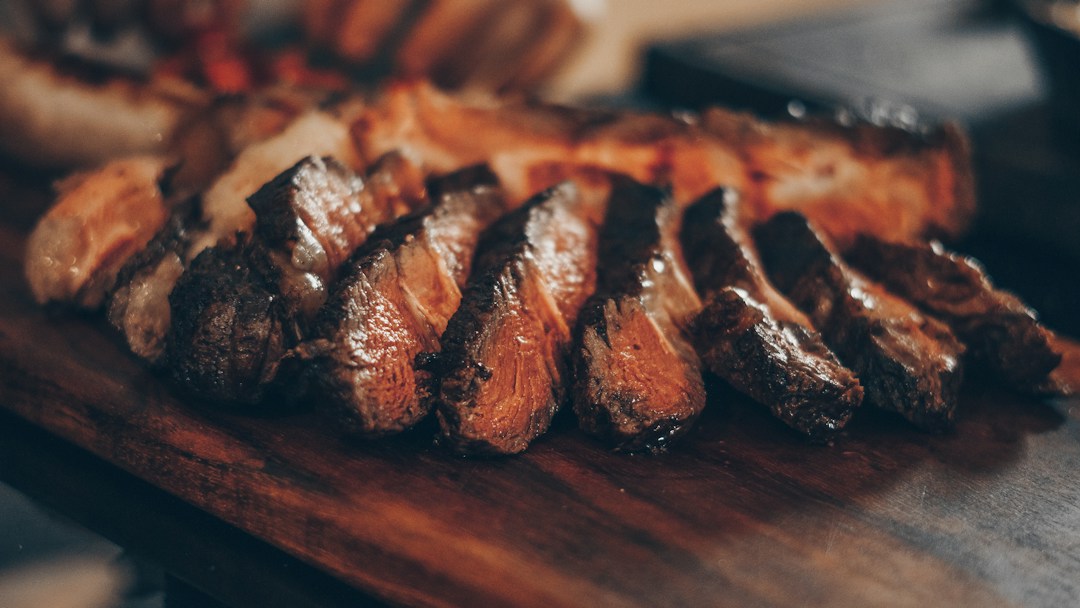
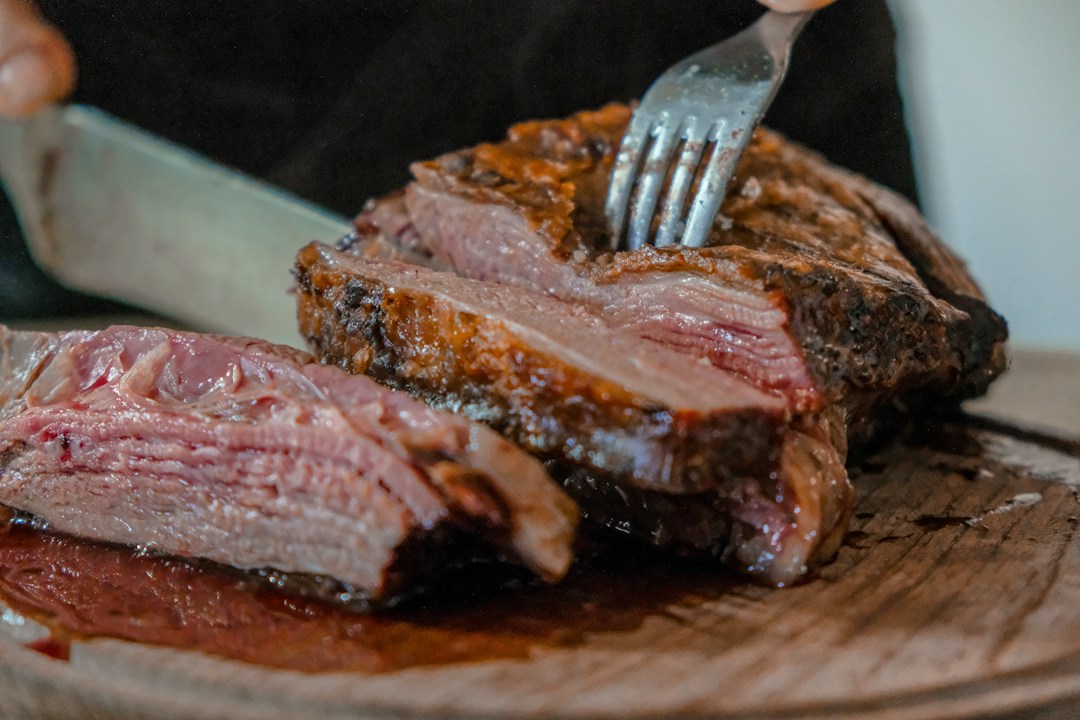
Sources and photographs: culinary reference points are attributed to ThermoWorks; food-safety endpoints, thermometer placement, and storage guidance are linked to USDA and FoodSafety.gov above. This is an editorial guide, not a claim of a documented kitchen test. Stock photographs illustrate serving and carving; they do not establish a measured doneness level. Featured photo: Moise M. Other photographers are credited in the captions. Images used under the Unsplash license.